
Replacing razor dirt bike battery packs takes about 30 to 45 minutes, costs the price of a matched 24-volt or 36-volt replacement pack, and rates as an easy repair that needs basic care around wiring terminals. You must have the correct replacement pack designed for your bike’s exact voltage and connector type before taking anything apart.
What you need
| Item | How much | Why it’s needed | A substitute |
|---|---|---|---|
| Replacement battery pack | 1 unit | Powers the bike motor | none — don’t swap this |
| Phillips screwdriver | 1 tool | Removes fairing and strap screws | Flathead screwdriver if sized right |
| Electrical tape | 1 roll | Covers loose wire ends | Heat-shrink tubing |
| Work gloves | 1 pair | Protects hands from sharp edges | Mechanic gloves |
| Smartphone or camera | 1 device | Records original wire layout | Pen and paper diagram |
Before you start
- Turn the bike power switch to the off position and unplug the wall charger from the charging port.
- Set the bike securely on a flat, level floor or a sturdy stand so it can’t tip over while you work.
- Clear a small tray nearby to hold the fairing screws so you don’t lose them on the floor.
- Take a clear photo of the original battery wiring before unplugging anything; skipping this step costs you extra time tracing reversed connections later.
- This repair isn’t for gas-powered minibikes or bikes with custom aftermarket controllers; stop and call an electric repair shop if you see melted plastic or burnt wires around the internal control module.
Step by step
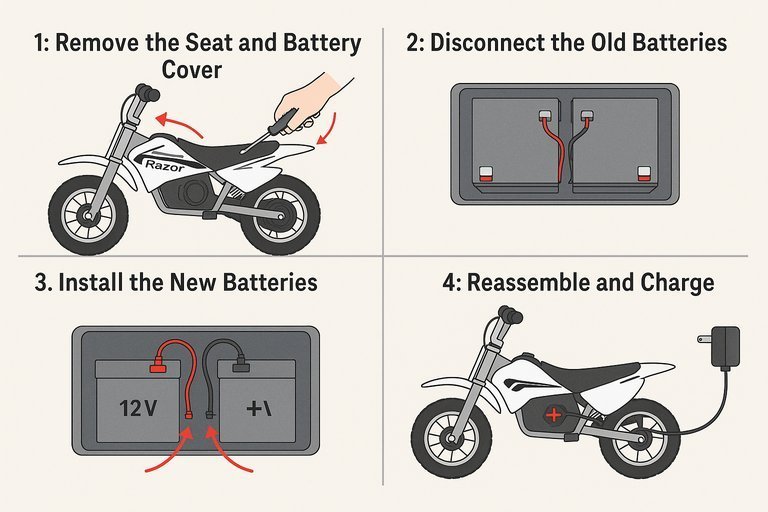
- Remove the 4 to 6 Phillips screws holding the side fairing or battery cover to the bike frame. Set the screws aside in your tray so they don’t roll away.
- Pull the plastic cover straight off the frame to expose the battery bay and wiring harness. Check that the plastic tabs are clear of the metal frame before setting the panel down.
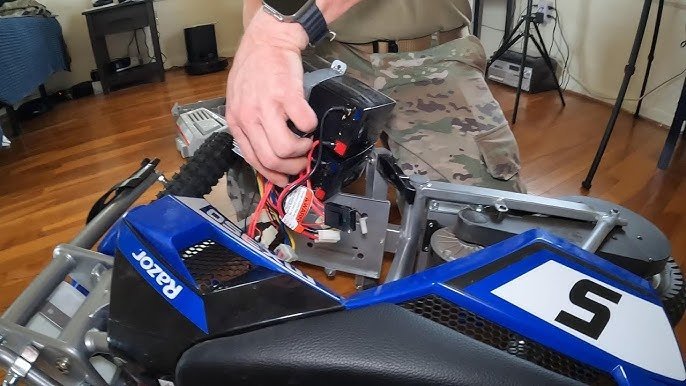
- Take a reference photo of the wire layout, noticing which wire runs to the positive and negative terminals. This image ensures you don’t reverse the polarity when installing the new pack.
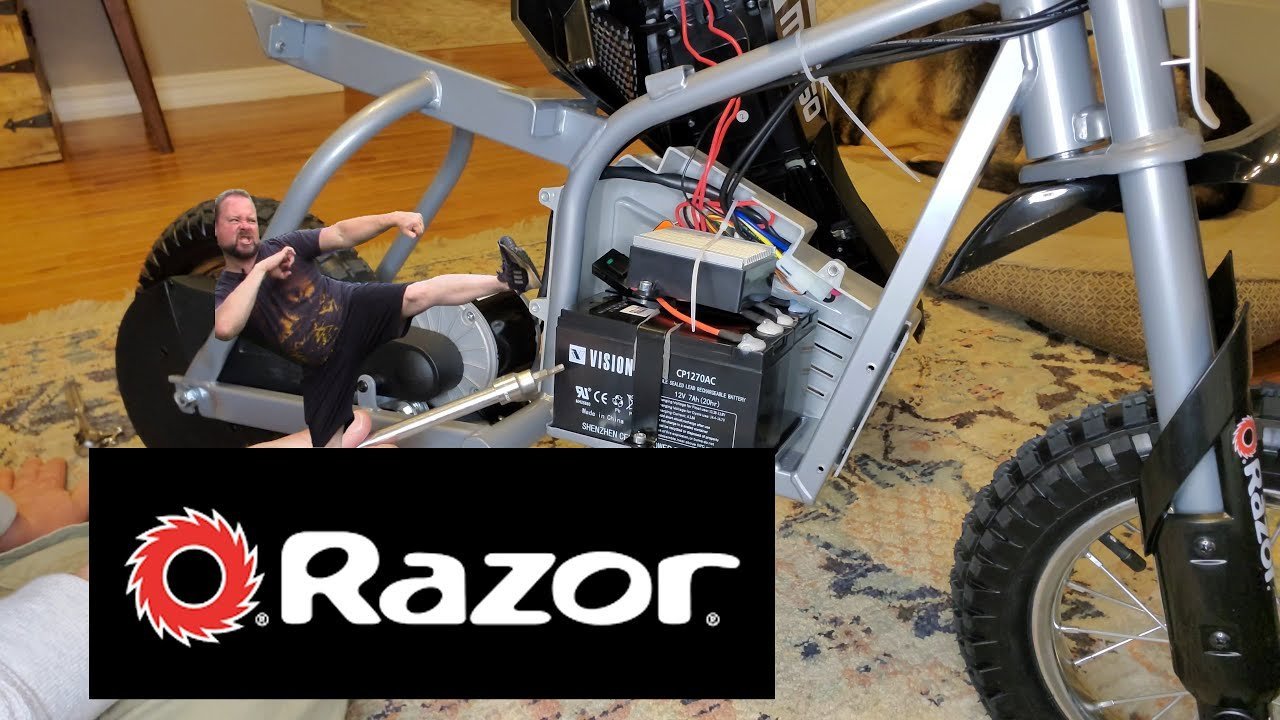
- Unscrew the metal retaining bracket or unfasten the strap holding the battery pack inside the frame. The battery will now slide freely inside the tray.
- Disconnect the main plastic wiring harness plug by pressing the release tab firmly and pulling the two halves apart. The plug separates with a light tug once the tab unlocks.
- Lift the old battery pack out of the frame using both hands to keep it balanced. You’ll feel the full weight of the lead-acid cells leave the tray.
- Slide the new battery pack into the tray in the exact orientation as the original unit. The battery sits flat on the bottom tray without pinching any motor wires beneath it.
- Reinstall the metal bracket or strap over the battery and tighten the mounting screws until snug. The battery pack won’t shift when you push against it gently.
- Plug the plastic wiring connector into the bike’s main harness until you hear it click into place. If the connector fits tightly, push firmly until the locking latch catches completely.
- Reattach the side cover and tighten all body screws with your screwdriver until they seat firmly against the plastic. The body panels align flush with the frame without gaps.
How to know it worked
Flip the bike’s power switch to the on position. You should see the power indicator light glow bright red or green immediately on the throttle or frame switch. Turn the throttle slightly while lifting the rear wheel off the ground; the wheel should spin smoothly without hesitation or sputtering sounds. If the light stays dark, you need a second round: reopen the cover and check that the harness plug is locked together and the inline fuse hasn’t popped. The trade-off of using fresh sealed lead-acid batteries is that they require a full, uninterrupted overnight charge before your first real ride, even if the bike turns on right out of the box.
If something goes wrong
| What happened | Why | What to do |
|---|---|---|
| Bike has no power | Disconnected harness plug | Push connectors together firmly |
| Inline fuse blows immediately | Wires connected with reversed polarity | Correct terminals and replace fuse |
| Cover won’t shut | Battery pack seated crooked | Reseat pack flat in tray |
| Wheel stutters under load | New pack lacks initial charge | Charge fully for twelve hours |
| Rattling noise while riding | Retaining strap left loose | Tighten bracket screws completely |
How often to do this
Most sealed lead-acid batteries eventually lose their ability to hold a usable charge as they age. Two main factors change this timeline: your charging habits and winter storage conditions. If you charge the pack after every ride, you’ll get significantly longer life; if you leave the bike drained for weeks, the cells degrade quickly. Cold temperatures also shorten battery life, so storing the bike in a freezing garage through the winter speeds up cell failure.
Frequently asked questions
Can I use a lithium battery instead of lead acid?
No, not without replacing the stock charger and often the speed controller too. Lithium batteries use different charging voltages and fire-safety protections, so dropping one directly into a stock lead-acid wiring setup can ruin the electronics or create a severe fire hazard.
How long does the new battery take to charge?
About 12 hours for the first initial charge cycle. Plug the original charger into the wall and connect it to the bike port until the charger light turns solid green.
What happens if I reverse the positive and negative wires?
The inline safety fuse blows instantly to protect the motor controller from electrical damage. You’ll hear a small snap, and the bike will remain completely lifeless until you fix the wire orientation and put a brand new fuse into the fuse holder.
Why is my new battery dying after ten minutes?
The battery either missed its required initial charge or the brake switch is sticking. Check that your brake lever returns completely forward, because a stuck brake sensor cuts motor power continuously. If that’s fine, recharge the battery fully for 12 uninterrupted hours.
Does it matter which brand of replacement battery I buy?
Yes, because the physical dimensions and connector types must match your specific frame. This varies by model — check the label on your existing battery for the exact amp-hour rating and physical dimensions before purchasing, or the new pack won’t fit inside the frame.
Is it safe to leave the charger plugged in all week?
Final Thoughts
Once you’ve secured the seat and tightened every bolt, take your bike for a short test ride on flat ground to ensure everything is connected properly. It’s a great idea to charge your new pack fully before your first real adventure. You’ll be back to riding in no time at all.
Related guides