
To fix loose or wobbly joints, you must disassemble the affected parts, remove old glue, and re-glue them with high-quality wood adhesive. Repairing wooden kitchen chairs is a straightforward process if you work slowly and keep your surfaces clean. The most common cause of failure is dried, brittle glue.
Why chairs become loose and wobbly
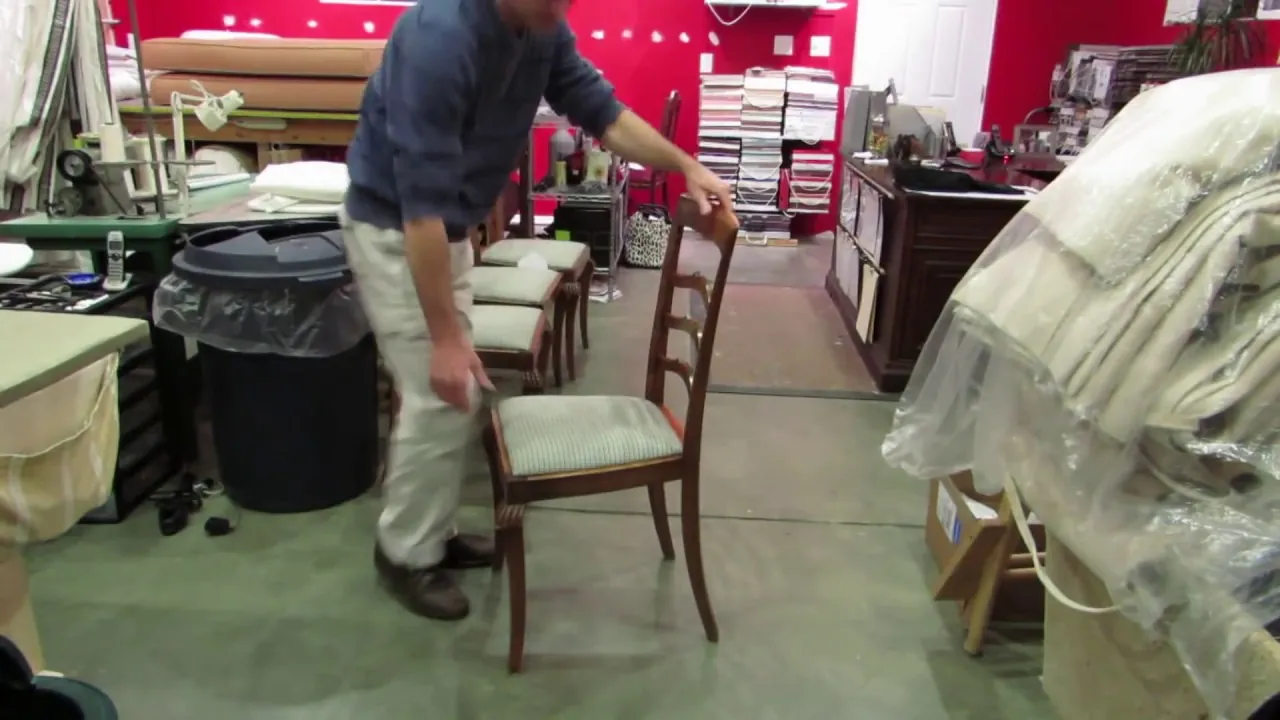
Wooden chairs endure constant movement, which gradually stresses their structural connections. Over time, the natural expansion and contraction of wood caused by changes in temperature and humidity weakens the bond between the joints. When the glue becomes brittle, it cracks and loses its grip, leading to the familiar side-to-side wobble that makes a chair feel unsafe.
Another frequent cause is the degradation of the joinery itself. If a chair has been used while loose for a long time, the tenon—the tongue part of the joint—may rub against the mortise—the hole part—until the wood wears down. This creates a sloppy fit that glue alone can’t fix. When this happens, simple re-gluing won’t hold; you must add material or use a stronger structural solution.
You can check the health of your joints by gently wiggling the legs while the chair is upside down on a table. If a joint moves easily, the glue has failed. If the wood pieces themselves feel soft or crumbly, they may have suffered moisture damage or wood rot.
According to the Environmental Protection Agency, keeping wood dry is essential to preventing decay that compromises structural integrity over time. If the wood is rotting, the chair is likely beyond a safe repair.
Clean and reglue loose joints
This method is for chairs that have loose joints but sound wood. Start by carefully tapping the loose parts apart with a rubber mallet. Use a chisel or a flat-head screwdriver to scrape away all the old, crusty glue from both the tenon and the inside of the mortise. If you leave the old glue behind, the new adhesive won’t bond to the wood fibers, and the joint will fail again within months.
Once the surfaces are clean, test the fit of the joint without glue. If it’s still very loose, you may need to wrap a thin layer of wood veneer or a piece of heavy paper around the tenon to create a tight fit.
Apply a generous amount of wood glue to both parts of the joint. Use a wood clamp to squeeze the pieces together firmly. If you don’t have a clamp, a heavy-duty nylon strap or a tourniquet made of rope can provide the necessary pressure.
Wipe away any excess glue with a damp cloth immediately. Let the chair sit undisturbed for at least 24 hours to ensure the glue reaches its full strength. If you’re working in a cold or humid room, add an extra 12 hours to the drying time. This fix isn’t for chairs with deep cracks in the legs or backrest, as those require structural reinforcement rather than just joint repair.
Reinforce damaged or worn connections
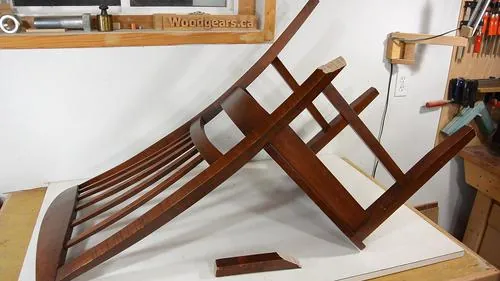
If a joint is too loose to hold with glue alone, you must shim it to create a tight, mechanical fit. Use thin wood shims or even strips of hardwood veneer to fill the gap between the tenon and the mortise. Apply glue to both sides of the shim and slide it into the joint along with the tenon. This creates a solid, wedge-like connection that mimics a factory-tight fit.
For chairs that have been damaged by screws that no longer hold, you must fill the stripped holes. Take a wooden matchstick or a toothpick, dip it in wood glue, and tap it into the hole until it’s packed tight. Let the glue dry completely, then cut the excess wood flush with the surface. Once finished, you can drill a small pilot hole and drive a new, slightly larger screw into the reinforced wood.
This approach is best for older chairs that have been repaired multiple times. If you find that the wood is splitting as you insert the shim, stop immediately. You have likely applied too much pressure or the wood is too brittle to handle the expansion. In such cases, professional furniture repair services are the safer path to avoid permanent damage to the chair frame.
Use corner blocks for extra stability
If your chair continues to wobble even after you have glued the main joints, adding or replacing corner blocks is a highly effective way to increase rigidity. These are small, triangular pieces of wood that fit into the corners of the seat frame, connecting the legs to the apron. They turn a simple frame into a rigid, braced structure that resists twisting forces.
To install them, cut a piece of hardwood to form a triangle that fits snugly against the inside corner of the apron. Apply wood glue to the two flat sides that will touch the frame, and secure the block with long wood screws driven through the block and into the seat frame. Make sure to drill pilot holes first to prevent the wood from splitting.
This is a permanent fix that significantly extends the life of a kitchen chair. However, it isn’t for chairs with delicate, thin legs that can’t support the weight of added hardware. If you’re unsure if your chair frame can handle screws, check the thickness of the apron; if it’s less than 3/4 of an inch, avoid using screws and use only glue and heavy-duty clamps instead.
Mistakes That Ruin Wooden Kitchen Chairs During Repair
Applying too much glue prevents joints from closing fully and creates a hardened mess that ruins the finish. If you see squeeze-out, wipe it immediately with a damp rag before it cures.
Most instant adhesives are brittle and will snap under the weight of a person. Always use wood-specific PVA glue, which remains slightly flexible to accommodate the natural expansion and contraction of timber.
Gravity is never enough to hold a joint. If you don’t apply firm, even pressure with a clamp, the joint will remain loose and eventually wobble.
Glue applied over rot or residual oil won’t form a lasting bond. If the wood feels soft, spongy, or crumbles easily, you must replace the piece entirely.
Using a heavy-duty power sander on a joint often removes too much material and ruins the fit. Stick to hand-sanding blocks to maintain the integrity of your joinery.
How to keep chairs steady long-term

You can change how your chair performs by swapping old, loose methods for stronger, modern techniques. Small changes in how you handle maintenance and daily usage will stop the wobble from coming back.
| If you’re doing this | Do this instead | Why |
|---|---|---|
| Using nails to fix legs | Use wood glue and clamps | Nails pull out over time |
| Ignoring loose screws | Use wood filler and tighten | Loose screws enlarge the hole |
| Wiggling the chair to sit | Lift the chair to move it | Dragging stresses the joints |
| Leaving chairs in high sun | Keep them away from heat | Sun dries wood and glue |
| Using tape to hold joints | Use proper wood clamps | Tape lacks the necessary force |
Related guides
- 10 Best Pipe Repair Tape Picks for Leaks and Cracks in 2026
- 10 Best Kitchen Faucet Pull Down Spray Head Replacements in 2026
- 10 Best Toilet Repair Kits for Every Tank and Valve Type in 2026
Frequently asked questions
Can I use super glue to fix a loose chair leg?
You shouldn’t use super glue because it’s too brittle to handle the constant movement of a chair. Super glue is designed for stationary bonds, not furniture that experiences weight and vibration. Always use a high-quality wood glue, which is designed to flex and bond deeply with wood fibers.
How long does wood glue take to dry?
Most wood glues require 24 hours to reach their full structural strength. While the glue may feel dry to the touch after one hour, the internal bond remains soft and can shift if weight is applied too early. If you’re working in a room with high humidity or temperatures below 60°F, you should wait at least 36 hours before using the chair again to ensure the joint is completely secure.
Is it safe to use a chair that has been glued?
Yes, it’s safe to use a chair after the glue has fully cured, provided the repair was done correctly. A properly glued joint is often stronger than the surrounding wood because the adhesive penetrates the timber’s cellular structure. Ensure the joint feels solid before sitting on the chair.
How do I know if the wood is too damaged to repair?
Wood is likely beyond repair if it’s soft, spongy, or crumbles when touched, indicating water damage or insect infestation. If the wood has deep, splintered cracks running the length of a leg, its structural integrity is compromised. In these cases, replace the damaged component entirely to prevent potential injury.
What should I do if the joint is still wobbly after gluing?
If the joint is still wobbly, it means the gap between the wood pieces is too large for the glue to bridge effectively. You must disassemble the chair and insert a shim made of thin wood or veneer to fill the empty space. Simply adding more glue to a loose joint won’t work because glue is meant to hold tight-fitting surfaces together, not to act as a filler for large gaps.
How many clamps do I need for a chair repair?
You generally need at least two long, heavy-duty bar clamps to pull the chair frame together properly during a glue-up. For a full chair frame, you need enough clamps to pull all four legs into the seat base simultaneously. Use a strong nylon strap with a ratchet if professional clamps are unavailable.
Conclusion
Repairing your wooden chairs is a rewarding task that gives new life to your furniture while saving you the cost of replacements. By taking the time to clean old glue and ensuring every joint fits tightly before applying new adhesive, you create a bond that can last for many years.