
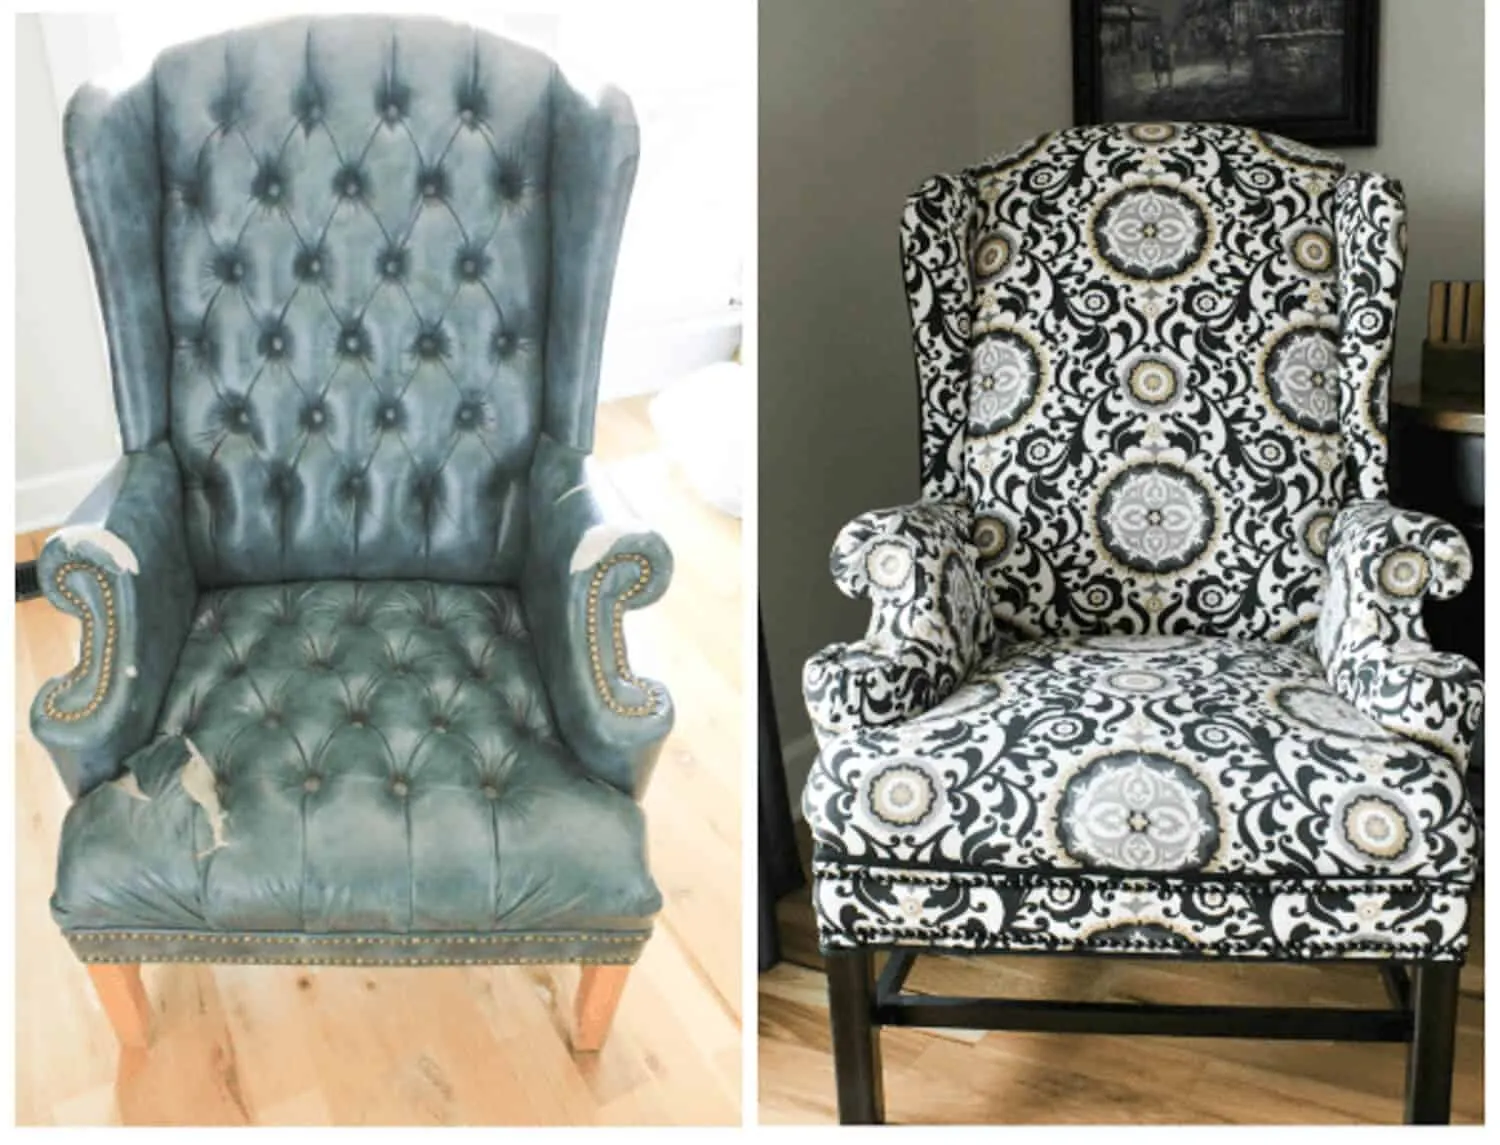
Reupholstering a basic dining chair is a project of moderate difficulty that takes a beginner three to five hours. For simple drop-in seats, the process mainly requires the ability to use a staple gun and pull fabric tight. Complex pieces with deep tufting or curved frames require advanced skills and specialized tools. Most people find the labor manageable when starting with a simple design.
Steps for successful chair recovery
-
Remove the seat from the frame by unscrewing the bolts found underneath the chair base. Remove the seat from the* Pry off the old fabric and batting using frame by unscrewing the bolts found a flat-head screwdriver or a staple underneath the chair base. Label remover tool.
-
Count the old staples as each bolt’s location with you pull them out tape so reassembly does so none stay hidden in not guess at alignment.
Pry the wood. A single leftover staple will off the old fabric and batting using a flat-head screwdriver puncture your new or a staple remover foam tool. Inspect the exposed or push up through foam for crumbling or permanent the cushion.
- Lay your new fabric compression before proceeding. Replace face down, place the seat cushion on top, and pull the material degraded padding now, as taut.
- If new fabric can’t fix a the old foam crumbles when you press failing cushion core.
L it, replace theay your new fabric face down, place whole pad before recovering the seat cushion on top, and pull. Wrapping fresh the material taut. Check that the pattern runs straight across fabric over dead foam only hides the sag for a the seat front before committing few weeks.
- any staples. Misaligned Use a heavy-duty staple gun to secure weave shows permanently once secured the fabric, starting from the middle of.
Use a heavy-duty staple gun each side.
- to secure the fabric, starting from the Fold the corners neatly middle of each side. Alternate opposite to avoid bulky fabric bunches before stap sides every few inches to maintainling them down firmly.
- even tension throughout.
Fold the For thick upholstery cloth corners neatly to avoid bulky fabric bunches, cut away a small before stapling them down firmly. Trim triangle at each corner first the excess fabric about one. This removes bulk inch from the staples to keep the underside clean. Without leaving gaps that expose the raw plywood beneath.
- Trim the excess fabric about one inch from the staples to keep the underside clean.
Why upholstery requires patience and precision
The primary challenge in upholstery is managing fabric tension across a foam surface. If the fabric is too loose, the seat will look wrinkled and unfinished after a few uses. Conversely, pulling the fabric too tight can distort the pattern or cause the material to tear near the staples. The Consumer Product Safety Commission provides general guidance on the safety standards and fire resistance requirements for materials used in home furniture, which is useful when choosing new fabric.
Most of the work involves preparing the frame and ensuring the foam is properly aligned. If the old foam is crumbling or has lost its shape, you should replace it entirely rather than covering it up.
Foam density varies by use; a dining chair typically requires high-density foam at least two inches thick to prevent the user from feeling the wood base. If you choose a foam that’s too soft, the chair will feel worn out within months of daily use.
You must also consider the weave of your fabric. Heavy-duty upholstery fabric is much easier to work with than thin cotton or silk because it resists tearing under the pressure of the staple gun. If you’re using a patterned fabric, you need extra material to ensure the design is centered correctly on the seat. This often means buying 20 percent more fabric than the exact dimensions of the seat require.
Variables that change the difficulty
| Situation | What changes | What to do instead |
|---|---|---|
| Curved chair back | Cutting and sewing | Use piping or pleats |
| Deep tufted buttons | Complex tensioning | Seek professional repair |
| Metal chair frames | Drilling required | Use spray adhesive |
| Antique wood frames | Risk of damage | Hire a restorer |
| Leather materials | High stiffness | Use professional needles |
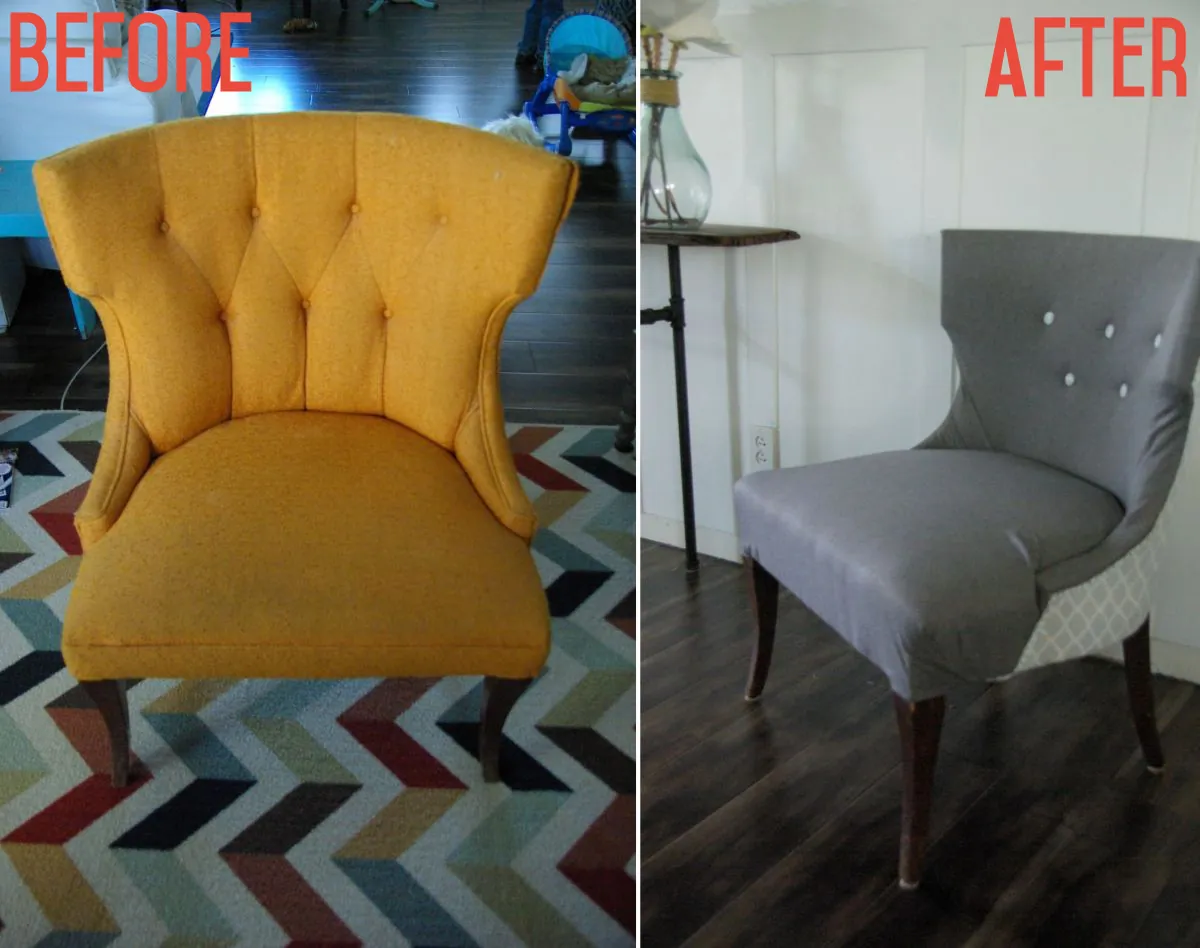
A curved back forces you to cut multiple fabric panels. One flat piece will always wrinkle at the edges. Piping hides those seams and keeps the fabric taut against the curve.
Tufted buttons pull the padding inward from several directions at once. Replacing even one button means re-tensioning the entire diamond pattern around it. Most DIY attempts leave visible sagging within a month.
Metal frames often require different attachment methods, such as screws or adhesive, unless the seat has a wood or plywood base.
Antique wood splits when you force modern staples into dry, century-old grain. A restorer uses period-appropriate tacks and knows exactly where the joints can bear pressure.
Leather is tougher than fabric and may require a leather-point needle to prevent skipped stitches or damage to the material. Wedge-point needles slice cleanly through the hide rather than tearing it.
How to reupholster chairs effectively
- Inspect the wood frame for cracks or loose joints before you start the project. If the frame wobbles, use wood glue and clamps to secure it before adding fabric.
- Measure your seat dimensions and add at least four inches to each side for gripping. This extra space is essential for getting a firm, even pull on the fabric.
- Place your new batting over the foam cushion to create a smooth transition. Use small, temporary staples to hold the batting in place before you add the decorative fabric.
- Staple the fabric in the center of each side first. If the chair is square, work from the center out toward the corners on all four sides equally.
- Check the front of the seat frequently as you work. Look for lines in the fabric that indicate uneven pulling, and adjust your staples if you see any distortion.
- Use a hammer to tap down any staples that didn’t sit flush with the wood. Protruding staples can scratch your legs or catch on clothing when the chair is used.
Mistakes that ruin the result
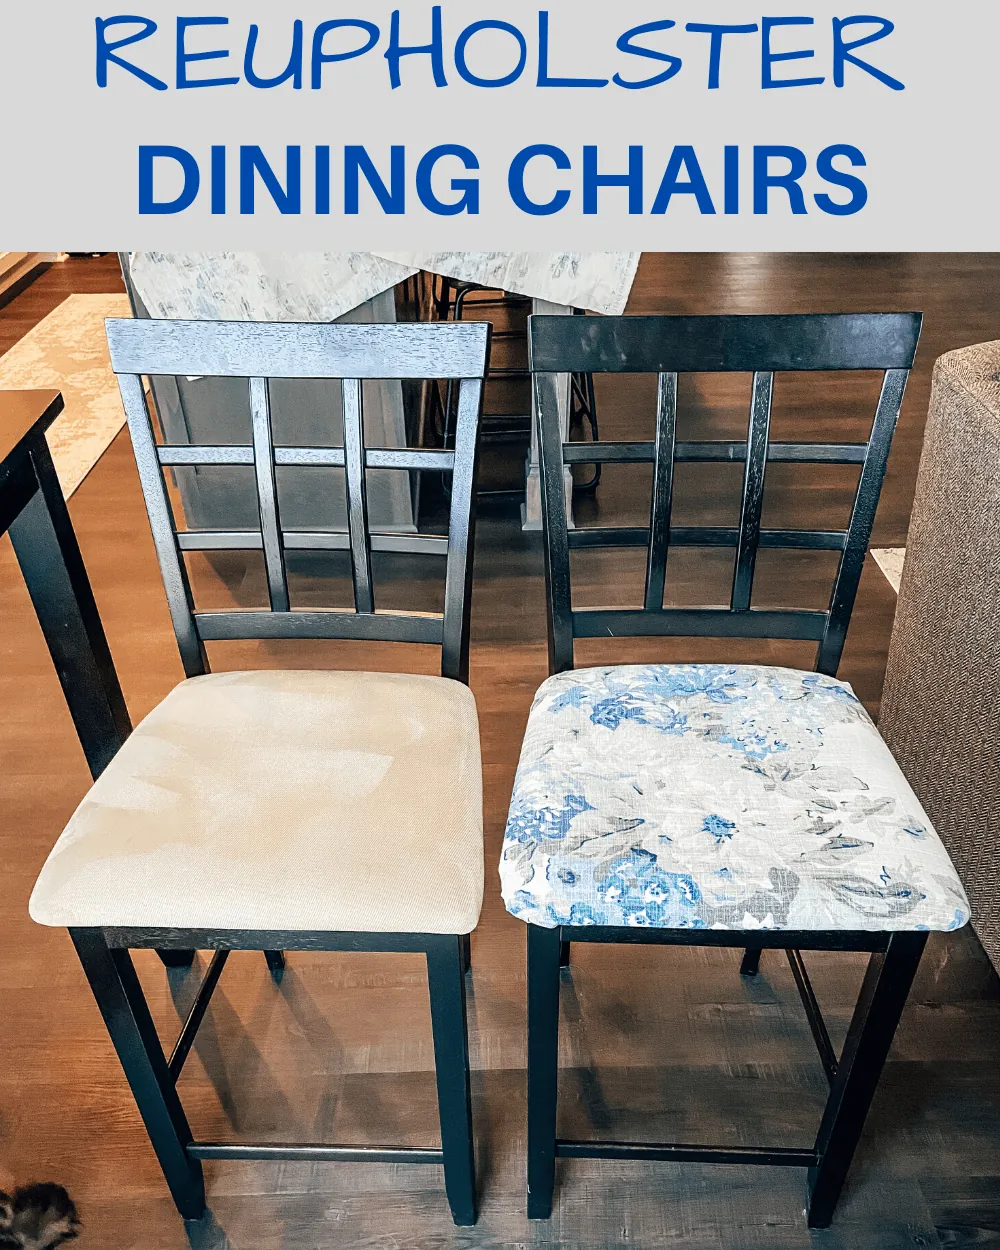
Leaving the old fabric on the chair adds unnecessary bulk and prevents a tight fit. If you can peel back the original layer, do it; the wood frame underneath provides a clean surface that ensures your new material sits flush.
Using a standard office stapler instead of a heavy-duty upholstery gun leaves loose staples. These will pop out within weeks. Invest in a pneumatic or spring-loaded staple gun that drives 3/8-inch legs deep into the hardwood frame.
Forgetting to check the fabric grain causes patterns to look slanted or crooked once finished. Always align the warp threads with the center line of the seat. If you’re working with a plaid or geometric print, spend ten extra minutes pinning the fabric before firing a single staple.
Pulling the fabric too hard at the corners creates large, unattractive folds that catch debris. Instead, work from the center of each side toward the corners, leaving the excess for a final, crisp pleat.
Frequently asked questions
How long does it take to reupholster a dining chair?
You should expect to spend about three hours on your first simple drop-in seat. If you have never used a staple gun, add an extra hour for practice and setup. Complex chairs with springs or backrests can take ten hours or more, depending on your experience. Always set aside more time than you think you need, as removing old, rusted staples is often the most time-consuming part of the entire process.
Is it safe to use old foam cushions?
You should replace the foam if it has lost its original shape or shows signs of crumbling. Old foam often lacks the density to provide proper support, which leads to discomfort and faster wear on your new fabric. You can check the quality by pressing your hand firmly into the center; if it doesn’t bounce back quickly, the material has reached the end of its useful life and needs a replacement.
Can I reupholster a chair without a sewing machine?
You can reupholster many dining chair seats without any sewing at all. Simple flat seats rely on staples to hold the fabric in place, which makes them perfect for beginners. If your chair has complex curves or requires a tailored cover, you’ll likely need a sewing machine to create the necessary seams. Most basic projects only require a staple gun, a pair of scissors, and a flat-head screwdriver.
What happens if the fabric isn’t tight enough?
Your chair will look wrinkled and start to sag within a few weeks of use. Loose fabric also creates friction against the foam, which causes the material to wear out much faster than it should. If you notice the fabric is loose after stapling, you must remove the staples and pull the material tighter. It’s much easier to fix this during the process than to redo the entire chair later.
Does the type of staple gun matter?
You need a heavy-duty, spring-loaded upholstery staple gun to penetrate hard wood frames effectively. A lightweight craft stapler will often leave the staples sticking out, which creates a safety hazard and an unprofessional look. Check the packaging for the recommended staple size, as using the wrong length can damage the wood or fail to hold the fabric under the weight of a person sitting down.
How much fabric do I need to buy?
You need to measure the widest part of your seat and add at least four inches of extra fabric on every side. This ensures you have enough material to pull and staple securely to the underside of the frame. If you’re using a patterned fabric, buy an extra half-yard to account for centering the design. Always verify your measurements twice before you cut the material to avoid wasting expensive fabric.
What is the hardest part of reupholstery?
The most difficult aspect is creating clean, sharp corners on a seat with a curved or irregular frame. You must fold the excess material carefully to keep the fabric flat and smooth without creating bulky lumps. This requires patience and a good eye for symmetry. If you’re struggling with a specific corner, try trimming small amounts of the excess fabric away to make the folding process easier to manage.
Conclusion
You’ll find that the satisfaction of finishing a project makes the effort worthwhile. Start with one simple chair to learn the rhythm of the work before moving on to a full set. Taking your time during the preparation phase is the best way to ensure your furniture looks professional and lasts for many years to come.