
Refinishing antique furniture takes about 20 to 40 hours of manual labor, depending on the chair’s condition and the complexity of its design. You’ll likely spend a modest amount on supplies like chemical strippers, sandpaper, wood stain, and protective topcoats. This work needs care because old wood is fragile and can easily lose its value if you damage the surface or remove original details. Before you start, you must have a well-ventilated space and a sturdy workbench where you can secure the chair to keep it steady during the sanding process.
Essential supplies for furniture restoration
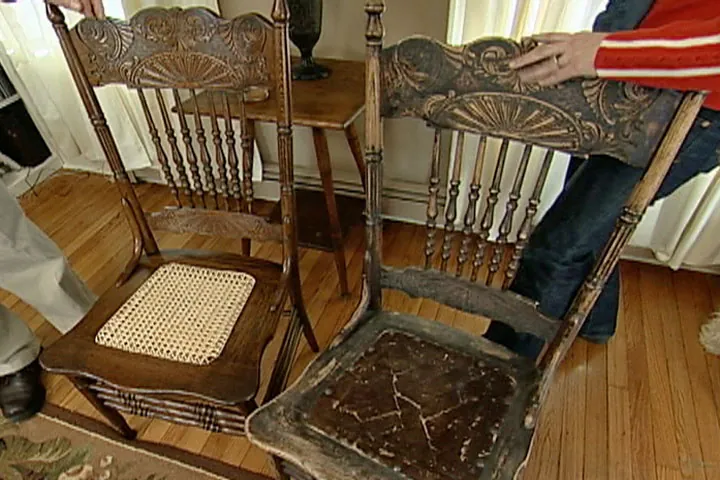
Gathering the right tools before you begin ensures you don’t have to stop mid-project. You can’t swap professional-grade chemicals for household cleaners, as the latter won’t remove old varnish or lacquer effectively.
| Item | How much | Why it’s needed | A substitute |
|---|---|---|---|
| Chemical stripper | 1 quart | Removes old finish | none — don’t swap this |
| Sandpaper | 5 sheets each | Smooths wood grain | none — don’t swap this |
| Wood stain | 1 pint | Adds desired color | none — don’t swap this |
| Polyurethane | 1 pint | Protects wood surface | none — don’t swap this |
| Brushes | 3 units | Applies liquids evenly | Natural bristle brushes |
| Safety gear | 1 set | Protects eyes and skin | none — don’t swap this |
When buying sandpaper, select 80-grit for stripping, 120-grit for smoothing, and 220-grit for final prep. Skipping the 220-grit step often leaves visible scratches that only appear after you apply the stain.
If you’re working with antique furniture, use a gel-based stripper. Liquid strippers evaporate too quickly on vertical surfaces, leaving you with patchy results. For modern factory-made pieces, a standard liquid stripper is usually sufficient.
Many beginners make the mistake of buying cheap synthetic brushes that shed bristles into the wet finish. Once a bristle is trapped under the polyurethane, you must sand the entire surface down to the wood to remove it. Always test your brush by pulling on the bristles before purchase. If any come loose, put it back.
Finally, keep a supply of lint-free rags on hand. Paper towels leave fibers behind that ruin the clarity of your topcoat. Use old cotton t-shirts instead.
Preparing your workspace for restoration
Clear a workspace of at least 80 square feet to allow for full movement around the piece. Good airflow is essential, so position your table near a garage door or an open window. If you lack a cross-breeze, place a box fan facing outward to pull fumes away from your breathing zone.
Lay down heavy-duty canvas drop cloths rather than plastic sheets. Plastic becomes slippery when wet with stripper, creating a fall hazard. Canvas absorbs drips, preventing chemical puddles from migrating toward your feet or spreading across the floor.
Strip all cushions and fabric immediately. These materials act like sponges for toxic solvents and airborne dust, permanently trapping odors that are nearly impossible to remove later.
If you encounter deep cracks or soft, spongy wood, press a screwdriver into the grain. If it sinks in easily, the wood is suffering from rot. Stop work immediately, as structural integrity is compromised. A professional restorer is required to stabilize the piece before you strip the finish.
Steps to restore antique wood

- Apply a thick layer of chemical stripper to the chair using a natural bristle brush, covering all surfaces evenly.
- Wait 20 to 30 minutes, or until the old finish begins to bubble or lift away from the wood surface.
- Use a plastic scraper to gently remove the loosened finish, working carefully to avoid gouging the wood with the tool.
- Wipe the chair down with mineral spirits to neutralize the stripper, letting the wood dry for at least 24 hours.
- Sand the chair by hand using 120-grit sandpaper, following the grain of the wood until the surface feels uniform.
- Switch to 220-grit sandpaper for a final pass to remove any remaining rough spots or small scratches in the wood.
- Apply your chosen wood stain with a clean cloth, wiping away the excess after 5 minutes for an even tone.
- Let the stain dry for 8 hours, then apply two coats of polyurethane, allowing 4 hours of drying between each layer.
Signs of a successful restoration
You know the job is done correctly when the wood feels smooth to the touch and shows a consistent, even color across all surfaces. If you see dark patches or blotchy areas, it means the old finish wasn’t fully removed, and you need to sand that area again.
The finish should look clear and hard, with no sticky spots or bubbles. If the surface feels tacky after 24 hours, the humidity in your room is likely too high. Move the piece to a drier area with a dehumidifier to finish curing. If the finish remains soft after another day, you have likely applied the coat too thick; you must lightly scuff the surface with 320-grit sandpaper before applying a thinner layer.
Check that all joints feel tight. If they wobble, apply a small amount of wood glue and clamp the joint until it dries. A successful restoration also features uniform light reflection; hold a flashlight at a low angle against the surface to reveal hidden scratches or uneven sheen.
Never use water to clean the wood during this process. Moisture causes the grain to swell and ruins the smooth finish you worked to achieve. If you need to remove dust, use a tack cloth or a vacuum with a soft brush attachment instead.
Troubleshooting common furniture issues
| What happened | Why | What to do |
|---|---|---|
| Sticky surface | High humidity | Move to dry area |
| Blotchy stain | Poor sanding | Sand and re-stain |
| White spots | Moisture trapped | Sand and dry again |
| Uneven color | Excess stain | Wipe off sooner |
| Scratched wood | Rough tools | Use finer sandpaper |
If your finish remains tacky after forty-eight hours, humidity is likely above 60 percent. Move the piece to a climate-controlled room or use a dehumidifier to force the solvents to evaporate. Don’t apply a second coat until the surface is completely firm to the touch.
Blotchy wood often stems from skipping the pre-stain conditioner on softwoods like pine. If you see uneven absorption, sand back to bare wood and apply a conditioner before re-staining.
White spots usually indicate a hot mug was placed on the surface. If the finish is lacquer, a light wipe with a cloth dampened in denatured alcohol can melt the surface enough to release the trapped moisture. If the finish is polyurethane, you must sand the area down and reapply. Always test a hidden corner first to ensure you don’t strip the underlying stain.
How often to maintain antique chairs
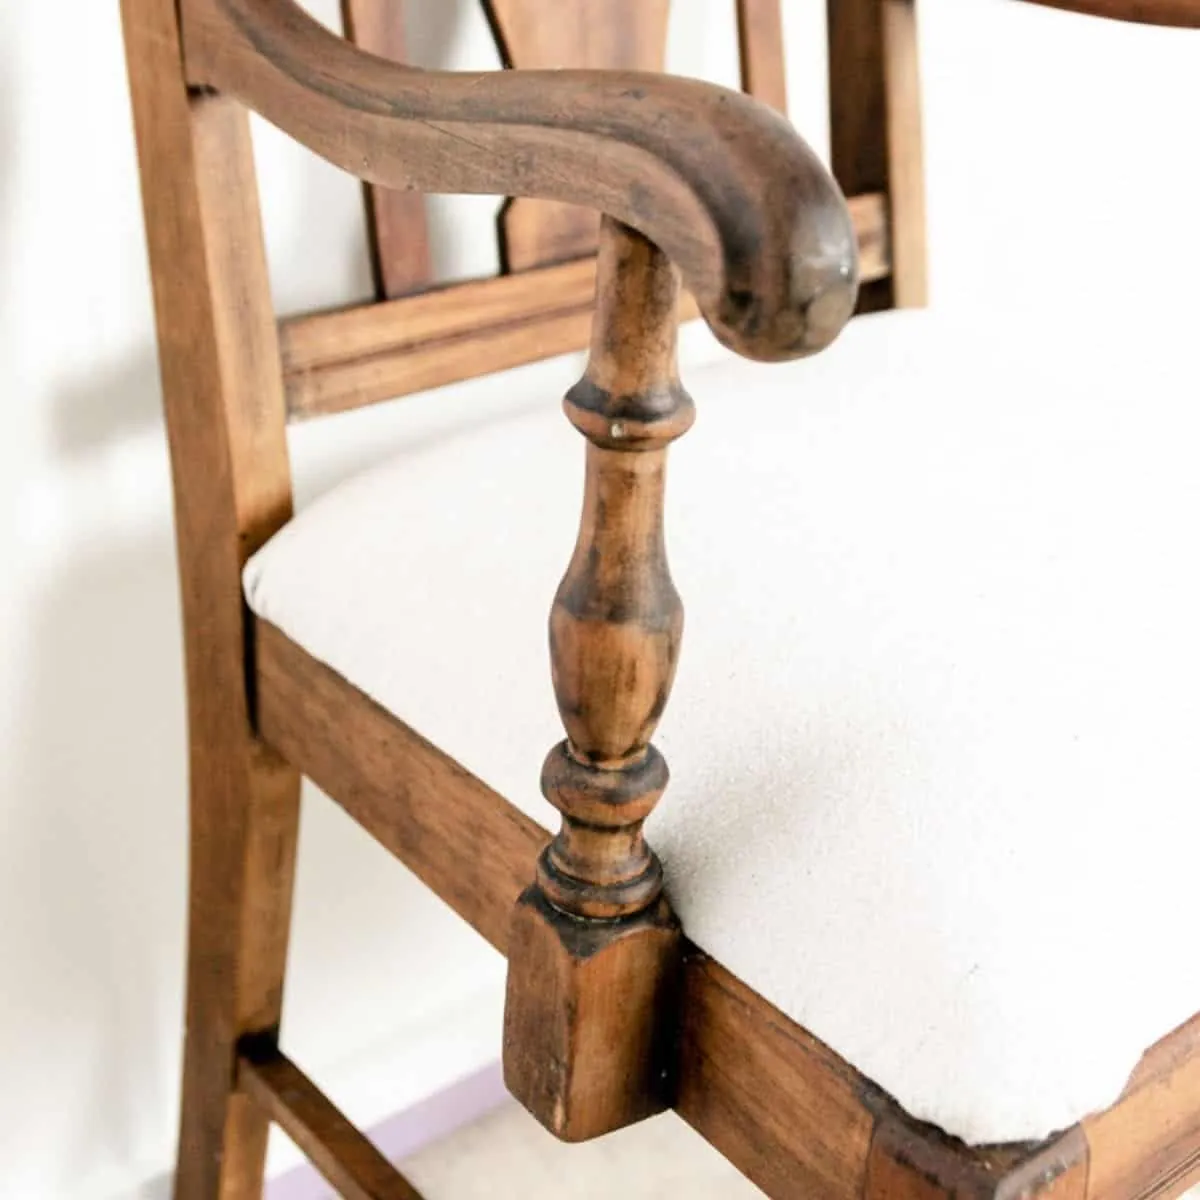
You should perform light maintenance on your finished chair about once every year to keep the wood from drying out. The actual interval depends on how often people sit in the chair and the amount of direct sunlight the piece receives. High traffic causes the topcoat to thin, while constant sun exposure fades the stain and causes the wood to become brittle over time.
If your chair sits in a room with less than 30 percent humidity, increase your maintenance schedule to every six months to prevent micro-cracks. Avoid the common mistake of using spray-on polishes containing silicone; these create a gummy buildup that traps dust and prevents future coats of wax from bonding properly. Stick to pure, high-quality carnauba or beeswax blends.
You can check the health of your finish by placing a single drop of water on an inconspicuous area. If it beads up, the finish is still good. If it soaks in, the wood is thirsty and needs a new layer of wax immediately. If you see white rings or hazy patches, the finish has likely already failed, and you should stop waxing and consult a professional restorer to prevent permanent moisture damage.
Related guides
- How to Tighten Dining Room Chairs: A Step-by-Step Fix
- Best Weather Resistant Patio Chairs for Lasting Comfort and Style in 2026
- 10 Best Patio Chairs for Outdoor Lounging: Expert Picks and Verdict in 2026
Frequently asked questions
Can I use a power sander on antiques?
You should avoid power sanders because they remove too much material and destroy the character of antique wood. Hand sanding gives you the control needed to preserve intricate carvings and edges that define the value of an old chair. Using a machine often leads to flat, unnatural surfaces that don’t match the original style of the piece, which lowers its overall beauty and historical integrity.
Why is my wood turning grey?
The wood is turning grey because the protective finish has worn away, leaving the fibers exposed to oxidation and light. You must strip the old finish completely and sand the wood until you reach the fresh, natural color underneath. If the grey color remains after sanding, the damage has penetrated deep into the grain, and you may need to use a wood bleaching agent to restore the original tone.
How long does the stain take to dry?
Stain usually needs about 8 hours to dry in a room with standard temperature and low humidity. If your environment is cold or damp, the drying time can stretch to 24 hours before it’s ready for the topcoat. Always touch the surface in a hidden spot to ensure it’s completely dry and not tacky before you attempt to apply the protective polyurethane layer.
Is it safe to strip paint indoors?
It isn’t safe to strip paint indoors unless you have constant, high-volume ventilation like an open window with a fan blowing outward. Chemical strippers release strong vapors that can cause dizziness or respiratory irritation if you work in a closed room. Always wear a respirator mask rated for organic vapors to protect your health while you work on the chair.
What happens if I skip the sanding step?
The stain won’t absorb evenly and the final finish will look muddy or patchy if you skip the sanding step. Sanding opens the wood pores and removes the leftover debris from the stripping process, which is necessary for a smooth appearance. Without this step, you’ll see every scratch and imperfection from the previous layers of finish, ruining the look of your hard work.
Does it matter which sandpaper grit I use?
It matters because using a grit that’s too coarse will leave deep scratches in the wood that remain visible after staining. You should start with 120-grit for removing finish and move to 220-grit for the final smoothing pass to ensure a professional result. If you start with a very fine grit, you’ll waste time and effort without successfully removing the old finish.
Conclusion
The secret to a great finish is patience and light pressure during the sanding process. If you rush the drying times or try to save money by skipping the final fine-grit sand, the results will show in the final look of the wood. Take your time with each stage, and you’ll have a beautiful piece that lasts for many more years.