
Refinishing a wooden chair1 takes about. Refinishing 8 to 12 a wooden chair takes about 8 to hours of hands-on work spread over two or three 12 hours of hands-on work days, mostly because the spread over two or three days, mostly finish needs time to dry. because the finish needs time to dry. The difficulty is medium screwdrivers and sandpaper. The difficulty, but it needs care is medium, but it needs care around around the joints and curves. Before you start the joints and curves. Before starting, stripping the old coat completely is essential, strip the old coat completely because new stain won, since new stain won’t stick to leftover’t stick to leftover varnish.
Tools and supplies for refinishing wooden chairs
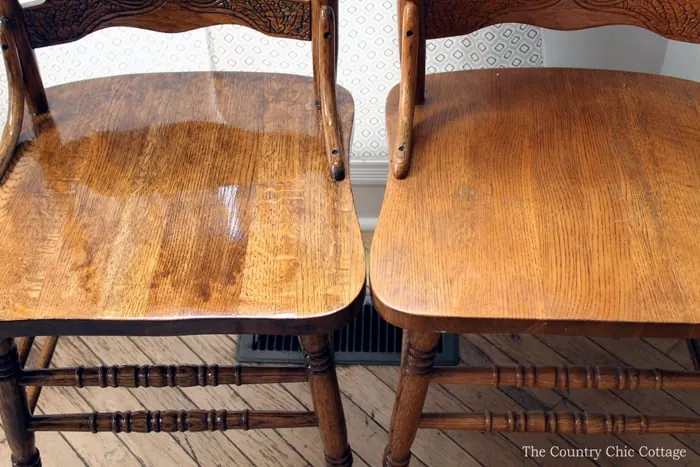
You can’t do this job with things lying around the garage. Lay them out on a table before you touch the chair.
| Item | How much | Why it’s needed | A substitute |
|---|---|---|---|
| Chemical paint stripper | 1 pint per standard dining chair | Dissolves old varnish without gouging wood | none — don’t swap this |
| Plastic scraper | 1 stiff-blade scraper | Lifts dissolved finish without scratching wood | Old plastic gift card |
| Sandpaper assortment | 3 sheets each of 120, 150, 220 grit | Smooths bare wood for even stain absorption | none — don’t swap this |
| Tack cloth | 2 standard-sized cloths | Picks up fine dust before staining | Damp lint-free rag |
| Wood stain | 1 half-pint per chair | Adds color back into stripped wood | none — don’t swap this |
| Clear polyurethane | 1 half-pint per chair | Seals and protects the final surface | Water-based polycrylic finish |
| Nitrile gloves | 1 box of 50 pairs | Keeps chemicals off your skin safely | Heavy-duty dishwashing gloves |
Preparing the chair before stripping
Take the chair apart if the seat lifts off or the back unbolts. Working on flat pieces is faster and prevents stripper from pooling in hidden corners. If joints are glued tight, leave them alone to avoid splitting the wood.
- Remove any fabric cushions, screws, or metal brackets from the frame.
- Set the chair on a drop cloth outdoors or in a garage with the door open.
- Tape off any areas you don’t want stripped, like a painted decorative detail.
- Put on your nitrile gloves and safety glasses before opening the chemical stripper.
Don’t skip the ventilation setup. Work outside when the temperature is between 60°F and 80°F; colder weather stops the chemicals from working, and direct hot sun dries them out before they dissolve the finish. If your chair has lead-based paint from before 1978, stop here. Stripping it yourself creates toxic dust. Hire a certified lead abatement contractor instead.
Steps to strip, sand, and finish the wood
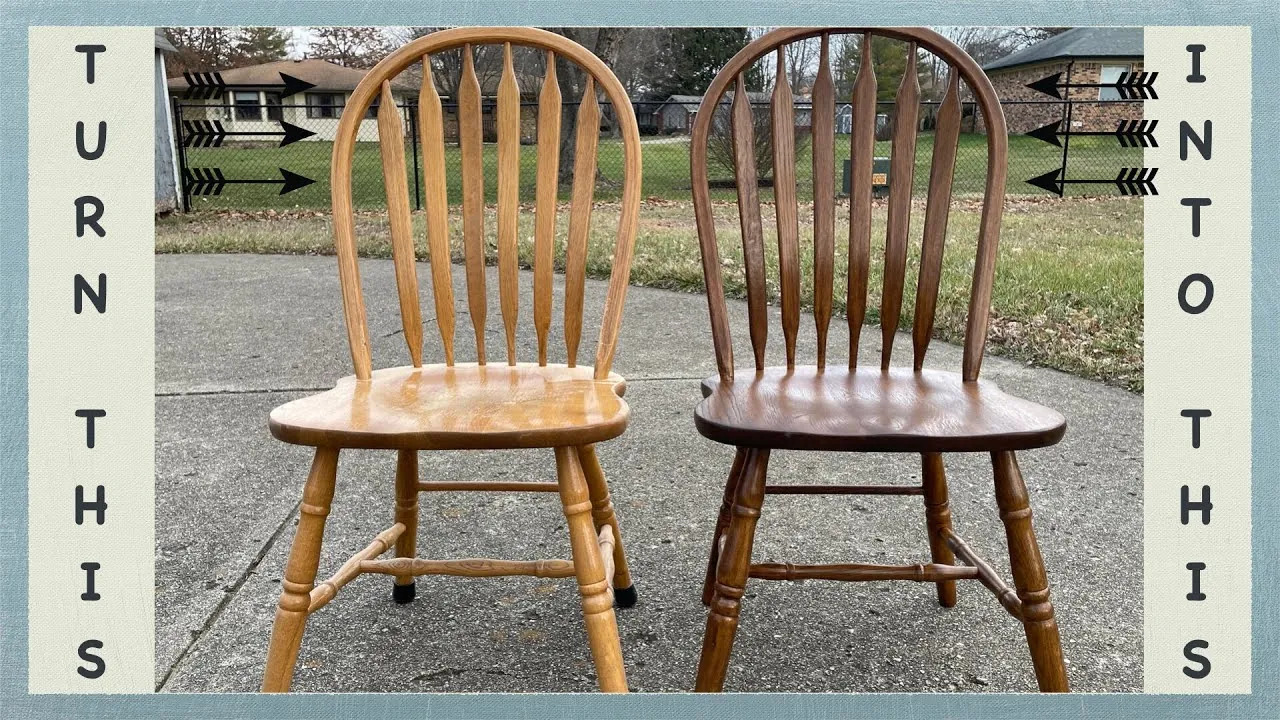
Stripping the old finish is where the real work happens. Rushing this leaves patches of old varnish that block new stain from soaking in evenly. Follow these steps in order, and don’t move to the next one until the current check is met.
-
Brush a thick layer of chemical stripper onto one section of the chair at a time. Use about 1/8 inch of thickness, covering a 12-by-12-inch area so it doesn’t dry out before you scrape it. Wait 15 to 30 minutes, checking the label’s exact time for your brand. It’s ready when the old finish bubbles and wrinkles.
-
Push a plastic scraper flat against the wood grain to lift the bubbled finish. Don’t dig the corner in, or you’ll gouge the soft bare wood underneath. Wipe the scraper blade on newspaper after every stroke. The step worked when you see raw wood color instead of shiny varnish.
-
Wipe the scraped area with a rag dampened in mineral spirits to remove the slimy residue. Work in the direction of the grain. You’ll know it’s clean when the rag stops picking up dark sludge and the wood feels dry to the touch within five minutes.
-
Repeat the stripping, scraping, and wiping process on the remaining sections of the chair. If the chair has spindles or carved details, wrap steel wool around a toothpick to reach inside the grooves. Don’t leave any section untreated, as uneven stripping causes blotchy stain later.
-
Sand the entire chair with 120-grit sandpaper to level the raised wood grain. Wrap the paper around a small block for flat seats, but fold it into a pad for round legs. Sand only until the surface feels uniformly rough, which usually takes 10 to 15 minutes per chair.
-
Switch to 150-grit sandpaper and go over the whole chair again to remove the deep scratches left by the first pass. This takes about 10 minutes. Run your bare hand across the wood; if you feel distinct grooves, keep sanding until it feels smooth like cardboard.
-
Finish sanding with 220-grit paper to create a perfectly smooth surface for the stain. Spend about 5 minutes on this pass. Wipe away all the dust using a tack cloth, pressing lightly so it grabs the fine powder without pushing it deeper into the pores.
-
Apply the wood stain with a clean lint-free rag, rubbing it into the wood along the grain. Cover one full piece, like the seat or one leg, before stopping. Let it sit for 5 to 15 minutes depending on how dark you want it, then wipe off the excess with a dry rag following the grain.
-
Wait 8 to 12 hours for the stain to dry completely in a room that’s around 70°F. Don’t rush this, or the clear coat will pull the wet stain up and ruin the color. Test it by touching a hidden spot under the seat; it should feel totally dry and leave no color on your finger.
-
Brush on the first thin coat of clear polyurethane using long, even strokes along the grain. Don’t go back over areas you just painted, as this creates bubbles. Let it dry for 4 to 6 hours, then lightly rub it with 220-grit paper to knock down any dust nibs before adding a second coat.
Checking the finished wooden chair
A good finish looks even and feels smooth, but you shouldn’t rely on those alone. The real test is whether the surface will hold up to daily use. Check these signs once the final coat has dried for a full 24 hours at 70°F.
Run your fingertips lightly across the seat and the top of the backrest. The surface should feel like glass, with no rough spots, trapped dust, or sticky patches. If your fingers drag or catch, the polyurethane didn’t cure right.
Look at the chair from an angle under a bright lamp. The sheen should be uniform across every spindle and flat surface. Dark, cloudy patches mean moisture got trapped under the clear coat. Uneven color means you left stain on too long in some spots and wiped it off too fast in others.
Press your thumbnail gently into a hidden spot under the seat rim. The surface should resist indentation. If it feels soft or tacky, the finish hasn’t fully hardened yet, and you need to wait longer before putting weight on it.
Fixing refinishing problems
Things go wrong when you rush the drying times or skip the sanding grits. Here’s what happens, why it happens, and how to fix it without starting the whole chair over.
| What happened | Why | What to do |
|---|---|---|
| Blotchy, uneven stain color | Old finish wasn’t fully stripped | Strip that section again, restain |
| Bubbles in the clear coat | Brushed too fast or went back over wet finish | Sand smooth when dry, recoat slowly |
| White cloudy spots in finish | Room was too humid while drying | Sand out cloudiness, recoat on dry day |
| Rough texture after drying | Didn’t wipe dust before applying clear coat | Sand with 220 grit, wipe, recoat |
| Sticky surface after 24 hours | Applied coats too thickly | Scrape off sticky layer, apply thin coats |
| Peeling clear coat later | Stain wasn’t fully dry before sealing | Strip back to bare wood, restart |
When to refinish wooden chairs again
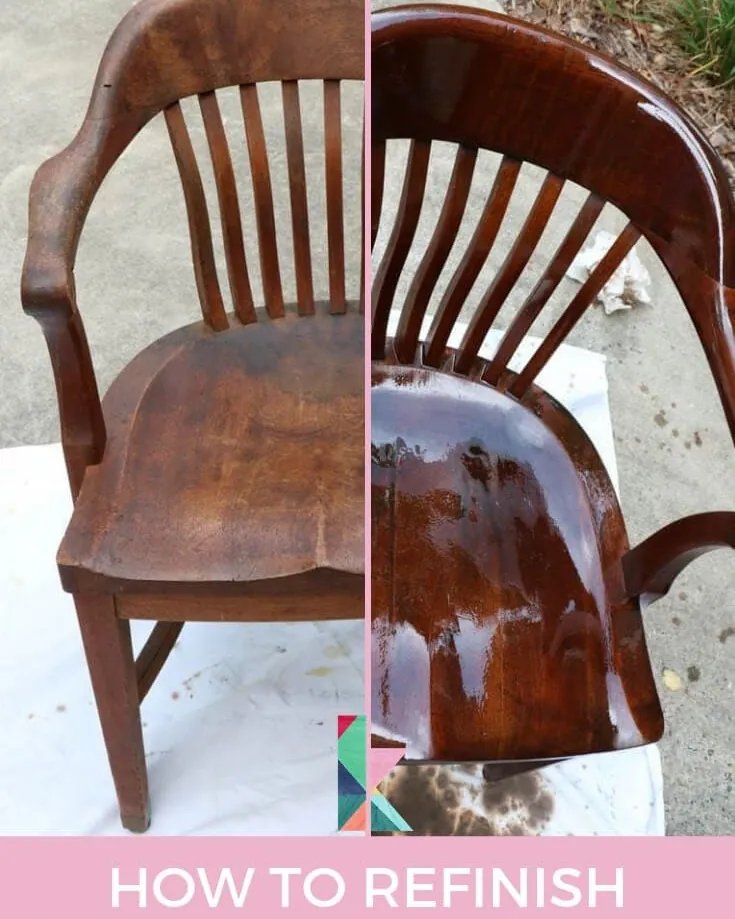
A properly finished dining2. A properly finished dining chair lasts chair lasts a limited for a limited period before needing attention time before it needs attention, assuming it sits, assuming it sits indoors away from direct indoors away from direct sunlight. That number shrinks sunlight. That duration shrinks significantly if the chair lives if the chair lives on an uncovered porch on an uncovered porch or gets dragged across concrete or gets dragged across concrete floors daily. floors daily.
UV exposure and physical friction change this timeline most. Sunlight breaks down the chemical bonds in polyurethane, turning it yellow and brittle. Dragging chairs across rough floors wears through the bottom edges of the legs first, letting water seep into the bare wood.
You don’t always need a full strip-and-stain job when the time comes. If the color is still good but the shine is gone, scuff the surface lightly with 220-grit sandpaper and brush on one fresh coat of clear polyurethane. This adds another 3 to 5 years of protection.
If the wood underneath is gray or peeling, you’re back to step one. Check the chair’s high-wear spots—the armrests and the front edge of the seat—every spring. Catching a worn spot early means a quick touch-up instead of a weekend project.
Frequently asked questions
Can I refinish a chair without stripping it first?
No, you can’t put new stain over old varnish because it won’t soak into the wood. If the existing finish is perfectly smooth and unpeeled, you can scuff it with 220-grit sandpaper and paint directly over it. But for stained wood, stripping down to bare timber is the only way to get an even color.
How long does it take to refinish one dining chair?
Expect 8 to 12 hours of actual work spread across 3 days for a standard dining chair with a removable seat. Day one is stripping and sanding, day two is staining and drying, and day three is applying clear coats. Humidity below 50% and temperatures near 70°F keep this schedule on track.
Is it safe to use chemical strippers indoors?
It’s not safe to use them in a closed room. Most chemical strippers give off heavy vapors that require cross-ventilation, meaning open windows on opposite sides of the room plus a fan blowing air out. Always wear a respirator rated for organic vapors, not just a paper dust mask, when working inside.
Why did my stain dry patchy and dark in spots?
Patchy stain happens when the wood absorbs liquid at different rates, usually because some old finish was left behind or the wood is naturally porous in certain areas. Applying a pre-stain wood conditioner before the color evens out the absorption. For chairs made of pine or cherry, this step is practically required.
What happens if I don’t sand between clear coats?
Skipping the sanding step leaves a weak bond between layers, causing the top coat to peel off in sheets later. Lightly rubbing the dried first coat with 220-grit sandpaper creates tiny scratches that the next coat grips onto. Wipe away that sanding dust with a tack cloth before brushing on more finish.
Does the type of wood change the process?
Yes, hardwoods like oak and maple absorb stain slowly and evenly, making them forgiving for beginners. Softwoods like pine soak up stain instantly and turn very dark unless you use a wood conditioner first. Exotic woods with natural oils, like teak, may resist water-based finishes and often require solvent wiping or oil-based products for proper adhesion.
How much does it cost to do this yourself?
- Materials are inexpensive relative to Materials are inexpensive relative professional refinishing services, covering stripper, to professional refinishing services for a single sandpaper, stain, and clear coat chair, covering stripper,. This assumes you already own brushes, sandpaper, stain, and clear coat. rags, and scrapers. Buying This assumes you already everything new increases the total own brushes, rags, and scrapers. cost but remains less expensive than hiring Buying everything new pushes a professional. Professional refinishing services typically the total higher. charge more per chair Professional, depending on your refinishing services typically charge depending on your local market.
Is it worth refinishing cheap furniture?
It’s rarely worth spending labor on a particleboard chair covered in a thin wood veneer when materials are inexpensive relative to hiring someone. Solid wood chairs on a particleboard chair covered in a, even inexpensive ones from thrift stores, thin wood veneer. Sanding through are the only pieces that actually benefit from this that veneer exposes the pressed wood underneath process., which can’t be stained. Solid wood chairs, even inexpensive ones from thrift stores, are the only pieces that actually benefit from this process.
Conclusion
Picking up a solid wood chair at a yard sale and bringing it back to life changes how you look at old furniture. You’ll notice the grain patterns, the joinery, and the weight of real wood that modern flat-pack pieces don’t have. Take your time with the stripping step, keep your sandpaper fresh, and let the drying times do their work. The chair will outlast whatever you bought to replace it last time.