
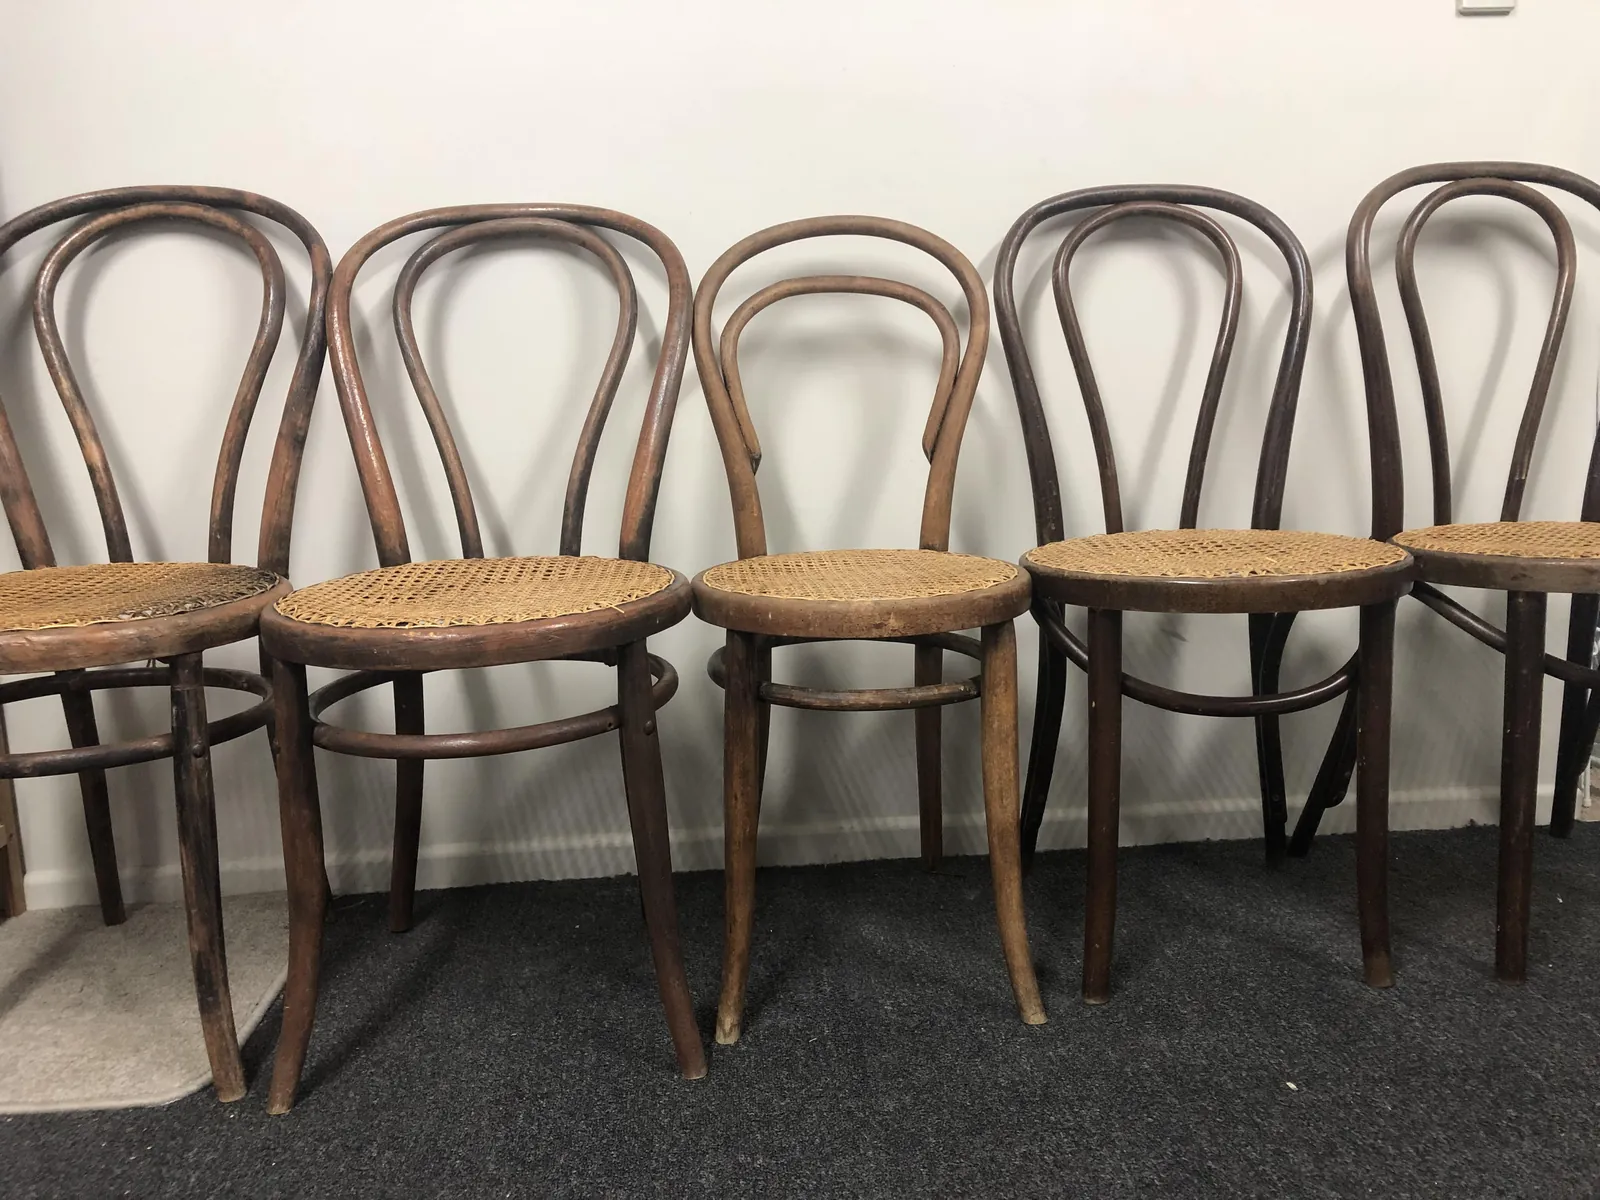
Restoring vintage bentwood furniture is a multi-day process that requires patience, as the delicate curves of the wood are easily damaged by aggressive sanding. Most people find that refinishing bentwood chairs involves removing the old finish with a chemical stripper before applying a new stain or protective topcoat. This project usually takes 15 to 20 hours of active labor spread over one week, depending on the number of layers of paint or varnish present. You should expect to spend between $50 and $100 on quality supplies, provided you have basic hand tools available.
Essential supplies for your project
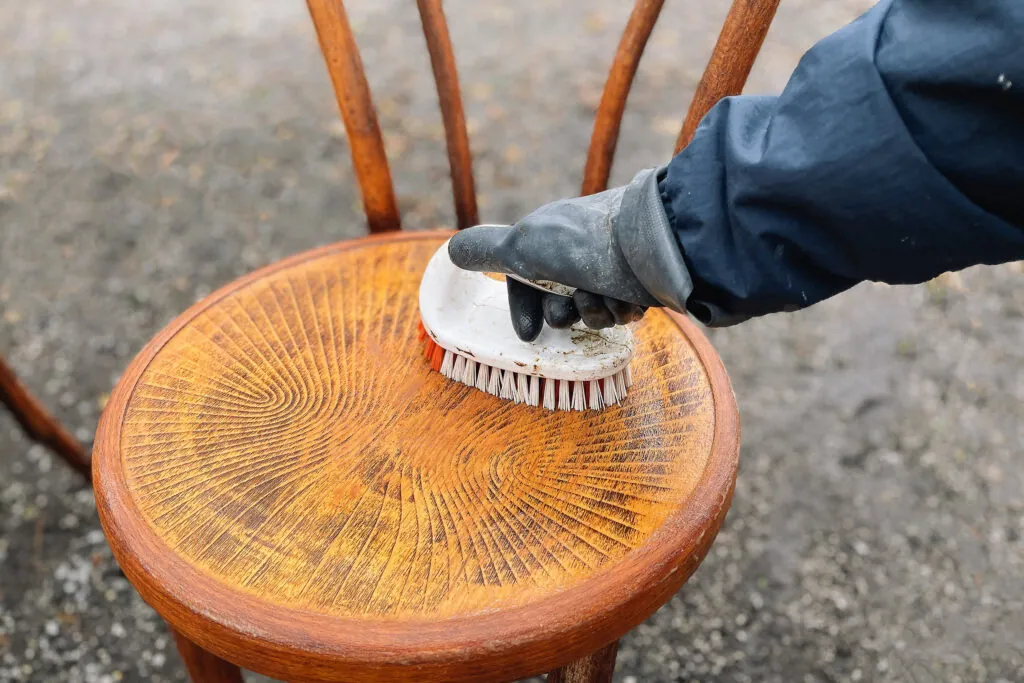
You must gather your materials before starting to ensure a smooth workflow. The following table outlines the necessary items to complete the job properly.
| Item | How much | Why it’s needed | A substitute |
|---|---|---|---|
| Chemical stripper | 1 quart | Removes old varnish layers | None — don’t swap |
| Medium grit sandpaper | 5 sheets | Smooths the wood surface | Fine steel wool |
| Wood stain | 8 ounces | Changes the wood color | Paint |
| Polyurethane sealer | 1 pint | Protects the wood surface | Furniture wax |
| Rubber gloves | 1 pair | Protects skin from chemicals | None — don’t swap |
| Plastic scraper | 1 tool | Lifts softened old finish | Metal putty knife |
Buy a quart of stripper even if your project seems small. A thin layer often fails to penetrate deep, stubborn varnish, forcing you to reapply and wasting precious time. If you run out mid-strip, the chemical dries unevenly and creates a mottled texture that’s nearly impossible to sand out later.
Check your wood grain before buying sandpaper. If you see deep gouges or heavy wear, add a pack of coarse 80-grit paper to your list. Use the medium grit only for finishing; starting with it on rough surfaces will clog the paper instantly and double your labor.
Avoid metal scrapers if you’re new to this process. A metal putty knife can easily gouge the wood if held at the wrong angle, turning a simple refinishing job into a repair project. Stick to the plastic scraper to keep the surface pristine. Always wear the gloves, as chemical strippers can cause immediate and severe skin irritation or burns upon contact.
Preparing the workspace and chair
- Move the chair to a well-ventilated area, such as a garage with the door open, to prevent breathing in fumes.
- Spread a heavy plastic drop cloth under the chair to catch drips and debris, as the stripper will damage flooring.
- Wear long sleeves and chemical-resistant gloves to protect your skin, because the EPA recommends protective gear when working with chemical removers that may contain hazardous substances.
- Remove any screws or hardware from the seat base using a screwdriver, and store them in a small bag to avoid losing them.
- Avoid using a power sander on the curved parts of the wood, as it will quickly remove too much material and ruin the chair’s shape.
Steps to restore your furniture
- Apply a thick layer of chemical stripper to the wood using a natural bristle brush, covering one section of the chair at a time.
- Let the stripper sit for 15 to 20 minutes, or until the old finish begins to bubble and soften into a gel-like consistency.
- Use a plastic scraper to gently lift the softened finish away from the wood, working carefully to follow the natural grain of the bentwood.
- Wipe the surface with a clean cloth dampened with mineral spirits to remove any remaining chemical residue before the wood dries out.
- Sand the entire chair by hand using medium-grit sandpaper, focusing on areas where the old finish remains stubborn or the wood feels rough.
- Clean away all sanding dust with a tack cloth, as any remaining particles will cause bumps in your new stain or topcoat finish.
- Apply your chosen wood stain in thin, even coats using a soft rag, allowing it to dry for 6 hours between each application.
- Finish the chair by applying two coats of polyurethane sealer, waiting 12 hours between coats, to ensure a durable and long-lasting protective surface.
Signs of a successful finish
The wood should feel completely smooth to the touch, with no visible remnants of the previous varnish or paint. If you see dark, sticky patches, it indicates that the stripper didn’t fully remove the old finish, and you must repeat the cleaning step in those areas.
The wood should also have a uniform color after staining. If it appears blotchy, you likely missed a spot during the sanding phase. When you run your hand across the surface, any raised fibers or rough patches mean you need a final pass with 220-grit sandpaper.
Check the chair for any loose joints or wobbling before you apply the final sealer. If the chair remains unstable, apply wood glue to the joints and clamp them for 24 hours.
A successful job looks consistent across the entire frame, with the grain showing through the stain clearly. If the finish feels tacky after 24 hours of drying, the room was likely too humid. Move the piece to a drier environment with a fan nearby to encourage curing. If you apply a second coat while the first remains tacky, the entire finish will eventually peel.
Troubleshooting common restoration issues
| What happened | Why | What to do |
|---|---|---|
| Sticky residue remains | Stripper not fully wiped | Clean with mineral spirits |
| Uneven stain color | Sanding wasn’t uniform | Lightly sand and re-stain |
| Raised wood grain | Too much moisture used | Sand lightly when dry |
| Bubbles in sealer | Applied too thickly | Sand smooth and recoat |
| Chair is wobbling | Loose joint connections | Apply glue and clamp |
If your stain looks blotchy, check the wood species before you re-sand. Soft woods like pine absorb pigment unevenly, so apply a pre-stain wood conditioner first to seal the pores. Without this step, you’ll fight the same patchiness regardless of how much you sand.
When dealing with bubbles in your finish, avoid the urge to over-brush. If you see bubbles forming as you work, your brush is likely loaded with too much material. Switch to a thinner coat and use long, light strokes to level the surface.
For loose joints, don’t rely on wood glue alone if the old adhesive remains inside the mortise. Scrape out the dried, brittle glue first to ensure a fresh bond. If the joint is loose enough to rattle, wrap the tenon in a thin layer of veneer or canvas to create a tight, structural fit.
How often to refinish bentwood chairs

You should only refinish these chairs when the existing surface shows deep scratches, water rings, or peeling that can’t be fixed by simple polishing. Most high-quality finishes remain durable for a long period if the chair stays indoors and away from direct sunlight.
Two things change this interval: if you place the chair in a high-traffic area, the finish will wear down faster; if you keep the chair in a humid room, the wood may expand and cause the finish to crack sooner.
Test an inconspicuous spot under the seat with a damp cloth before assuming the finish is gone. If the wood darkens immediately, moisture is reaching bare fibers and refinishing is overdue. If it beads up, the existing coat still protects the bentwood.
Always check the chair for signs of wood rot or deep structural cracks before deciding to refinish, as these issues require professional wood repair rather than just a new coat of stain.
People often sand through the outer veneer layer on steam-bent parts trying to remove old finish. Once you cut into that thin face, no stain will hide the pale core wood underneath.
Frequently asked questions
How long does it take for the stain to dry?
The stain typically requires 6 hours to dry, but this assumes a room temperature of 70 degrees Fahrenheit with low humidity. If your workspace is colder or more humid, allow up to 12 hours for the stain to set properly. You can verify dryness by touching an inconspicuous area with a paper towel; if no color transfers, it’s ready for the next layer.
Is it safe to use a heat gun for paint removal?
It isn’t safe to use a heat gun on bentwood chairs because the heat can soften the original glue used in the steam-bending process. This might cause the wood to lose its shape or spring back into a straight position. Always use a chemical stripper instead to protect the structural integrity of the delicate bent wood components.
What happens if I sand too deeply?
Sanding too deeply will remove the outer layer of the wood veneer, which is common on many antique bentwood chairs. Once the veneer is gone, the underlying core wood will have a different texture and color that doesn’t match the rest of the chair. You must use a light touch and stop sanding as soon as the old finish is gone.
How do I know if the wood is dry enough to stain?
The wood is dry enough to stain when it feels room temperature and shows no dark, damp patches after 24 hours of air drying. Ensure the wood is completely dry to the touch before applying stain. Staining damp wood will result in an uneven color and can prevent the sealer from bonding to the surface.
Does it matter which type of sandpaper I use?
It matters because using a grit that’s too coarse will leave deep scratches that are impossible to hide under a clear topcoat. Use medium-grit paper, around 120-grit, to remove the finish, and finish with 220-grit for a smooth surface. Never use anything coarser than 100-grit, as it will quickly cut through the thin decorative veneer of the bentwood.
Why is my chair still sticky after sealing?
The chair remains sticky because the polyurethane was applied in a layer that was too thick or the environment was too humid for the product to cure. To fix this, wait 48 hours for the surface to harden, then lightly sand the sticky areas with 320-grit sandpaper. Apply a new, very thin layer of sealer in a dry, well-ventilated room to finish.
Conclusion
The beauty of a well-restored bentwood chair lies in its smooth, natural curves and the depth of the wood grain. By taking your time during the stripping and sanding phases, you ensure that the delicate structure remains intact for many more years of use. Remember to work in small, manageable sections to keep your progress consistent and avoid common mistakes that lead to an uneven finish.