
Vinyl patio chairs often crack from weather, but you can fix most small holes with a simple repair kit. Start by cleaning the area with rubbing alcohol, then apply the adhesive filler over the tear and smooth it with a spatula. This method works best for tears under two inches long on flat surfaces, usually requiring about an hour to cure.
Why vinyl patio chairs fail
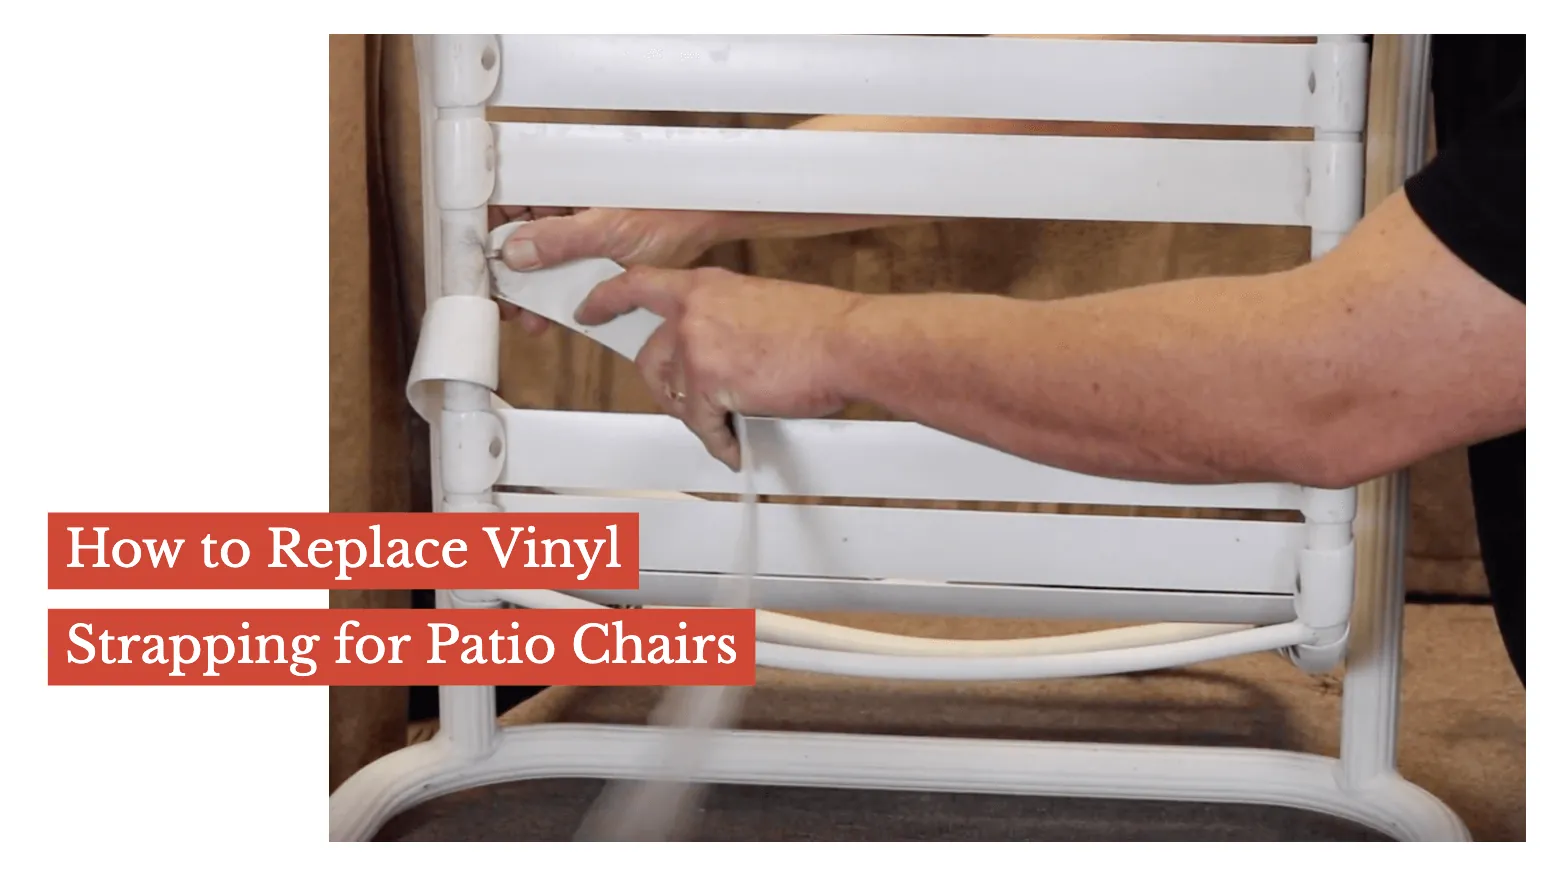
The main reason outdoor chairs break down is ultraviolet radiation from the sun. This energy breaks the chemical bonds in the vinyl plastic, making it brittle and prone to cracking when you sit down. Moisture gets into these tiny cracks during rainstorms. When temperatures drop below freezing, that water expands as ice, forcing the cracks wider until the material splits completely.
If you see fine, spiderweb-like fissures, the plastic has lost its plasticizers and is nearing the end of its structural life. Applying a vinyl conditioner at this stage can delay further cracking, but it won’t reverse the damage. If the material feels tacky or leaves a chalky residue on your skin, the chemical breakdown is too far gone for repair.
Another common cause is physical stress from moving the chairs across rough concrete or dragging them over gravel. The friction wears down the protective top layer, exposing the softer material underneath to damage. Always lift your furniture rather than sliding it to preserve the integrity of the base. You can’t stop the sun entirely, but understanding this process helps you choose the right repair method.
Clean and prep the damaged area
This first fix is for chairs with small tears, punctures, or surface cracks that are still flexible around the edges. It isn’t suitable for large rips where the material is crumbling or missing entirely.
Begin by washing the spot with warm soapy water and a soft cloth to lift surface grime. Dry it thoroughly, then wipe the area with isopropyl alcohol to ensure no oils remain. If the edges of the tear are raised, trim them carefully with small scissors so they lie flat against the rest of the seat.
Sand the immediate area lightly with fine-grit sandpaper to create a rough surface for the glue to grip. Use 320-grit paper; anything coarser will leave visible scratches that ruin the final finish. Wipe away the dust with a clean cloth dampened with alcohol.
This preparation step is critical; skipping it causes the patch to peel off within weeks. If you see white residue after wiping, the material is likely too degraded to hold a bond. In that case, stop immediately and consider a professional reupholstery service. You’ll know the surface is ready when the material feels matte and holds firm when you press on it gently. A shiny, slick surface means you need to sand more.
Apply a liquid vinyl repair compound
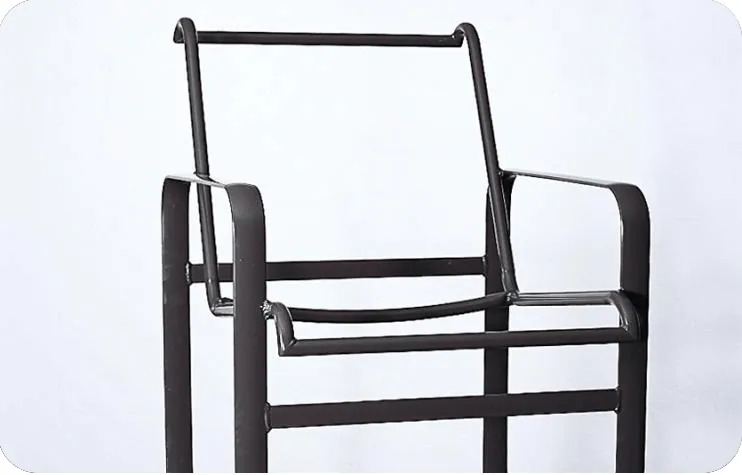
Use this method when the damage is a shallow scratch, a burn mark, or a hole too irregular for a standard patch. It requires a liquid vinyl filler that matches your chair color, which you can mix if necessary. Squeeze a small amount of the compound onto a palette or disposable plate. Use a spatula to spread the filler into the damaged area, pressing it deep into the crack.
Overfill the spot slightly because the material shrinks as it dries. If you fail to create a small mound above the surface, the cured filler will sit in a depression, leaving the repair visible. Smooth the top level with the edge of your card or spatula, blending it into the surrounding texture.
Some kits include a grain paper you press onto the wet filler to mimic the original leather-like pattern. If your kit lacks this, lightly dab the wet compound with a crumpled plastic bag to create a natural, dimpled texture.
Let it dry completely according to the package instructions, which often means waiting at least 24 hours for full strength. This approach fails if the hole is deeper than a quarter inch, as the liquid will sag before setting. If you encounter a deep puncture, stuff the void with a small piece of cotton or foam backing first to provide a foundation for the filler. Without this internal support, the repair will eventually collapse under the weight of daily use.
Replace the entire vinyl seat cover
Consider this option only when the chair has multiple large tears, severe rot, or damage near the structural frame. It’s more expensive and time-consuming than patching, but it restores the chair to like-new condition.
You must measure the old cover precisely before ordering a replacement, noting the shape and attachment points. Measure the widest point of the seat pan and add four inches to each side to ensure you have enough material to grip while pulling. If your seat features a curved backrest, add six inches to account for the extra tension needed to prevent wrinkles.
Remove the staples or screws holding the old vinyl to the frame using a flathead screwdriver or staple remover. Pull the old material away cleanly, checking the foam padding underneath for water damage or mold. If the foam is soggy, replace it with new outdoor-rated foam cut to the same size.
Stretch the new cover tightly over the frame and secure it with stainless steel staples or screws designed for outdoor use. If you encounter a loose fold, don’t simply pull harder; instead, remove the staple and shift the fabric by a quarter-inch to redistribute the tension. A loose cover will tear within a single season. Professional upholsterers handle complex shapes or frames that require welding.
Common vinyl chair repair mistakes
Using duct tape as a permanent fix is a common error. The adhesive dries out and turns yellow in the sun, leaving a sticky, acidic residue that permanently ruins the surrounding vinyl grain. This makes professional-grade patches impossible to apply later.
Skipping the cleaning step is equally fatal. Even invisible layers of sunscreen oils or body sweat prevent repair glue from bonding. If the surface feels smooth rather than slightly tacky after a wipe with isopropyl alcohol, the patch will lift within three days.
Applying filler in direct sunlight forces the compound to dry too fast. This uneven curing leads to brittle cracks and poor adhesion. Always work in the shade where the material can set at a consistent room temperature.
Ignoring the color match creates an eyesore. If your chair is textured or dark, use a kit that includes pigment mixing charts. A generic clear patch will always highlight the damage.
Finally, never rush the curing time. Sitting on the chair before the repair sets for at least 24 hours stretches the fresh material and reopens the wound.
How to prevent future chair damage
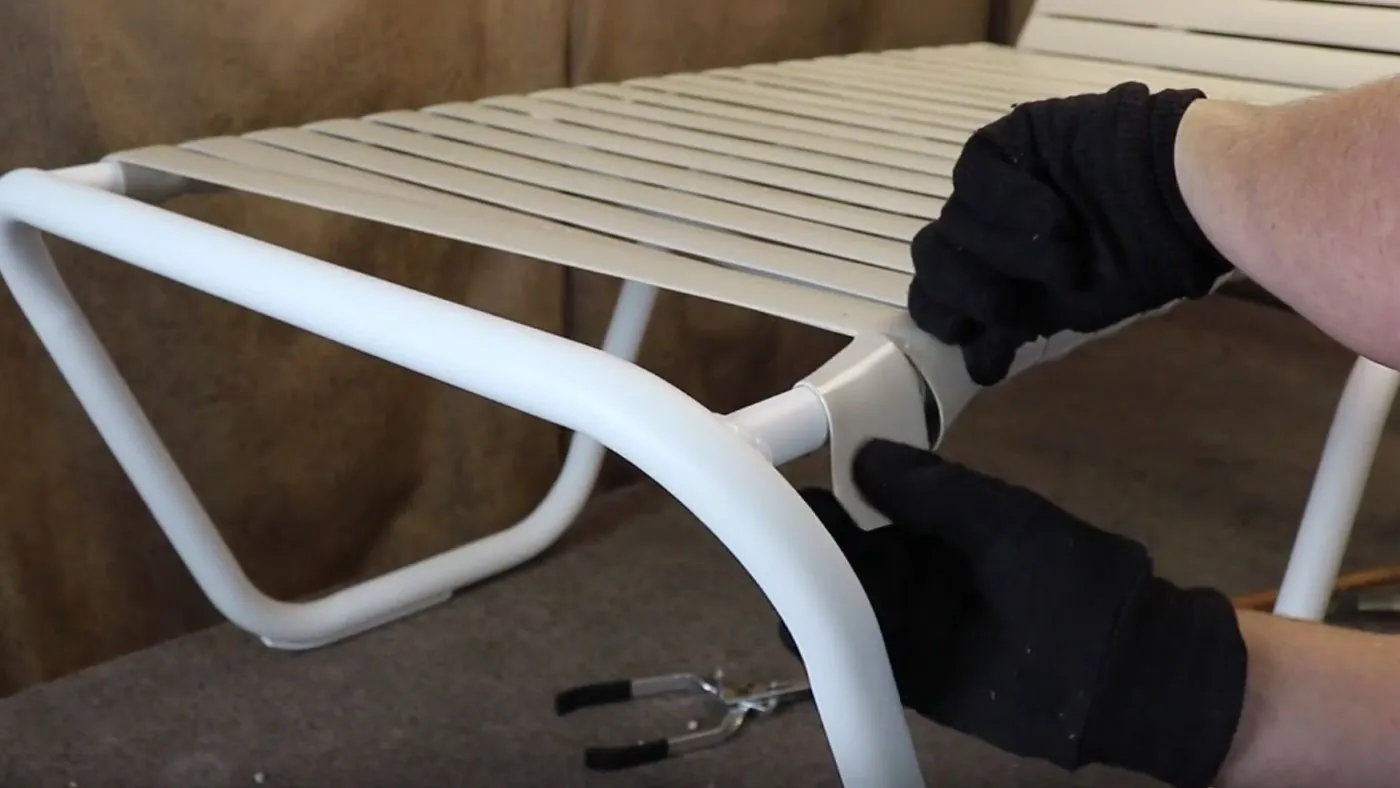
You can extend the life of your repaired chairs by changing how you store and maintain them throughout the year. Small habits make a big difference in slowing down the UV damage and physical wear that caused the initial problem.
| If you’re doing this | Do this instead | Why |
|---|---|---|
| Leaving chairs out all winter | Store them in a garage or shed during freezing months | Ice expansion inside micro-cracks splits the vinyl further |
| Dragging chairs across the deck | Lift and carry them to new positions | Friction scrapes off the protective UV coating layer |
| Cleaning with harsh bleach sprays | Wash with mild soap and water solution | Bleach accelerates plastic degradation and fading |
| Ignoring small surface scratches | Apply a UV protectant spray immediately | Sealing minor flaws stops moisture from entering deep layers |
| Stacking chairs without padding | Place a soft cloth between stacked seats | Hard plastic-on-plastic contact creates pressure cracks |
Regular application of a UV protectant formulated for vinyl acts as a sunscreen for your furniture. Check the manufacturer’s guidelines for compatible products to avoid chemical reactions that could discolor the material.
Related guides
- How to Fix Cracked Bike Tire Problems: Repair or Replace Guide
- 10 Best Pipe Repair Tape Picks for Leaks and Cracks in 2026
Frequently asked questions
How long does a vinyl repair last?
A properly done repair typically lasts between one and three years, depending on sun exposure. Keeping the chair in a shaded area or covering it when not in use helps the fix endure longer. Direct southern exposure shortens the lifespan significantly because intense UV rays break down the repair compound faster than the original material.
Can I repair a ripped seam on the edge?
Yes, you can fix a ripped seam if the vinyl is separated but not torn. Use a heavy-duty vinyl cement or contact adhesive designed for flexible bonds to secure the edges. If the vinyl material at the seam is shredded, you must patch the hole first before re-gluing the seam.
Is it safe to sit on the chair right after fixing?
No, you should never sit on the chair until the repair compound has fully cured. Most kits require at least 24 hours for the chemical bonds to reach maximum strength. Sitting on it too early compresses the soft filler, creating a weak spot that will crack open under weight later.
What happens if the color doesn’t match perfectly?
If the color is slightly off, the repair will still hold structurally, though it will be visually noticeable. You can try mixing different colored compounds from the kit before applying to get a closer shade. An imperfect match prevents the tear from growing larger and protects the underlying foam from water damage.
How much does a professional re-upholstery cost?
Professional re-upholstery costs typically range from $50 to $150 per chair, depending on location and design complexity. This price includes labor, new vinyl, and potentially new foam padding. For inexpensive chairs, this cost might exceed the price of buying a brand new set.
Conclusion
Once the filler has fully hardened, your furniture will look refreshed and ready for summer gatherings. You shouldn’t worry about those old cracks anymore. To keep everything in great shape, apply a protective vinyl conditioner every few months. It’ll help prevent future damage so you can enjoy your outdoor space all season long.