
You can restore your patio furniture by removing rust with a wire brush, sanding the surface, and applying a fresh coat of rust-inhibiting spray paint, which is exactly how to repair metal outdoor chairs. The most common cause of damage is moisture trapped in small cracks, which leads to oxidation and structural weakness over time. By addressing these spots early, you prevent the metal from thinning and becoming unsafe.
Why metal outdoor furniture rusts and weakens
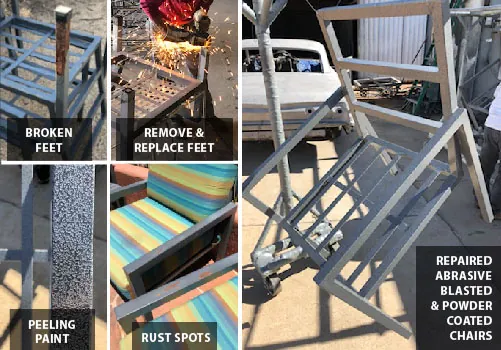
Metal chairs often suffer from corrosion because of constant exposure to rain, dew, and high humidity. When the original factory finish develops a small scratch or chip, water reaches the bare metal underneath. Once this oxidation starts, it spreads beneath the paint, causing it to bubble and flake away. This process is faster in coastal areas due to high salt content in the air.
Another cause is structural fatigue at the joints. Most metal chairs use welds to hold the frame together. If these welds aren’t perfectly sealed, moisture enters the hollow tubing from the inside. You might see rust bleeding out of the joints even if the exterior paint looks fine. This is often harder to fix because the damage is internal.
If your chairs are made of aluminum, they don’t rust like steel, but they can still develop white, chalky corrosion. This occurs when the protective oxide layer is damaged by acidic rain or salt. If you notice deep pits or sections where the metal has turned to orange dust, the structural integrity is compromised. At that stage, the chair may no longer be safe to sit on and should be replaced rather than repaired.
Steps to repair metal outdoor chairs
To begin, place the chair on a drop cloth to protect your patio. Use a stiff wire brush to scrub away all loose paint and surface rust. If the rust is stubborn, a power drill with a wire wheel attachment makes the job much faster. Wear safety glasses during this step, as metal flakes and old paint chips can fly off quickly.
Work in small sections to maintain control over the abrasive tool. Pressing too hard can gouge or bend thin metal tubing. Let the weight of the tool do the work while you guide it steadily across the surface. This approach prevents gouging the base metal, which creates new pockets for moisture to collect later.
Once the loose material is gone, use medium-grit sandpaper to smooth out the edges of the remaining paint. You want a smooth transition between the bare metal and the painted areas. Feather the edges until your fingernail doesn’t catch on the ridge. A sharp lip here will show through the new finish as a visible line.
Wipe the entire chair down with a damp cloth and a mild soap solution to remove all dust and oil. Let it dry completely in the sun before moving to the next step. Check for grease spots from previous lubricants or fingerprints. These invisible residues repel paint and cause premature peeling. Use a rag with mineral spirits if soap alone doesn’t cut the grime.
This process is for surface rust only. If you find deep, structural holes in the metal tubing, you can’t fix them with paint or filler. In that case, consult a professional welder to see if the part can be replaced or reinforced. If the damage is just cosmetic, ensure the area is perfectly clean and dry, as any remaining moisture will cause the new paint to bubble within a few weeks.
Apply primer and rust-inhibiting paint
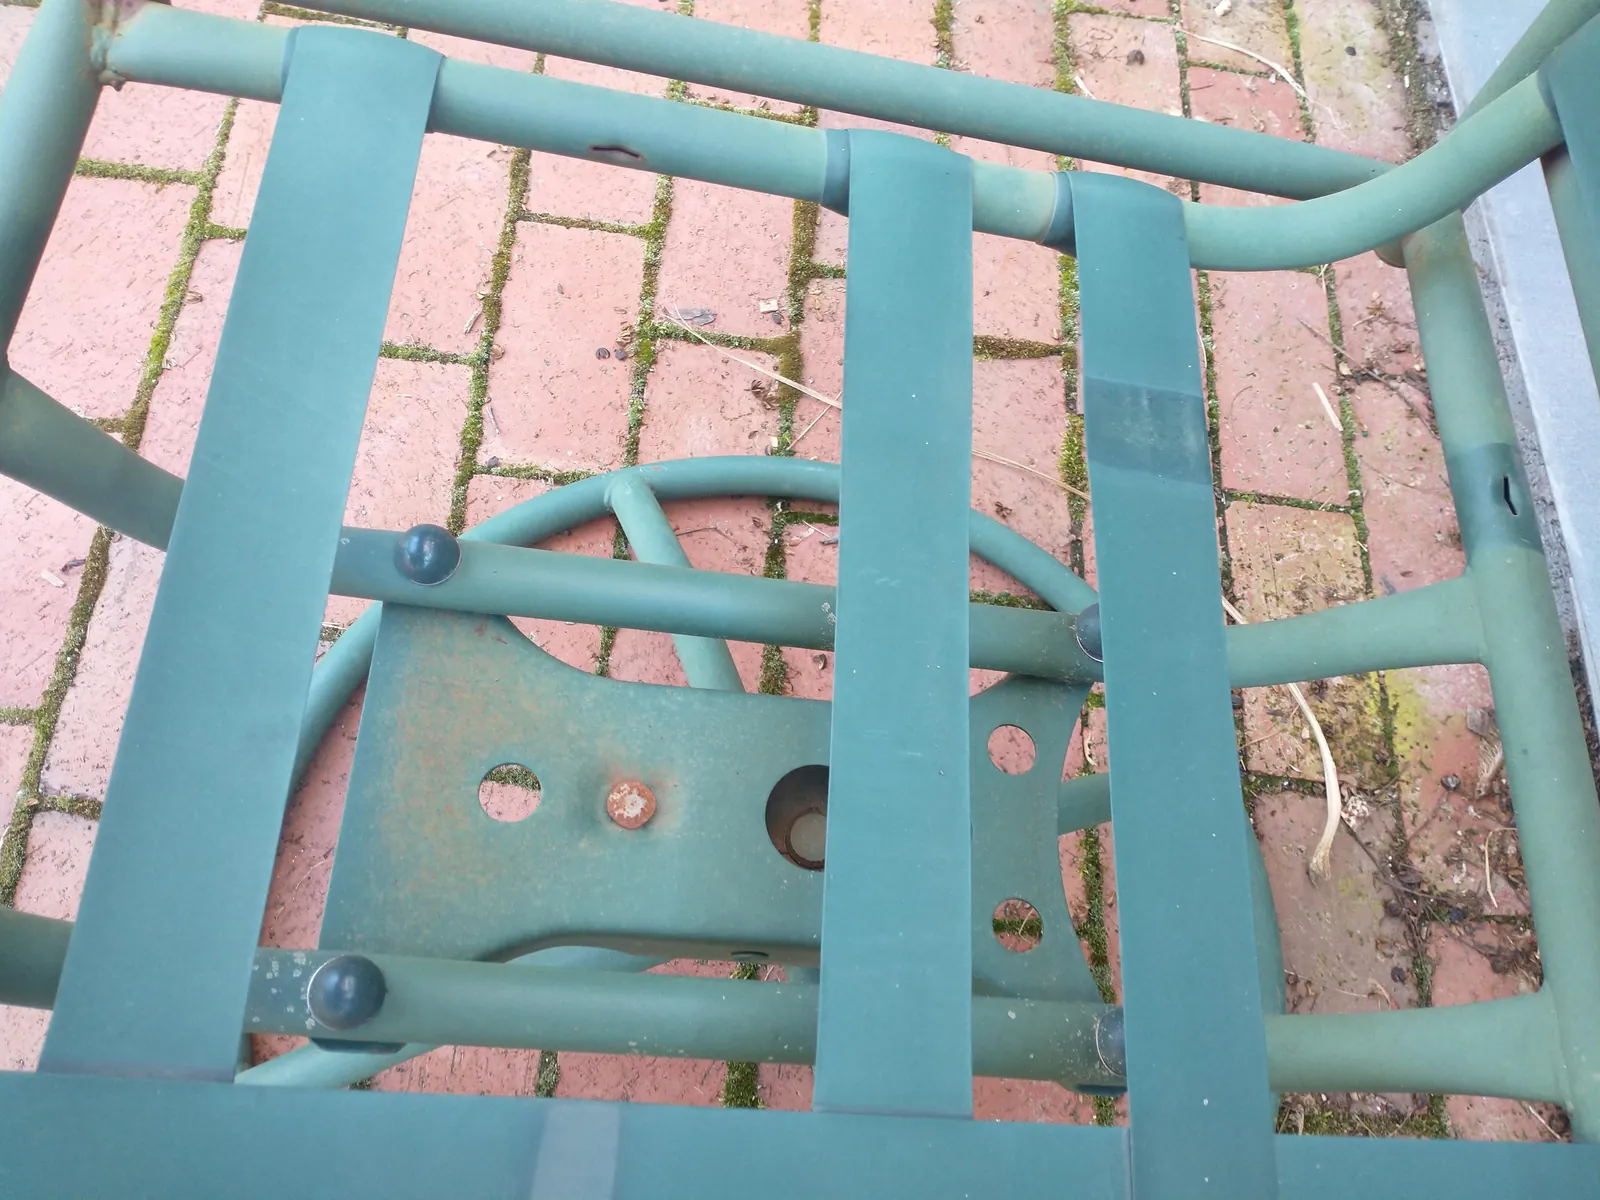
After the surface is clean, apply a coat of rust-inhibiting metal primer. Choose a spray primer formulated specifically for outdoor metal to ensure it bonds to the substrate. Hold the can 8 to 10 inches away from the chair, using smooth, sweeping motions. Never linger in one spot, as pooled primer creates drips that harden into permanent, uneven ridges.
Wait for the primer to dry according to the manufacturer’s instructions, typically 30 to 60 minutes. Once dry, apply your topcoat of exterior-grade enamel.
Apply two thin, translucent coats rather than one heavy layer. Thin coats dry faster and resist sagging on the chair’s curved spindles. If you see the metal color showing through the first pass, don’t panic; the second coat will provide full coverage without the risk of runs.
Let the final coat cure for at least 24 hours before using the chair. If you live in a humid climate where moisture stays in the air, wait 48 hours. Humidity traps moisture under the paint film, preventing a hard cure.
If you rush this phase, the paint remains tacky. It will immediately pick up dirt or fabric fibers from your clothing, permanently marring the finish. A soft, tacky surface forces you to strip the chair and start over. Test the underside of a leg with your fingernail; if it leaves a mark, the paint isn’t ready for weight.
Use epoxy filler for deep pits
For deep pits where rust has eaten into the metal, use a two-part automotive body filler. Mix only what you can apply within the working time specified on the product label, as the chemical reaction accelerates rapidly in warm weather. Use a plastic putty knife to press the filler firmly into the pitted area, slightly overfilling it to account for shrinkage during the cure.
Wait for the filler to harden, which usually takes 20 to 30 minutes, then sand it flush with 180-grit sandpaper. If you see pinholes after sanding, you have trapped air; apply a second, thinner skim coat rather than trying to force the first layer to fill the gaps. Once the surface matches the surrounding metal, wipe away all dust with a tack cloth before applying primer.
This fix is only worth the effort if the metal remains structurally sound. Before you begin, squeeze the tubing around the pit with your thumb. If the metal feels soft, gives under pressure, or has rusted through completely, don’t use filler. Filler provides zero structural integrity; it serves only as a cosmetic mask.
If the metal is compromised, the chair is a safety hazard. You must replace the component or the entire piece to avoid a sudden collapse while someone is sitting. Relying on epoxy for load-bearing repairs is a common mistake that leads to catastrophic failure under weight. If you can’t press your thumb against the metal without it flexing, it’s time to retire the frame.
Common mistakes to avoid
Skipping the wire brush means rust continues to expand beneath your new finish, ruining the repair in just three months. You must reach bare, shiny metal before applying any primer. If the surface still looks orange or pitted, the oxidation will simply lift the paint film away.
Interior paint lacks the UV inhibitors required for exterior exposure. Expect it to chalk, crack, and peel within one full season of direct sunlight. Always check the label for a weather-resistant rating or a specific outdoor designation.
Ignoring weld points is a common oversight that leads to structural failure. Use a flashlight to inspect the underside of joints for hairline cracks. If you see deep pitting, the metal has lost its integrity; don’t paint it, as it will likely snap under weight.
Never paint when humidity exceeds 70 percent. Moisture trapped under the film causes immediate bubbling. If the dew point is within five degrees of the air temperature, wait for a drier day.
Maintaining metal furniture over time
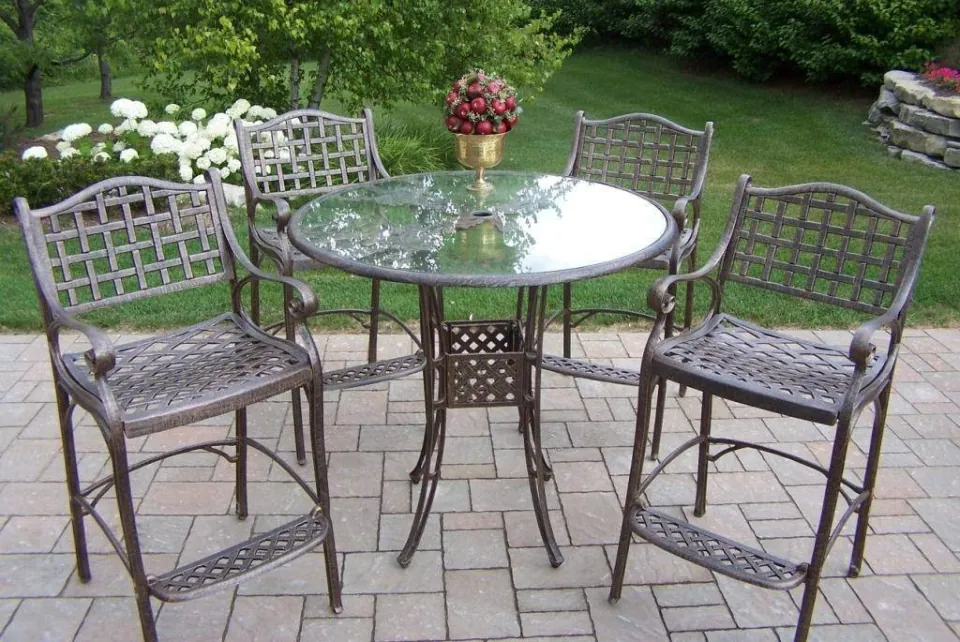
Leaving chairs exposed to winter weather invites rapid corrosion. Store them in a dry shed or garage instead. This simple step prevents constant moisture exposure that eats through finishes. If indoor storage is impossible, use heavy-duty covers designed for outdoor use. Ensure the metal is completely dry before covering to avoid trapping humidity against the surface.
Harsh chemicals strip the protective clear coat applied at the factory. Use mild soap and water for routine cleaning. A soft cloth removes dirt without damaging the sealant. Scrubbing with abrasive pads creates micro-scratches where rust can take hold. Rinse thoroughly and dry with a towel to prevent water spots.
Ignore small paint chips at your peril. Touch them up immediately with matching enamel paint. This stops rust before it spreads under the surrounding finish. Use a small brush for precision. Leaving wet cushions on chairs traps moisture against the metal frame. Remove or dry cushions daily. This prevents trapped moisture from accelerating corrosion on contact points. Check bolted joints annually for tightness. Vibration from regular use loosens fasteners over time. Tighten any that feel slack to maintain structural integrity.
Related guides
- 10 Best Patio Chairs for Outdoor Lounging: Expert Picks and Verdict in 2026
- How to Tighten Dining Room Chairs: A Step-by-Step Fix
- 10 Best Outdoor Faucet Covers for Winter: Our Top Picks in 2026
Frequently asked questions
How long does a metal chair repair last?
A proper repair typically lasts for a significant duration, depending on your local climate and how well you store the furniture during winter.
Is it safe to paint over light rust?
No, you must remove all loose rust before painting, or the new layer will fail. Paint needs a clean, stable surface to stick to; if it’s applied over loose rust particles, the paint will simply flake off along with the rust underneath. Use a wire brush to get down to the bare, shiny metal before you start your primer application to ensure the coating stays on for years.
What happens if I skip the primer?
Skipping the primer often leads to the paint peeling within one season because it can’t bond properly to the metal. Primer acts as a bridge between the bare metal and the color coat, providing a surface that the paint can grip tightly. Without it, even the best exterior enamel will eventually lift, especially in areas with high heat or frequent rain.
How do I know if the metal is too weak to fix?
If you can push your thumb into the metal or if you see large holes where the tubing has turned to flakes, the chair is unsafe. Metal that has rusted through loses its structural integrity and can’t be repaired with paint or filler. If the frame flexes significantly or makes a crunching sound when you sit, it has reached the end of its life and should be discarded.
Can I use spray paint meant for wood on metal?
No, you must use paint specifically labeled for metal to prevent future corrosion. Paints meant for wood are often too soft or lack the rust-inhibiting chemicals necessary to stop oxidation on steel and iron. Always look for a label that specifies “metal” or “rust-preventative” to ensure the product can handle the expansion and contraction of metal in changing temperatures.
Conclusion
Taking the time to clean and prep the metal correctly is the only way to ensure your chairs stay beautiful and safe for years. By following these steps and keeping up with basic cleaning, you can keep your outdoor space looking great without needing to buy new furniture every few seasons.