
Learning how to load bikes onto bike rack positions properly requires placing the heaviest frame closest to the vehicle, alternating handlebar directions, and strapping every wheel firmly in 15 to 25 minutes. It costs nothing if you already own tie-down straps, and the physical effort requires care to avoid vehicle scratches or back strain. You must know your vehicle’s hitch tongue-weight capacity before loading.
Gear to load your bikes
| Item | How much | Why it’s needed | A substitute |
|---|---|---|---|
| Heavy-duty cam straps | 2 to 4 straps | Secures bike frames tightly to rack arms | none — don’t swap this |
| Wheel cradle straps | 1 per wheel | Stops bike wheels from spinning while driving | Heavy-duty hook-and-loop cinch straps |
| Bungee cords | 2 cords | Controls loose front-wheel swivel during turns | Elastic cord with coated metal hooks |
| Foam pipe insulation | 2 to 3 tubes | Prevents bikes from rubbing metal together | Thick shop rags with zip ties |
| Top tube adapter bar | 1 per step-thru | Creates a straight bar for hanging racks | none — don’t swap this |
Before you start
- Remove water bottles, frame pumps, saddle bags, and child seats to lower wind resistance and total weight.
- Check your rack’s tongue-weight label; if a bike weighs over 35 pounds, verify that your rack supports it.
- Wipe highway dirt off the rack cradles so grit won’t grind into bike frame paint during travel.
- Line up all bikes on the ground next to the vehicle from heaviest to lightest before lifting anything.
- If your vehicle hitch or rack receiver shows visible rust cracks or bending metal, stop and take it to a certified hitch technician.
Step by step
-
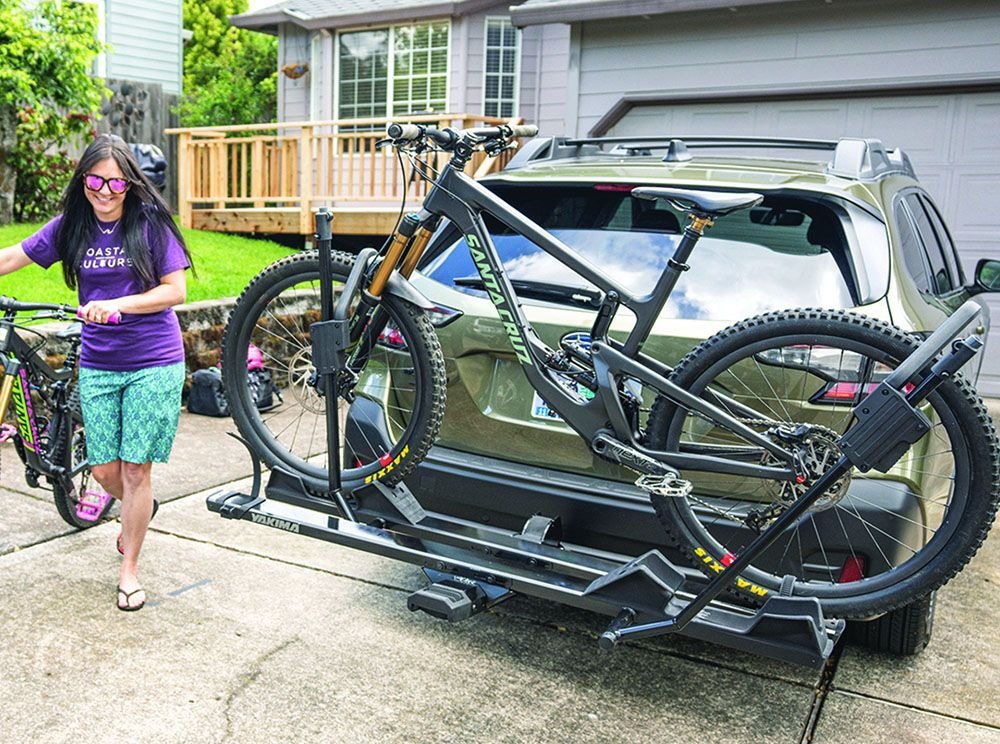
Lift the heaviest bicycle and place its frame into the rack slot closest to the vehicle’s rear bumper. Ensure the chain and gears face away from your vehicle body so grease won’t smear paint.
-
Fasten the rubber cradle straps or ratcheting clamps around this first bike’s top tube until the frame can’t slide forward or backward. Pull each strap down until it catches on the designated locking notch.
-
Position the second bicycle with its handlebars pointing in the opposite direction of the first bike to prevent handlebar entanglement. This alternating method keeps brake levers from snagging cables on neighboring bikes.
-
Slide foam pipe insulation between touching metal parts, especially where pedals come within two inches of adjacent bike tubes. Leaving this bare causes deep frame gouges that cost hundreds of dollars in frame repairs.
-
Secure the second bicycle’s frame to its mounting cradles using the manufacturer’s integrated straps or your backup cam straps. Confirm the rubber band is fully seated over the plastic cradle peg.
-
If you have an electric or step-through frame, mount a crossbar adapter between the seat post and stem before loading. This varies by model — check the adapter manufacturer’s instructions.
-
Wrap a short cam strap through the front wheel and lower downtube of each bicycle to freeze the front steering. A loose front wheel will swing outward and scrape your vehicle’s taillights on rough highways.
-
Thread one long safety strap through all bicycle frames and loop it directly through the main body of the hitch rack. Pull the strap completely taut so all bikes act as a single, rigid mass.
How to know it worked
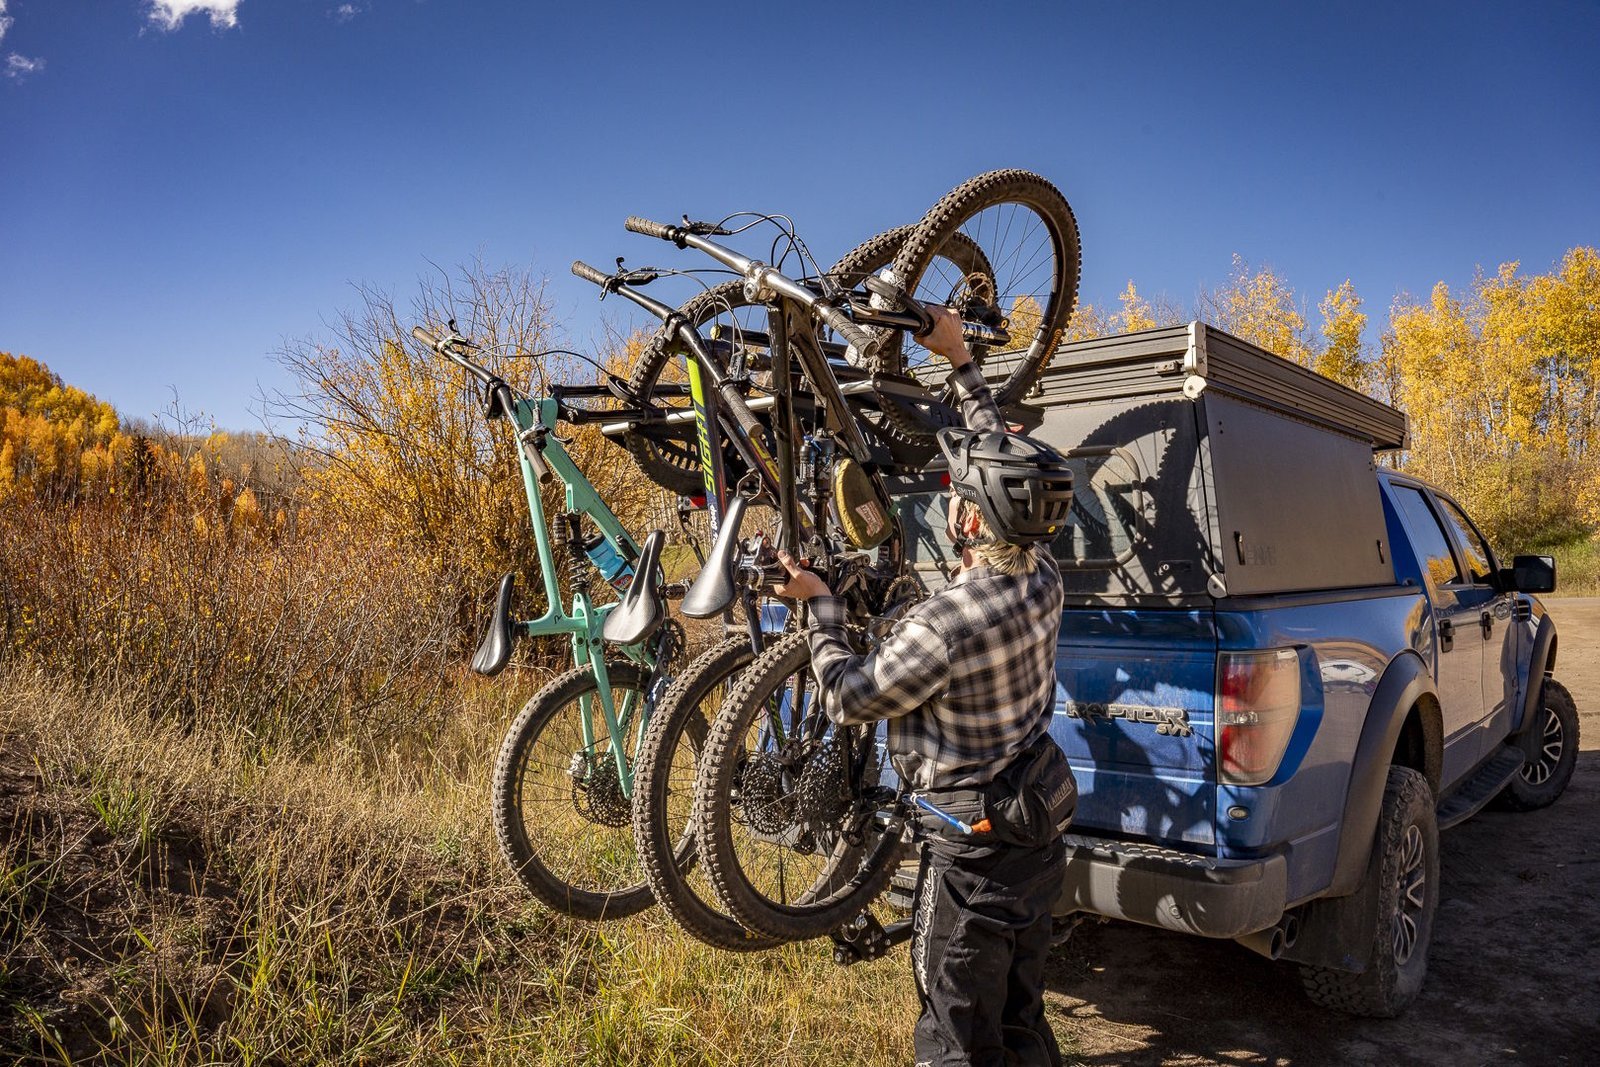
Grab the outermost bike frame by the seat post and give it a firm push away from the car, then pull it back toward you. The bikes and the rack should move together with the vehicle’s suspension; there should be zero independent rattling, swaying, or clunking sounds. Walk to the vehicle’s side to verify that no tire hangs lower than the car’s exhaust pipe, which prevents hot exhaust gases from melting bike tires. Finally, confirm your vehicle’s license plate and taillights remain visible through the wheel spokes from 50 feet away. If any bike shifts more than two inches during the push test, loosen the outer straps and re-tighten the central cradle clamps.
If something goes wrong
| What happened | Why | What to do |
|---|---|---|
| Bikes sway side-to-side | Main anti-rattle bolt is loose | Tighten hitch receiver bolt with wrench |
| Handlebars hit car window | Bike mounted too close to car | Turn handlebars sideways or use spacers |
| Exhaust melted bike tire | Bike wheel sits too low | Rotate pedal or raise wheel tray |
| Frame paint gets scratched | Metal parts rubbed during transit | Wrap contact points with foam insulation |
| Straps loosen while driving | Cam buckles threaded backward | Re-thread strap through buckle teeth properly |
How often to do this
Load bikes only when traveling, and remove the rack when you aren’t using it for two weeks or more. If you drive on smooth city highways, you only need to inspect strap tightness at your destination; if you drive on washboard gravel roads or through heavy rain, pull over every 50 miles to verify that ratchet straps haven’t loosened. Summer heat softens rubber cradle straps faster than cold weather, so check tension before every single trip in temperatures above 85 degrees.
Frequently asked questions
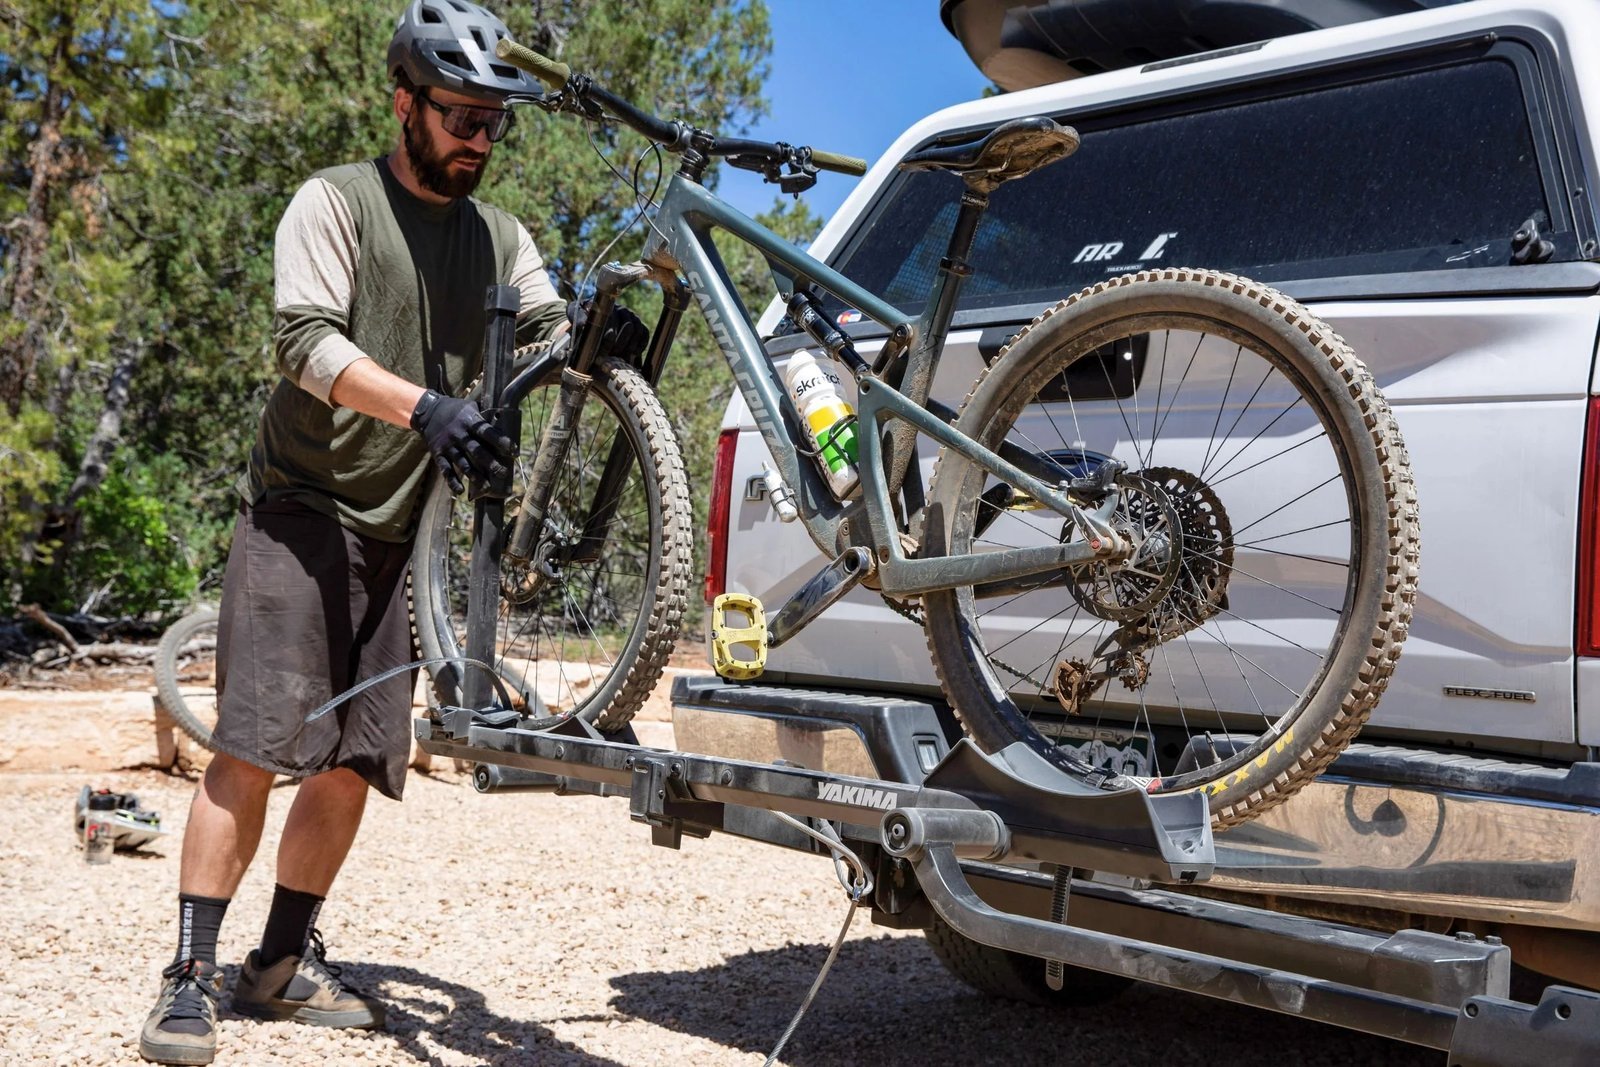
Can you put women’s bikes on a regular bike rack?
Yes, but you must attach a top tube adapter bar between the seat post and the handlebar stem. Without a straight horizontal tube, a step-through frame hangs at a steep angle, which drags the rear wheel dangerously close to the road surface during transit.
How long does it take to load four bikes onto a rack?
About 20 minutes for four bikes if you alternate handlebars and strap each wheel properly. Loading only one or two bikes takes roughly 5 to 7 minutes once your rack is locked into the vehicle’s hitch receiver.
Is it safe to leave bikes on a rack overnight?
No, because simple straps and standard cable locks can be cut in seconds with common hand tools. Leaving bikes unattended outside hotel parking lots also exposes expensive suspension seals and chains to nighttime dew, rain, and road salt.
What happens if bikes block the car license plate?
You can receive a traffic ticket from law enforcement officers who can’t read your vehicle registration numbers. If your bikes block the plate completely, mount a temporary auxiliary plate and light kit to the rack’s exterior frame.
Does it matter which bike goes on the rack first?
Yes, the heaviest bike must always sit in the slot closest to the vehicle bumper. Stacking your heaviest bike on the outermost position multiplies leverage on your hitch receiver, which can bend the metal hitch tongue over road bumps.
Can carbon fiber bikes go on hanging bike racks?
No, hanging racks clamp down hard on the top tube, which can crack fragile carbon fiber walls under road vibration. Use a tray-style platform rack that secures the bicycle entirely by its rubber tires instead.
Always position the wheels at least six inches away from the exhaust pipe stream.
Final Thoughts
Once everything is locked down, take a short drive around the block to check for any wobbling or loose straps. You’ll feel much more confident hitting the open road when you’re sure your gear won’t budge. Don’t forget to double-check your security locks before you head out on your next big adventure.
Related guides