
To fix bike rack to car issues, start by tightening the loose mounting straps or hitch bolts that cause wobbling. The single most common cause is uneven strap tension or an unthreaded hitch pin sliding inside the receiver tube. Adjusting tension equally across all contact points stops the rack from shaking immediately.
Why your bike rack wobbles
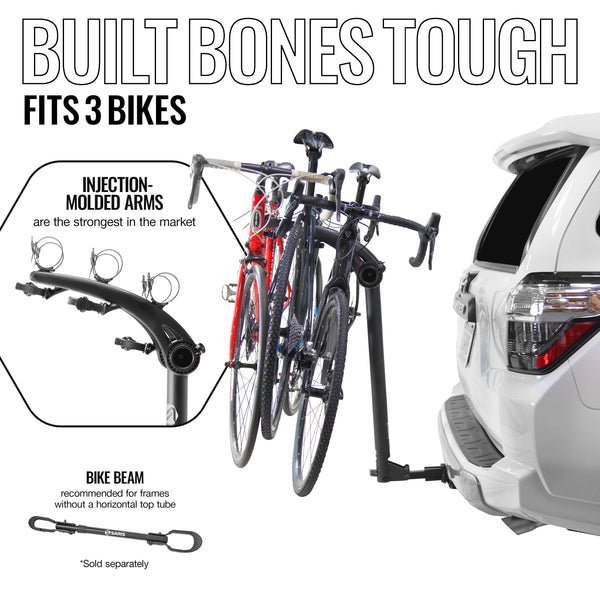
A bike rack shakes or sags because the connection points between the mount and the car body lose tension under road vibration. On trunk-mounted units, fabric straps stretch slightly under load, or metal hooks slip off thin trunk seams. On hitch-mounted units, normal clearance between the steel receiver tube and the rack insert creates play. Without a threaded anti-rattle pin or clamp pulling them firmly together, that small gap turns into heavy swaying at highway speeds. Car paint damage occurs when grit gets trapped beneath rubber pads that shift against the vehicle surface.
Tighten straps in balanced pairs
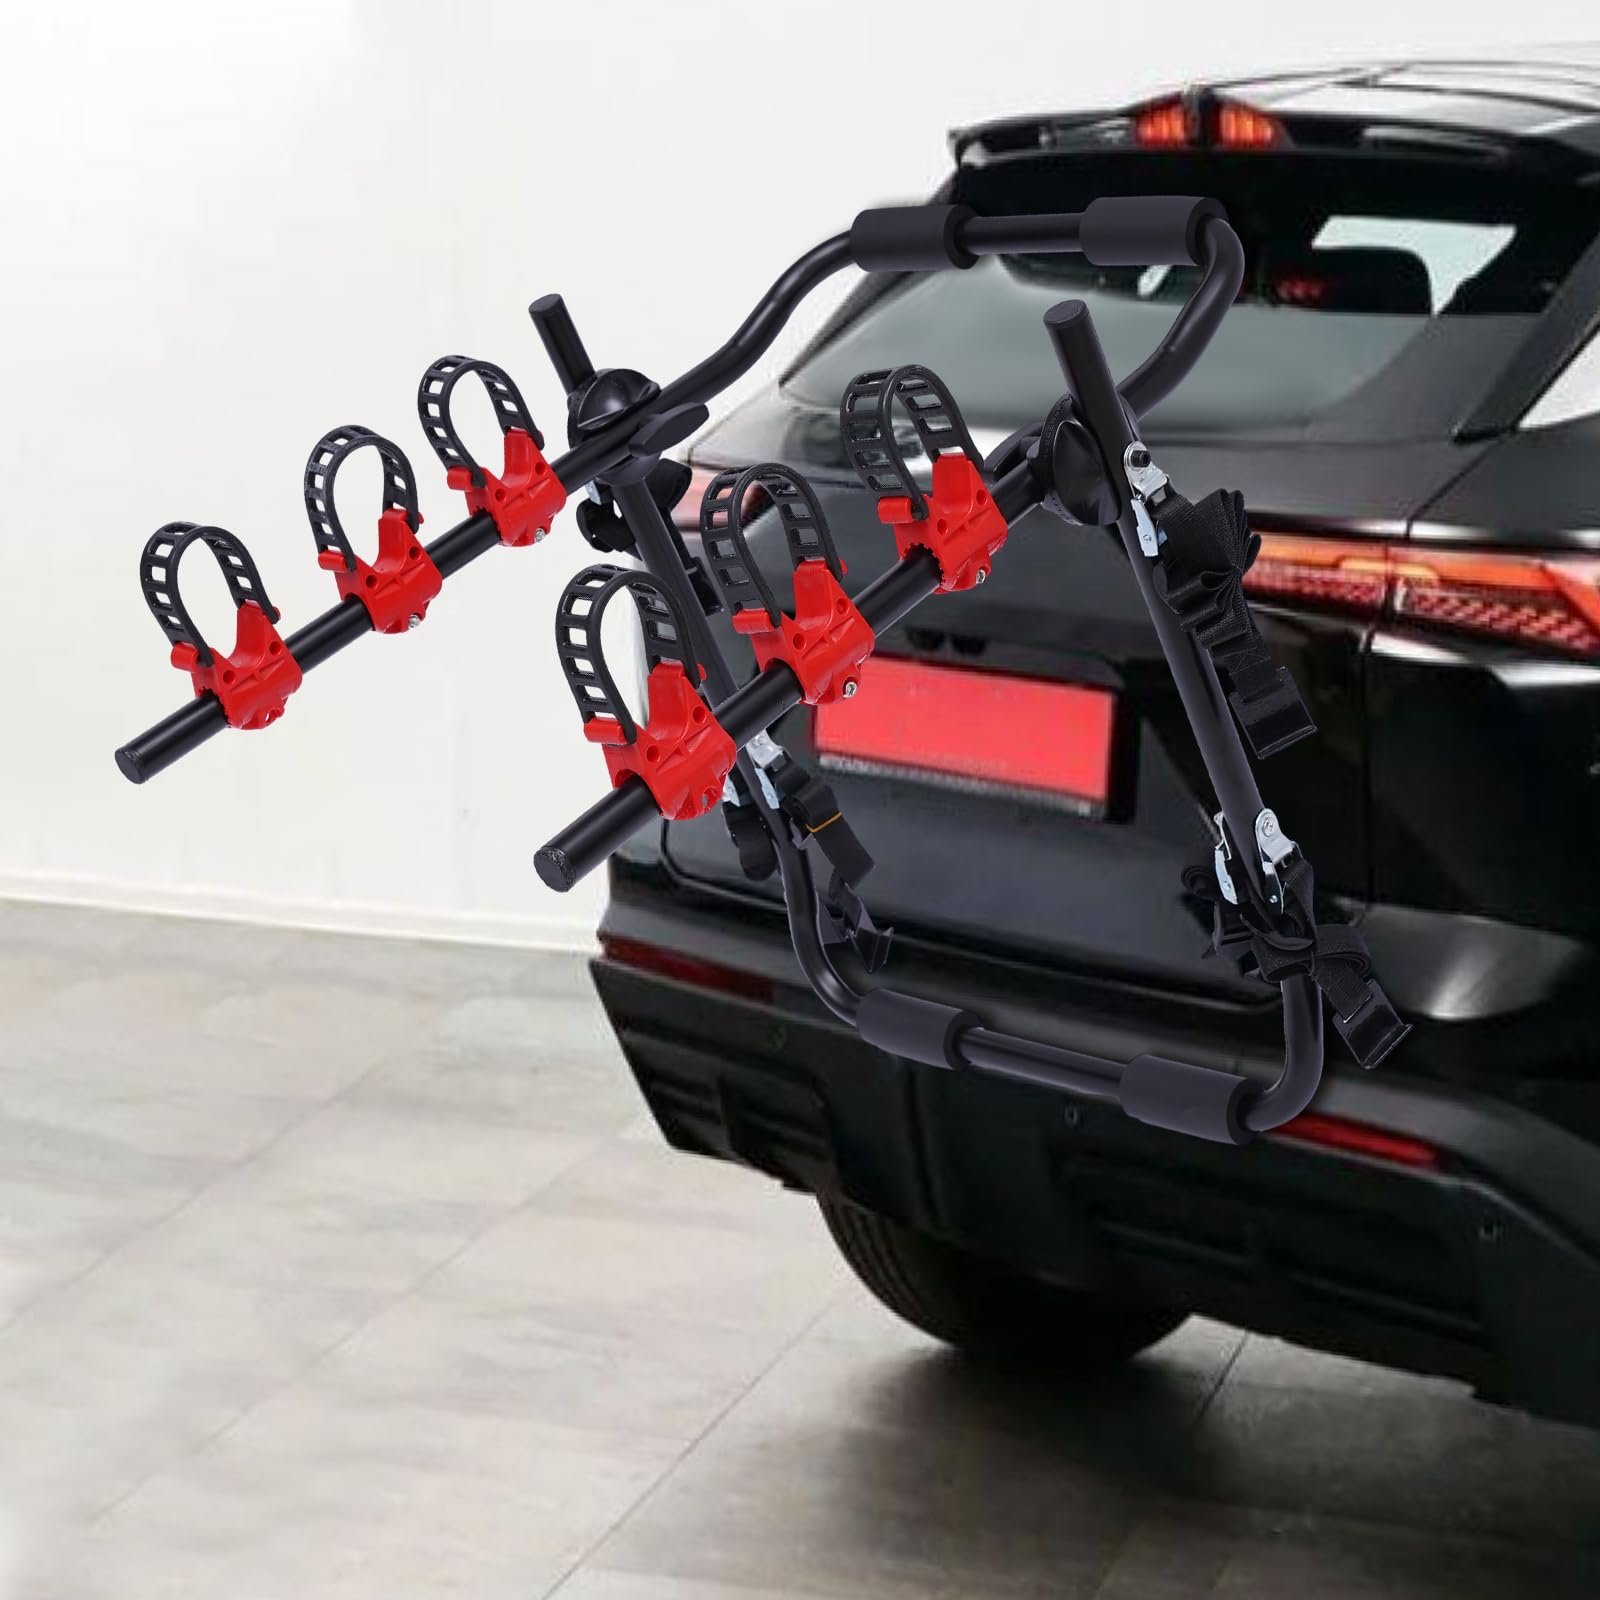
This fix is for trunk-mounted and hatch-mounted carriers that shift side to side. Open your vehicle trunk slightly, set the top hooks over the upper metal seam, and close the trunk to lock them in place. Pull the top straps until snug, then attach the side and bottom hooks to rigid metal edges, never to plastic trim or glass.
Tighten the straps in matching pairs: left and right together, pulling with both hands using moderate body weight. Shake the rack frame firmly with both hands; the car body should rock on its suspension without the rack shifting independently. If your car has a plastic rear spoiler, this fix isn’t for you—running straps over plastic spoilers can crack the trim under tension.
Install a hitch tightener clamp
This fix is for receiver-hitch racks that bounce vertically or rattle inside the vehicle frame. Slide your carrier into the receiver and insert your locking hitch pin. Place a heavy-duty steel U-bolt clamp over the hitch collar and carrier bar, slide the flat steel plate over the bolts, and thread the washers and nuts by hand.
Use a 3/4-inch or 19mm wrench to tighten the nuts evenly, alternating three turns per side until the lock washers flatten completely. You’ll know it worked when lifting the carrier arm moves the whole rear bumper without any clicking noise. The trade-off is added setup time, as you must unbolt the clamp each time you remove the rack.
Replace damaged hardware or fit a receiver shim
For severe movement caused by mismatched tubing or worn parts, inspect the metal receiver tube and mounting arms for oblong bolt holes. If a 1.25-inch rack bar sits loosely inside a 2-inch receiver, install a fitted metal adapter sleeve rather than relying on strap tension. If you see cracked welds, bent steel plates, or severe rust along the car chassis hitch points, stop immediately.
Fixing cracked vehicle mounting points requires professional automotive welding and structural repair. A professional mechanic or certified hitch installer should inspect frame corrosion. This varies by model — check the label on your hitch receiver for maximum tongue-weight ratings before loading multiple heavy bikes.
What not to do
- Don’t hook mounting clips directly onto plastic body panels or rear window glass, which can shatter under tension.
- Don’t use standard bungee cords to secure the frame to the vehicle, as elastic cords stretch and drop bikes on the highway.
- Don’t leave road grit beneath the rubber feet; trapped dirt grinds through clear coat paint within a few miles.
- Don’t ignore state license plate rules; the NHTSA roadway safety regulations emphasize keeping vehicle lighting and safety equipment clearly visible to following traffic.
How to stop it happening again
Routine checks prevent your carrier from working loose during transit.
| If you’re doing this | Do this instead | Why |
|---|---|---|
| Leaving straps loose after rain | Retighten fabric straps when wet | Moisture causes nylon webbing to stretch and loosen grip |
| Pulling one strap completely tight | Tighten opposite sides in small steps | Uneven tension pulls the carrier off-center and twists hooks |
| Letting bikes swing freely | Fasten bike wheels to frames with cinch straps | Free wheels spin and create buffeting wind resistance |
| Leaving the rack mounted year-round | Remove the rack when not traveling | Road salt and moisture seize hitch pins inside receivers |
Frequently asked questions
Can you open the trunk with a bike rack on?
No, you shouldn’t open the trunk while bikes are loaded on trunk-mounted racks. The extra weight can damage trunk hinges, bend gas struts, or cause the carrier hooks to slip out of alignment. Hitch-mounted racks with a tilt-away lever allow hatch access once unlocked.
Why does my hitch rack wobble so much?
Hitch racks wobble because standard hitch receivers have slight manufacturing clearance to let bars slide in easily. Without an anti-rattle bolt or external stabilizing clamp, this small space allows the rack to rock back and forth under the weight of your bicycles while driving over bumps.
How tight should trunk rack straps be?
Straps should be tight enough that pushing the rack moves the entire car on its suspension. If you pluck the tightened strap, it should feel taut like a firm guitar string. Avoid using mechanical tools to tighten straps, which can dent thin vehicle sheet metal.
Is it safe to take a car with a bike rack through a car wash?
No, automated car washes will catch on rack arms and tear the unit from your vehicle. Spinning brushes tangle in straps, bend support frames, and dent car body panels. Always remove your bike carrier completely before entering an automatic wash facility.
What happens if a bike rack covers the car license plate?
Police can pull you over and issue a traffic citation for an obstructed license plate. If your bicycles or rack block the plate or taillights, you must mount an auxiliary license plate bracket and secondary light board to remain legal on public roads.
Final Thoughts
Before heading out on your next ride, give the entire setup a firm shake to ensure everything feels solid. It’s also a good idea to double-check the connection after you’ve driven a few miles. You’ll feel much more confident knowing your gear won’t budge while you’re cruising down the open road.
Related guides