
You need fabric that resists sun and rain, foam cut to the chair seat, and a way to tie the cushion in place so it doesn’t slide off. how to make cushions for patio chairs means measuring your seat, cutting foam and fabric to size, sewing a cover, and securing the finished pad to the frame. This method suits anyone with basic sewing skills who wants to replace worn pads or fit chairs that standard cushions don’t cover.
What you need to make the cushions
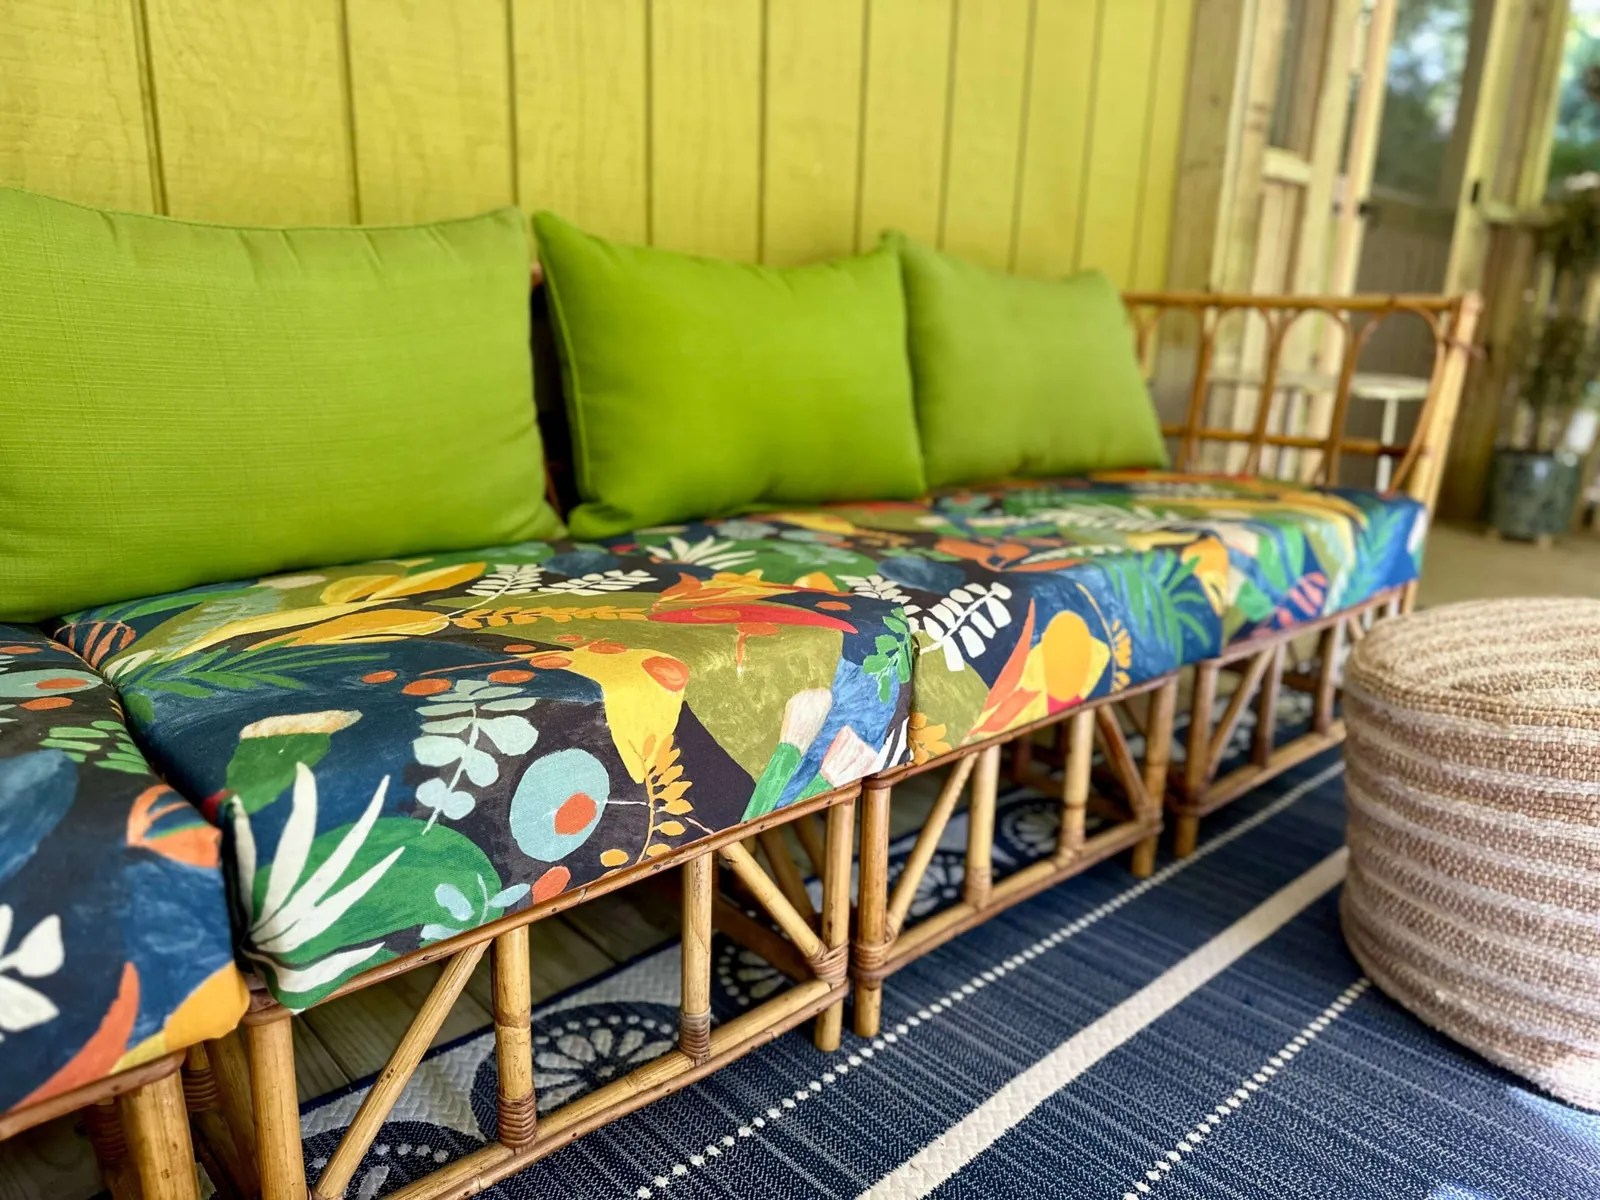
Get everything ready before you cut anything. You need:
- Outdoor-grade fabric such as solution-dyed acrylic or olefin, about one yard for a standard chair seat
- High-density outdoor foam, 2 to 4 inches thick depending on how firm you want the seat
- Sharp scissors or a rotary cutter
- Matching polyester thread, which resists rot better than cotton
- A sewing machine or a heavy needle for hand-sewing
- Twill tape, webbing, or hook-and-loop strips for ties
- Pins or fabric clips and a measuring tape
The fabric must be rated for outdoor use. Indoor cotton will fade and mildew in a single season. Check the label for a lightfastness rating of at least 1,000 hours. If the fabric lacks this rating, it will bleach under direct summer sun within weeks.
Choose your foam density based on the chair’s primary use. Use 2-inch foam for occasional dining chairs where you prefer a sleek profile. Opt for 4-inch foam if the chair is for lounging, as thinner foam will bottom out against the frame after thirty minutes of sitting.
If you don’t own a sewing machine, a tailor or upholstery shop can sew the cover for you. You should still cut the foam and fabric yourself to ensure the fit is tight. A loose cover allows moisture to pool inside, which invites mold growth.
Avoid using standard cotton thread for the seams. It absorbs water and rots, causing the cushions to fall apart at the stress points. Use bonded polyester or nylon thread for every seam. If you’re sewing by hand, use a curved upholstery needle to pull the thread through tight corners without tearing the fabric.
Cut and sew the cushion
- Measure the seat width and depth, then add one inch to each measurement for seam allowance.
- Cut the foam to those exact dimensions with scissors or an electric knife.
- Cut two fabric pieces to the seat size plus one inch on all sides, and cut a side strip the length of the seat’s perimeter by the foam thickness plus one inch.
- Pin the side strip to one fabric piece, right sides together, and sew around all four sides with a half-inch seam.
- Pin the second fabric piece to the open edge of the side strip, right sides together, and sew three sides completely.
- Turn the cover right side out, insert the foam, then fold the raw edges of the final side inward and sew it shut by hand or machine.
- Cut two lengths of twill tape or webbing, about 12 inches each, and sew one to each rear corner of the cushion cover.
- Tie the cushion to the chair frame so it can’t slide or blow away.
Tip: Sew the ties to the back corners, not the front, so they don’t get in the way when you sit down.
Careful: Don’t pull the fabric tight while sewing or the cover will pucker and the foam won’t fit inside.
If your chair has a curved or oddly shaped seat, make a paper pattern first and check it against the chair before you cut the foam.
How to adapt patio cushions to your chairs
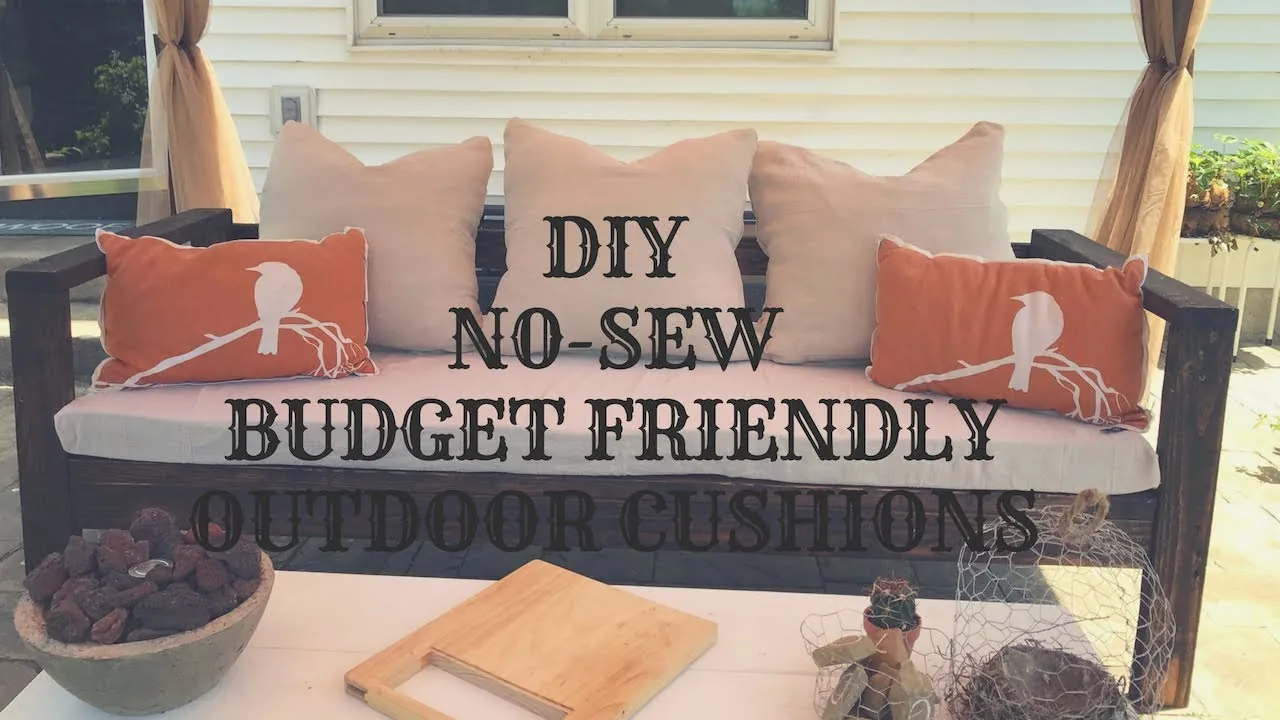
The time and material depend on the seat you’re covering.
| Chair situation | Time and cost | What is different | Watch while it runs |
|---|---|---|---|
| Standard square seat | About 1-2 hours; one yard of fabric | Straight cuts, simple seams | Keep seam allowance even |
| Deep seat cushion | About 2-3 hours; more foam and fabric | Thicker side strip | Match the strip to foam thickness |
| Curved or rounded seat | About 2-3 hours; paper pattern needed | Cut to a template, not a ruler | Check the pattern on the chair first |
| Chair with existing old cushion | About 1-2 hours; reuse old cover as pattern | Remove old fabric first | Save the old ties if they’re still strong |
Start with one chair and one cushion before you cut fabric for the whole set. It’s easier to fix a mistake on a single seat than to redo six covers at once.
If your seat features a curved front, don’t rely on your tape measure alone. Trace the chair frame onto butcher paper to create a template, adding exactly one inch for your seam allowance. If you skip this, the fabric will bunch at the corners.
When working with deep cushions, verify the foam density. If the foam is soft, cut your side strips a quarter-inch shorter than the cushion height. This creates a taut, professional finish that prevents the fabric from sagging after a month of use.
If you’re reusing an old cover as a pattern, inspect the hidden seams first. If the original fabric has stretched or frayed at the stress points, don’t use it as your stencil. You’ll simply replicate the old errors. Instead, lay the fabric flat and iron it before tracing.
If you find yourself choosing between two fabric weights, pick the heavier upholstery-grade material for high-traffic dining chairs. Light cottons look crisp initially but will wear through at the corners within six months. If your chair sees daily use, choose a synthetic blend with a high double-rub count.
How to tell the cushion is right
A good cushion sits flat on the seat without hanging over the edge, and the cover fits snugly around the foam without bagging or pulling. A poor result looks lumpy, slides off when you sit down, or lets water pool on top because the fabric isn’t truly outdoor-grade.
The most common quality problem is a cover that’s too loose, which happens when you cut the fabric exactly to the foam size with no seam allowance. Prevent it by adding that extra inch on every side, by sewing with even tension, and by tying the cushion to the frame so it can’t shift.
Test the fit by pressing your thumb into the center of the top panel. It should spring back within two seconds without leaving a dimple in the fabric. If the cover stays indented, the foam inside is too soft for that thickness.
People often mistake a tight cover for a well-made one. Pulling the zipper closed over undersized fabric compresses the foam edges and shortens its life. The zipper should glide shut without forcing the teeth together.
If your seat has curved corners, wrap a strip of Dacron batting around the foam before inserting it. This rounds the edges so the fabric drapes smoothly instead of stretching into sharp points.
Rules and care afterwards
Store cushions under cover or bring them inside when it rains, even if the fabric is water-resistant. Standing water inevitably seeps through the seams, trapping moisture that rots the foam from the inside. Once mold spores take hold in the core, the cushion becomes a health hazard that requires immediate disposal.
Brush off surface dirt and pollen weekly to prevent debris from grinding into the weave. If you spot-clean, use only mild soap and cool water. Never machine-wash covers unless the fabric manufacturer explicitly labels the material as machine-safe; heat from a dryer often shrinks outdoor fabrics, making them impossible to fit back over the foam.
Expect to replace outdoor foam periodically. If the foam feels brittle or leaves a fine yellow dust on your floor when you move it, the structural integrity is gone. High-UV environments accelerate this breakdown significantly. If you see the foam beginning to crumble, don’t attempt to patch the cover; the internal support has already failed.
If sewing thick foam or complex piping is beyond your equipment, ask a local upholstery shop to finish the cover while you supply the measurements and fabric. Professionals use industrial-grade needles that prevent the fabric from bunching or tearing under the tension required for a tight, weather-resistant fit. Paying for this service once saves you the cost of replacing ruined fabric a year later.
Other ways to do it
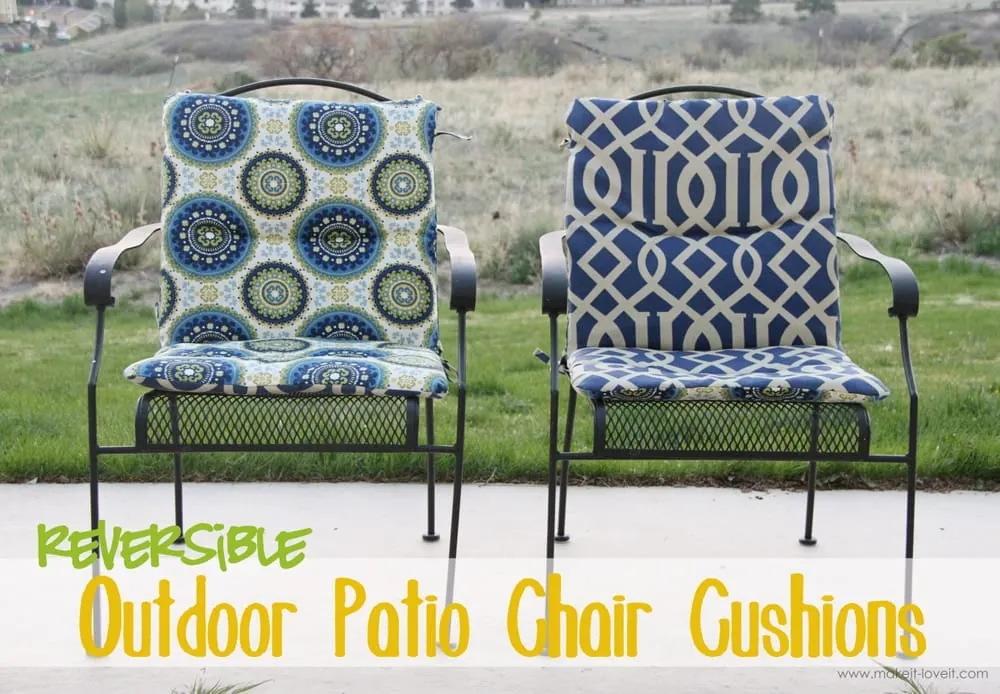
Buy ready-made outdoor cushions
You order pads made to your seat measurements and they arrive sewn and ready to use. This costs more than making them yourself, but it saves several hours per chair and usually includes factory ties.
Use a no-sew fabric wrap
You cut outdoor fabric and foam, then wrap the foam and secure the fabric with fabric glue or hook-and-loop tape instead of sewing. The result is faster to make, but the edges are less neat and the cover may not last as many seasons.
Have an upholstery shop make them
You measure the chairs and choose the fabric, and a professional cuts, sews, and fits the cushions. This costs the most, but you get a tailored fit and a sewn cover without doing any of the work yourself.
Related guides
- Best Weather Resistant Patio Chairs for Lasting Comfort and Style in 2026
- 10 Best Patio Chairs for Outdoor Lounging: Expert Picks and Verdict in 2026
- How to Tighten Dining Room Chairs: A Step-by-Step Fix
Frequently asked questions
How long does it take to make one patio chair cushion?
About one to two hours for a standard square seat, assuming you already have the fabric, foam, and tools. A curved seat or a deep cushion can take two to three hours.
Can I use indoor fabric for patio cushions?
No. Indoor fabric fades quickly in sun and can mildew when it gets wet; use outdoor-rated fabric such as solution-dyed acrylic instead.
How thick should the foam be?
Two to four inches is typical for a chair seat, depending on how firm you want it and how deep the chair frame is. Measure your seat and choose the thickness that leaves a comfortable gap above the frame.
Is it safe to leave cushions outside overnight?
Not if you want them to last. Even water-resistant fabric can let moisture into the seams, so bring cushions inside or store them under cover when it rains.
What happens if I don’t tie the cushion to the chair?
It can slide off when you sit down or blow away in wind. Sew ties to the back corners and fasten them to the frame after every use.
How often should I replace patio cushions?
Replace them when the foam breaks down or the fabric tears, which can be a few years depending on sun exposure and how often you store them under cover. Check the fabric each spring for fading or thinning.
Conclusion
Start with one chair, use outdoor-rated materials, and tie the finished cushion in place so it stays where you put it.