
You can build fire pit chairs with basic lumber, a drill, and a weekend of work. The chairs sit low and wide so people stay close to the flames without leaning forward. Each chair uses eight-foot boards cut to length, screws driven into pre-drilled holes, and sanded edges so nobody gets splinters while sitting.
What this takes
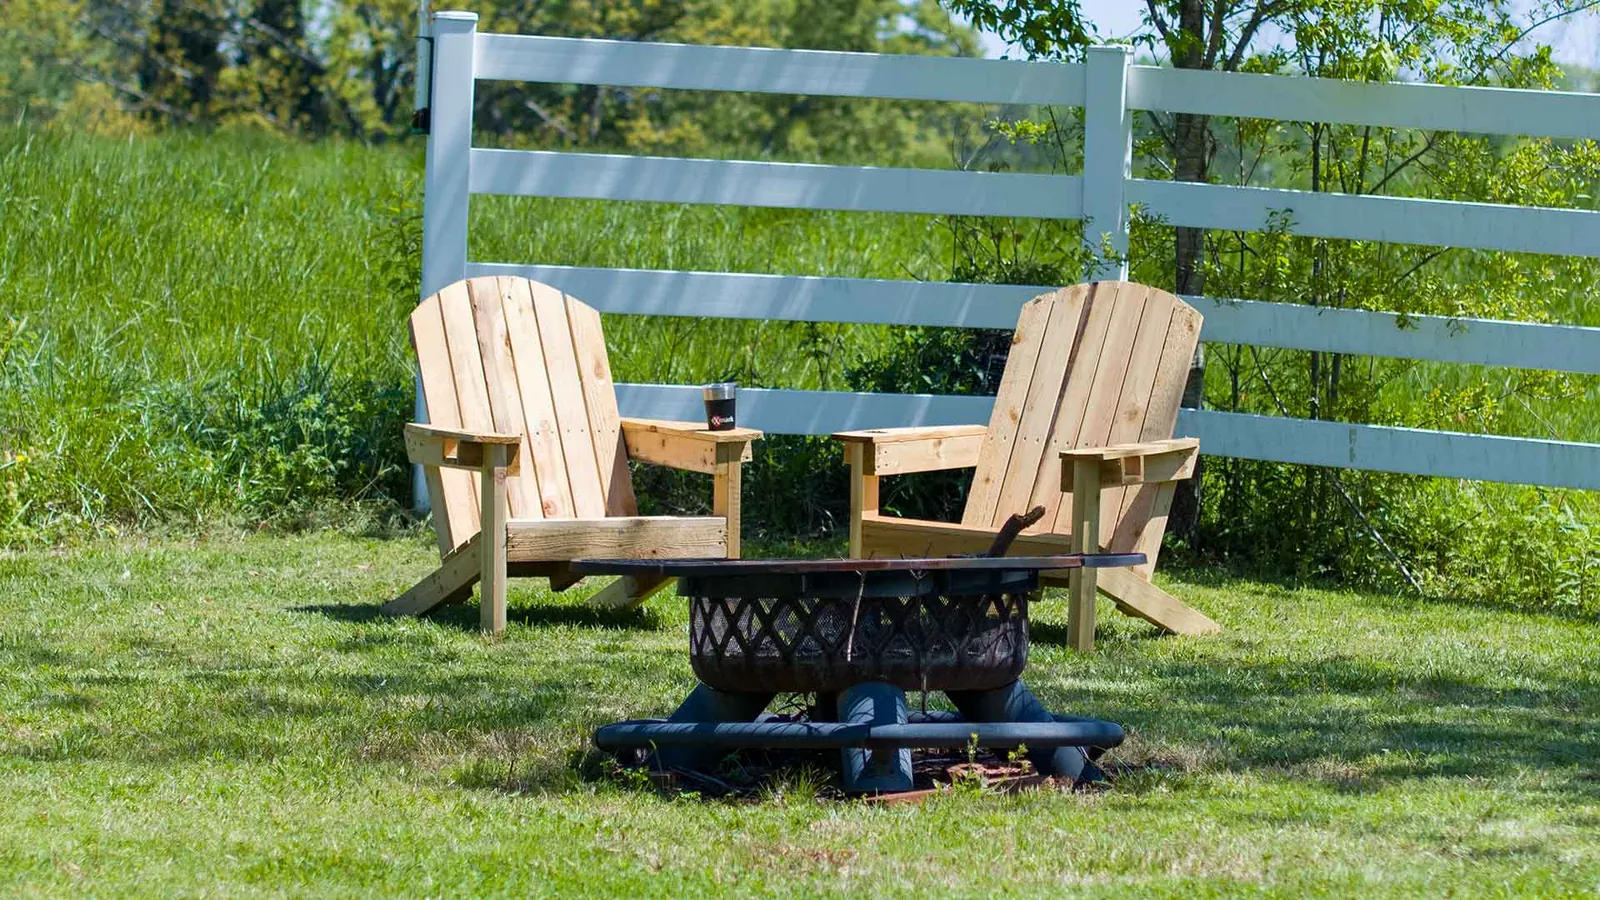
Building one fire pit chair takes about four to six hours if you work alone, and roughly half that if a helper holds boards steady while you drive screws. Expect to spend a modest amount on lumber and hardware, depending on the wood species and your local prices.
The difficulty sits at medium: the cuts are straight, but you must measure twice and keep the legs square or the chair wobbles. Before you start, you need a circular saw or miter saw that can cut through two-by-four lumber cleanly. Check your saw’s blade and battery charge on the tool itself, since nothing stalls a build like a dull blade or a dead battery halfway through the cuts.
What you need for fire pit chairs
Gather everything before you make the first cut. Stopping mid-build to buy a missing screw wastes time and breaks your rhythm.
| Item | How much | Why it’s needed | A substitute |
|---|---|---|---|
| Pressure-treated 2×4 boards | Eight feet, six pieces | Forms the seat frame and legs | Cedar boards if you want natural rot resistance |
| Exterior deck screws | 2-1/2 inch, one pound box | Holds the frame together outdoors | Galvanized nails, but they loosen over time |
| Wood glue | One small bottle | Adds strength to every joint | None — don’t swap this |
| Medium-grit sandpaper | One pack | Smooths edges and splinter-prone spots | A sanding block with the same grit |
| Tape measure | One | Measures every cut before you make it | A folding ruler, but it’s slower |
| Speed square | One | Marks square lines on every board | A framing square if you already own one |
| Drill with driver bits | One | Drills pilot holes and drives screws | A screwdriver, but it takes much longer |
Pressure-treated lumber costs more than untreated pine, but it survives rain and heat without rotting within a season. Untreated wood is cheaper up front, yet it needs sealant every year or it cracks and splinters fast. If you build chairs for a fire pit that stays uncovered all year, buy treated lumber and skip the annual sealing chore. If your pit sits under a covered patio, untreated cedar works fine and weathers to a silvery gray.
Before you start fire pit chairs
Clear a flat work area and sweep away sawdust and scraps so you don’t trip while carrying long boards. Set up your saw on a stable surface away from the fire pit itself, because sparks from cutting metal or wood near an open flame are dangerous. Move the fire pit to a safe distance or cover it with a metal lid while you work nearby.
Check that each board is straight by sighting down its length before you mark any cuts. The one preparation most people skip is checking local fire pit clearance rules; a chair placed too close to the flames can ignite or overheat, and some municipalities set minimum distances in their codes.
If your area requires a specific clearance, measure it from the pit edge to the chair front before you cut anything. Never build chairs closer than the local rule allows, and if you’re unsure what that distance is, call your city’s fire department or building office before you start.
Build fire pit chairs step by step
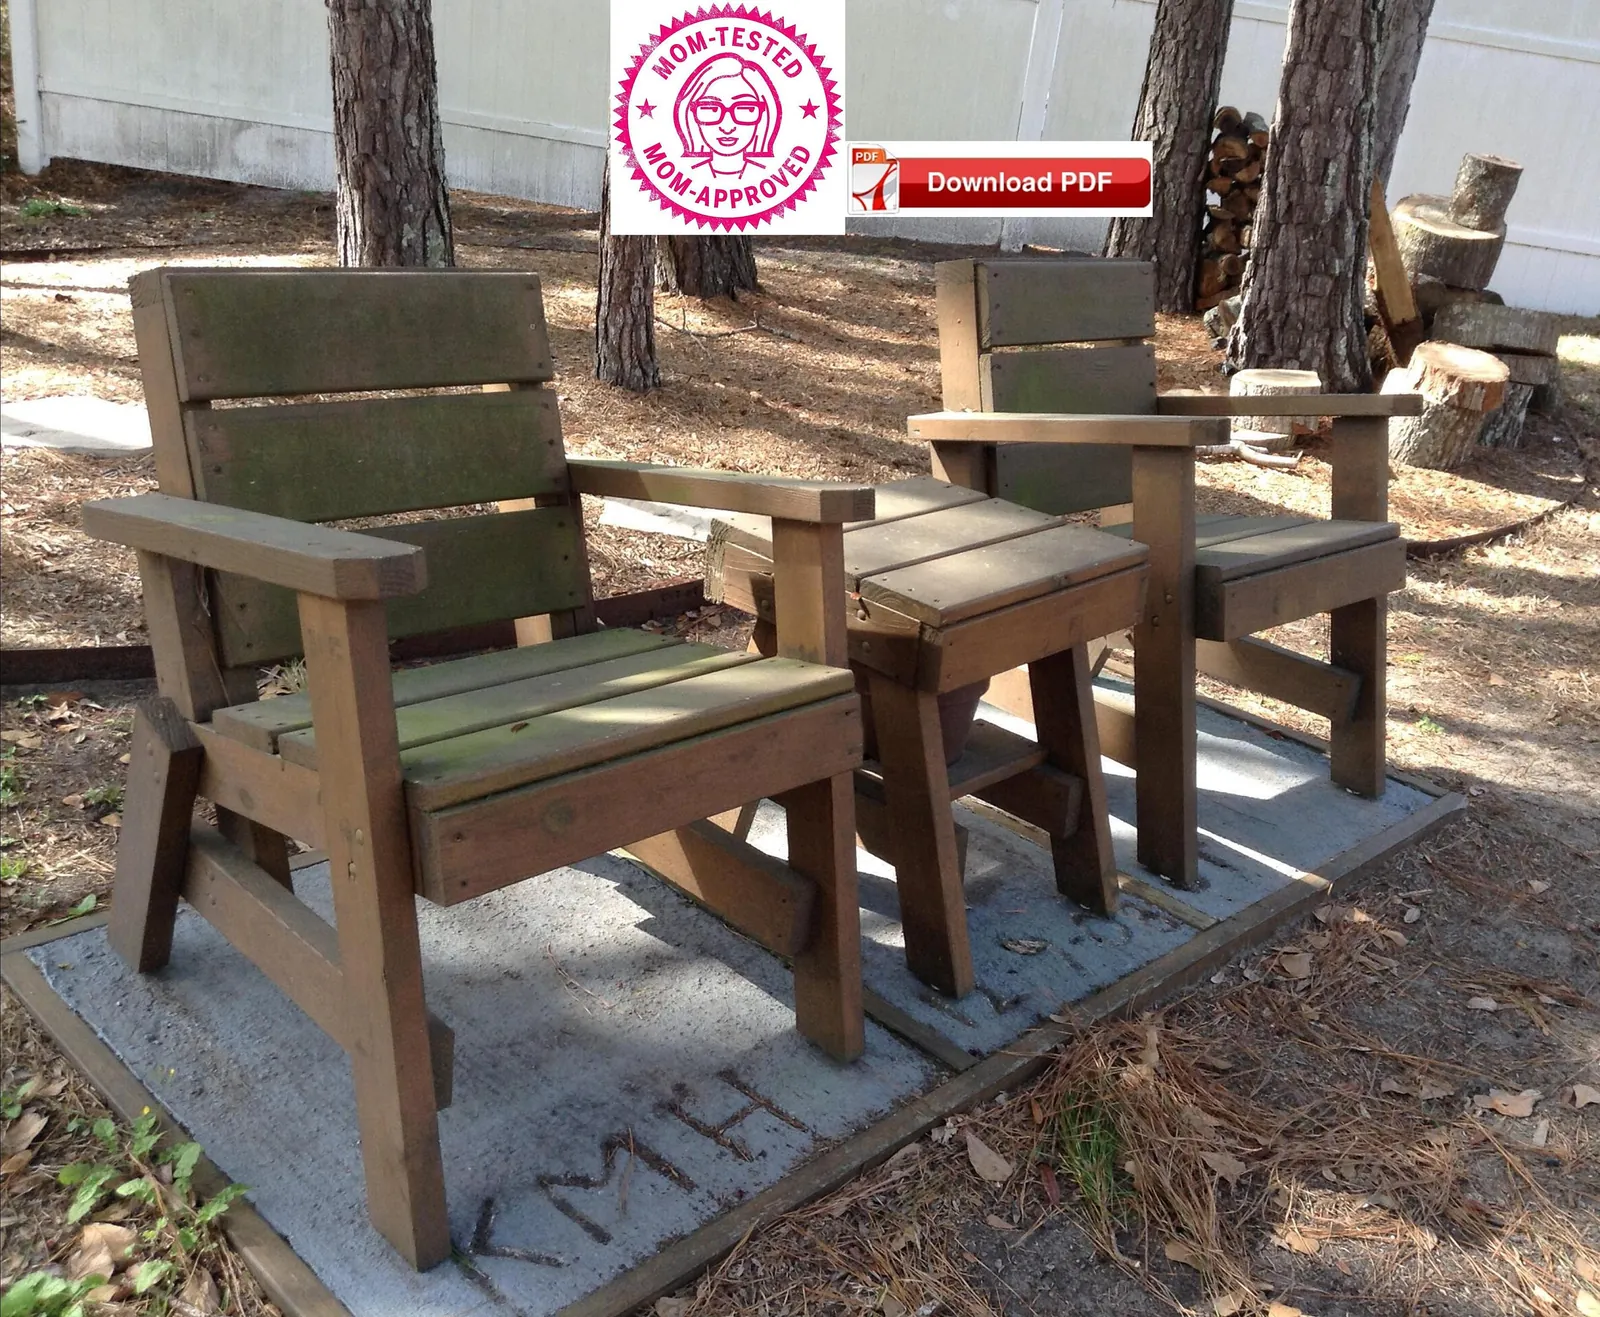
- Cut four legs to 16 inches long from your 2×4 boards. Measure each piece twice before cutting, and mark the line with your speed square so the ends sit flat on the ground.
- Cut two seat rails to 20 inches and two side rails to 18 inches. These four pieces form the rectangle that holds the seat off the ground.
- Lay the legs on a flat surface and stand the side rails between them at each end. Drive two 2-1/2 inch screws through each rail into the leg after drilling a pilot hole so the wood doesn’t split.
- Attach the front and back rails between the legs at the opposite ends, creating a rectangular frame. Check that opposite sides match in length before you tighten every screw.
- Cut four seat slats to 20 inches long. Lay them across the top of the frame with a 1/4 inch gap between each slat so rain runs through instead of pooling.
- Screw each slat down with two screws per rail, driving them from the top so the heads sit just below the wood surface. Countersink slightly so nobody catches a screw head while sitting.
- Sand every edge and surface with medium-grit sandpaper until you can’t feel a rough spot with your hand. Pay extra attention to the top edges where arms rest.
- Wipe away sawdust with a dry cloth, then move the finished chair to your fire pit at the safe distance you checked earlier.
Each step takes roughly 30 to 45 minutes, assuming you have all cuts laid out before you start driving screws. If a leg feels loose after assembly, remove the screw, add a dab of wood glue, and drive it back in after drilling a fresh pilot hole.
How to know fire pit chairs worked
A finished chair holds an adult without creaking or shifting when someone sits down and stands up. The legs stay flat on level ground with no wobble, and no screw head pokes above the wood where it could catch clothing or skin.
If you press down on each corner and the frame doesn’t flex, the joints are tight and the pilot holes did their job. Run your hand along every edge after sanding; if you feel no splinters or rough grain, the chair is safe for bare arms and legs.
Signs it needs another round include a seat that sags when weight is applied, which means the slats are too far apart or the screws missed the leg entirely. A chair that rocks on flat ground means one leg was cut too long or the frame is out of square.
Loose screws that spin without tightening mean the pilot hole was too wide or the wood split, so pull them out, add glue, and use fresh screws in new holes. If any part feels soft or spongy, that board may have a hidden split and should be replaced before someone sits on it.
If something goes wrong with fire pit chairs
| What happened | Why | What to do |
|---|---|---|
| Chair wobbles | One leg is too long | Sand the long leg until level |
| Screws won’t tighten | Pilot hole too wide | Add glue and use fresh screws |
| Wood splits near screw | No pilot hole drilled | Replace the board and pre-drill next time |
| Seat sags under weight | Slats spaced too wide | Add another slat between existing ones |
| Rough edges remain | Not enough sanding | Sand again with medium grit |
Never sit on a chair that wobbles or creaks until you fix it, because a collapse near a fire pit can cause serious burns. If you can’t make the frame steady after tightening every screw and sanding the legs even, stop using the chair and rebuild that joint with fresh wood and glue.
How often to care for fire pit chairs
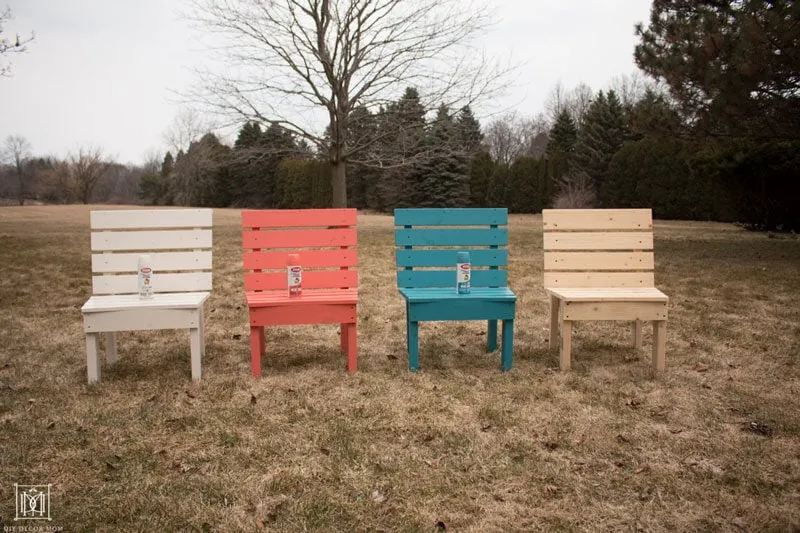
Check your fire pit chairs once a month during the season you use them, and give them a full inspection before the first fire of the year. Tighten any screw that has loosened from heating and cooling, and sand any edge that feels rough again.
Two things change how often you need to do this: how often the chairs sit in direct rain, and whether you leave them outside all winter. Chairs under a covered patio need far less attention than chairs left in the open, where sun and rain wear the wood and loosen fasteners faster.
If you store the chairs under a tarp or in a shed during cold months, they will last several seasons without major repairs. Left outside year-round, expect to replace a slat or two every couple of years as the wood weathers. The exact lifespan depends on your climate and wood choice, so check the boards each spring and replace anything that feels soft.
Frequently asked questions
Can I use regular indoor lumber for fire pit chairs?
No — indoor lumber isn’t treated for moisture and will rot or warp quickly when it sits outside near a fire pit. Use pressure-treated 2×4 boards or naturally rot-resistant cedar so the chair survives rain and heat. Check the stamp on each board at the store to confirm it’s rated for above-ground exterior use.
How long does it take to build one fire pit chair?
It takes about four to six hours working alone, including cutting, drilling, assembly, and sanding. A helper who holds boards while you drive screws can cut that time roughly in half. The actual time depends on your saw and how carefully you measure each piece.
Is it safe to put chairs close to a fire pit?
Only if you keep the distance your local fire code requires, which varies by city and by the type of fire pit you have. Wood can ignite or scorch if it sits too near the flames, especially on a windy day. Contact your local fire department or building office to learn the exact clearance for your setup.
What happens if it rains on the chairs?
Pressure-treated wood and cedar handle rain without rotting right away, but water can pool on flat seat slats if there’s no gap between them. Build the seat with a 1/4 inch gap between slats so rain runs through, and wipe the chairs dry before sitting so clothing doesn’t get damp.
Does wood glue matter if I use screws?
Yes — screws hold the frame, but glue adds strength to every joint and keeps the chair from loosening as the wood expands and contracts outdoors. Skip the glue and the chair will likely wobble within a season. Apply a thin bead inside each joint before driving the screws.
How many chairs fit around a fire pit?
Most standard fire pits fit four to six chairs comfortably, depending on the pit diameter and how much room people need to get in and out. Leave at least three feet between the chair and the pit edge, plus space behind each chair so people can stand without bumping the next seat. Measure your pit before you build so you don’t end up with chairs that crowd the fire.
Conclusion
A low, sturdy chair makes evenings around the fire pit far more comfortable than dragging dining chairs from the kitchen. Build one first, test it with the people who will use it most, and then build the rest to match. Take your time on the measurements, keep the legs square, and sand every edge until it feels smooth to the hand.