
To install a Thule bike rack safely, slide the rack stinger into your vehicle hitch receiver, secure the locking pin, and tighten the anti-wobble knob until all play disappears. The job takes 15 to 25 minutes for a single person, costs nothing beyond the rack itself, and rates as medium difficulty because the rack is heavy and awkward. You must have the correct hitch receiver size on your car before you begin.
Gather your Thule bike rack parts
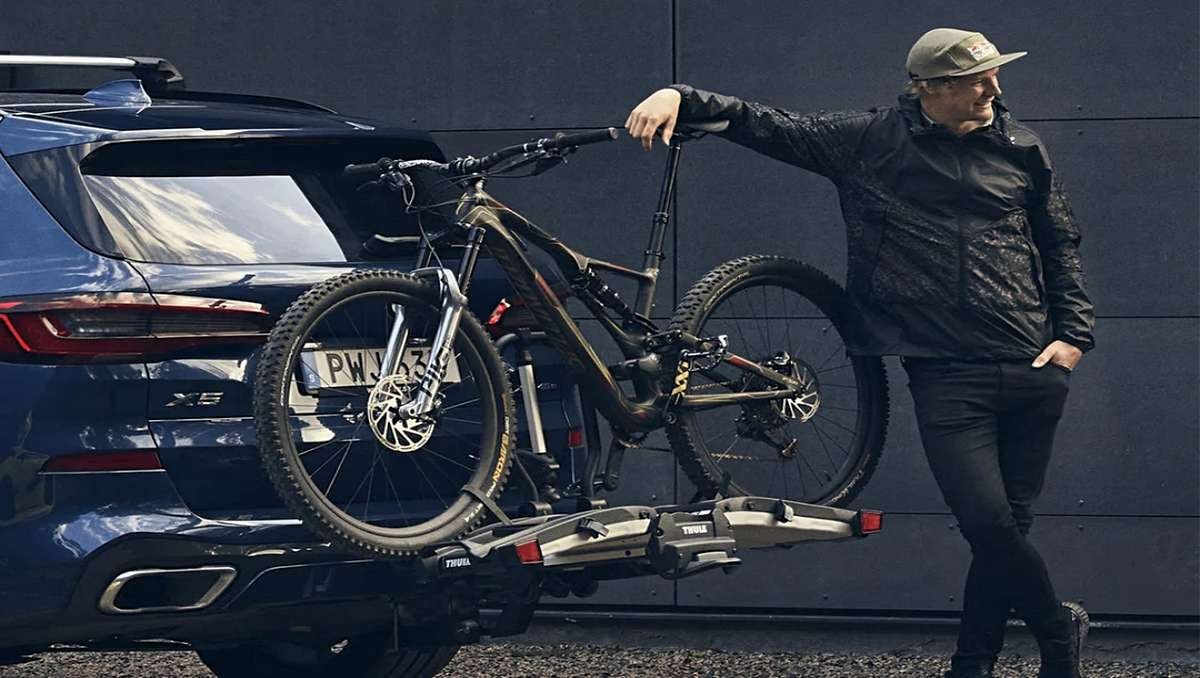
| Item | How much | Why it’s needed | A substitute |
|---|---|---|---|
| Thule hitch bike rack | 1 unit | Carries your bikes behind your car | none — don’t swap this |
| Hitch receiver | 1 fitted unit | Connects the rack to vehicle chassis | none — don’t swap this |
| Receiver adapter sleeve | 1 piece (1.25 to 2 inch) | Fills gap on 2-inch hitch receivers | none — don’t swap this |
| Thule hitch lock key | 1 pair | Locks the rack stinger inside hitch | none — don’t swap this |
| Hitch pin with clip | 1 set | Prevents stinger from sliding out | Standard steel hitch pin and clip |
| Work gloves | 1 pair | Shields hands from pinch points | Heavy leather garden gloves |
| Clean rag | 1 piece | Cleans grit from inside receiver tube | Paper shop towels |
Before you start
- Park your vehicle on flat, level ground, engage the emergency parking brake, and shut the engine off completely.
- Wipe away all loose dirt, gravel, and road salt from inside the hitch tube using a dry rag so the stinger slides smoothly.
- Check the hitch receiver tongue weight rating stamped on the hitch label before lifting the carrier.
- This guide covers standard 1.25-inch and 2-inch hitch systems; it isn’t for trunk-mounted strap racks or roof bar systems.
- Skipping receiver cleaning causes grit to jam the anti-wobble wedge, which ruins the internal threads and costs you a replacement stinger assembly.
- If your vehicle lacks a factory or aftermarket hitch receiver, stop here and visit a certified mechanic or hitch installer to mount one safely.
Step by step
- Confirm your receiver tube size by measuring the inside opening width, which is either 1.25 inches or 2 inches across.
- Fasten the Thule adapter sleeve onto the rack stinger if you’re fitting a 1.25-inch rack into a 2-inch hitch receiver opening.
- Lift the bike carrier using your legs, keep your back straight, and align the stinger directly with the hitch receiver opening.
- Push the stinger forward into the receiver tube until the auto-pin clicks audibly into the hitch pin hole on the side.
- Insert the Thule lock pin through the aligned hitch holes from the side until the locking barrel clicks shut over the tip.
- Turn the Thule tool-free wedge knob clockwise at the stinger base until it resists firmly and turns no further by hand.
- Lock the wedge knob using your Thule key so the knob spins freely, which protects the rack against street theft.
- Pull outward on the rack mast with both hands using moderate force to verify there’s zero movement inside the receiver.
- Press the tilt release lever at the base to unfold the carrier platform downward into its horizontal travel position.
- Fasten the wheel cradles and frame ratchets securely across your bike wheels, clicking each strap at least three full teeth deep.
How to know it worked
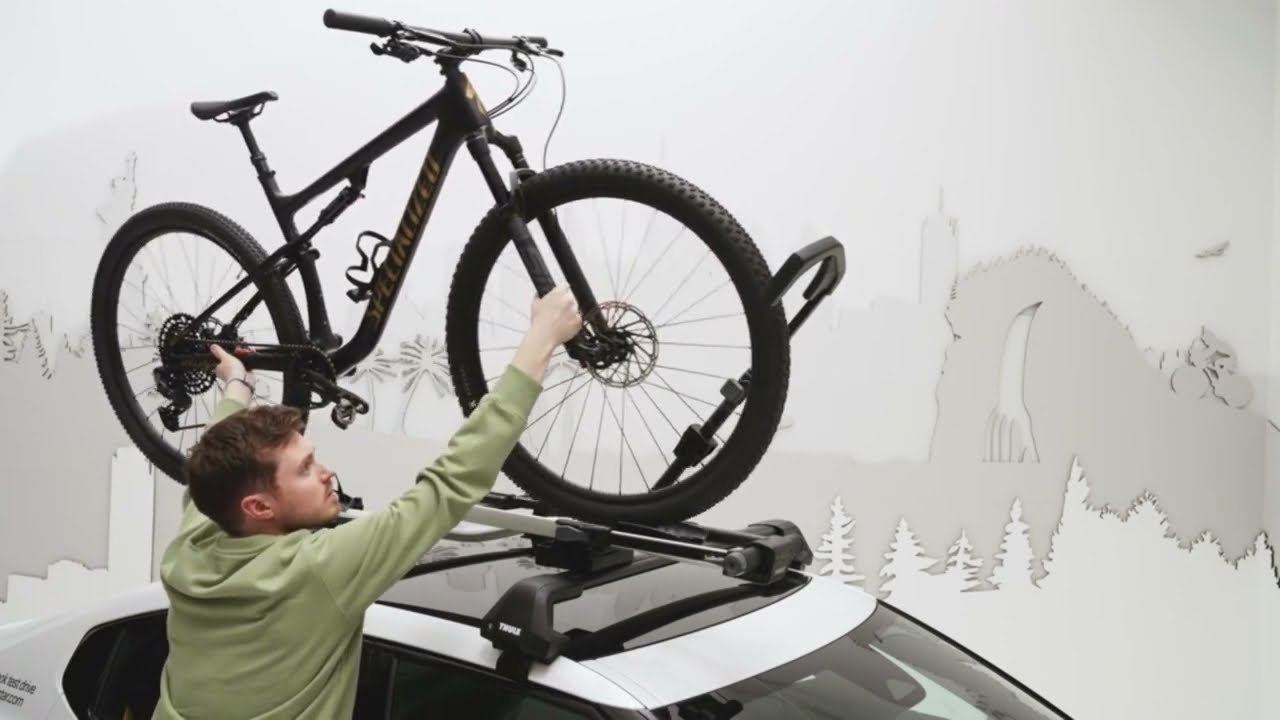
The installation succeeded when the rack feels completely rigid against your vehicle frame. Grab the upright mast and push it firmly left to right, then up and down. The vehicle body should sway on its own suspension springs, but the stinger must not slide, tilt, or rattle inside the receiver opening.
Check the lock tumbler by trying to pull the lock cylinder straight out with your fingers; it shouldn’t pop loose. Look through the hitch pin hole to confirm the steel core rests fully across both walls. If you hear metal knocking over small bumps, the wedge needs tightening.
If something goes wrong
| What happened | Why | What to do |
|---|---|---|
| Stinger won’t slide in | Hitch tube contains rust or debris | Scrape inside tube and apply grease |
| Hitch pin holes misalign | Stinger inserted too far inward | Pull back slowly until holes match |
| Rack tilts or wobbles | Anti-wobble wedge knob is loose | Turn the wedge knob clockwise firmly |
| Key won’t turn lock | Dirt jammed inside lock core | Spray lock core with graphite lubricant |
| Trunk lid hits rack | Rack mast folded too upright | Tilt rack down using base lever |
| Adapter sleeve fits loose | Adapter bolt loosened during transit | Tighten adapter screw with hex wrench |
How often to do this
Repeat this full process every time you mount the carrier for a trip, which takes roughly 10 minutes once you’re familiar with the steps. Two main factors change this maintenance schedule: road surface roughness and heavy weather.
Frequently asked questions
Can one person install a Thule bike rack alone?
Yes, one person can mount it without help if they lift carefully. A standard two-bike platform rack weighs roughly 45 to 55 pounds, so keep the rack folded compact while carrying it to stop awkward swinging.
Why is my Thule bike rack wobbling in the hitch?
The anti-wobble wedge inside the receiver tube is loose. Turn the expanding knob clockwise until it stops, then lock the core with your key so road vibrations can’t loosen the wedge mechanism while driving.
How long does it take to install a Thule bike rack?
About 15 minutes is typical for mounting an assembled hitch rack onto your vehicle. If the rack is fresh out of its factory shipping box, budget 45 extra minutes to bolt the trays and upright masts together first.
Is it safe to drive with an empty Thule bike rack mounted?
Yes, it’s entirely safe if you fold the carrier upright against your rear bumper. A folded empty rack cuts aerodynamic drag, though you must verify your vehicle license plate and tail lights remain clearly visible from behind.
What happens if I forget to lock the hitch knob?
The rack can work itself loose from constant road vibration and could fall off the vehicle. If the knob stays unlocked, anyone can unscrew the wedge by hand at a rest stop and pull the entire carrier away.
Does hitch receiver size matter for bike racks?
Yes, hitch size matters because a 1.25-inch stinger can’t carry the tongue weight of large four-bike racks. If your car has a 1.25-inch hitch, carry at most two bikes; if you need three or four bikes, use a 2-inch receiver.
Can I run my car through a car wash with the rack installed?
No, never drive into an automated car wash with a bike rack attached. The spinning brushes easily snag the bike trays, bending the steel stinger and causing hundreds of dollars in damage to your vehicle tailgate.
Final Thoughts
Once everything feels solid, take your bike for a short test drive around the block to ensure it doesn’t shift. You’ll feel much more confident hitting the highway after you’ve checked that the straps are snug. Don’t forget to keep your keys in a safe place so you’re always ready to ride.
Related guides