
Installing dirt bike handlebars takes about 45 to 60 minutes for a standard setup, costs nothing beyond basic hand tools if you already have the bars, and ranks as medium difficulty because cable routing needs care. The one thing you must have before starting is the exact bar clamp diameter of your bike—either 7/8 inch or 1-1/8 inch—marked directly on your stock bar or listed in your owner’s manual.
Tools to install your handlebars
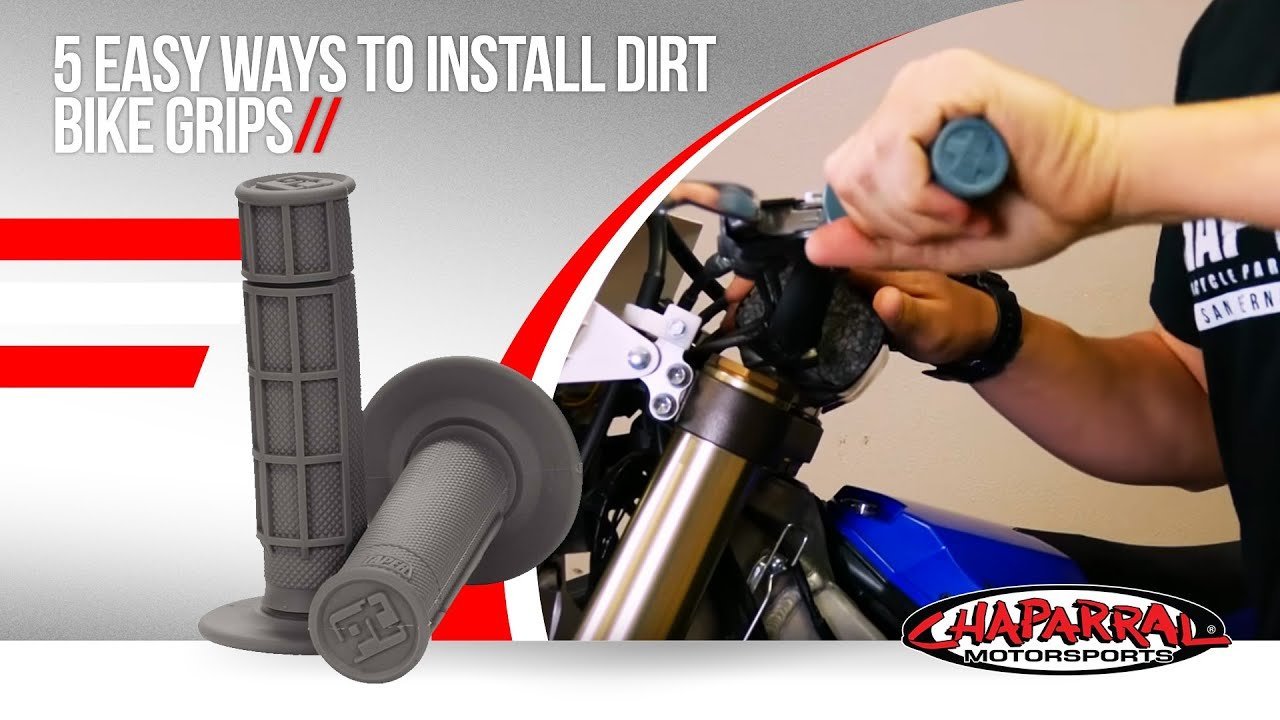
| Item | How much | Why it’s needed | A substitute |
|---|---|---|---|
| Hex key or socket set | 1 set with 4mm-10mm sizes | Loosening controls and handlebar clamps | none — don’t swap this |
| Calibrated torque wrench | 1 tool handling 10-35 Nm | Tightening clamp bolts to spec | none — don’t swap this |
| Grip glue | 1 tube (about 20g) | Securing replacement slide-on grips | Lock-on grips with clamp collars |
| Rubbing alcohol | 2 to 3 fluid ounces | Cleaning bar ends before gluing | Clean acetone on bare metal |
| Clean shop rags | 2 or 3 clean cloths | Wiping grit off clamp surfaces | Clean paper shop towels |
| Painter’s tape | 1 standard roll | Marking control angles before removal | Fine-tip felt marker |
Before you start
- Park the bike on a level motorcycle stand so the front wheel lifts off the ground.
- Turn the engine off and remove the ignition key or safety tether.
- Put a clean blanket over the front fender and fuel tank so dropped tools won’t chip the plastic.
- Note the angle of your levers with painter’s tape; skipping this step ruins your control feel later.
- If your steering stem or triple clamp shows deep cracks or bends, stop immediately and take the bike to a certified motorcycle mechanic for structural inspection.
Step by step
- Mark the angle and distance of your brake, clutch, and switchgear on the old bar using painter’s tape. You’ll know it worked when each control’s position has a visible edge line.
- Loosen the pinch bolts on the clutch perch, front brake master cylinder, and kill switch using a 4mm, 5mm, or 8mm tool. Remove them carefully and let them hang without stretching the lines.
- Loosen the two screws on the throttle assembly using an 8mm socket or screwdriver, then slide the throttle tube off the bar intact. The throttle tube should spin smoothly off the metal end.
- Remove the four main handlebar clamp bolts by turning them counterclockwise with an appropriate hex bit or socket. Set the top clamps aside on your clean rag.
- Lift the old handlebar away from the bike while supporting the control cables so they don’t kink or bend sharply.
- Clean the lower clamp cradles with rubbing alcohol and a rag to remove grit, dirt, and dried grease. The clamp grooves must look bare and dry.
- Place your new handlebar into the lower clamps, lining up the center laser etching evenly between left and right mounts.
- Install the top clamps and thread all four bolts in by hand until they make firm contact with the top plate.
- Slide the throttle assembly onto the right side, ensuring 2mm to 3mm of clear space between the bar end and the tube. The throttle must snap back freely when released.
- Tighten the clamp bolts in a crisscross pattern using a torque wrench matched to your bike’s exact manual specification. A common mistake people make is uneven tightening, which snaps clamp bolts and strips triple clamps—a repair that costs hundreds of dollars to replace. Follow standard vehicle safety practices, such as those monitored by the National Highway Traffic Safety Administration, which focus on proper hardware retention to prevent control loss.
How to know it worked
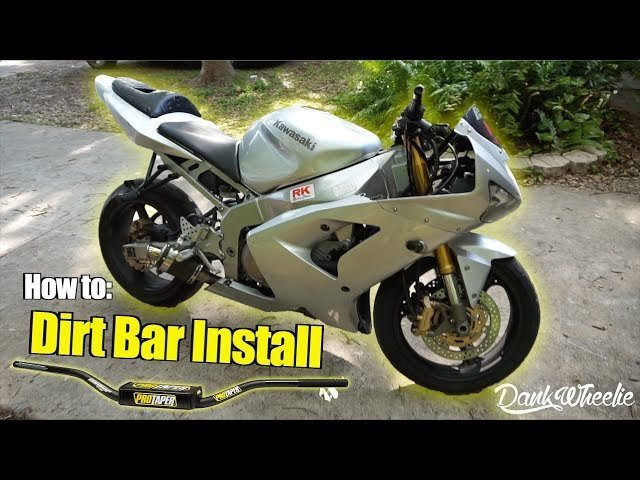
The new bar sits completely rigid without twisting under firm downward hand pressure. Turn your steering lock-to-lock, from the far left stop to the far right stop. The cables must not pull tight, bind, or rev the engine at either stop. When you twist the throttle grip and let go, it must snap shut instantly. Sit on the seat in your normal riding boots and reach for the levers. Your wrists should stay flat and neutral, not bent upward or downward. If the levers feel too high or your arms ache within two minutes of holding the grips, loosen the perch bolts slightly, rotate the controls down, and re-torque them.
If something goes wrong
| What happened | Why | What to do |
|---|---|---|
| Throttle sticks or drags | Tube rubs bar end or grip | Slide housing out 2mm and re-tighten |
| Bar slips during riding | Clamp bolts have uneven torque | Loosen all bolts, re-torque evenly |
| Clutch cable pulls tight | Cable routed outside front fork | Re-route line behind the triple tree |
| Levers rotate under hand | Perch clamp bolts are loose | Tighten pinch bolts to manual spec |
| Uneven gap between clamps | Bolts tightened one side first | Reset bolts using crisscross method |
How often to do this
Dirt bike handlebars require replacement whenever they suffer a hard impact that causes a bend, or periodically due to metal fatigue from regular weekend riding. The two factors that change this timing most are crash frequency and the bar’s base material. An aluminum 7075-T6 bar handles ground impacts better than an entry-level steel bar, but any visible crease or deep gouge ruins structural strength. Check your bar clamp bolts before every weekend ride with a wrench. The trade-off is clear: keeping an old, bent bar saves cash today, but a sudden bar failure on a landing can lead to serious injury.
Frequently asked questions
Can I put 1-1/8 inch bars on 7/8 inch clamps?
No. Oversized 1-1/8 inch handlebars won’t fit inside stock 7/8 inch clamp cradles. If your bike has 7/8 inch mounts, you must buy clamp adapter kits or install an aftermarket upper triple clamp designed specifically for the larger diameter.
Do I need glue for lock-on grips?
No. Lock-on grips use built-in aluminum collars and small set screws that clamp directly onto the bar ends. You only use grip glue or safety wire if you’re installing traditional slide-on rubber grips over bare metal or plastic tubes.
How tight should dirt bike handlebar clamp bolts be?
About 18 to 26 Nm on most modern dirt bikes, but this varies by model—check the label or owner’s manual. Never guess the tightness by hand feel alone. Over-tightening crushes thin-walled bars and strips out the aluminum threads in your bike’s lower clamp mounts.
Why does my throttle stick after installing new bars?
The throttle tube is sitting too deep against the bar end or rubbing the grip rubber. Loosen the throttle housing screws, slide the assembly outward roughly 2 millimeters so the tube end doesn’t rub the metal bar, and tighten the screws again.
What happens if clamp gaps are uneven?
Uneven gaps mean clamping force is distributed poorly across the handlebar surface. The bar can suddenly rotate backward when you land from a jump. Always maintain an equal visual gap between the front and rear of the upper clamp plates as you torque.
Is this job suitable for a damaged triple tree?
No, this guide isn’t for riders dealing with cracked triple clamps or bent steering stems. If your front end twisted or cracked during a high-speed crash, replace the damaged structural mounting parts before you attempt to clamp on any new handlebar.
Final Thoughts
Once everything is tightened to the correct torque, take your bike for a slow test ride around your yard or driveway. Check that the controls feel natural and your cables don’t pull when you turn the wheel. You’ll be ready to hit the trails with confidence once you’ve confirmed everything’s secure.
Related guides