
Is your recliner headrest looking a little… lived-in? We’ve all been there.
Whether it’s from accidental spills, everyday grime, or just the passage of time, that comfy spot on your recliner can gather some serious dirt. But don’t worry, you don’t need to buy a whole new chair to fix it. This guide will show you exactly how to clean your recliner headrest, making it look and feel fresh again.
Get ready to restore that cozy feeling to your favorite seat!

Credit: www.gracefurniture.com
Identify Your Headrest Material
First, know your headrest material. Leather, fabric, or vinyl needs different care. This helps choose the right cleaning method.
Your recliner headrest needs special care. The material dictates cleaning methods. Wrong methods cause damage. This guide helps you identify it. You will then clean it safely.Common Upholstery Types
Leather is a popular choice. It feels smooth. It can be genuine or faux. Fabric upholstery is also common. It comes in many textures. Microfiber is a soft fabric. It resists stains well. Vinyl is another option. It is durable. It is easy to wipe down.Checking The Manufacturer’s Tag
Look for a tag. It is often under the recliner. This tag has cleaning codes. The codes tell you how to clean. They offer important guidance. Codes like ‘W’ mean water-based cleaners. Codes like ‘S’ mean solvent-based cleaners. Always follow these codes.The Water Drop Test
You can test fabric. Use a damp cloth. Gently rub an hidden spot. Watch for water absorption. If water beads up, it resists spills. If it soaks in quickly, it is absorbent. This helps choose the right cleaner. Leather and vinyl will not absorb much.Visual And Tactile Inspection
Examine the headrest closely. Does it look like leather? Does it feel like fabric? Does it have a shiny surface? These clues help identification. Trust your senses. Feel the texture. See the sheen. This visual cue is key.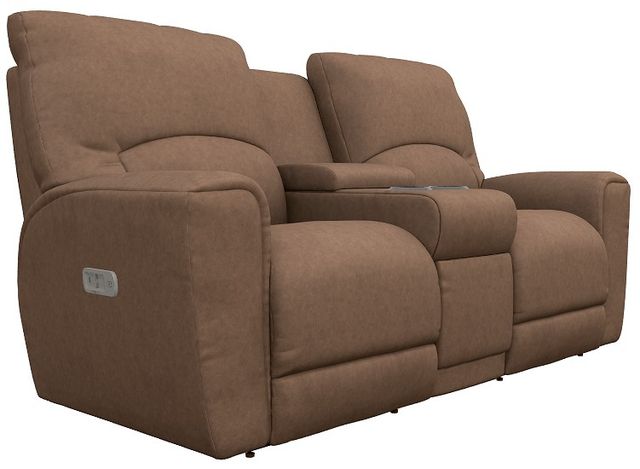
Credit: www.mandbfurnitureinc.com
Gather Cleaning Supplies
Before you start cleaning, collect all your supplies. Having everything ready makes the job easier. You will tackle dirt and stains effectively. This preparation is key. It saves you time later.
Essential Cleaning Agents
Grab a mild soap. Dish soap works well. You can also use a specialized upholstery cleaner. Always check the recliner’s tag. It may have specific cleaning advice. Test cleaners on a hidden spot first. This prevents damage. Water is also important. Have a spray bottle ready. Fill it with clean water.
Tools For The Job
You need soft cloths. Microfiber cloths are best. They are gentle on fabric. Have a few on hand. You also need a small brush. A soft-bristled brush is ideal. It helps loosen dirt. A vacuum cleaner is useful too. Use its upholstery attachment. This removes loose debris. A bucket for water is necessary. Keep it nearby for rinsing.
Protective Gear
Consider wearing gloves. This protects your hands. It keeps them clean. Some cleaners can be harsh. Gloves offer a barrier. This is a simple step. It makes cleaning safer. Prepare for a comfortable job. You will feel ready to begin.
Spot Test Cleaning Solution
Always test your cleaning solution first. Apply a small amount to an unseen area. This spot test checks for colorfastness. It prevents damage to your recliner headrest.
Always test your cleaner first. This is a crucial step. It protects your recliner’s fabric. You do not want to cause damage. A small, hidden area works best. Try the inside of a cushion flap. Look for any color change. Check for fabric damage. Wait for it to dry completely.Why Spot Testing Matters
Different fabrics react differently. Some cleaners can fade colors. Others might weaken the material. A spot test prevents these issues. It ensures your chosen cleaner is safe. You can clean with confidence then. It saves you from costly mistakes.How To Perform The Spot Test
Get a clean, white cloth. Apply a small amount of cleaner. Dab it onto the hidden fabric spot. Do not rub vigorously. Let the cleaner sit briefly. Blot the area with another clean cloth. Allow the spot to air dry. Inspect it closely for changes. Any discoloration is a red flag. Any damage means stop using it.Fabric Headrest Cleaning
Keep your recliner headrest fresh. Simple cleaning methods work best. Address stains promptly for a cleaner look.
Your recliner’s fabric headrest needs care. Dirt and oils build up. This guide helps you clean it. Keep your headrest fresh. Enjoy your comfortable recliner.Vacuuming Loose Debris
First, remove loose dirt. Use your vacuum cleaner. Attach the brush tool. Gently go over the headrest. Get into all the seams. This removes crumbs and dust. It prepares the fabric for cleaning.Mild Soap And Water
Mix a little soap. Use mild dish soap. Add it to warm water. Dampen a clean cloth. Do not soak the cloth. Lightly wipe the headrest. Work in small sections. Rinse the cloth often. Wipe away soap residue.Tackling Stains
Some stains need more. Spot clean them first. Use a gentle stain remover. Test it on a hidden spot. Apply it directly to the stain. Blot, do not rub. Let it sit briefly. Then wipe it clean.Drying Properly
Fabric needs to dry well. Never use high heat. Air drying is best. Use a clean, dry towel. Blot up excess moisture. Let it air dry completely. A fan can speed drying. Ensure it is fully dry. Then relax in your recliner.Leather Headrest Cleaning
Keep your recliner headrest looking its best. Gently wipe away dust and grime. Use a damp cloth for light cleaning. Address spills quickly with mild soap.
Leather headrests need special care. Dirt and oils can build up. Proper cleaning keeps your recliner looking new. It also protects the leather. Let’s get started.Gentle Wiping
Start with a soft cloth. Dampen it slightly. Do not soak the cloth. Wipe the headrest gently. Use a circular motion. This removes surface dust. It is a simple first step.Leather Cleaner Application
Choose a good leather cleaner. Apply it to a clean cloth. Do not spray directly on leather. Rub the cleaner in gently. Work in small sections. This lifts embedded dirt. It cleans without harsh chemicals.Conditioning Leather
Leather needs moisture. Use a leather conditioner. Apply it with a soft cloth. Buff it in well. This keeps the leather soft. It prevents cracking. Your headrest stays supple. It looks and feels great.Vinyl Headrest Cleaning
Keep your recliner headrest looking great. Gently wipe vinyl with a damp cloth. Mild soap works for tougher spots.
Cleaning your recliner’s vinyl headrest is simple. Vinyl is durable. It resists stains well. A clean headrest feels better. It looks better too. This section guides you. Keep your vinyl headrest pristine.Simple Wipe Down
Start with a dry cloth. Gently wipe dust away. Use a damp cloth next. Mild soap is good. Mix soap with water. Lightly dampen the cloth. Wipe the vinyl surface. Do not soak the vinyl. Dry it with a clean cloth. This removes light dirt. It refreshes the material.Stubborn Marks Removal
Some marks are tougher. They need a little more effort. Try a soft brush. Use it with soapy water. Gently scrub the stain. Do not scrub too hard. This can damage the vinyl. If marks remain, use a cleaner. Choose a cleaner for vinyl. Test it on a small spot. Apply it to the mark. Wipe it clean. Dry the area thoroughly. Persistent stains might need repeating. Always be gentle.Dealing With Odors
Tackle tough smells on your recliner headrest. Simple cleaning methods remove lingering odors. Keep your chair fresh and inviting.
Headrests absorb many smells. Sweat is a common culprit. Food odors linger. Pet smells can attach easily. These smells make your recliner unpleasant. You want a fresh-smelling chair. Tackle odors directly.Baking Soda: Your Odor Neutralizer
Baking soda is a great odor absorber. It is inexpensive. It is safe for most fabrics. Sprinkle it generously. Cover the entire headrest. Let it sit for several hours. Overnight is even better. The baking soda will soak up smells.Vacuuming Away The Residue
After the baking soda works, remove it. Use your vacuum cleaner. Attach the upholstery brush. Gently vacuum the headrest. Get all the baking soda out. This removes trapped odors. Your headrest will smell cleaner.Vinegar Spray For Tough Smells
Stubborn odors need more power. Mix equal parts water and white vinegar. Put it in a spray bottle. Lightly mist the headrest. Do not soak the fabric. Vinegar neutralizes strong smells. Let it air dry completely. The vinegar smell disappears.Sunlight: Nature’s Freshener
Sunlight kills bacteria. It also helps remove odors. If possible, move your recliner. Position it in direct sunlight. Let it bask for a few hours. This natural method works wonders. It is a simple, effective step.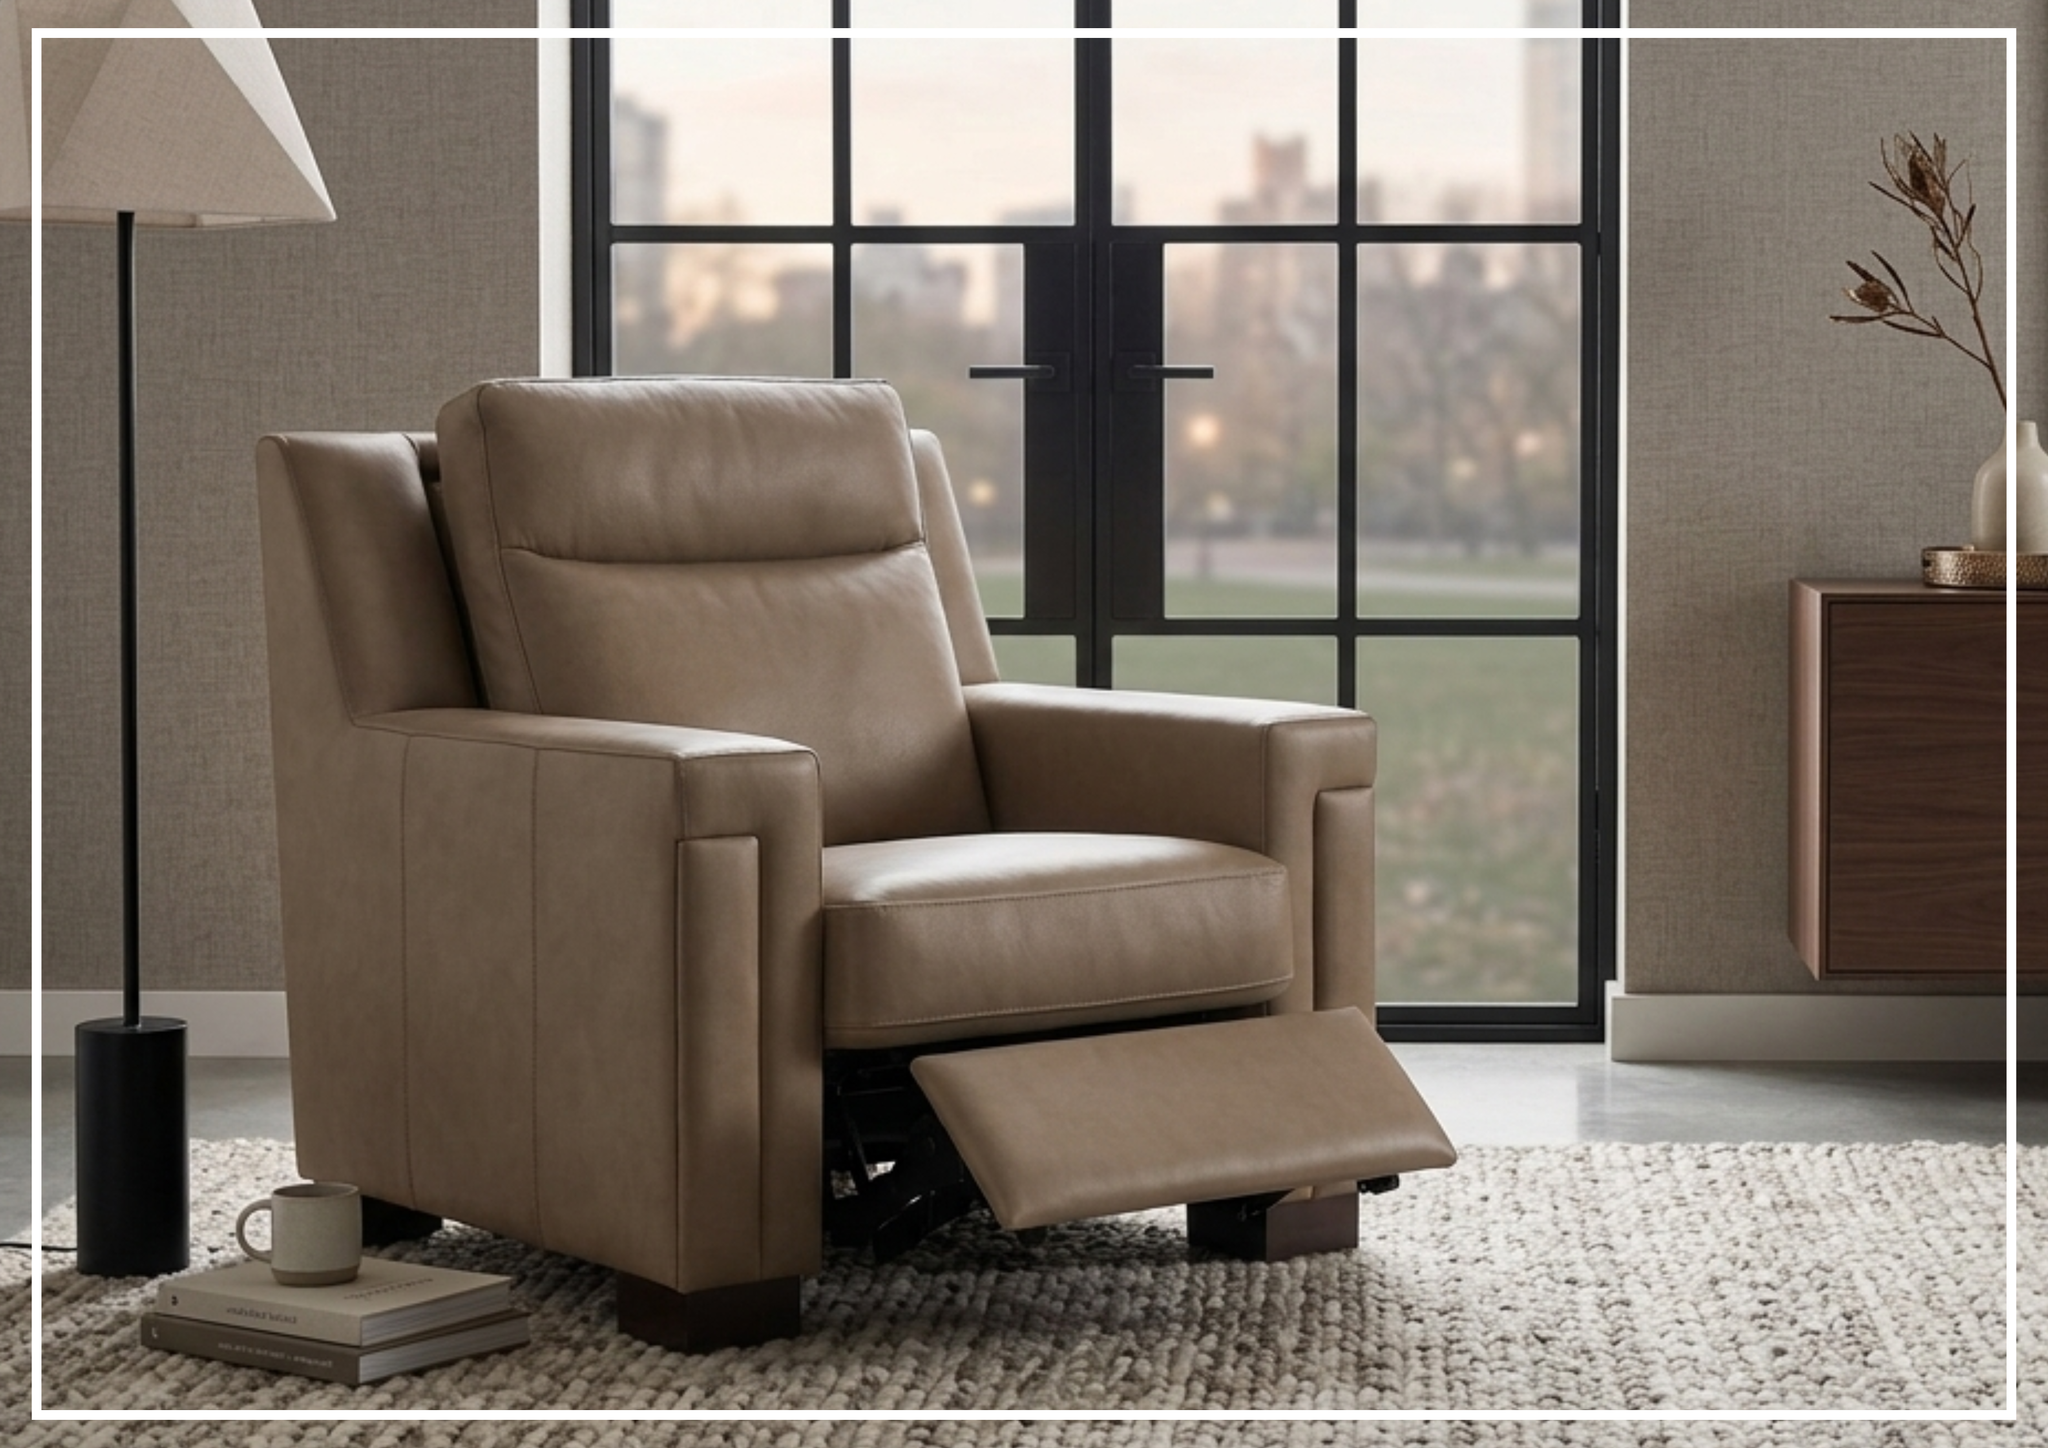
Credit: www.sofabed.com
Preventative Care Tips
Keep your recliner headrest clean. Regular dusting prevents grime buildup. Wipe with a damp cloth. This simple act promotes good hygiene.
Keep your recliner headrest looking its best. Simple steps prevent dirt buildup. This saves you cleaning time later. Proactive care is smart. It extends your recliner’s life.
Regular Dusting Is Key
Dust your headrest often. Use a soft, dry cloth. Microfiber cloths work well. Dust prevents grime from setting in. Do this weekly. It takes only a minute.
Wipe Up Spills Immediately
Accidents happen. Spills are common. Clean them right away. Blot, do not rub. Rubbing spreads the stain. Use a clean, damp cloth. This stops stains from forming.
Use Protective Covers
Consider headrest covers. They add a barrier. Fabric covers are washable. They catch oils and dirt. This keeps the original fabric clean. Choose covers that match your style.
Avoid Direct Sunlight
Sunlight fades fabric. It can also dry out leather. Position your recliner away from windows. Direct sun damages materials. Protect your investment. Keep it out of harsh light.
Frequently Asked Questions
How To Clean Recliner Headrest?
Gently wipe the headrest with a damp cloth. Use mild soap for tougher spots. Always test in an inconspicuous area first.
What To Use For Stubborn Stains?
A mixture of water and mild dish soap works well. For leather, use a specialized leather cleaner. Blot the stain, don’t rub it.
Can I Use Harsh Chemicals?
No, avoid strong cleaners or solvents. These can damage the fabric or leather. Stick to gentle, approved cleaning solutions.
How To Dry A Recliner Headrest?
Air dry is best for most materials. You can also use a clean, dry towel. Avoid direct heat or sunlight.
Best Way To Remove Odors?
Baking soda can absorb smells. Sprinkle it on, let it sit, then vacuum. For persistent odors, consult the manufacturer.
Cleaning Fabric Versus Leather Headrests?
Fabric may need spot cleaning with a mild solution. Leather requires specific leather cleaners. Always check your furniture’s care tag.
How Often Should I Clean It?
Clean spills immediately. A general wipe-down monthly is good. Deep cleaning can be done seasonally.
Conclusion
Keep your recliner headrest clean. Regular dusting helps a lot. Wipe spills immediately. Use a gentle cleaner. Your recliner will look better. Enjoy your fresh space. Cleanliness makes a difference.