
Lacing a wheel means threading 32 or 36 spokes through a central hub into an outer rim in a cross pattern so the wheel stays round and strong. The core process of how to lace dirt bike rims takes roughly 45 to 90 minutes per wheel when you work slowly and thread every nipple onto its spoke by just three turns. This guide covers spoke orientation, correct hub offsets, and how to avoid warped rims before you ever put the wheel on a truing stand.
Understanding dirt bike wheel construction
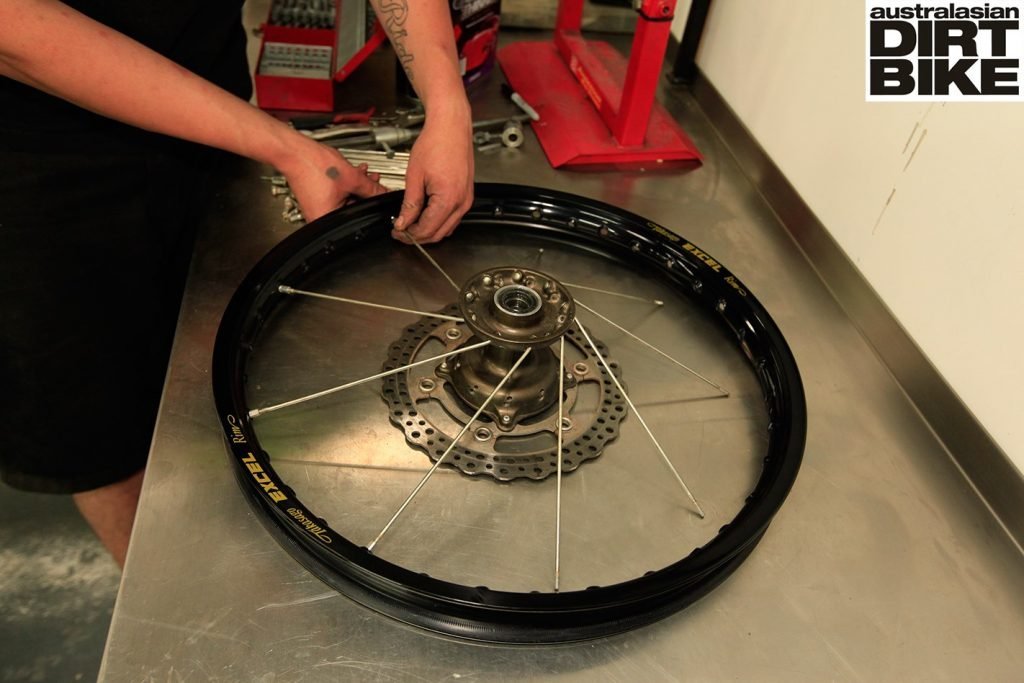
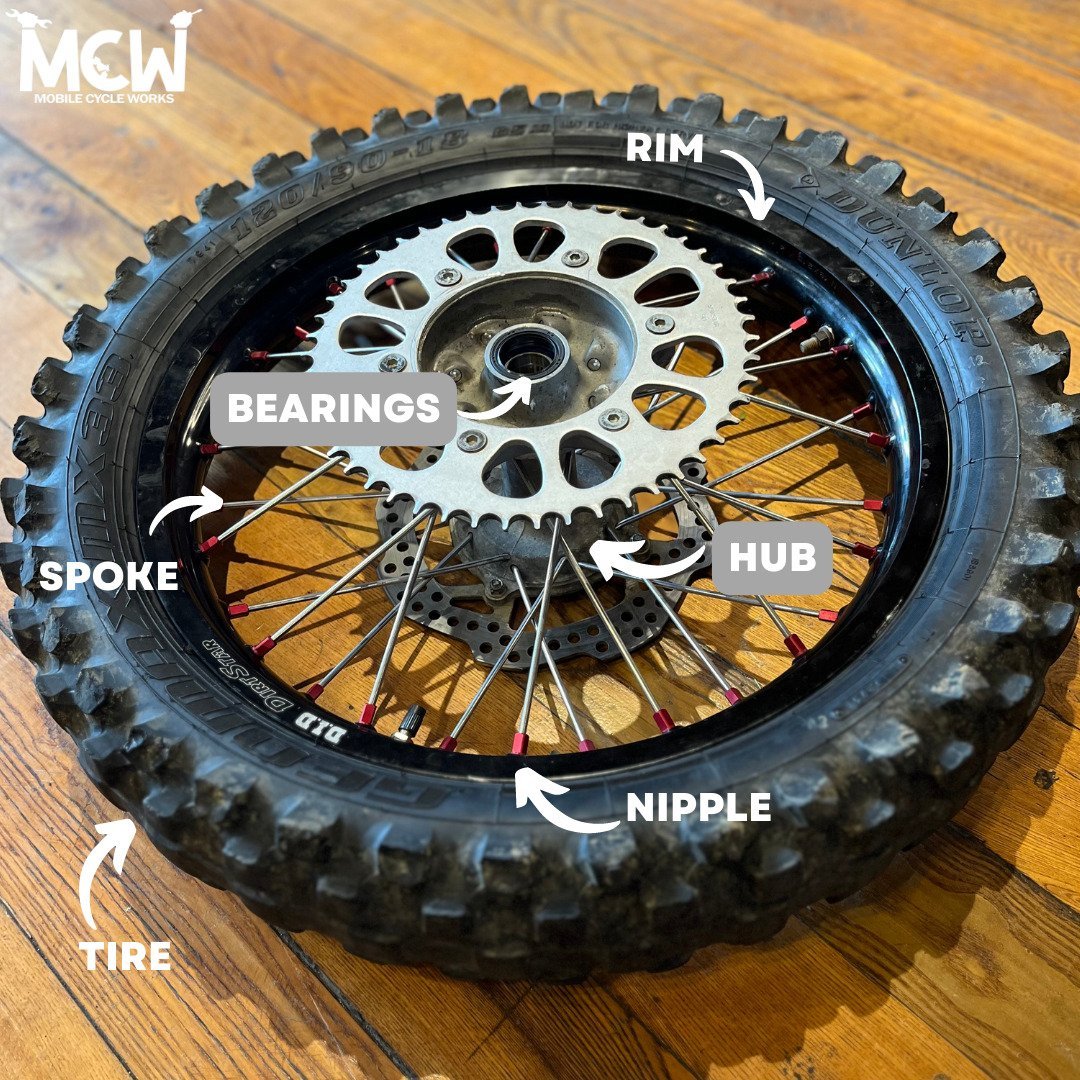
A dirt bike wheel relies on spoke tension to handle jumps, rocks, and hard braking. Spoked wheels absorb heavy impacts by flexing slightly, which cast wheels can’t do without cracking. A standard dirt bike rim uses either 32 or 36 spokes.
These spokes divide into two groups: inner spokes and outer spokes. Inner spokes enter the hub flange from the inside, while outer spokes push through from the outside. They often have different bend angles at the neck, usually varying between 90 degrees and 100 degrees. Mixing them up is a frequent blunder that bends spokes before you even tighten them.
Tension holds the hub suspended in the exact center of the rim ring. The rim angle drilled by the factory dictates which way each spoke points. Forcing a spoke into a hole drilled at the opposite angle will gouge the aluminum rim and strip the soft nipple threads.
The basic method
- Place the hub flat on your workbench with the brake rotor side facing up, and set the rim over it so the valve stem hole sits at the top.
- Separate your spokes into inner and outer piles by checking the hook bend; if the neck has a sharper bend, keep it separate from the flatter ones.
- Drop 8 or 9 inner spokes into every other hole on the top hub flange so they point outward toward the rim.
- Turn all these top inner spokes clockwise, choose a rim hole angled in that direction, and thread a nipple onto each spoke by exactly 3 turns.
- Flip the entire assembly over, repeat the same pattern for the bottom flange, and verify that the valve hole stays clear of crossed spokes.
- Spin every nipple down by hand with a spoke screwdriver until each nipple covers the last visible spoke thread.
The single judgement call that decides your success happens right at step 7: you must stop turning nipples the exact second they cover the spoke threads. If you over-tighten even two spokes early, you pull the hub off-center, and you’ll spend hours fighting an egg-shaped rim.
Key numbers and settings at a glance
Spoke counts, lacing time, and patterns change based on your bike size and hub style.
What separates good results from bad ones
Preparation and spoke grouping
Experienced builders take pictures of the original wheel offset before removing a single spoke. They measure the gap between the brake rotor mounting face and the outer rim edge with a ruler. If your hub sits 5 millimeters to the left on a rear wheel, do A: lace the rim to match that exact offset. If the hub is centered, do B: keep both sides pulled equally. People who skip this step often build a straight wheel that rubs the swingarm or chain once bolted to the bike. Sorting all spokes by length and head angle before touching the rim prevents taking the whole wheel apart midway through.
Staged tightening order
Good results come from patience during the initial thread engagement. Work in stages around the rim rather than tightening one spoke to full tension immediately. Count nipples in groups of three: tighten spoke 1, skip two, tighten spoke 4, and continue around the perimeter. This spreads rim load evenly without creating flat spots. If a nipple binds early, stop right away. Forcing a tight nipple strips its head, which ruins a new spoke set and costs you another replacement pack.
Common problems and quick fixes
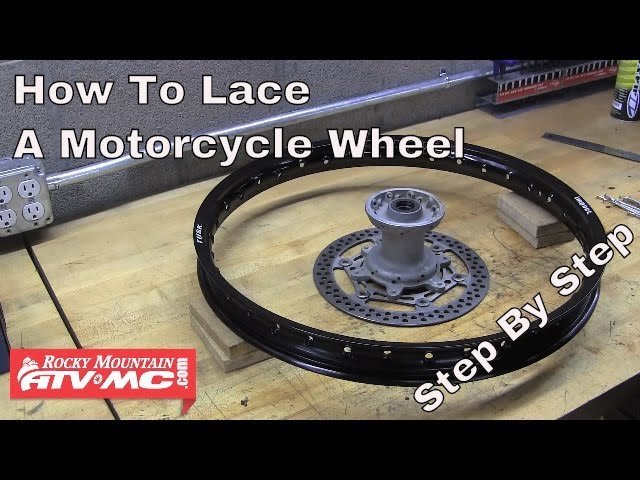
A wheel can pull out of alignment quickly if a spoke sits in the wrong rim dimple.
| What you notice | What it usually means | What to do first |
|---|---|---|
| Valve hole blocked by crossed spokes | Lacing started in the wrong hole | Remove top outer spokes and shift them one hole over |
| Spoke threads show past the nipple | Spoke is in the wrong flange hole | Check inner versus outer spoke placement |
| Hub pulls hard to one side | Uneven nipple depth around rim | Back all nipples out until threads show equally |
| Rim wobbles side to side heavily | Unequal cross tension | Loosen tight side by 1 turn and spin again |
Factory specifications and limits
Motorcycle service manuals define strict tolerances for runout and spoke tightness. The maximum allowable lateral runout on most modern dirt bikes is 2.0 millimeters, which you can verify in your model’s official repair manual published by manufacturers like Yamaha Motor Corporation. Radial runout limits, which measure the hop or up-and-down movement of the rim, follow that same 2.0-millimeter threshold.
Torque values are equally exact. Most standard dirt bike spoke nipples require between 45 and 50 inch-pounds of torque. Exceeding 55 inch-pounds can strip aluminum nipples or crack the rim around the spoke holes. You can’t guess torque by hand feel alone; you must use a dedicated spoke torque wrench to ensure even clamping pressure across the wheel.
Post-build maintenance and wheel care
Once the wheel is laced and trued, it isn’t set permanently. New spokes stretch, and the nipple heads bed deep into the rim counterbores under load. Check your spokes after the first 30 minutes of ride time. Tap each spoke gently with a small wrench. A properly tightened spoke rings with a clear, high pitch. A dull thud means the spoke has worked loose and needs a quarter-turn tighten. Re-check the rim every two to three rides, or whenever you clean dried mud off the wheels.
When to use a different approach
Lacing your own rim isn’t for riders who need their bike running in two hours, because learning the pattern takes time. If you notice cracks around the spoke holes in your aluminum rim, stop lacing. A cracked rim is dangerous and must be scrapped entirely.
This approach is also the wrong choice if your wheel hub has ovalized spoke holes from riding on loose spokes for months. A damaged hub will break new spokes within a few rides. In that case, buy a complete pre-built wheel assembly instead of rebuilding on damaged hardware.
Frequently asked questions
Can you reuse old spokes on a new rim?
No, because old spokes suffer from metal fatigue and stretched threads. When you hit bumps, worn spokes snap much easier than new ones. Installing fresh spokes and nipples with a new rim protects your hub and saves you from doing the rebuild twice.
Why are rear dirt bike spokes different lengths?
Rear spokes differ because dirt bike hubs are wider on the drive side. The sprocket side sits further out than the disc brake side to align with the engine countershaft. Different spoke lengths ensure the rim stays centered in the swingarm despite the uneven hub shape.
How long does it take to lace a dirt bike rim?
Expect 45 to 90 minutes to lace the spokes loosely by hand. Trueing and tensioning the wheel on a stand will take an additional 30 to 60 minutes. Setting aside a full two hours gives you enough time to check your pattern without rushing.
Is it safe to ride with one broken spoke?
No, you shouldn’t ride with a broken spoke. One missing spoke shifts extra impact weight onto the two neighboring spokes. This extra stress often snaps them, which can collapse the wheel or puncture your inner tube during a hard landing.
What happens if you over-tighten dirt bike spokes?
Over-tightening dirt bike spokes cracks the rim around the eyelets and strips the soft aluminum nipples. It also removes the natural flex the wheel needs to absorb jumps. The rim becomes brittle and will flat-spot or dent on rock hits.
Final Thoughts
Once you’ve tightened everything to the correct tension, you’ll need to mount your tire and check for any wobbles on the bike. Don’t rush the final adjustments, as a steady hand makes for a smoother ride. You’re ready to hit the trails, so take it easy for the first few miles.
Related guides