
Learning how to fit a rear bike rack takes about 20 to 30 minutes using 4 hex bolts tightened to 4 Newton-meters of torque. You just align the lower eyelets first, level the top platform, and secure the upper stays. This setup suits daily commuters carrying pannier bags or cargo up to 55 pounds on standard commuter frames.
Tools for fitting your rear bike rack
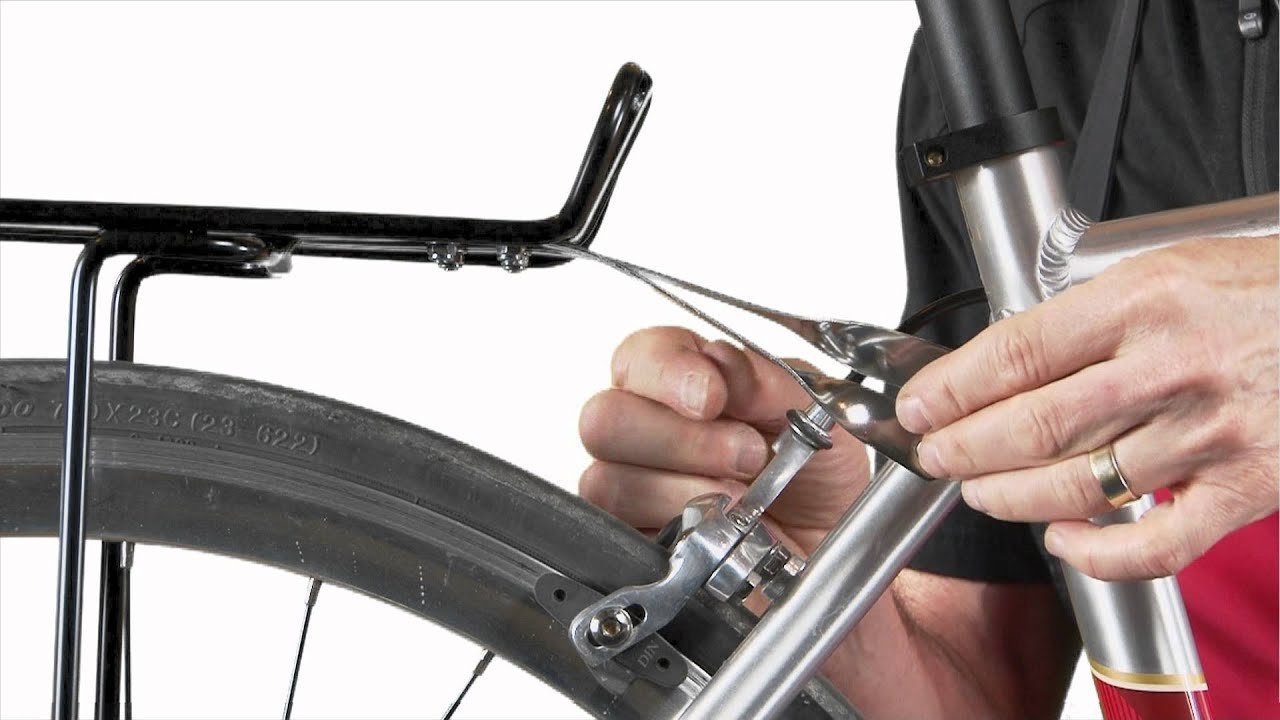
- 4 metric M5 button-head bolts (typically 12mm length; M6 won’t fit standard threaded eyelets).
- 4 flat stainless steel washers to protect frame paint.
- 4mm hex key (or 5mm, depending on your bolt head style).
- Torque wrench measuring 3 to 10 Newton-meters.
- Tube of medium-strength blue threadlocker (such as Loctite 242) or standard bicycle grease.
- Small bubble level or smartphone leveling app.
- P-clamps (rubber-coated steel clamps) only if your frame lacks built-in seatstay eyelets.
You can substitute a dedicated seatpost clamp with integrated rack eyelets if your frame lacks upper mounts, but zip ties will snap under real cargo weight. If your frame is raw carbon fiber without factory mounts, don’t clamp metal arms directly to it; take it to a certified bike shop mechanic to avoid crushing the composite tubes.
Step-by-step
- Inspect the threaded eyelets near your rear axle dropouts and on your upper seatstays to ensure the threads are clean and free of grit.
- Apply a single drop of blue threadlocker or bicycle grease across the first 3 threads of all 4 M5 bolts.
- Position the bottom rack feet against the lower frame eyelets, slide a washer onto each lower bolt, and thread them in 4 full turns by hand. Careful: Don’t tighten these lower bolts fully yet, or you won’t have enough wiggle room to align the top mounting arms.
- Loosen the adjustment bolts on the rack’s upper telescoping stays so the metal arms slide back and forth freely.
- Pivot the rack until the cargo deck sits parallel to the ground, placing your bubble level flat on top of the deck to verify.
- Connect the front ends of the upper stays to the seatstay eyelets using your remaining 2 washer-backed M5 bolts, hand-tightening them into place. Tip: If the stays must bend inward to meet the frame, bend them gently with your hands before bolting so you don’t cross-thread the frame mounts.
- Tighten the lower dropout bolts to 4 Newton-meters with your torque wrench, then tighten the upper stay bolts to 4 Newton-meters.
- Tighten the sliding adjustment hardware on the rack stays to 4 Newton-meters so the deck can’t tilt backward while riding.
Frame types and setup changes
Frame designs change how long the job takes and what extra hardware you need.
| Bike Frame Type | Extra Time and Parts | What is Different | What to Watch For |
|---|---|---|---|
| Standard Hybrid / Touring | 20 minutes; standard bolts only | Direct bolt-on to factory eyelets | Bolt thread engagement depth |
| Disc Brake Bike | 30 minutes; requires rack spacers | Caliper body blocks straight rack arms | Bolt bending under heavy side loads |
| Frame Without Eyelets | 45 minutes; requires 2 P-clamps | Clamps wrap around bare stays | Clamp slippage on painted stays |
| Small Bike Frame (Under 50cm) | 35 minutes; requires bent stays | Deck sits very close to tire | Heel clearance against pannier bags |
It’s safer to start with small adjustments on stay length and check clearance before torquing, rather than forcing bent parts together on the first try.
How to tell you did it right
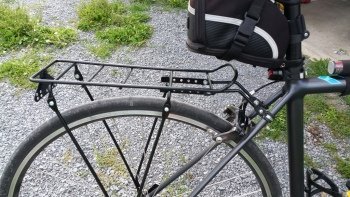
A correct installation produces a flat, rigid platform that doesn’t budge when you grab it with both hands and shake the bike sideways. A poor installation sags toward the rear tire or wobbles laterally when pushed. The most common quality problem is rattling hardware that loosens after a few miles. This happens because road vibrations break loose dry metal threads that lack adequate friction or thread compound. Applying thread compound to the threads, using flat washers under every bolt head, and verifying final torque with a proper tool will prevent hardware from backing out during rides.
Standards and final checks
The European standard ISO 11243:2016 for luggage carriers sets clear strength limits, rating standard rear racks for either 18 kilograms (about 40 pounds) or 27 kilograms (about 60 pounds). Wipe away any grease squeezed out around the frame mounts, pack your tools, and check the tire clearance by spinning the rear wheel freely. If your cargo platform tilts downward, bags will slide into your heels while pedaling; if it’s level, weight stays centered over the axle. This varies by model — check the label stamped directly on the rack tubing for your specific weight ceiling. Check all mounting bolts for tightness after your first 50 miles of riding.
Alternative mounting approaches
Seatpost collar mounts
Swap your bike’s seatpost clamp for a collar that has threaded eyelets built right into the metal band. This provides a factory-grade mounting point for the upper stays without scratching frame paint. It adds a small cost in parts and 10 minutes of labor.
Axle-mounted through-axle kits
Use a replacement rear axle designed with threaded end studs to support rack legs when dropouts lack eyelets. This setup carries heavy loads reliably on modern disc-brake gravel frames. It increases total equipment cost significantly and requires matching your bike’s exact axle thread pitch.
Quick-release beam racks
Slide a self-contained carrier directly onto your seatpost tube and clamp it shut with a single lever. This installs in under two minutes without any tools, but it carries a lower weight limit (often 15 to 20 pounds) and handles poorly if overloaded.
Frequently asked questions
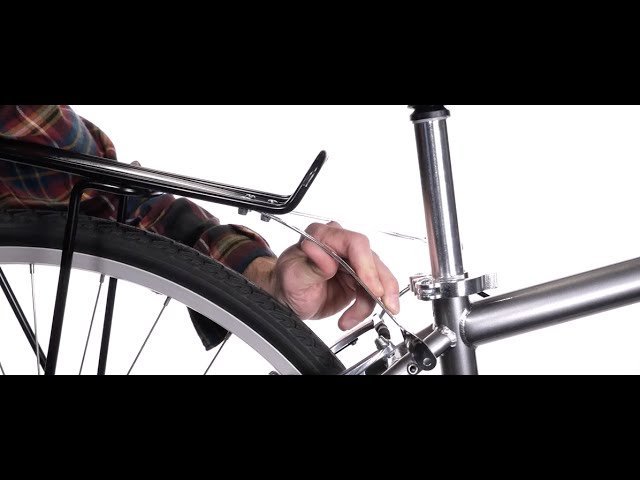
Can you put a rear rack on any bike?
No, because lightweight carbon race bikes and full-suspension mountain bikes lack the structural mounting points and frame strength required for cargo. Clamping hardware onto thin carbon tubes can crack the frame, while rear suspension movement will collide with fixed rack stays during typical rides.
What happens if you skip the washers?
The bolt head will gouge the paint and chew into the aluminum rack metal as you turn it. Without a smooth washer face to distribute clamping pressure, the bolt loses tension quickly from road vibration and can back out while you’re riding.
How much weight can a rear bike rack hold?
Most standard frame-mounted aluminum racks hold between 40 and 55 pounds (18 to 25 kilograms) when secured with four steel bolts. Seatpost-clamped beam racks hold far less, usually topping out between 15 and 20 pounds. Always follow the rating stamped on the rack body.
Is it safe to carry a passenger on a bike rack?
No, standard rear carriers aren’t designed to hold the dynamic weight of an adult or older child. The rack legs can buckle, bolts can shear off at the dropouts, or the bike can tip backward due to improper weight balance over the rear wheel.
Why are my heels hitting the pannier bags?
Your rack sits too far forward on the bike, or the pannier bags are hooked too close to the pedals. If your rack has adjustable lower mounting holes, slide the rack backward; if not, slide your bag hooks toward the rear edge of the top rail.
Final Thoughts
Before you head out, give the rack a firm shake to ensure nothing rattles or shifts. It’s a good idea to load your bags evenly on both sides to keep your balance steady while riding. You’ll find that your commute feels much lighter once you’re not carrying everything on your back.
Related guides