
Building a bike rack takes about two to three hours using basic hand tools and standard framing lumber. The materials cost roughly thirty to fifty dollars at most home centers. The difficulty level is easy, but cutting the lumber straight needs care. You must have an accurate tape measure before starting, because tire slots cut too wide will drop the bike sideways.
Gather your bike rack materials
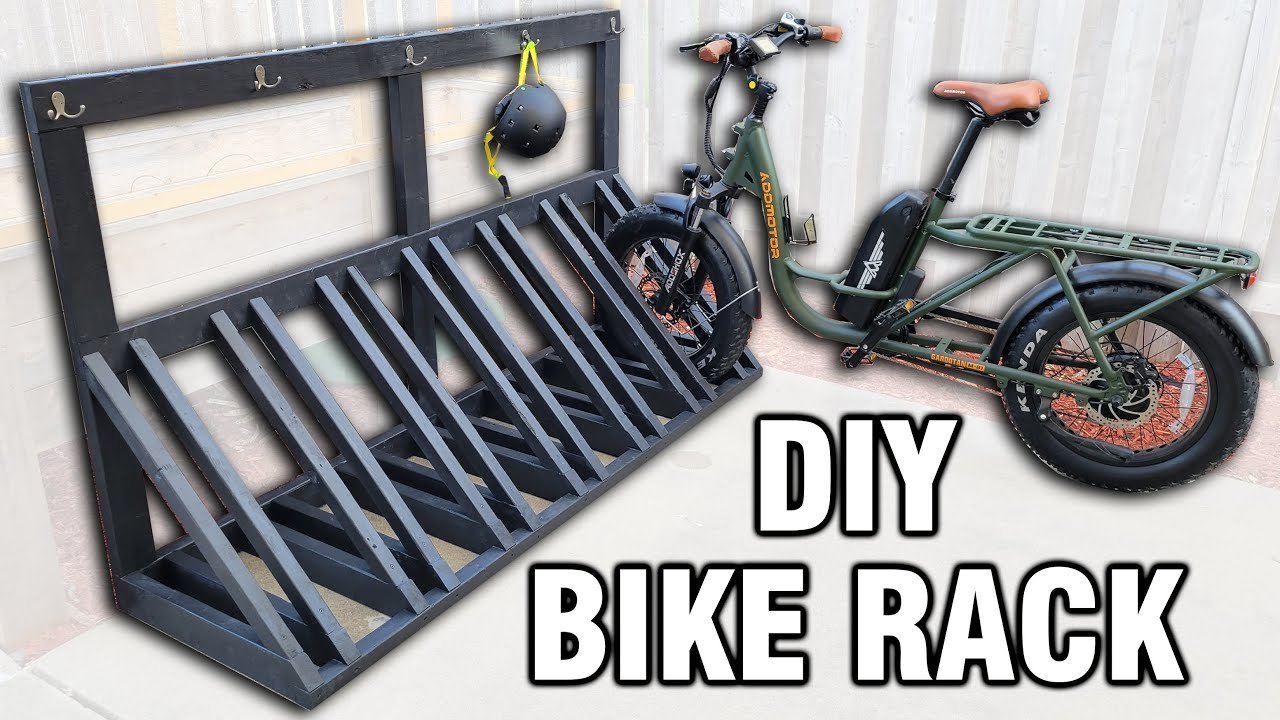
| Item | How much | Why it’s needed | A substitute |
|---|---|---|---|
| 2×4 lumber | Five 8-foot boards | Builds base and tire uprights | none — don’t swap this |
| Deck screws | Box of 2.5-inch screws | Joins wood without rust outside | 3-inch standard wood screws |
| Power drill | One tool | Drives screws and pilot holes | Impact driver |
| Drill bits | 1/8-inch bit | Prevents lumber from splitting open | none — don’t swap this |
| Miter saw | One tool | Cuts timber to exact length | Hand saw with miter box |
| Measuring tape | One 12-foot minimum | Marks correct spacing for tires | Rigid yardstick |
Before you start
- Sweep the workspace clear so your boards lay flat on the floor during assembly.
- Measure your widest bicycle tire across the tread to confirm slot sizing.
- Move parked cars out of the garage to give yourself 8 feet of working room.
- Wear safety glasses before cutting wood to prevent flying sawdust injuries.
- This project isn’t for heavy electric cargo bikes over eighty pounds; those require bolted metal commercial stands.
Step by step
- Measure four 2×4 boards to 48 inches long using your tape measure. Check the line twice so both cuts remain square across the face.
- Cut the boards with your saw along the marked pencil lines. Place the cut pieces together to make sure they match in length.
- Cut fourteen vertical spacer rungs measuring 16 inches long from the remaining 2×4 stock. Stack them together to confirm all fourteen pieces share the exact same height.
- Drill two 1/8-inch pilot holes through the ends of each 16-inch vertical board. Pilot holes stop the screws from splitting the wood grain near the edges.
- Space the vertical uprights on your 48-inch base board according to your bike fleet. If you ride road bikes, leave a 1.5-inch gap; if you ride mountain bikes, leave a 2.5-inch gap.
- Fasten the uprights to the lower base board using two 2.5-inch screws per joint. Shake each upright by hand to verify the joint holds firm with zero wiggle.
- Screw the second 48-inch board across the top ends of the uprights. Check that the assembly stays square by measuring diagonally from corner to corner.
- Attach the two bottom stabilizer feet perpendicular to the base using four screws per side. Set the rack on the floor to verify it sits level without rocking.
How to know it worked
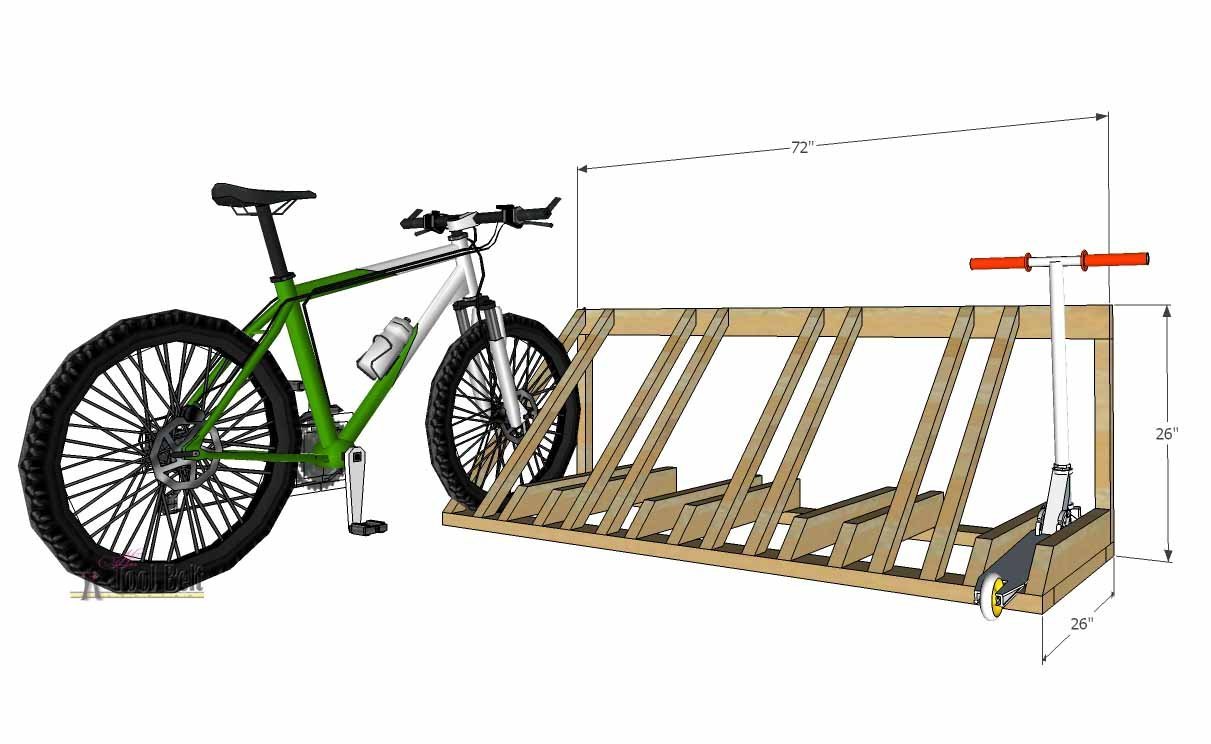
You’ll know the build worked when you push a bike wheel into the slot and the bike stands upright without leaning against a wall. The tire should slide between the wood rungs with about 1/4-inch of clearance on each side. If the rack wobbles when you let go of the handlebars, your floor is uneven or the base boards warped during fastening. Listen for creaking sounds when parking a bike; a loud pop means a screw stripped out of the wood grain. Check that the brake rotors clear the wooden rungs completely without touching.
If something goes wrong
| What happened | Why | What to do |
|---|---|---|
| Wood splits near end | Drove screw without pilot hole | Back screw out and pre-drill |
| Bike falls over sideways | Slot gap is too wide | Add thin wood shim inside |
| Tire won’t fit | Slot gap is too narrow | Unscrew upright and widen gap |
| Entire rack rocks unevenly | Floor or base board warped | Plane bottom high spot flat |
| Screws spin freely | Hole stripped out from torque | Drive longer screw beside it |
How often to do this
Build this rack once, and inspect the wood frame regularly. Outdoor weather changes the lumber quickly. Sun and rain warp untreated fir boards over time, which loosens the screw joints. The Consumer Product Safety Commission bicycle safety guidelines outline standard clearance rules that help keep storage areas safe from tripping hazards. If the rack stays inside a dry garage, you won’t need to rebuild it for several years. For an outdoor yard, coat the wood with exterior deck sealant regularly to stop rotting.
Frequently asked questions
Can treated wood work for this rack?
Yes. Pressure-treated pine resists rot outside much better than standard fir framing lumber. The trade-off is higher moisture inside the boards, which makes them heavy and prone to twisting as they dry out in hot sun.
Why does my bike lean inside the slot?
The gap between the vertical boards is too wide for your tire tread width. This varies by model — check the label on your tire sidewall to find its true width, then set the wooden gap roughly 1/2-inch wider than that number.
How long does the assembly take?
About two hours if your lumber is already cut to length. Cutting boards with a simple hand saw adds another forty minutes of physical labor. Setting up your power drill and marking your pencil lines accurately takes the first half hour.
Is it safe to park kids bikes here?
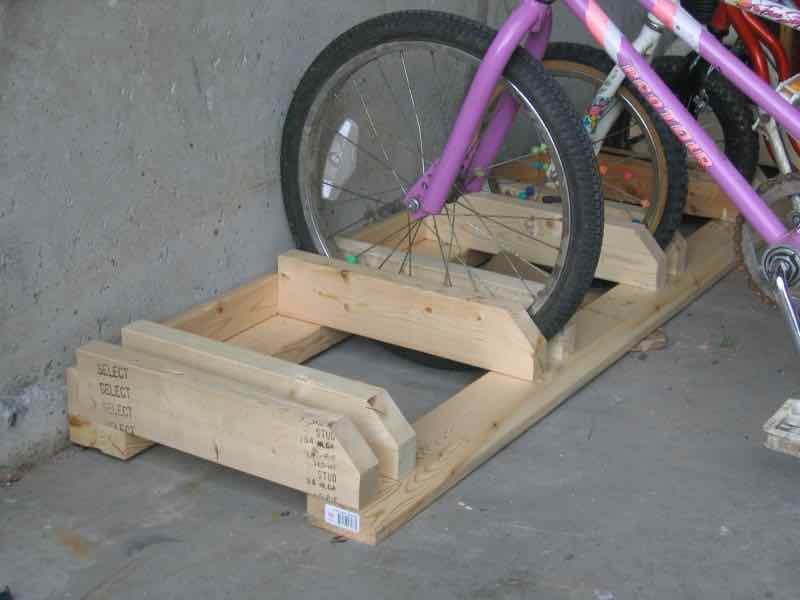
Yes, but small wheels under twenty inches need different spacing. A short wheel might not reach the upper support board, letting the frame twist sideways. Make a dedicated narrow slot with shorter uprights for small bicycles.
What happens if the wood gets wet?
Unsealed lumber swells and tightens the tire slots. The wood can trap water against your bicycle rims and spokes, causing steel parts to rust over several damp months. Apply exterior stain if the rack sits out in the rain.
Does tire size matter for rack spacing?
Yes. A road tire measures barely 1 inch wide, while fat-bike tires often measure 4 inches across. Leaving one universal size for all bikes causes thin wheels to flop over, which can stress the wheel and frame.
Final Thoughts
Once your project is dry, consider adding a coat of outdoor paint or weather-resistant sealant to protect the wood from rain. It’ll keep your rack looking great for years to come. Don’t forget to test the fit with your favorite bike, and you’re ready to hit the road whenever you’d like.