
You can restore your patio furniture by replacing the old, brittle strapping, as repairing webbed lawn chairs is a simple process of removing worn vinyl and weaving new material into the frame. The most common cause of failure is UV exposure, which breaks down the chemical bonds in the vinyl over time. If your frame is metal, check for rust before you start.
Why webbed lawn chairs need repair
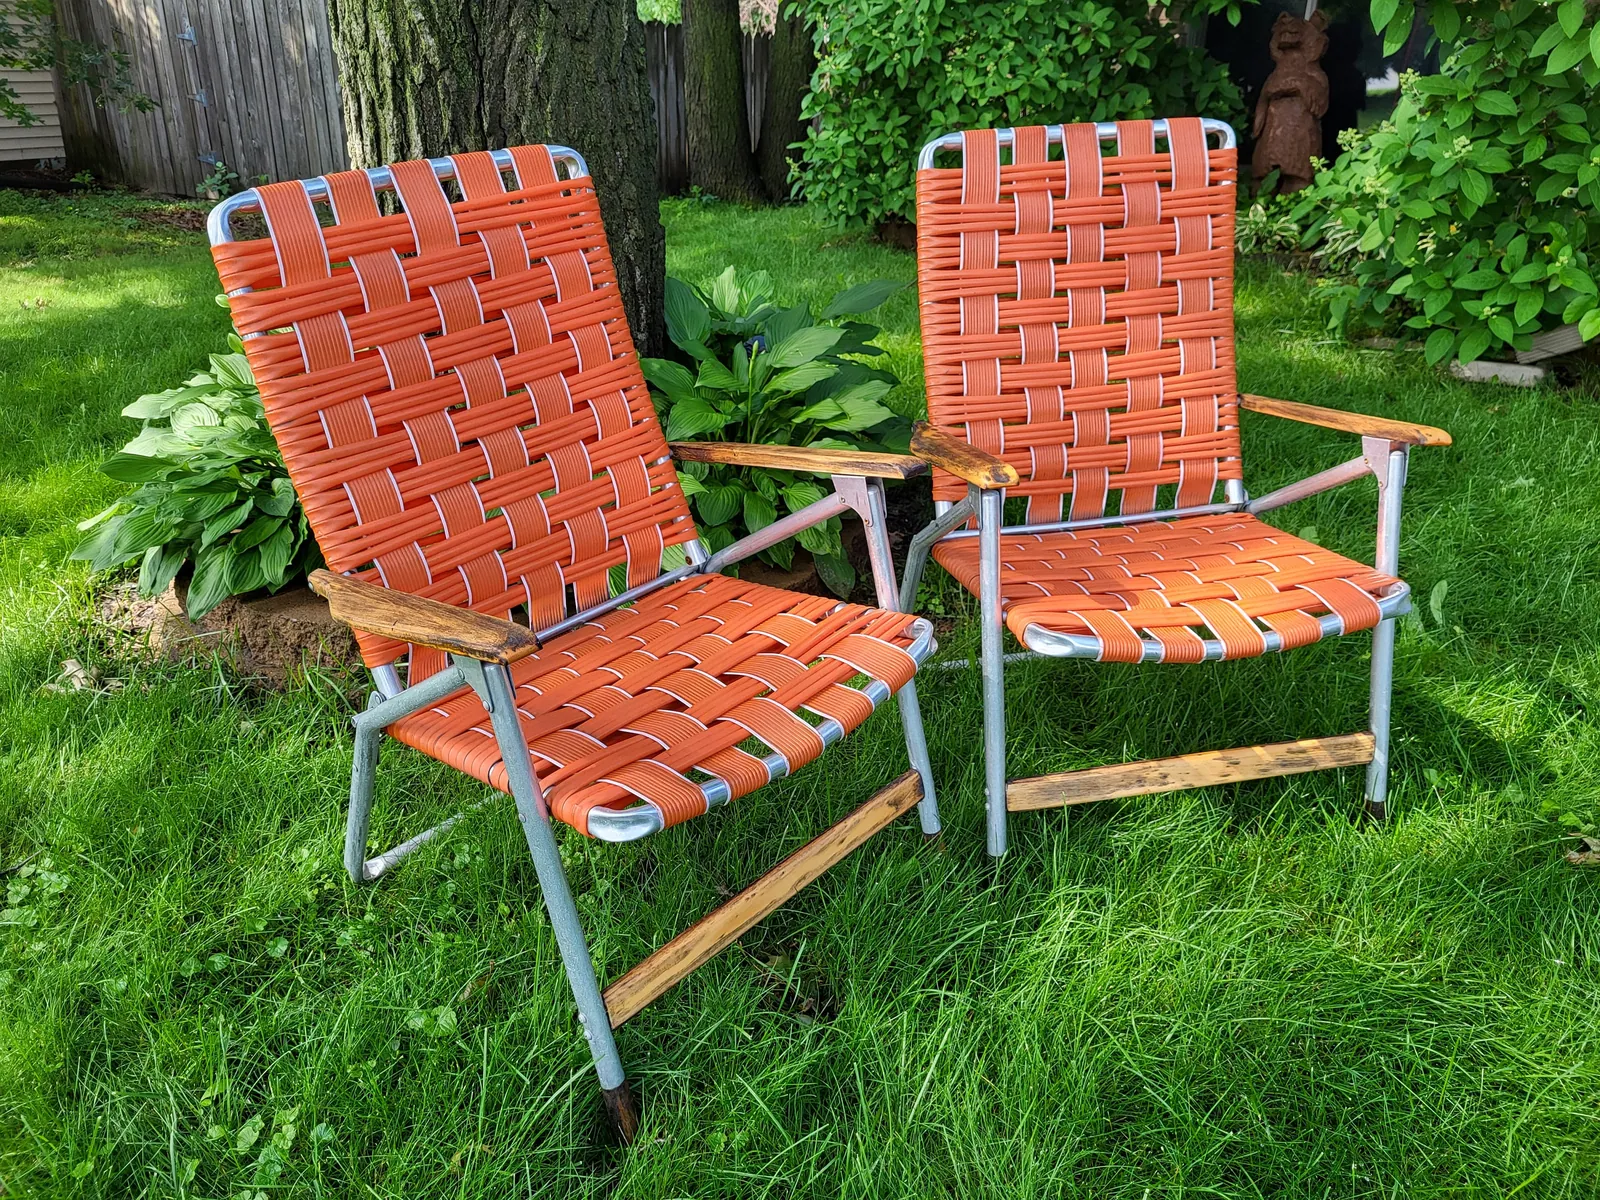
The primary reason your chair webbing fails is long-term exposure to ultraviolet light. Sunlight causes the plasticizers in the vinyl to evaporate, which makes the material lose its flexibility and become brittle. Once the material loses this chemical integrity, it snaps under the weight of a person sitting on it.
If you can press your thumb into the webbing and it leaves a white, chalky residue or a permanent crease, the plasticizers are already gone. At this stage, the material has reached the end of its functional life and no amount of cleaning will restore its structural strength.
Another factor is the tension applied during installation. If the original webbing was pulled too tight during factory assembly, it experiences constant stress that accelerates the cracking process. Conversely, if the material was too loose, it sags and rubs against the frame, causing abrasion.
Moisture also plays a role, especially in humid climates. Water gets trapped between the webbing and the metal frame, which promotes oxidation on steel components. This rust creates sharp, jagged edges that slice through the vinyl from the underside. Because this damage occurs on the hidden side of the strap, you won’t see the fraying until the material suddenly tears under load.
If your frame shows visible bubbling or flaking paint, check the underside of the webbing immediately; those metal imperfections act like a saw blade against the vinyl every time you sit down.
Remove old webbing safely
Before you begin, wear safety glasses to protect your eyes from debris. Use a pair of heavy-duty snips or a utility knife to cut the old webbing away from the frame. You’ll find that the straps are usually held in place by plastic rivets or metal clips.
Take a flat-head screwdriver and gently pry these fasteners out of the frame holes. If a rivet is stubborn, use a pair of pliers to twist it until it breaks free. Don’t force the tool against the frame, as you could bend the metal or scratch the powder coating, which might lead to future rust.
Once the old material is gone, take a moment to clean the frame with mild soap and a sponge. If you see any small spots of surface rust, use a fine-grit sandpaper to smooth the area.
If you find deep pitting or holes in the metal, the frame may not support your weight safely. In that case, don’t attempt to repair the webbing, as a compromised frame is a serious safety risk. Keep the old straps for a moment, as you’ll need them to measure the required length for your new material.
Install new replacement straps
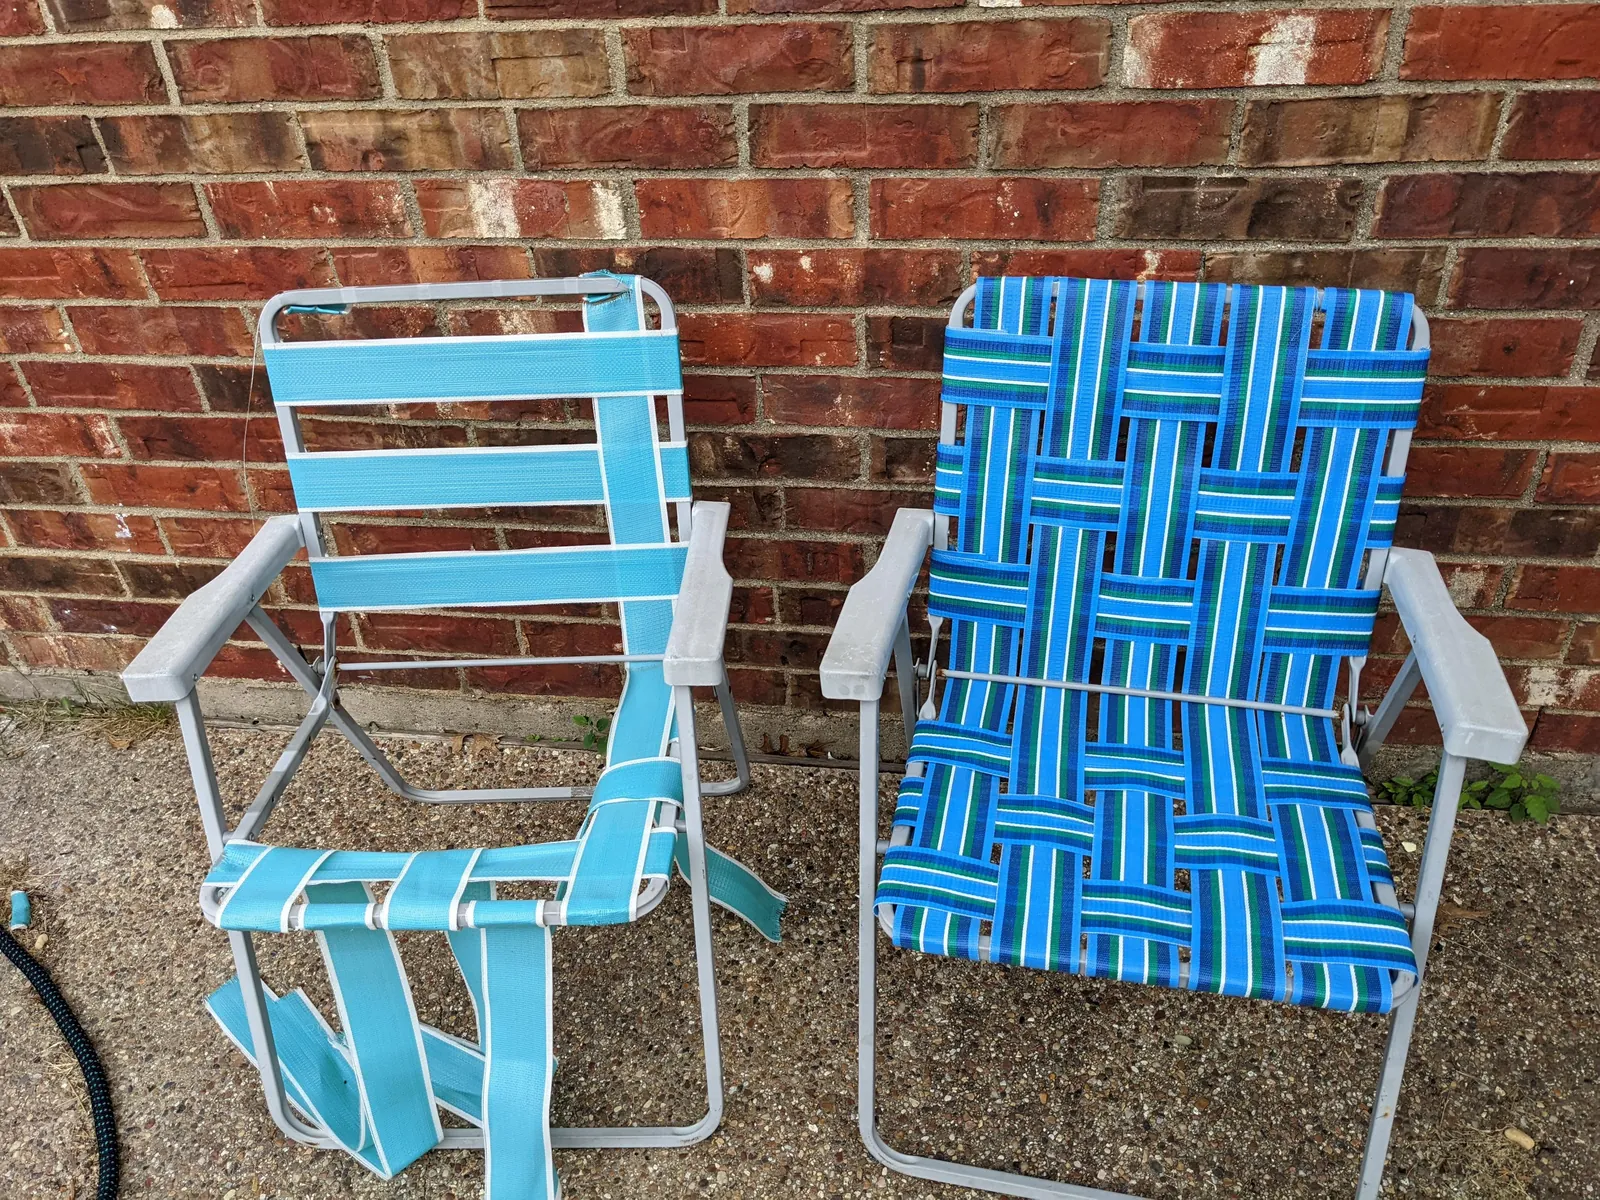
Purchase a roll of replacement vinyl webbing that matches the width of your chair’s channels. You need this reduction because the material must stretch significantly to stay taut. If you fail to subtract this length, the strap will sag within weeks of use, forcing you to remove and re-install the entire piece.
Cut your new strips to this calculated length and submerge them in a bucket of hot, soapy water for 10 minutes. This heat makes the vinyl pliable and much easier to pull into place during installation.
Start by threading one end of the wet strap into the frame slot and securing it with a new rivet or clip. Use a pair of locking pliers or a specialized webbing tool to pull the other end toward the opposite slot. It will require significant physical strength to stretch the material to the attachment point. Once it’s aligned, insert the second fastener firmly.
If you’re working on a chair with a complex pattern, complete the vertical straps first, then weave the horizontal ones through them. If you weave as you go, you’ll inevitably trap your tools behind the finished straps. The tension will tighten as the vinyl cools and dries over the next hour.
Weave patterns for durability
When you reach the horizontal weaving stage, use a simple over-under pattern to distribute weight evenly across the frame. If you skip this step or try to attach all straps in one direction, the chair will sag quickly because the load isn’t shared.
When you weave, make sure the straps are flat and not twisted, as a twist creates a pressure point that will snap the vinyl faster. If the chair is for a larger person, consider using a double-weave pattern where you overlap two thin strips instead of one wide one.
This isn’t for someone who lacks grip strength or the ability to apply firm, steady pressure, as the stretching process is physically demanding. If you find the material isn’t holding its position, you may have cut the straps too long; in this case, remove the fastener, trim an additional half-inch off the end, and re-stretch. Always keep your hands clear of the frame edges when pulling to avoid pinched skin or scratches.
Common repair mistakes
Never use duct tape or electrical tape to patch a tear. The adhesive fails in direct sunlight, leaving a sticky, hazardous residue that ruins the fabric. Instead, apply a dedicated vinyl repair kit designed to withstand UV exposure and temperature fluctuations.
Don’t attempt to install dry, cold webbing. Vinyl becomes brittle in storage, and forcing it onto the frame while stiff leads to uneven tension. Soak the material in warm water for twenty minutes before installation to ensure it stretches uniformly. If the webbing remains rigid after warming, discard it, as the plasticizers have already leached out.
Old plastic clips often look intact, but they’re as brittle as the webbing itself. Reusing them is a common mistake that leads to failure within weeks. Always install fresh rivets or clips with every new set of straps.
Finally, check the frame for squareness before you begin. If the frame is warped, new webbing will pull the metal further out of alignment, causing the chair to wobble permanently. If the frame rocks on a flat surface, bend it back into position before securing the straps.
Prevent future webbing wear
| If you’re doing this | Do this instead | Why |
|---|---|---|
| Leaving chairs in direct sun | Store in a shaded area | UV rays destroy plastic polymers |
| Stacking chairs while wet | Dry them with a towel | Trapped water causes frame rust |
| Ignoring loose fasteners | Tighten or replace clips | Movement creates friction and tears |
| Using harsh chemical cleaners | Use mild soap and water | Chemicals weaken the vinyl surface |
UV exposure is cumulative. If your chair stays in the sun for more than four hours daily, the webbing will lose its elasticity within two seasons. Move these pieces under an awning or inside a garage during the off-season to double their lifespan.
Many owners mistake surface dust for grime and reach for bleach. Avoid this at all costs. Bleach strips the protective coating from synthetic fibers, leading to brittle webbing that snaps under pressure.
Check for loose fasteners every time you pull the chairs from storage. A single loose clip allows the webbing to slide against the frame. This friction creates micro-tears that turn into large gaps within weeks. If the clip no longer bites into the frame, replace it immediately with a stainless steel equivalent to prevent future corrosion.
Related guides
- How to Tighten Dining Room Chairs: A Step-by-Step Fix
- Best Weather Resistant Patio Chairs for Lasting Comfort and Style in 2026
- 10 Best Patio Chairs for Outdoor Lounging: Expert Picks and Verdict in 2026
Frequently asked questions
How long does new webbing last?
New vinyl webbing typically lasts three to five years when kept in a shaded area or stored indoors. Direct, constant sunlight accelerates chemical breakdown, often reducing the lifespan to under two years. High-quality professional-grade webbing generally resists UV degradation longer than thinner, decorative varieties.
Is it safe to use fabric instead of vinyl?
Standard fabric is unsuitable for lawn furniture because it lacks the necessary tensile strength and weather resistance. Vinyl is the industry standard because it’s engineered to maintain tension under weight while resisting moisture and sun exposure. Note that some outdoor-rated fabrics may stretch permanently when wet.
How much webbing do I need to buy?
You’ll typically need 40 to 60 feet of webbing for a standard chair, depending on strap width and frame size. Measure the total length of every strap you’re removing and add 15% to account for overlap at attachment points. It’s best to have extra material on hand.
Why is my new webbing sagging?
Webbing sags because it was likely cut too long or not stretched sufficiently during installation. The material must be pulled until firm, which is why soaking it in hot water is a critical step. If straps are already installed, you must remove the fasteners and re-install them with more tension.
Can I mix different colors of webbing?
You can mix colors to create a custom pattern, provided all material comes from the same manufacturer and has consistent thickness. Mixing brands often results in different stretch rates, causing uneven tension across the seat. This inconsistency can eventually cause tighter straps to snap under the uneven load.
Conclusion
The key to a successful repair is consistent tension and using the correct fasteners for your specific frame style. By taking the time to measure carefully and prep your materials, you can extend the life of your furniture for several more seasons. Always perform a test sit on a flat surface before placing the chair into regular use to ensure all rivets are locked and the webbing feels secure.