
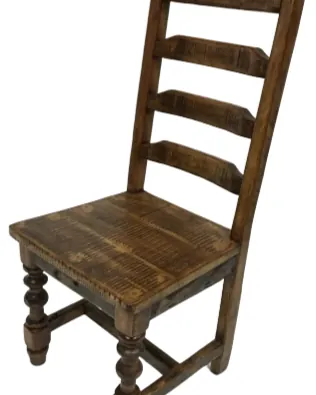
Cleaning old wooden chairs means removing dust, grease, and mildew from the surface without stripping the original finish or soaking the wood, then repairing minor scratches and protecting the piece with wax or oil. The safest method depends on whether the chair has a shellac, varnish, lacquer, or painted finish, and on how much grime has built up over decades of use. Working gently with the right tools preserves the patina that makes vintage furniture appealing while stopping the dirt that can wear down the finish over time.
Key Takeaways
- Test any cleaner on an inconspicuous spot first to make sure it doesn’t soften or discolor the finish.
- Dust regularly with a dry microfiber cloth before any wet cleaning to avoid scratching the surface with grit.
- Use mild dish soap and warm water for finished chairs, wiping with a barely damp cloth and drying immediately.
- Never soak wood or let water pool on seats, legs, or joints, because moisture causes swelling and finish failure.
- Protect cleaned chairs with paste wax or furniture oil, and keep them out of direct sunlight and away from heat vents.
Gather Your Supplies
Start by assembling the right tools so you don’t have to pause mid-job to hunt for something. You’ll need soft lint-free cloths, microfiber dusters, a vacuum with a brush attachment, mild dish soap, white vinegar, mineral spirits, fine steel wool (0000 grade), paste wax, furniture oil, and a small container for mixing.
Avoid abrasive sponges, steel wool coarser than 0000, ammonia-based glass cleaners, and silicone sprays, all of which can scratch or cloud old finishes. A flashlight helps you spot cracks, loose joints, and hidden grime in carved details.
Identify the Finish Before You Clean Old Wooden Chairs
Old chairs usually carry one of several finishes, and each reacts differently to moisture and solvents. Shellac, common on antique pieces, dissolves in alcohol and can turn white when it meets water. Varnish and lacquer are more water-resistant but still dislike soaking. Painted finishes may be chalky or flaking, especially on chairs from the early twentieth century.
Rub a hidden area—such as the underside of the seat or the back of a rear leg—with a cotton swab dipped in denatured alcohol. If the finish softens or comes off on the swab, it’s likely shellac, and you should avoid alcohol-based cleaners entirely. If nothing happens, the finish is probably varnish, lacquer, or paint, which tolerates mild soap and water better.
Pro Tip: When you can’t identify the finish, treat the chair as if it were shellac: use the gentlest possible method and the least amount of liquid.
Dust First, Always
Dust acts like sandpaper if you rub it into the finish with a damp cloth. Remove loose dust with a vacuum brush attachment, then wipe every surface with a dry microfiber cloth. Pay attention to chair spindles, carved edges, stretcher bars, and the underside of the seat, where cobwebs and dust bunnies collect.
For intricate carvings, a soft natural-bristle paintbrush or a clean makeup brush reaches into crevices without scratching. This dry step alone often improves the look of a neglected chair and tells you whether deeper cleaning is even necessary.
Clean a Finished Wood Chair
For chairs with intact varnish, lacquer, or shellac, mix a few drops of mild dish soap into a quart of warm water. Dampen a soft cloth, wring it out until it’s almost dry, and wipe along the grain of the wood. Work on one section at a time, then immediately dry with a second clean cloth.
Never let water sit on the surface, and never soak the wood. If the chair has sticky spots from spilled food or oils, add a tablespoon of white vinegar to the soapy water; vinegar cuts grease without harming most cured finishes when used in small amounts.
For heavier grime on a durable finish, mineral spirits can be effective. Dampen a cloth with mineral spirits, wipe the soiled area, and follow immediately with a clean, damp cloth to remove residue. Mineral spirits evaporate quickly and don’t raise the grain like water can. Use them only in a well-ventilated area, away from flames or sparks, and wear gloves.
| Surface Condition | Recommended Cleaner | Application Method | Drying Time |
|---|---|---|---|
| Light dust only | Dry microfiber cloth | Wipe along grain | None needed |
| Mild smudges, fingerprints | Mild dish soap and warm water | Barely damp cloth, wipe and dry immediately | 5–10 minutes |
| Grease, sticky residue | White vinegar added to soapy water | Soft cloth, spot clean, rinse with damp cloth | 10–15 minutes |
| Heavy grime on durable finish | Mineral spirits | Cloth dampened, wipe, then wipe with water-dampened cloth | 15–30 minutes |
| Flaking paint or unknown finish | Dry dusting only; no liquid | Soft brush or dry cloth | None |
Clean a Painted Chair
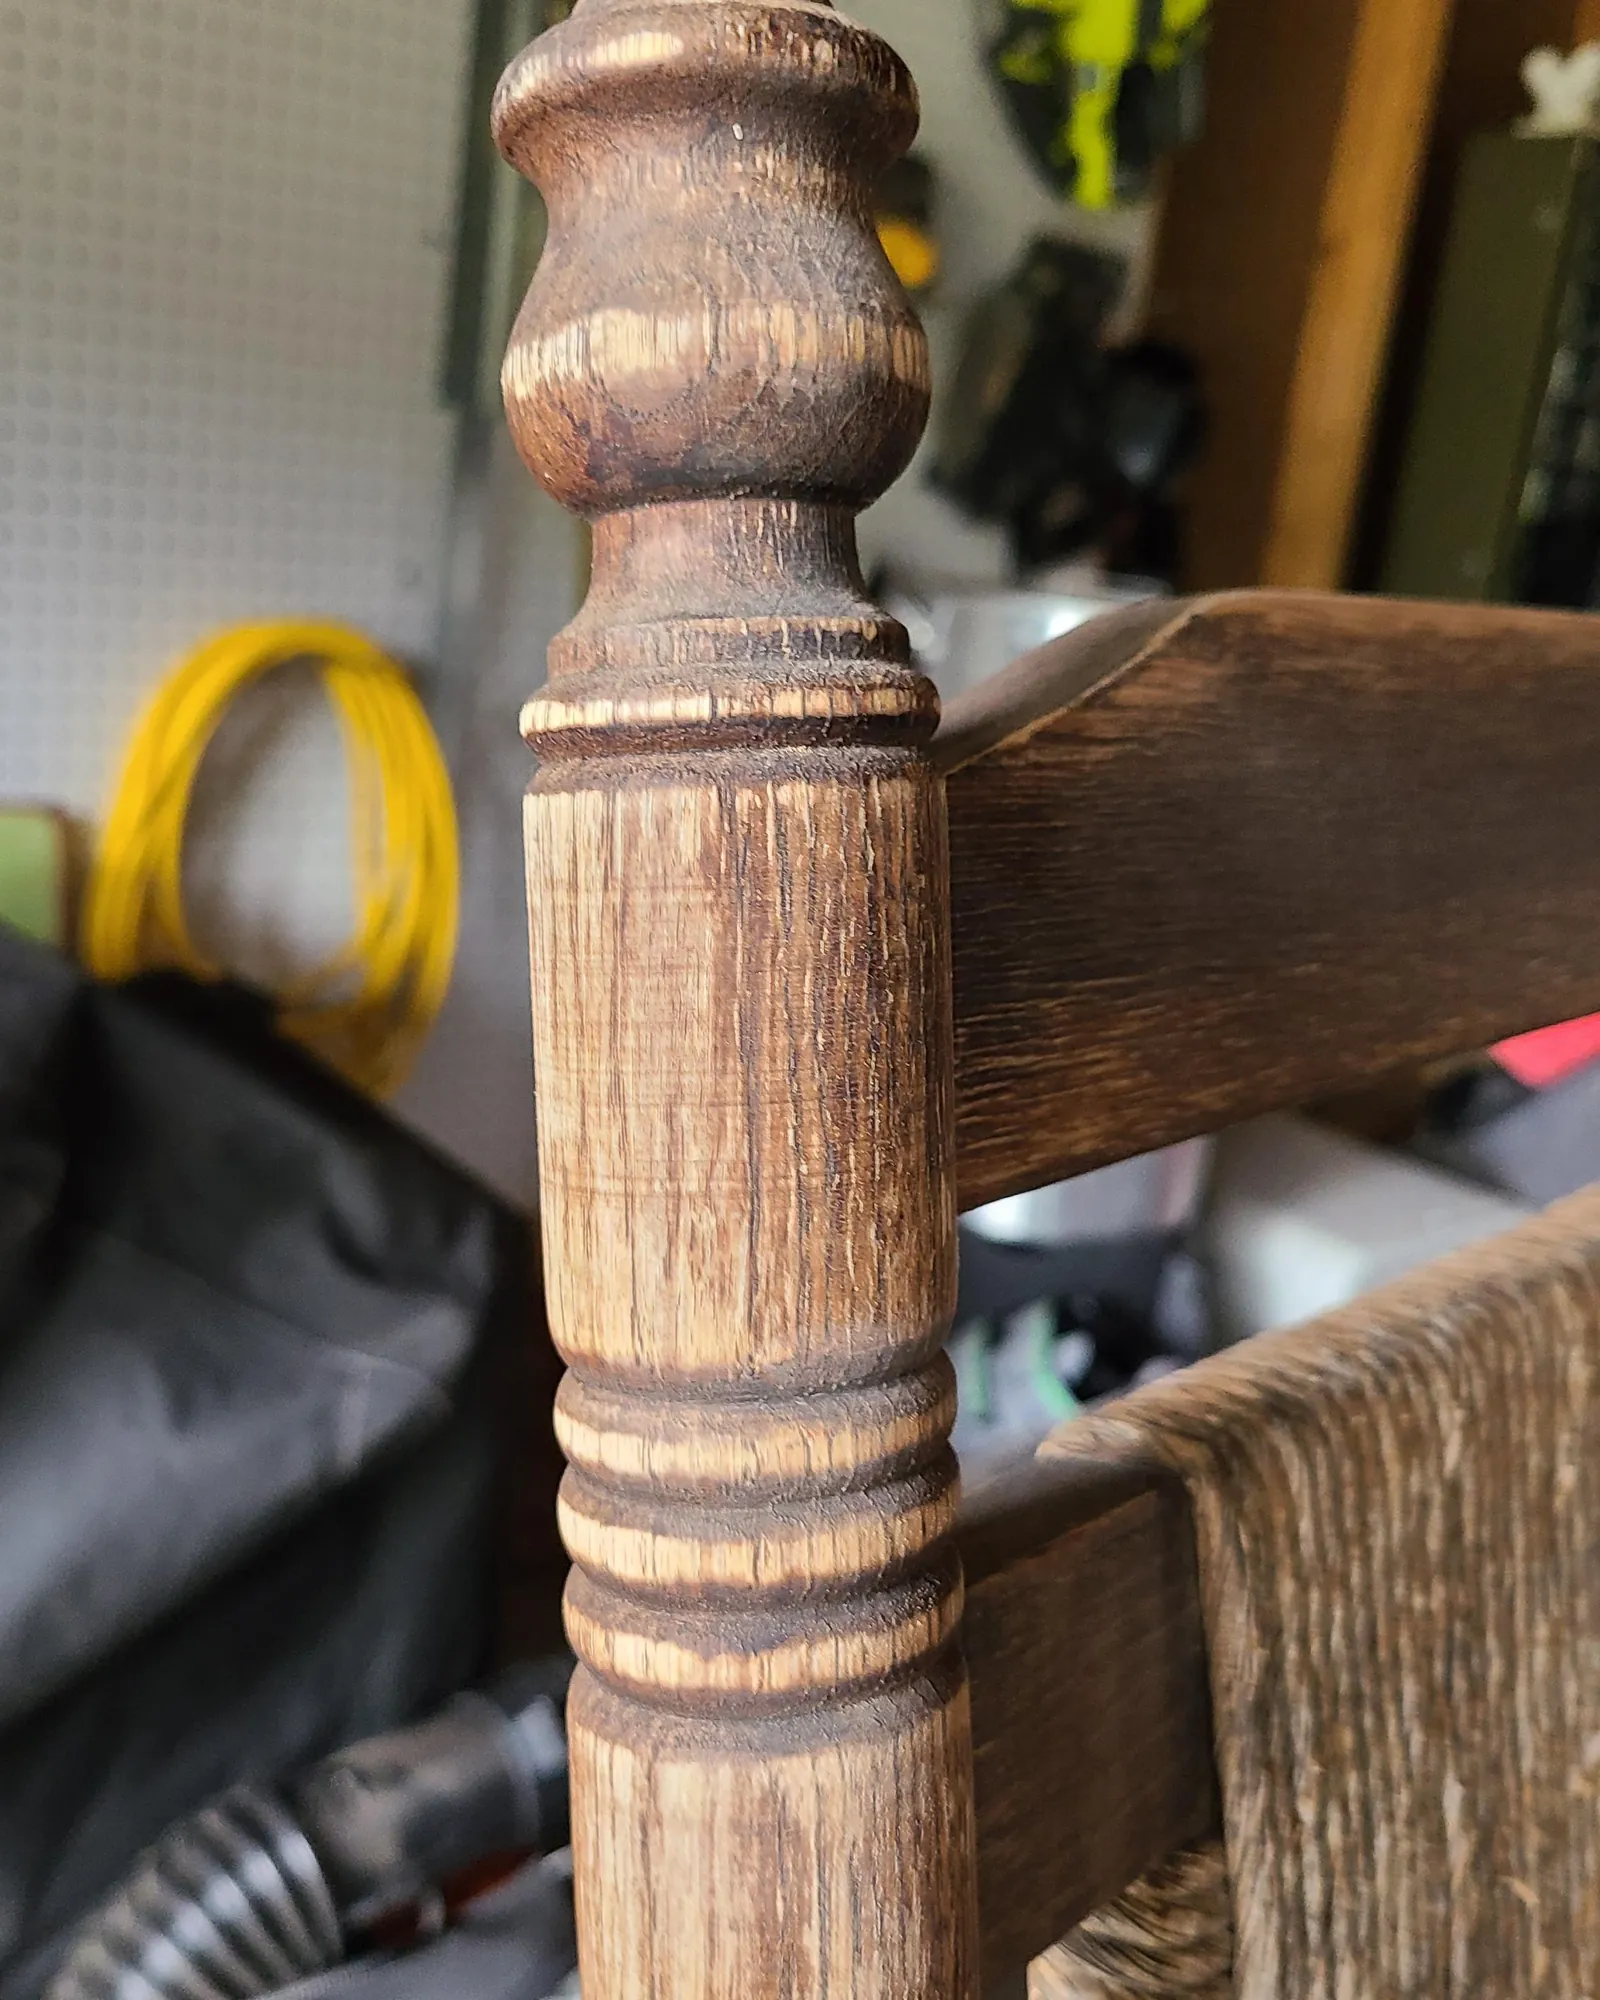
Painted old chairs require extra caution because the paint may be lead-based if it was applied before 1978, and older paint often chips or chalks. Don’t scrub painted surfaces with water unless you know the paint is stable. Start with dry dusting and a vacuum brush.
If the paint is sound and you must remove grime, use a barely damp cloth with a drop of mild soap, test an unseen spot first, and dry immediately. If the paint is flaking, stop and consider stabilization by a conservator rather than cleaning, because moisture can make loose paint lift further.
Remove Water Rings and White Haze
White rings from glasses or a general hazy bloom often mean moisture is trapped in the finish. On shellac or lacquer, try rubbing the spot very lightly with 0000 steel wool and a few drops of mineral spirits or lemon oil, working with the grain.
For varnish, a mild abrasive such as non-gel toothpaste rubbed gently with a soft cloth sometimes reduces minor rings. If the white haze covers the whole chair, the finish may be failing, and professional refinishing is safer than aggressive DIY scrubbing.
Warning: Don’t use olive oil, cooking oil, or furniture polish containing silicone on old wood. These substances go rancid, attract dust, and make future refinishing nearly impossible.
Deal with Mildew and Musty Smells
Chairs stored in damp basements or attics can develop mildew, which appears as small dark spots and a sour odor. Mix one part white vinegar with one part water, dampen a cloth, and wipe the affected area.
Dry the chair immediately and thoroughly, preferably in a well-ventilated room with a fan, but not in direct sun, which can fade old finishes. For persistent odors, place the chair in a dry, airy space for several days; don’t spray it with perfumed deodorizers, which only mask the smell and can damage old finishes.
Repair Minor Scratches and Scuffs
Surface scratches that catch your fingernail but don’t expose bare wood can often be minimized without refinishing. Rub a walnut meat or a commercial touch-up marker matched to the wood color over the scratch, then buff with a soft cloth.
For deeper scratches in a finished chair, apply a small amount of paste wax over the area and buff it in. Loose joints are a structural issue, not a cleaning one; tighten accessible screws carefully, but if a leg wobbles or glue has failed, consult a furniture repair person rather than forcing the joint.
Protect the Chair After Cleaning
Once the chair is clean and dry, a protective layer helps prevent future buildup. Paste wax is the traditional choice for antique finishes; apply a thin coat with a soft cloth, let it haze, and buff to a soft sheen.
Furniture oil works well on unfinished or very dry wood, but it can darken the color and isn’t suitable for every finish. Reapply wax every six to twelve months depending on use, and dust between applications. Keep chairs away from radiators, fireplaces, and direct sunlight, all of which dry out wood and crack finishes over time.
Cleaning Schedule and Care Routine
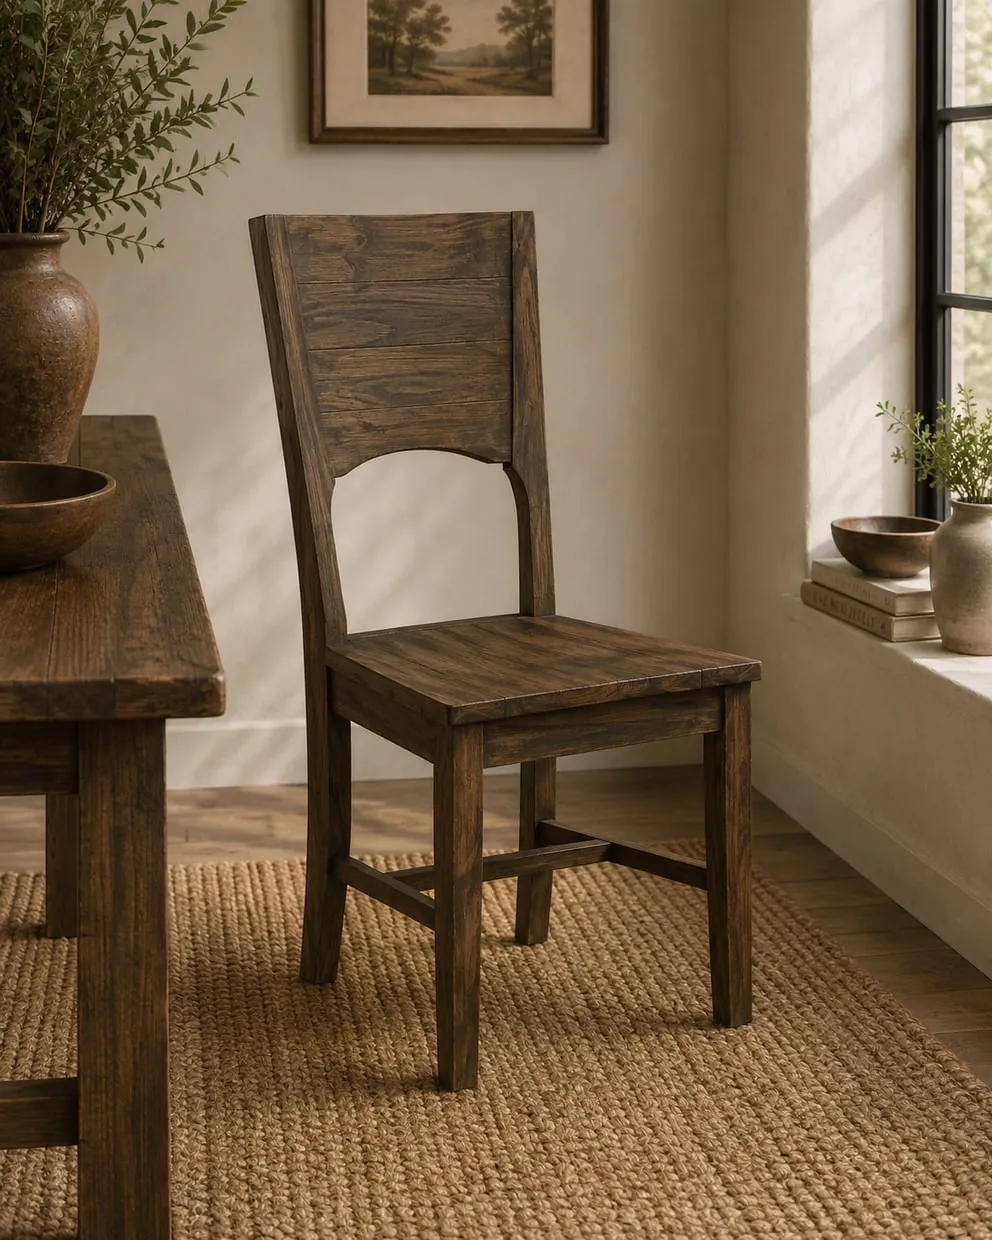
A regular routine keeps old chairs looking good without heavy work. The table below suggests a practical maintenance rhythm.
| Task | Frequency | Tools Needed | Time Required |
|---|---|---|---|
| Dust all surfaces | Weekly | Microfiber cloth, vacuum brush | 5–10 minutes per chair |
| Spot-clean spills | As they happen | Damp cloth, mild soap | 2–5 minutes |
| Full gentle cleaning | Every 6–12 months | Soap, water, cloths, mineral spirits if needed | 30–60 minutes per chair |
| Reapply paste wax | Every 6–12 months | Paste wax, soft cloths | 20–30 minutes per chair |
| Check joints and hardware | Annually | Screwdriver, flashlight | 10 minutes per chair |
Related guides
- 10 Best Whole House Water Filters for Clean Home Water in 2026
- How to Clean Dirt Bike Spokes: The Reliable Steel Wool Method | Your Site Name
Frequently Asked Questions
Can I use Murphy Oil Soap on old wooden chairs?
Murphy Oil Soap is a popular wood cleaner, but it’s best reserved for finished surfaces that aren’t shellac or flaking paint. Dilute it according to the label, test on a hidden spot, and wipe dry immediately; don’t let the solution soak into the wood.
How do I clean carved chair details without damaging them?
Use a soft natural-bristle brush, a clean makeup brush, or a vacuum brush attachment to lift dust from carvings. For wet cleaning, wrap a damp cloth around a cotton swab or a soft toothbrush and work gently into crevices, then dry immediately with a clean cloth.
Is it safe to clean a chair with unknown finish using water?
Treat an unknown finish as delicate. Avoid water and alcohol; dust only, or test mineral spirits on a hidden area first. If the finish softens or transfers to your cloth, stop and consult a professional before using any liquid.
What removes old wax buildup from a wooden chair?
Minor wax buildup can be removed with a cloth dampened with mineral spirits, wiped gently along the grain, followed by a water-dampened cloth to remove residue. Heavy buildup may require a professional furniture cleaner to avoid stripping the finish underneath.
How often should I wax an old wooden chair?
Typically every six to twelve months, depending on how often the chair is used and whether it sits in sunlight. If the surface feels dry or looks dull, it’s time for a new thin coat of paste wax.
Can sunlight damage my cleaned wooden chairs?
Yes. Direct sunlight fades finishes, dries out wood, and can cause cracking over months or years. Position chairs away from windows with strong exposure, or use UV-filtering window film or curtains to reduce the effect.
Conclusion
Keep your oldest chair in the best condition by starting with a simple dusting this weekend, then testing a hidden spot before you attempt any wet cleaning.