
To attach a Rhode Gear bike rack safely, seat its top frame against your trunk lid, anchor six buckled straps to clean panel seams, and pull each webbing line firm so the frame doesn’t shift. The job takes about 15 to 20 minutes if your car is already clean, costs nothing beyond the carrier itself, and rates as a needs-care task. You must have the correct vehicle fit instructions from the manufacturer before you mount it.
Tools to attach your Rhode Gear rack
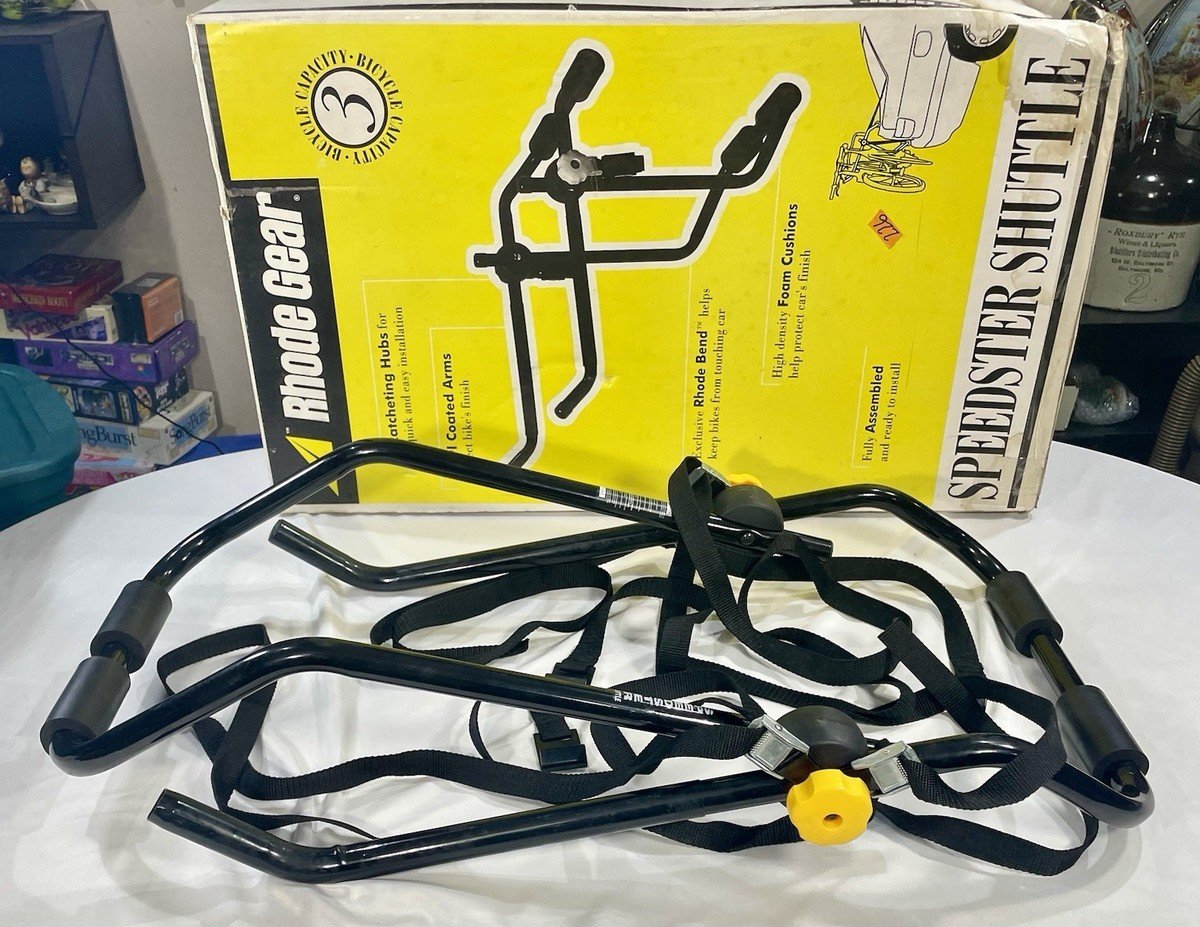
| Item | How much | Why it’s needed | A substitute |
|---|---|---|---|
| Rhode Gear trunk rack | 1 unit | Carries bicycles on car trunk | none — don’t swap this |
| Clean microfiber towel | 1 cloth | Wipes dirt from car paint | Soft clean cotton rag |
| Car wash soap spray | 1 spray bottle | Cleans paint under contact pads | Plain water spray |
| Safety tie-down strap | 1 strap, 6 feet | Prevents front bike wheel turning | Additional nylon cam-buckle strap |
| Rubber strap cushions | 6 small pads | Protects metal car edge paint | Small thick cloth squares |
Before you start
- Turn off the car engine and leave the vehicle parked on level ground with the parking brake engaged.
- Wipe every trace of dust and grit completely off your trunk lid, bumper surface, and panel edges. Skipping this quick wipe is the single mistake people make that grinds dirt into car paint, causing permanent deep scratches that cost hundreds of dollars to repaint.
- Disable any automatic rear window wiper so the moving blade won’t strike the upper rack frame while driving.
- If your vehicle has a delicate plastic composite trunk spoiler, stop immediately; this setup isn’t for vehicles with plastic aerodynamic lips because clamping tension will crack the casing. Contact your vehicle maker or a certified hitch installer to fit a receiver hitch instead.
Step by step
- Clean the trunk surface by spraying your car wash cleaner along the upper trunk lid and the rear bumper contact spots. Wipe it dry with your microfiber towel until no visible dust or road grit remains on the paint.
- Unfold the Rhode Gear carrier frame and adjust its central locking hub until the support arms sit slightly higher than level. Tighten the central adjustment knobs completely on both sides so the frame joints can’t rotate under direct hand pressure.
- Rest the carrier’s upper padded feet on your flat trunk lid and place the lower padded feet directly against the middle bumper face. Check that the upper feet sit at least 12 inches away from the rear edge of the trunk glass.
- Hook the two top straps into the seam gap located between your vehicle roof and the top edge of the trunk lid. Pull the webbing down through each buckle by hand until the top hooks hold firm tension against the metal lip.
- Fasten the two side straps onto the left and right vertical edges of your trunk lid or rear hatch. Pull both side adjusters evenly until the carrier centers itself between the taillights without drifting to either side of the vehicle.
- Connect the two bottom hooks to the lower lip of the trunk lid or the underside lip of the bumper seam. Tighten the lower cam buckles firmly downward until the entire tubular structure presses steadily into the car body.
- Tug the main carrier frame forcefully up, down, and sideways using both hands to verify it doesn’t budge on the car. If the frame slips even a quarter inch, do A: release the side tension and tighten the top straps again; if the frame stays fully rigid, do B: tie off all loose strap ends.
- Lift your heaviest bicycle onto the inner frame cradles nearest the car window, keeping its chain and gears facing outward away from your paint. Fasten the cradle straps over the bicycle top tube to lock the frame securely into each rubber resting notch.
- Wrap your extra six-foot safety strap through the front bicycle wheel and around the lower carrier tube. Pull it tight to keep the front handlebars from turning and striking your vehicle rear glass while you travel.
How to know it worked
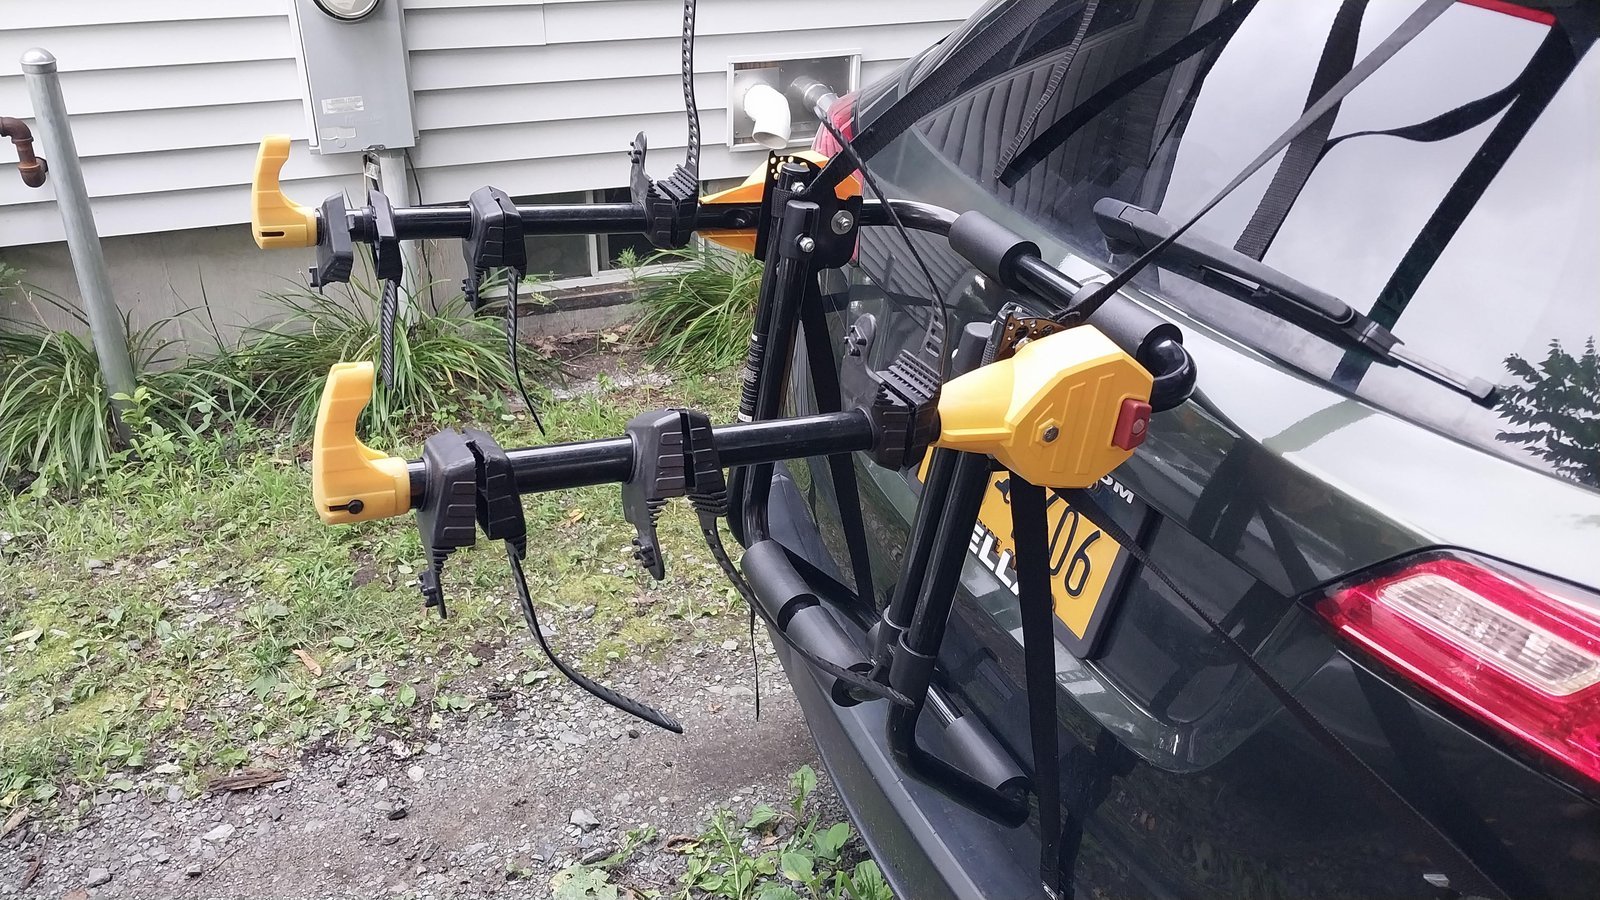
The rack is properly attached when the entire unit resists movement as if it were a solid part of your car body. Grab the main carry arms with both hands and shake them hard; the vehicle itself should sway slightly on its tires without the rubber feet slipping on the sheet metal. You should hear zero rattling sounds from metal hooks, and no strap buckle should sit loose against the paint. A clear sign of failure is any gap appearing beneath the upper rubber pads when you apply downward weight. If the rubber pads lift off the sheet metal, the lower straps lack tension and need a complete second round of tightening before you travel.
If something goes wrong
| What happened | Why | What to do |
|---|---|---|
| Upper hooks slip off | Webbing lost tension during drive | Stop and retighten top buckles |
| Side hooks slide down | Bottom straps pulled too hard | Center rack and balance pull |
| Straps make buzzing hum | Flat webbing vibrates in wind | Twist straps once before hooking |
| Bike pedals hit paint | Inner bike mounted backward | Turn bike handlebars other way |
| Trunk lid pops open | Hooks jammed the latch lock | Reposition hooks away from latch |
How often to do this
Mount this carrier only for active trip days, and remove it immediately when your journey ends. Leaving a trunk rack attached permanently degrades the rubber pads, collects road moisture that damages car paint, and exposes the nylon straps to sun damage. You must inspect the webbing every single time before mounting it on your car. The two conditions that change strap strength fastest are heavy sun exposure and wet road salt. The federal standard for motor vehicle safety equipment under the National Highway Traffic Safety Administration cargo securement rules requires every exterior load to remain completely stable against wind pressure and road bumps throughout transit.
Frequently asked questions
Can I open the trunk with bikes on the rack?
No, you can’t open the trunk while bikes sit loaded on the carrier. The combined weight will exceed the capacity of the trunk’s gas struts, causing the lid to drop unexpectedly. Always unload the bicycles completely and loosen the bottom anchor straps before attempting to lift your rear hatch.
Why do the rack straps loosen during transit?
Road vibration and air resistance cause flat nylon webbing to settle deeper into the metal cam buckles over initial highway miles. Stop the car after the first five miles of driving to check the strap tension. Pull every loose tail snug and tie excess strap material into half-hitch knots behind every buckle.
How long does mounting this rack take?
About 15 minutes once you know the proper hook points on your vehicle body. First-time installation might require 25 minutes while you adjust the central hub angle to match your car’s specific trunk slope. Taking extra time to clean the car paint under the rubber feet prevents expensive finish scratches.
Is it safe to drive through a car wash?
No, never drive through an automated or brush car wash while carrying this trunk rack. The spinning mechanical brushes will catch the protruding support arms, rip the tension hooks off your car seams, shatter your rear window, and bend your sheet metal trunk. Remove the entire rack before entering any wash bay.
What happens if the hooks don’t fit the trunk gap?
The vehicle seam is too narrow for standard metal hooks, so forcing them will dent the metal. You must purchase specialized glass-hatch strap anchors that slide inside the car interior before closing the glass. This varies by model — check the label on your carrier or car manual for specific hatch limitations.
Does it matter which bicycle goes on first?
Yes, load the heaviest bicycle onto the inner cradle position closest to the vehicle bumper. Storing the heavy frame nearest the car trunk lid improves driving stability, reduces leverage stress on the mounting straps, and protects lighter frames mounted on the outer cradles from excessive road bounce while cruising at speed.
Final Thoughts
Once everything feels solid, take a short drive around your neighborhood to check that the hooks haven’t loosened. It’s always a good idea to give the straps a quick tug after a few miles. You’ll feel much more confident hitting the open road once you’ve confirmed your gear won’t budge.