
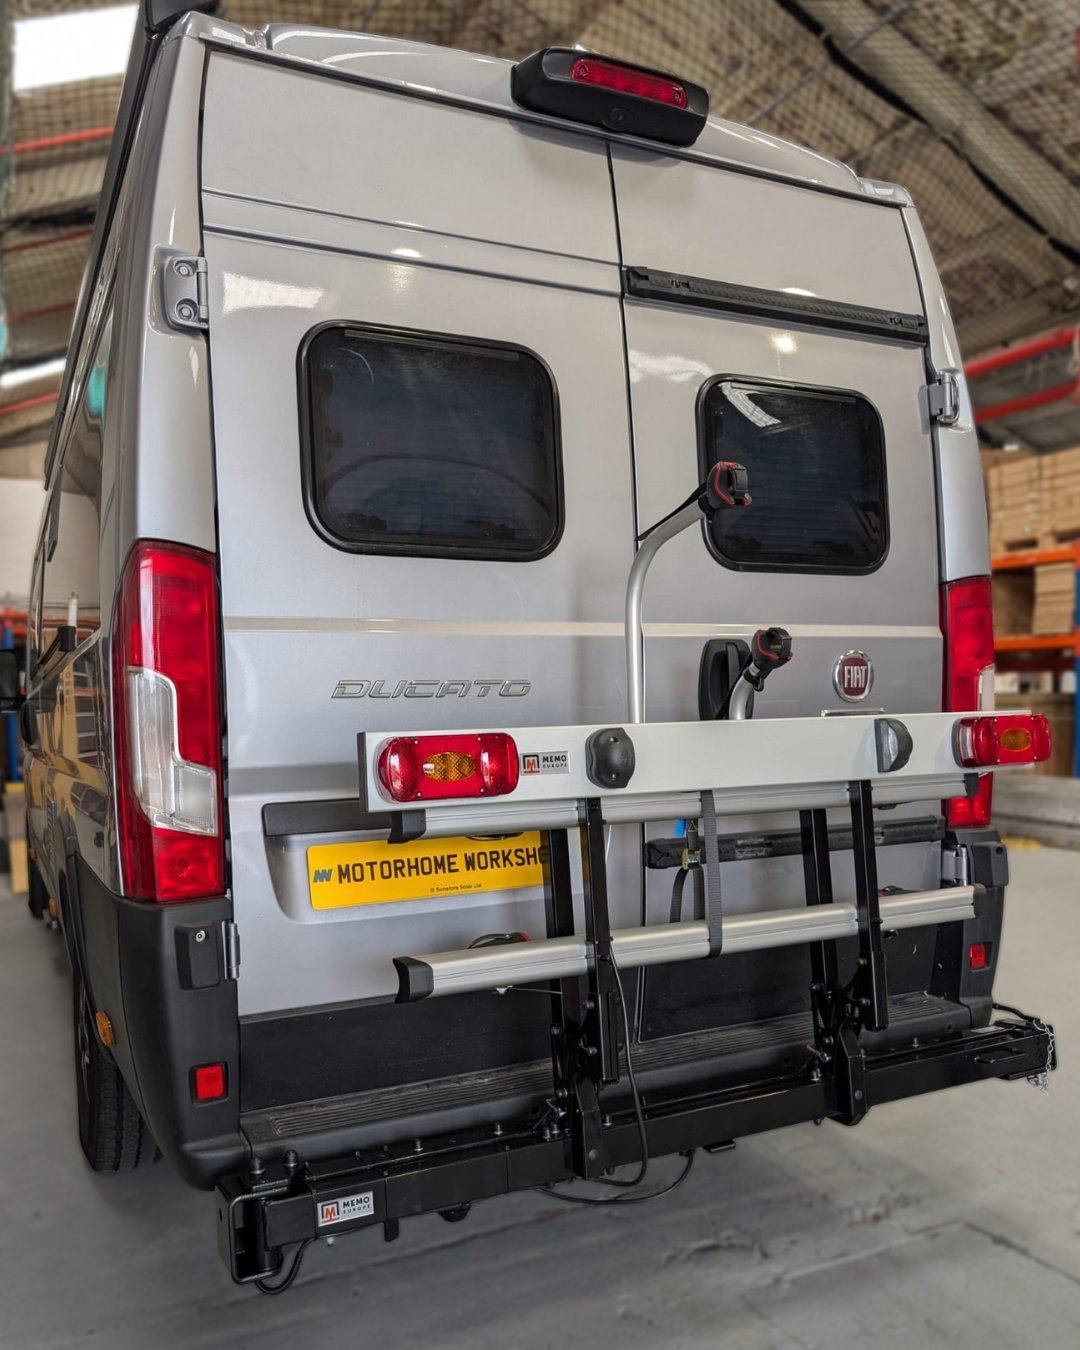
Installing a bike rack on a van requires inserting a hitch-mounted rack into your rear receiver tube, securing it with an anti-wobble pin, and torquing the bolt to about 40 to 50 foot-pounds. This setup takes 20 to 30 minutes with a standard ratchet set. It suits campers and road travelers who want quick cargo access without drilling into sheet metal.
Tools for installing your bike rack
- A 2-inch hitch receiver rated for your vehicle’s tongue weight (Class III or higher).
- A tray-style hitch bike rack with an anti-wobble threaded hitch pin.
- Socket wrench set with a 3/4-inch socket (or the specific bolt size from your rack kit).
- Torque wrench capable of measuring up to 60 foot-pounds.
- Hitch lock with matching keys to prevent theft.
- High-visibility marking tape or secondary license plate holder.
A ratchet wrench with a socket works if you lack a torque wrench, but a standard crescent wrench doesn’t grip firmly enough and strips the pin head. If your van lacks a factory hitch receiver, visit a certified mechanic or hitch installer to weld or bolt an aftermarket frame receiver safely.
Step-by-step
- Clear all road dirt and rust out of the van’s 2-inch receiver tube using a wire brush or clean rag.
- Slide the rack’s base shank into the receiver opening until the hitch pin holes line up squarely.
- Thread the anti-wobble hitch pin by hand through the receiver and into the rack shank from the driver side toward the passenger side. Careful: Don’t cross-thread this bolt; it must turn smoothly by hand for the first three full turns before you apply a wrench.
- Torque the bolt to 45 foot-pounds using your torque wrench to eliminate dangerous side-to-side play on the highway. Tip: Shake the rack vertically while torquing; this seats the internal nut block firmly against the inner receiver wall.
- Snap the safety lock or cotter clip onto the exposed end of the hitch pin until it clicks.
- Unfold the rack arms, load the heaviest bicycle onto the tray closest to the rear doors, and lock the wheel ratchets down over the front tires. Careful: Check rear door clearance before driving away; if the handlebar touches your back window, adjust the wheel trays outward by 2 inches.
If your vehicle requires drilling directly into high-strength chassis rails to mount a new receiver hitch, stop immediately and hire an authorized installer to avoid compromising vehicle crash safety.
Fitting racks across different van bodies
Every chassis handles cargo weight differently depending on rear door style and suspension.
It’s safer to start with a single, lightweight bike and inspect the mount after a short drive than to load maximum capacity immediately.
How to tell you did it right
A correct installation shows zero horizontal play when you grab the rack arm and push with both hands. The whole van should rock slightly on its suspension rather than the rack rattling inside the receiver. Poor installs wobble noticeably, tilt downward under load, or bang against the rear bumper over road dips. This shaking happens because the hitch pin is loose or the internal nut plate slipped out of alignment. You can prevent this failure by using a dedicated anti-rattle collar, torquing the hitch bolt to spec, and retightening the hardware after your first 50 miles on the highway. Keep in mind this varies by model — check the label on your rack for exact weight limits.
Road regulations and final checks
Federal safety standards require that your vehicle’s brake lights and turn signals stay clearly visible from behind. According to the Federal Motor Carrier Safety Administration lighting regulations, no rear cargo or rack can obscure required tail lamps or reflectors unless auxiliary lights are mounted to the rack itself. If the loaded bikes block your license plate, relocate the plate to the rack’s outer frame using zip ties or a lighted bracket. Stow any loose strap ends, lock all rack arms, and check bolt tightness every 500 miles. When rust appears on the pin threads, scrub it off and apply fresh automotive grease.
Alternative van mounting styles
Door-mounted carrier
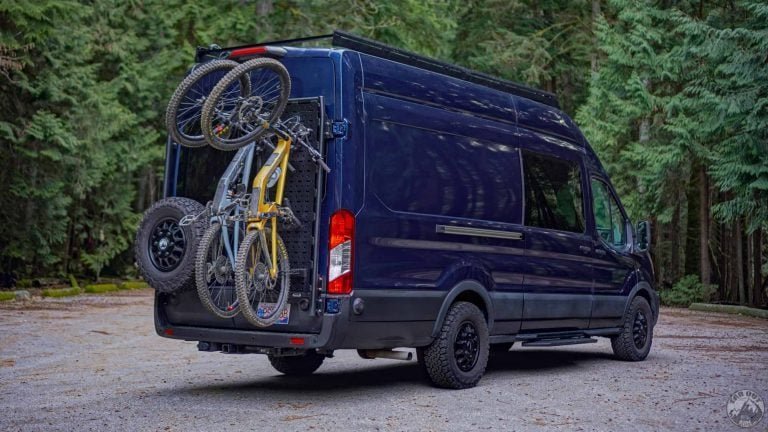
Bolts directly around rear door hinges to carry two bikes up high. This preserves your departure angle on rough roads, but it adds constant strain to door hinges and makes opening the rear doors heavy.
Roof-mounted tray system
Uses roof rack crossbars and side-mounted access ladders. This leaves the hitch completely open for towing trailers, though lifting a heavy bicycle eight feet off the ground requires significant upper-body strength.
Interior slide-out tray
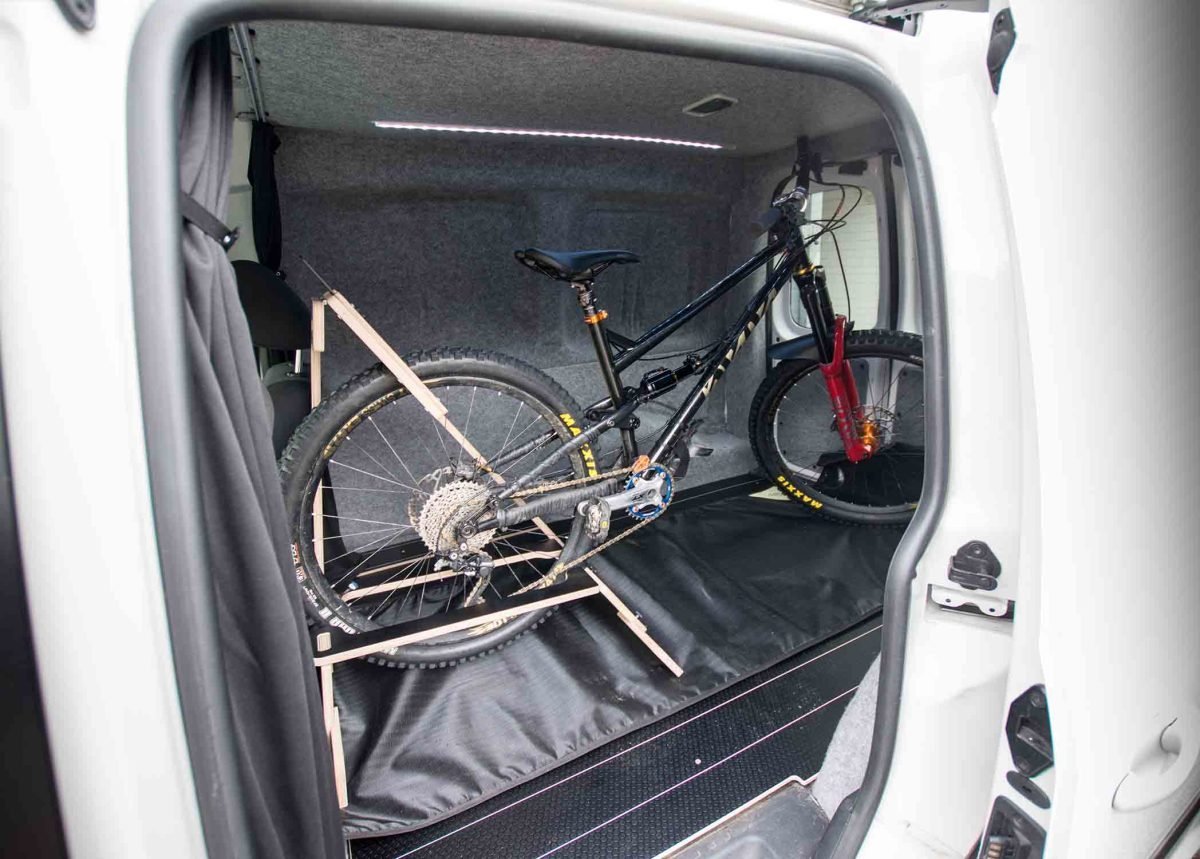
Mounts bikes inside the rear garage area under a platform bed. This keeps gear out of bad weather and stops road grime, but it sacrifices a large amount of your interior living space.
Frequently asked questions
Can you open the back doors with bikes on the rack?
No, standard fixed hitch racks block van doors completely. You’ll need a dedicated swing-away adapter or a tilt-down rack design to swing the bicycles clear of the door path without unloading them first.
Is it safe to carry electric bikes on a van rack?
Yes, provided your rack specifically carries high-weight limits. Many regular racks hold only 35 pounds per tray, whereas electric bikes often weigh over 50 pounds; check the manufacturer tray rating and remove heavy batteries before loading.
Why does my hitch rack tilt down to one side?
Your anti-wobble pin is loose or unevenly seated inside the receiver tube. Loosen the bolt slightly, lift the low side of the rack arm with one hand, and retighten the bolt evenly to 45 foot-pounds.
What happens if the bike rack blocks my rear camera?
Your dashboard backup screen shows only handlebars and frames. If this happens, install an aftermarket camera relocation kit or use your side mirrors carefully whenever reversing the van.
How long does a hitch bike rack stay tight?
A properly torqued hitch bolt should be checked regularly, especially before long trips or after driving on rough roads. Inspect the bolt tension every 500 miles or immediately after driving along washboard dirt roads.
Do I need a hitch extender for my van?
Yes, if your van has an exterior spare tire or a wide bumper step that stops the rack shank from inserting fully into the receiver pin hole.
Final Thoughts
Before you head out on your first trip, take a short test drive around your neighborhood to make sure everything feels stable. It’s a good idea to check the tightness of the bolts after your initial outing, too. You’ll have peace of mind knowing your gear won’t budge on the open road.
Related guides