
Changing mobility scooter battery packs takes about 15 to 30 minutes using two matched 12-volt deep-cycle batteries and a simple screwdriver.
Tools for changing your scooter battery
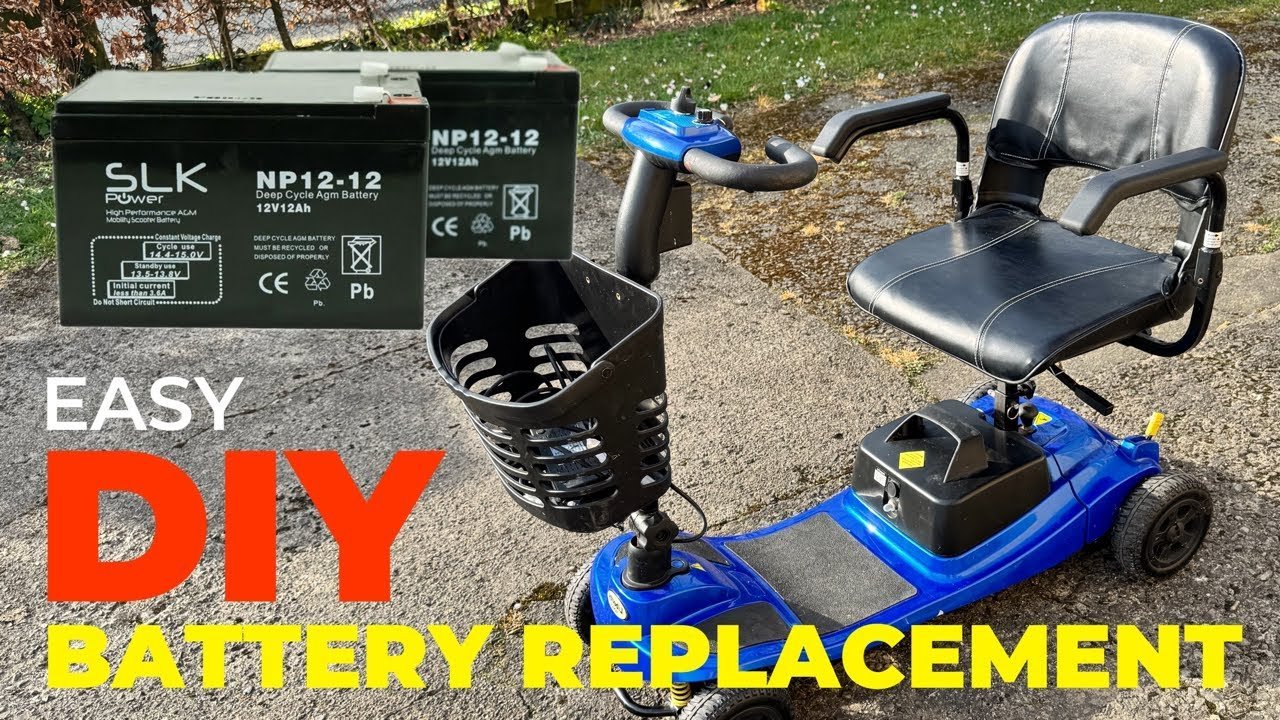
- Two new matched 12-volt sealed lead-acid (SLA) or AGM batteries (check your scooter tray for the exact amp-hour rating, such as 12Ah or 18Ah).
- One #2 Phillips screwdriver (some older models need a flathead instead).
- One small adjustable wrench or 10mm socket wrench (to loosen terminal bolts).
- Work gloves (to protect hands from sharp edges and battery acid).
- Smartphone camera (to photograph the wire paths before disconnecting).
- Clean dry cloth (to wipe dust and debris out of the battery tray).
Gel batteries can replace standard AGM batteries if the voltage matches, but standard car batteries won’t work because they provide short starter bursts rather than continuous deep-cycle power.
Step-by-step
- Turn off the scooter’s key ignition completely and remove the key from the console.
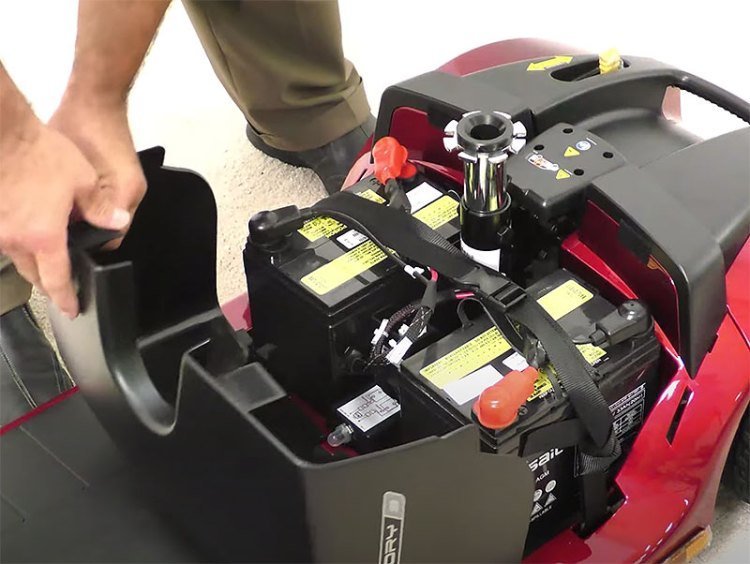
- Lift off the plastic battery shroud or unlatch the removable power pack case using your hands. Careful: If the case feels stuck, check for a latch lock underneath; forcing the plastic will crack the housing and cost you a whole new casing.
- Take a clear photo with your phone of the wiring harness showing where every red and black wire goes.
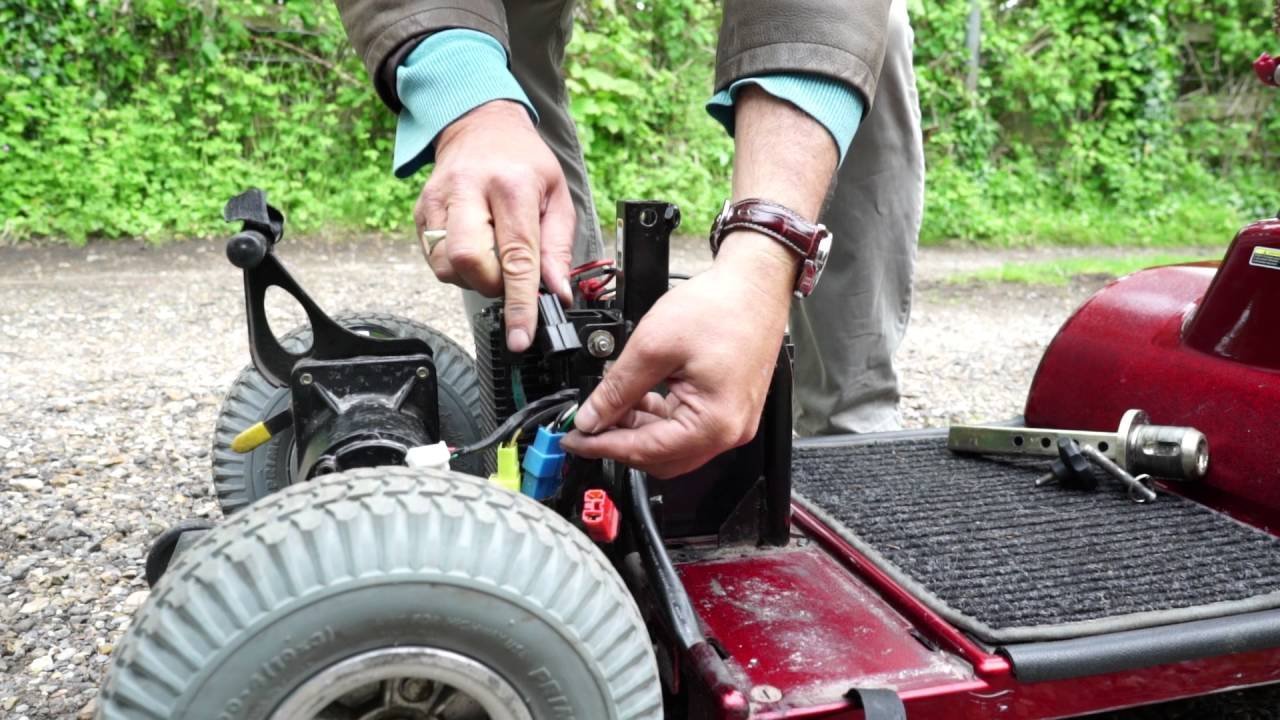
- Disconnect the negative (black) wire terminal first using your wrench or screwdriver, then loosen and remove the positive (red) wire terminal.
- Lift the old batteries straight out of the box one at a time to prevent wrist strain.
- Place the new batteries inside the tray with the colored terminals facing the exact same direction as shown in your photo.
- Attach the positive (red) lead wire to the red terminal first, tightening the screw firmly until it stops turning. Tip: If you see a tiny spark when touching the second wire to the terminal, don’t panic; this is normal as long as you match red to red and black to black.
- Attach the negative (black) lead wire to the black terminal and tighten it securely.
- Put the shroud or case cover back on the scooter and lock the latch into place.
This DIY job works for standard wiring; if your scooter has melted terminal plugs or scorched wire insulation, stop immediately and contact a certified mobility technician to avoid a fire hazard.
Power pack variations across scooter types
Wiring layouts and pack weights change depending on your frame size.
| Scooter Type | Typical Swap Time | What Makes It Different | What to Watch For |
|---|---|---|---|
| Travel / Boot Scooter | 10 to 15 minutes | Uses a single drop-in pack with internal wiring | Snapping the outer plastic carry clips |
| Mid-Size Pavement Scooter | 20 to 30 minutes | Two loose batteries tied together under the seat | Pinching the harness wires under the seat base |
| Heavy-Duty Road Scooter | 40 to 60 minutes | Very heavy batteries (40Ah to 75Ah each) | Back strain; always lift these with a partner |
| Folding Electric Scooter | 10 to 15 minutes | Uses a single slide-in lithium-ion battery box | Aligning the base contact pins correctly |
It’s safer to buy the exact amp-hour size your manual lists rather than buying oversized cells that won’t fit inside the casing.
How to tell you did it right
A good result shows a steady green or full light on your console battery gauge the moment you turn the key. The scooter moves smoothly forward and backward without cutting out when you push the throttle lever.
A poor result shows a flashing error light or a gauge needle that drops fast as soon as you press the throttle. This sudden power drop happens because a terminal bolt was left loose, which stops the full electric current from flowing to the motor. You can prevent this failure by tightening terminal screws securely, dusting the metal contacts with a dry rag, and ensuring the main circuit breaker button hasn’t popped out.
Proper disposal and final steps
Lead-acid cells contain toxic heavy metals and acid. The US EPA regulations on battery management require you to recycle lead-acid batteries at an authorized drop-off site rather than placing them in household trash. Most auto parts stores and recycling centers accept them free of charge.
After completing the installation, plug the mobility scooter into its wall charger and let it sit undisturbed for 8 to 12 hours before your first ride. Put your tools away and store your charging cord in a dry location. A fresh set of quality batteries typically serves your daily travel needs for an extended period, though this varies by model — check the label and your owner’s manual for specific runtime expectations.
Alternative replacement options
Professional in-home service
A mobility technician visits your house, tests the electronics, and swaps the cells for you. This saves you from heavy lifting and eliminates mistakes, but you’ll pay extra for home labor and scheduling.
Local mobility repair shop
You drop the scooter or the detachable power box off at a local repair dealer. The staff tests the old unit and fits the new one within a day, offering an easy middle ground between price and physical effort.
Upgrading to lithium conversion kits
Some riders swap their lead batteries for lightweight lithium equivalents. This cuts down total scooter weight significantly, but you must buy a dedicated lithium charger to prevent damaging the scooter’s internal electronics.
Frequently asked questions
Can I replace just one scooter battery instead of both?
No. You must always replace both batteries at the same time. If you pair an old battery with a new one, the older cell will draw down the new one, ruining its capacity within a few weeks.
How long should I charge new scooter batteries before using them?
Charge them for 8 to 14 hours until the charger shows a solid green light. Even though new batteries arrive with a partial factory charge, they should be fully charged before first use to ensure maximum capacity.
Why does my scooter turn on but refuse to drive after a battery change?
Check the freewheel lever near the rear wheels. If someone pushed the lever into neutral while working on the scooter, the electric drive won’t engage until you flip the lever back into drive mode.
What happens if I connect the battery terminals backward?
Connecting the positive and negative terminals backward will blow the main fuse immediately and can permanently ruin the electronic speed controller. If your scooter has no power right after an accidental reverse touch, inspect your inline fuse.
Is it safe to leave my scooter plugged in all the time?
Yes, if you use the original smart charger that came with the scooter. Modern mobility chargers automatically drop into a float or maintenance mode once full, which stops the pack from overcharging during long storage periods.
Can I put larger amp-hour batteries in my scooter frame?
Yes, as long as the voltage matches and the physical dimensions fit your battery box. Higher amp-hour (Ah) ratings grant you longer driving distance per charge, but they also take up more physical space and weigh more.
Final Thoughts
Once everything is securely back in place, take your scooter for a short test drive around your home to ensure it’s running smoothly. You’ll feel much more confident knowing your power source is fresh and reliable. Don’t forget to recycle your old units, as they’re full of materials that shouldn’t go in the trash.