
To complete how to change a mongoose bike tire, release the brake cable, loosen the wheel nuts with a 15 mm wrench, pry one side of the rubber casing off the rim using two plastic tire levers, swap the punctured inner tube, and pump the casing back to its listed side-wall pressure.
The condition of the rim tape decides whether your repair lasts or goes flat again immediately. If the spoke heads poke through the cloth rim strip, they will puncture your brand-new tube within seconds.
A common mistake before starting is forgetting to inspect the inside of the rubber tread with your fingers. A sharp wire, thorn, or glass shard often hides in the rubber ribs. Skipping this check means the hidden debris punctures your new tube the moment you inflate it.
How to change your bike tire
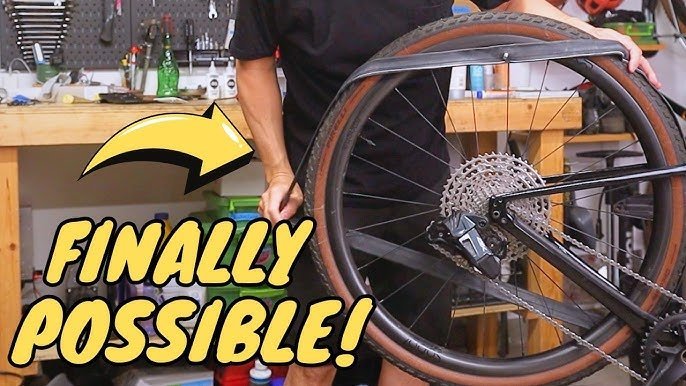
- Disconnect your hand-brake quick-release mechanism or slide the cable out of its brake caliper cradle so the rubber casing can pass through the pads.
- Loosen the axle nuts on both sides of the hub using a 15 mm box wrench, turning each counterclockwise four or five turns until the wheel slides freely from the dropouts.
- Unscrew the valve cap, press the valve pin inward until all air drains out, and insert a plastic tire lever between the rim edge and rubber bead.
- Hook a second plastic lever 4 inches away along the rim edge, push downward to lift the bead over the metal lip, and slide it around the full circle. Tip: Never use a flathead metal screwdriver here; it pinches the inner tube and scores the soft aluminum rim channel.
- Pull the deflated tube out, check the tire interior for glass, feed the new valve stem straight through the rim hole, and push the tire bead back over the rim edge using only your thumbs. Tip: If the bead feels too tight near the end, push the opposite bead down into the rim’s deep center channel to create slack.
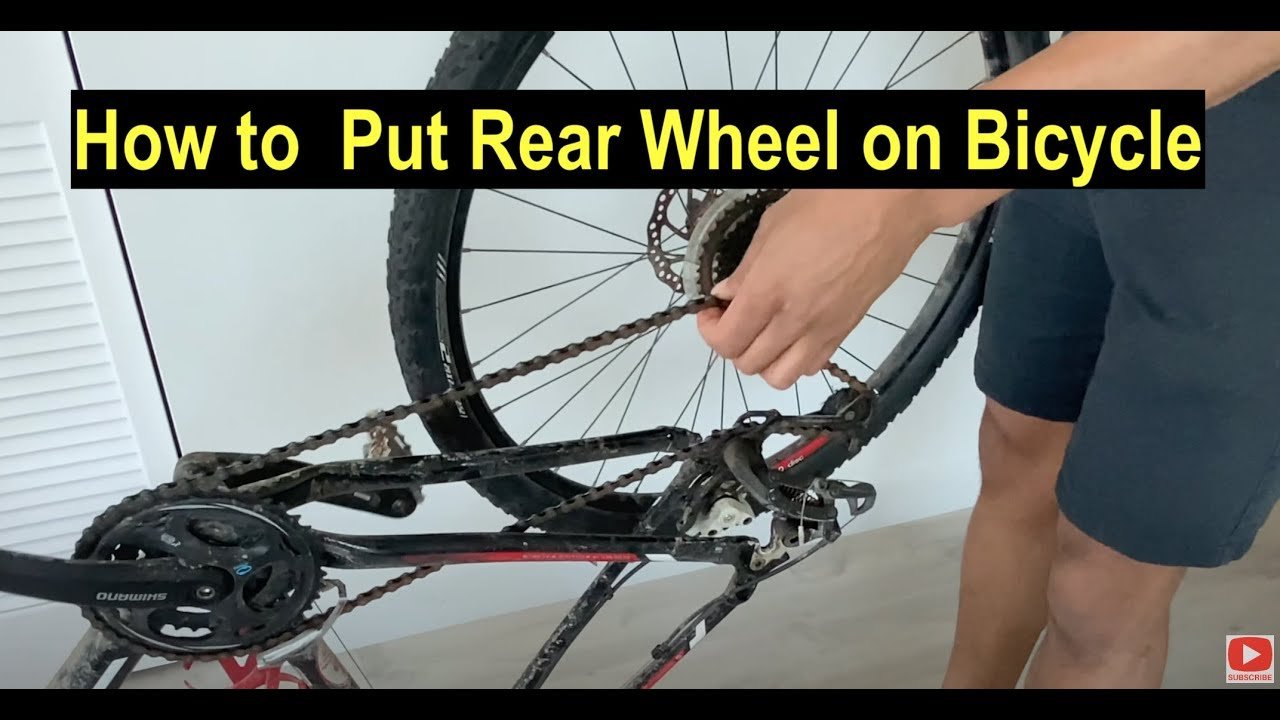
- Reinstall the wheel into the frame slots, ensure the wheel sits dead center between the chainstays, tighten both 15 mm axle nuts firmly, and reconnect the brake line.
How long it takes
Swapping a wheel casing takes 15 to 40 minutes depending on which wheel has the flat and whether the bike has derailleur gears.
| Situation | How long | What changes it | What to watch for |
|---|---|---|---|
| Front wheel (BMX or mountain) | 15–20 minutes | Simple axle nuts, no gear mechanism | Brake pad clearance during removal |
| Rear wheel (single-speed BMX) | 20–25 minutes | Chain tension alignment and axle nuts | Wheel rubbing against frame stays |
| Rear wheel (geared mountain bike) | 30–40 minutes | Shifting chain across derailleur cogs | Bending the rear derailleur hanger |
If your repair takes longer than 45 minutes, stop pulling on the rubber; inspect the opposite bead to confirm it sits in the rim well rather than hanging up on the outer lip.
How to tell when it’s done
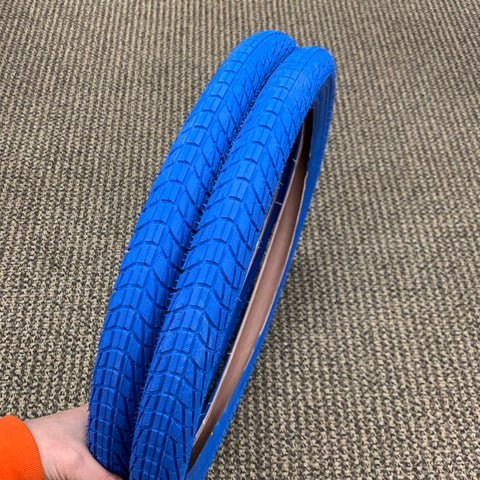
Look closely at the thin molded rubber witness line running around the edge of the casing just above the rim flange. This line must sit at an even distance of roughly 2 to 3 millimeters outside the metal rim all the way around both sides. Spin the wheel slowly off the ground. If the tread wobbles up and down or dips, the bead has seated unevenly in the rim bed. Deflate the tube halfway, push the dip upward with your thumbs, and inflate it again to the certified pressure listed on the casing side-wall, which aligns with standards from the CPSC bicycle requirements for secure rim retention and brake clearance.
Mistakes that ruin it
- Prying the bead on with metal tools: This cuts a slit directly into your fresh tube and ruins your rim’s sealing lip. Push the rubber over the rim edge using the heel of your palms instead.
- Inflating without checking the bead line: If the rubber bead sits unseated over the rim hook, the tube pushes underneath it and blows out with a loud bang. Pump the tire to 15 PSI first, inspect both sides around the entire circumference, then finish inflating.
- Ignoring the thorn inside the casing: A wire or burr stuck in the tread punctures the replacement tube instantly, wasting time and money. Run a cotton rag around the inside casing wall to catch hidden sharps before inserting the tube.
- Misaligning the rear wheel axle: If one axle nut tightens while the rim tilts, the tire rubs against the frame chainstay and wears through the casing rubber in a single ride. Center the rim between the frame stays with your hand before you torque the axle hardware down.
Frequently asked questions
Can I change a bike tire without tire levers?
Yes, you can work the tire off using your hands if you push both beads into the rim’s center drop channel. This slack allows you to pull the rubber over the lip with your palms. However, heavy-duty wire-bead mountain tires usually require dedicated plastic levers.
Why does my new inner tube keep going flat immediately?
A sharp spoke end or an old wire burr usually punctures the tube from the inside. This happens when the protective rim strip shifts out of place or the object that caused your first flat remains stuck inside the tire tread ribs.
How much air pressure should I put in the tire?
You must read the pressure range molded directly into the rubber side-wall of your tire. A typical 20-inch BMX tire takes 40 to 65 PSI, while a mountain bike tire runs between 35 and 50 PSI. This varies by model — check the label.
Is it safe to patch a tube instead of buying a new one?
Yes, a properly applied vulcanizing rubber patch seals a small thorn hole permanently. The trade-off is speed: patching takes 15 extra minutes to cure properly compared to dropping in a fresh tube. If the leak is a long tear or sits near the valve stem, throw the tube away.
What happens if I pinch the inner tube during installation?
Pinching creates two small slits, known as a snakebite flat, that ruin the tube immediately upon inflation. You prevent this by pumping 5 PSI of air into the tube before tucking it inside the tire, which keeps it rounded and away from the rim edge.
Who is this DIY tire change not for?
This guide isn’t for riders using tubeless wheel conversions with liquid sealant or rear wheels containing internal planetary gear hubs. Those systems require workshop valve injectors or specific axle-cable disassembly steps that general hand tools can’t handle safely without factory service manuals.
Final Thoughts
Once the wheel is securely back on the frame, give your bike a quick test ride around the block to ensure everything feels smooth. You’ll want to check that the brakes aren’t rubbing against the rim. It’s a great feeling to be back on the road, so enjoy your next adventure.
Related guides