
A constantly running toilet is more than just an annoying sound; it’s a silent drain on your resources, wasting water and inflating utility bills. This persistent gurgling or hissing often indicates a problem within the toilet tank, a complex system designed for efficient water management.
Understanding the components and common issues can empower you to diagnose and fix the problem yourself, saving money and preventing unnecessary water waste. From a faulty flapper to a miscalibrated fill valve, several culprits can keep your toilet in a perpetual flush cycle.
Key Takeaways
- The most common reasons for a running toilet include a worn-out flapper, a misaligned float, and an improperly adjusted fill valve.
- A flapper that doesn’t create a proper seal allows water to continuously leak from the tank into the bowl.
- The float controls when the fill valve shuts off; if it’s set too high, water will overflow into the overflow tube.
- A fill valve that doesn’t shut off completely will continuously add water to the tank, leading to overflow.
- Simple DIY solutions often involve replacing the flapper, adjusting the float, or cleaning/adjusting the fill valve.
- Regular maintenance and early detection of leaks can prevent significant water waste and cost.
Credit: www.youtube.com
Understanding Toilet Tank Anatomy
Before troubleshooting a running toilet, it’s crucial to understand the basic components within your toilet tank and their functions. This internal ecosystem works in concert to deliver a powerful flush and then refill the tank efficiently. When one part falters, the entire system can be thrown off balance, leading to that incessant running sound.
The Flapper: The Gatekeeper Of Water
The flapper is arguably the most critical component responsible for holding water in the tank. It’s a rubber or plastic piece located at the bottom of the tank, directly over the flush valve opening. When you flush, the flapper lifts, allowing the tank’s water to rush into the bowl. Once the tank empties, the flapper is designed to fall back into place, creating a watertight seal to begin refilling.
The Fill Valve: The Water Replenisher
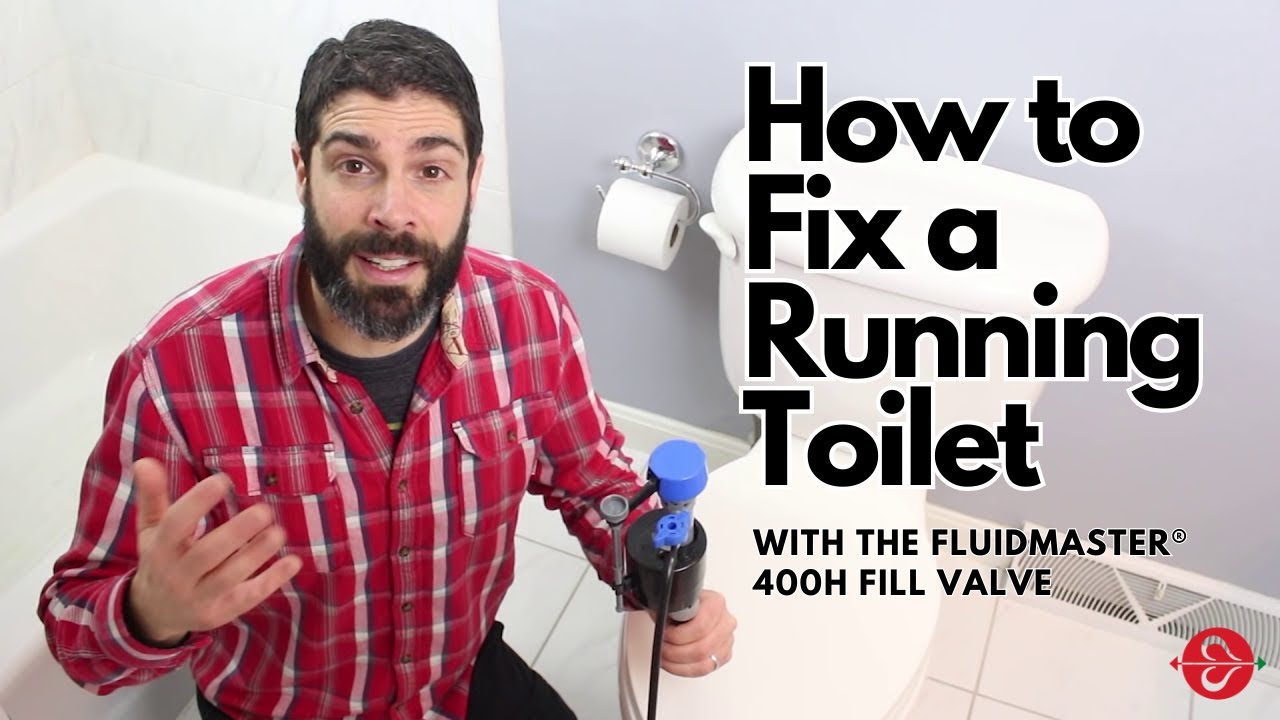
The fill valve (also known as the ballcock) is responsible for refilling the toilet tank after each flush. It controls the flow of water from your home’s supply line into the tank. It also works in conjunction with the float mechanism. When the water level drops, the float signals the fill valve to open and let water in. As the water level rises, the float ascends, eventually triggering the fill valve to shut off the water supply.
The Float: The Water Level Sensor
The float is a device, typically a plastic ball or a cup, attached to the fill valve. Its primary purpose is to sense the water level in the tank. As the water level rises, so does the float. When the float reaches a predetermined height, it engages a lever or mechanism that signals the fill valve to close, stopping the water flow. Most modern toilets use a cup-style float that slides up and down the fill valve shaft.
The Overflow Tube: The Safety Valve
The overflow tube is a vertical pipe, usually made of plastic, located in the center of the tank. Its critical function is to act as a safety mechanism. If the fill valve fails to shut off properly, preventing the water level from rising too high, the excess water will flow down into the overflow tube and then into the toilet bowl. This prevents the tank from overflowing onto your bathroom floor.
The Flush Valve And Handle Assembly
The flush handle on the outside of the tank is connected by a chain or lift arm to the flapper mechanism on the inside. When you press the handle, it pulls up the flapper, initiating the flush. The flush valve is the assembly at the bottom of the tank that the flapper seals against.
Credit: www.youtube.com
Common Causes Of A Running Toilet
The persistent sound of a toilet running is almost always due to a leak, either a slow seep or a more significant flow, from the tank into the bowl. Identifying the source of this leak is the first step toward a DIY fix.
Worn-out Or Damaged Flapper
This is the most frequent culprit behind a running toilet. Over time, the rubber flapper can become stiff, warped, cracked, or covered in mineral deposits. These imperfections prevent it from creating a tight seal against the flush valve seat.
- Symptoms: You might hear a faint hissing sound as water slowly leaks from the tank. The water level in the tank may drop slightly over time, and the fill valve might periodically kick on to replenish the lost water.
- Diagnosis: The “food coloring test” is a simple way to check. Add a few drops of food coloring to the tank water. Wait 15-20 minutes without flushing. If colored water appears in the toilet bowl, the flapper is not sealing properly.
Improperly Adjusted Or Faulty Fill Valve
The fill valve’s job is to stop refilling the tank once it reaches the correct water level. If it’s malfunctioning or set incorrectly, it can lead to a continuous flow of water, often directly into the overflow tube.
- Symptoms: The fill valve may never shut off completely, or it might shut off but then slowly start refilling again. You’ll likely hear a constant hissing or running sound from the fill valve itself. The water level in the tank might be too high, spilling over the overflow tube.
- Diagnosis: Observe the fill valve after the tank has refilled. Does it shut off completely? If not, check the float adjustment. If it shuts off but then starts again, the valve itself might be faulty.
Incorrect Float Height
The float is intrinsically linked to the fill valve’s operation. If the float is set too high, it won’t allow the fill valve to shut off at the proper water level, causing water to continuously flow into the overflow tube.
- Symptoms: The water level in the tank is consistently too high, nearing the top of the overflow tube. You’ll hear water running down the overflow tube.
- Diagnosis: Check the water level in the tank. There’s usually a mark inside the tank indicating the correct water level, or it should be about an inch below the top of the overflow tube. If the water level is higher than this, the float is likely set too high.
Worn-out Flush Valve Seat
The flush valve seat is the surface at the bottom of the tank that the flapper seals against. If this seat becomes corroded, pitted, or damaged by mineral buildup, the flapper won’t be able to create a watertight seal, even if the flapper itself is in good condition.
- Symptoms: Similar to a faulty flapper, you’ll hear water slowly leaking into the bowl. The food coloring test will indicate a leak.
- Diagnosis: This is harder to diagnose visually without disassembling parts. However, if replacing the flapper doesn’t solve the problem, the flush valve seat is a likely suspect.
Leaking In The Handle Assembly
While less common, a crack in the flush valve body or a loose connection where the handle attaches to the flush lever can sometimes cause a slow leak.
- Symptoms: Water may be seen seeping around the base of the flush handle or the flush valve assembly.
- Diagnosis: Inspect the area around the handle and the flush valve.

Credit: www.electrotechsystems.com
Troubleshooting Steps For A Running Toilet
Tackling a running toilet often involves a systematic approach to pinpoint and resolve the issue. Most problems can be fixed with basic tools and readily available replacement parts.
Step 1: The Food Coloring Test
As mentioned earlier, this is your first diagnostic step.
- Remove the tank lid.
- Add 5-10 drops of food coloring (or a dye tablet) into the tank water.
- Wait for 15-20 minutes without flushing the toilet.
- Check the toilet bowl. If you see colored water in the bowl, it indicates a leak from the tank.
- If colored water appears: The problem is likely with the flapper or the flush valve seat. Proceed to Step 2.
- If no colored water appears: The leak is likely from the fill valve or an issue with the overflow tube. Proceed to Step 3.
Step 2: Inspecting And Replacing The Flapper
If the food coloring test showed a leak, the flapper is the prime suspect.
- Turn off the water supply to the toilet by closing the shut-off valve located on the wall behind the toilet.
- Flush the toilet to empty the tank.
- Examine the flapper: Check for signs of wear, damage, or mineral buildup. Feel the edge for stiffness or warping.
- Clean the flapper and the flush valve seat: Use a soft cloth or sponge to clean both surfaces. If there’s significant mineral buildup, you might need a mild abrasive cleaner or vinegar.
- Replace the flapper if necessary: Most flappers are attached via two metal ears that hook onto posts on the flush valve. Simply unhook the old one and attach the new one. Ensure the chain is taut but has a little slack (about 1/2 inch).
- Turn the water supply back on.
- Let the tank refill and check if the running has stopped. Perform the food coloring test again to confirm the seal.
Pro Tip: Universal replacement flappers are inexpensive and widely available at hardware stores. Bringing your old flapper with you can help ensure you get a compatible replacement.
Step 3: Adjusting The Float And Fill Valve
If the food coloring test showed no leak, or if the running sound originates from the fill valve itself, focus on the fill valve and float.
- Turn off the water supply.
- Flush the toilet to empty the tank.
- Observe the float:
- For ball floats: There’s usually a screw on the arm connecting the ball to the fill valve. Turning this screw adjusts the height. Turn it clockwise to lower the float and counter-clockwise to raise it.
- For cup floats: Many modern fill valves have an adjustment screw on the side or top of the valve mechanism. Some cup floats have a clip that can be moved up or down the shaft. Gently squeeze the clip and slide it to adjust.
- Adjust the float height: The goal is to set the float so that the water level is about 1 inch below the top of the overflow tube.
- Turn the water supply back on.
- Let the tank refill and observe the water level and the fill valve.
- If the water level is correct and the fill valve shuts off, the problem is solved.
- If the fill valve continues to run or doesn’t shut off completely, the fill valve itself may be faulty and needs replacement.
Step 4: Replacing The Fill Valve
If adjusting the float doesn’t resolve the issue, or if the fill valve is clearly malfunctioning, replacement is the next step.
- Turn off the water supply and flush to empty the tank.
- Disconnect the water supply line from the fill valve shank (usually a nut at the bottom of the valve). Have a small towel ready for any residual water.
- Remove the old fill valve: Most modern fill valves have a locking nut or ring at the bottom of the tank that secures the valve. Unscrew this and lift the old valve out from the top.
- Install the new fill valve: Follow the manufacturer’s instructions. Typically, you’ll insert the new valve from the top, ensuring the rubber gasket is properly seated, and then tighten the locking nut from underneath.
- Reconnect the water supply line.
- Turn the water supply back on.
- Adjust the float on the new fill valve to the correct water level (about 1 inch below the overflow tube).
- Check for leaks and ensure the valve shuts off properly.
Example: When replacing a fill valve, ensure you purchase one compatible with your toilet’s tank height and water pressure. Many universal kits are available.
Step 5: Addressing The Flush Valve Seat
If you’ve replaced the flapper and confirmed it’s sealing correctly, but the toilet still runs, the flush valve seat might be the issue.
- Turn off water and empty tank.
- Inspect the flush valve seat: Look for any rough spots, cracks, or significant corrosion.
- Attempt to resurface: For minor imperfections, you can try using a flush valve seat repair tool (available at hardware stores). This tool is designed to grind down the surface to create a smoother sealing area. Follow the tool’s instructions carefully.
- Replace the flush valve assembly: If the seat is severely damaged, the entire flush valve assembly may need to be replaced. This is a more involved repair, often requiring removal of the tank from the bowl.
Advanced Issues And Less Common Causes
While flapper and fill valve problems are the most common, a few other less frequent issues can cause a toilet to run.
Leaking Wax Ring (tank-to-bowl Seal)
If you notice water pooling around the base of the toilet tank where it meets the porcelain bowl, the wax ring seal might be compromised. This isn’t directly a “running toilet” issue in terms of the tank constantly refilling, but it can be related to water escaping the system.
- Symptoms: Water visible around the base of the tank, potentially dripping down the outside of the bowl.
- Diagnosis: This requires a more thorough inspection and often involves removing the tank to replace the wax ring.
Cracked Tank
A hairline crack in the toilet tank itself can allow water to seep out, leading the fill valve to constantly replenish the lost water.
- Symptoms: Visible crack on the tank, water seeping from the crack, constant refilling.
- Diagnosis: Carefully inspect the entire exterior and interior of the tank for any cracks.
- Solution: A cracked tank typically requires replacement of the entire tank or the entire toilet. Small cracks can sometimes be temporarily sealed with epoxy designed for porcelain, but this is rarely a permanent fix.
Issues With The Flush Lever Mechanism
Sometimes, the lift chain connected to the flapper might be too long, too short, or snagged, preventing the flapper from seating properly.
- Symptoms: Flapper not sealing, even if it appears to be in good condition.
- Diagnosis: Check the chain length and ensure it has a little slack but isn’t so long it gets caught under the flapper. Ensure the lift arm is moving freely.
Water Conservation And Cost Savings
A running toilet can waste a significant amount of water. Understanding the scale of the problem highlights the importance of timely repairs.
Quantifying Water Waste
- A trickle of water from a leaky flapper can waste 20-30 gallons per day.
- A steady stream can waste up to 200 gallons per day.
- Over a year, a constantly running toilet can waste tens of thousands of gallons of water.
Data Point: According to the U.S. Environmental Protection Agency (EPA), household leaks are responsible for nearly 90 billion gallons of water wasted annually nationwide. Toilets are a major contributor to this waste, with leaks accounting for over 10% of household water use.
Financial Impact
The cost of this wasted water can add up quickly on your utility bills.
- Example: If your water costs $0.005 per gallon and your toilet wastes 50 gallons per day, that’s $0.25 per day, or over $90 per year for just one leaky toilet. If your water is more expensive, or the leak is worse, the annual cost can be significantly higher.
Environmental Impact
Beyond the financial cost, excessive water waste strains local water resources and increases the energy required for water treatment and distribution, contributing to a larger carbon footprint. Fixing a running toilet is a simple yet impactful way to contribute to water conservation efforts.
Tools And Materials Needed For Diy Repair
Fortunately, most toilet repairs require only basic tools and readily available parts.
Essential Tools
- Screwdriver Set: Both Phillips and flathead are useful for various adjustments and disassembly.
- Adjustable Wrench or Pliers: For tightening or loosening nuts, especially on the water supply line or fill valve.
- Towel or Sponge: To soak up any spilled water.
- Gloves: To keep your hands clean.
- Bucket: To catch water during disassembly.
Common Replacement Parts
- Toilet Flapper: Universal flappers are inexpensive and fit most toilets.
- Fill Valve Assembly: If the fill valve is faulty, a new universal fill valve kit is usually required.
- Flush Valve Seat Repair Kit (Optional): For addressing minor damage to the flush valve seat.
- Plumber’s Tape (Teflon Tape): May be needed for re-sealing threaded connections on the water supply line.
When To Call A Professional Plumber
While many running toilet issues are DIY-friendly, there are times when professional help is advisable.
Complex Repairs
- If the repair involves removing the toilet tank from the bowl (e.g., replacing the flush valve assembly or wax ring), and you’re uncomfortable with the process.
- If you’ve tried the common fixes and the problem persists, indicating a more complex underlying issue.
Lack Of Tools Or Confidence
- If you don’t have the necessary tools or feel unsure about performing the repair.
Persistent Leaks
- If you suspect a crack in the tank or bowl, or a problem with the main water line connection to the toilet.
In my experience, most homeowners can handle a flapper or float adjustment with minimal effort. However, issues involving the entire flush valve assembly or a cracked tank are best left to professionals to ensure a proper and long-lasting repair.
Frequently Asked Questions
What Is The Most Common Reason A Toilet Keeps Running?
The most common reason is a worn-out or improperly sealed flapper. Over time, the rubber degrades, preventing a watertight seal with the flush valve seat. This allows water to continuously leak from the tank into the bowl, prompting the fill valve to repeatedly add water.
How Can I Tell If My Toilet Flapper Is Bad?
The easiest way is the food coloring test. Add a few drops of food coloring to the tank water and wait 15-20 minutes without flushing. If colored water appears in the toilet bowl, the flapper is not sealing correctly. You can also visually inspect the flapper for signs of cracking, warping, or stiffness.
My Toilet Water Level Is Too High And Runs Into The Overflow Tube. What’s Wrong?
This typically indicates an issue with the float or the fill valve. The float might be set too high, preventing the fill valve from shutting off at the correct water level. Alternatively, the fill valve itself may be malfunctioning and not shutting off completely. Adjusting the float height or replacing the fill valve are common solutions.
Can A Running Toilet Be Fixed Without Turning Off The Water Supply?
For simple adjustments like slightly repositioning a float arm or ensuring a flapper chain has slack, you might be able to do it with the water on, but it’s highly recommended to turn off the water supply before attempting any repairs involving replacing parts or cleaning components. This prevents accidental flooding and allows you to properly empty the tank for better access.
How Much Water Does A Running Toilet Waste Per Day?
A toilet with a slight leak (like a faulty flapper) can waste around 20-30 gallons of water per day. A more significant leak or a constantly running fill valve can waste over 200 gallons per day. Over a year, this can amount to tens of thousands of gallons wasted per toilet.
The persistent sound of a toilet running is a clear signal that something is amiss within the tank’s intricate mechanics. By understanding the function of each component, the flapper, fill valve, float, and overflow tube, you can systematically diagnose and address the most common issues.
Often, a simple fix like replacing a worn flapper or adjusting a float can resolve the problem, saving water, money, and the annoyance of constant noise. Empowering yourself with this knowledge allows for proactive maintenance and quick resolution, ensuring your plumbing system operates efficiently and without waste.