
Building porch chairs requires cutting lumber to specific dimensions, assembling a sturdy frame with weather-resistant fasteners, and applying an exterior finish to protect the wood from the elements. A typical DIY project using pressure-treated pine or cedar costs between $40 and $150 per chair in materials, depending on the design complexity and the lumber grade you select at your local home center.
Key Takeaways
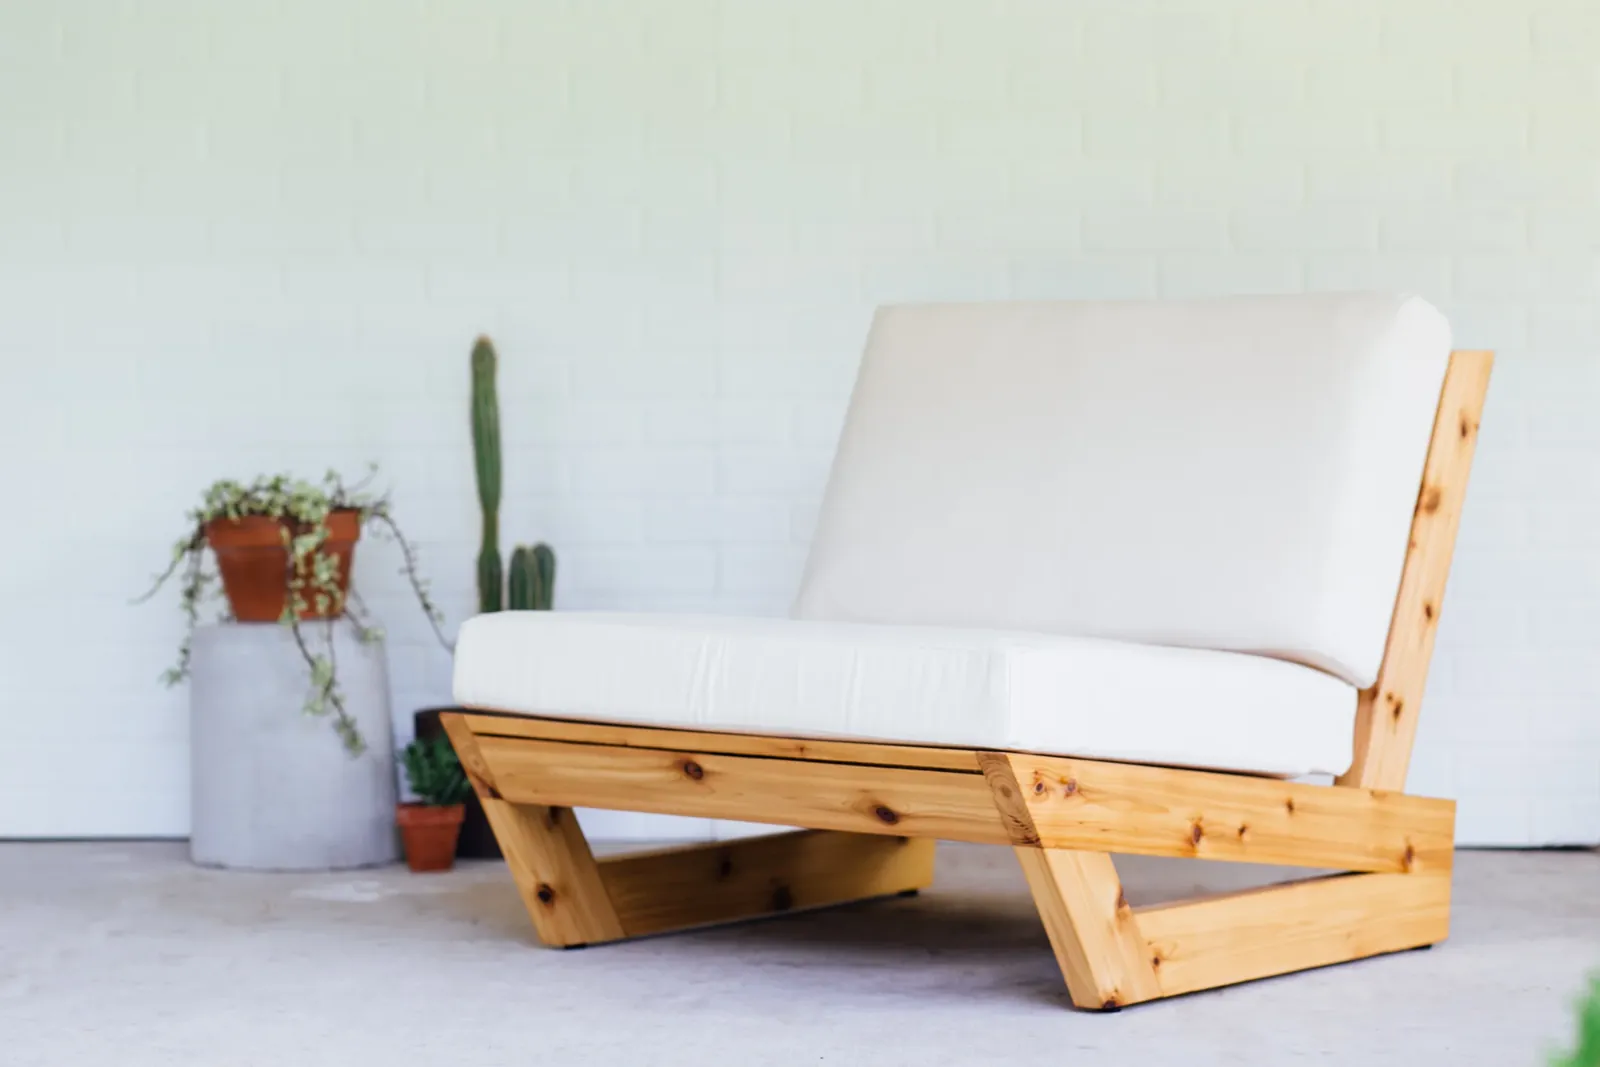
- Select exterior-grade lumber like cedar, redwood, or pressure-treated pine to prevent rot and insect damage over time.
- Use stainless steel or polymer-coated deck screws rather than standard hardware to avoid rust streaks and structural failure.
- Cut all pieces using a miter saw for precise angles, especially on the backrest slats that determine your seating comfort.
- Pre-drill every screw hole near board ends to prevent the wood from splitting during assembly.
- Apply a penetrating oil or exterior polyurethane within twenty-four hours of final sanding to seal the grain against moisture.
- Build a prototype from cheap framing lumber first if you’re modifying standard plans to fit a custom cushion size.
Choosing Lumber for Porch Chairs
The longevity of your outdoor furniture depends entirely on the species you bring home from the lumberyard. Softwoods dominate this category because they’re lightweight, easy to cut, and naturally resistant to decay when chosen correctly. Avoid interior-grade woods like poplar or standard white pine, as they will deteriorate rapidly when exposed to rain and humidity.
| Wood Species | Natural Rot Resistance | Typical Cost per Board Foot | Workability |
|---|---|---|---|
| Western Red Cedar | High | $5.00 – $8.00 | Excellent |
| Pressure-Treated Pine | High (chemical) | $2.00 – $4.00 | Good |
| White Oak | Very High | $7.00 – $10.00 | Moderate |
| Teak | Exceptional | $25.00+ | Moderate |
Western Red Cedar remains the preferred choice for most builders because it contains natural oils that repel water and insects without chemical treatments. If budget is a primary concern, pressure-treated southern yellow pine offers excellent durability, though you must wait several weeks for the chemical moisture to dry before applying paint or stain. When selecting boards at stores like Home Depot or Lowe’s, sight down the length of each piece to reject severely warped or twisted stock. Always choose kiln-dried-after-treatment lumber if buying pressure-treated boards, as wet treated wood shrinks unpredictably and can twist your chair frame out of square.
Essential Tools for Building Chairs
You don’t need a professional cabinet shop to build durable outdoor seating, but having the right equipment ensures tight joints and safe operation. A basic setup relies on measuring accurately, cutting cleanly, and driving fasteners securely.
- Power miter saw: Essential for cutting repetitive angles on armrests and back slats.
- Cordless drill/driver: Look for models from DeWalt, Makita, or Milwaukee with adjustable clutches to avoid over-driving screws.
- Pocket hole jig: The Kreg Jig system simplifies hidden joinery for apron-to-leg connections.
- Random orbit sander: Necessary for smoothing rough-sawn cedar before finishing.
- Speed square: Used for marking perpendicular lines and guiding circular saw cuts.
- Tape measure and carpenter’s pencil: For transferring dimensions accurately across multiple boards.
Investing in a quality pocket hole jig eliminates the need for complex mortise-and-tenon joinery while providing remarkably strong mechanical connections. Keep your saw blades sharp; dull blades tear through cedar fibers instead of slicing them, leaving fuzzy edges that require excessive sanding.
How to Make Porch Chairs Step-by-Step
Constructing a standard Adirondack-style or slatted porch chair follows a logical sequence. You always build the structural foundation first, then attach the surfaces you sit on. Rushing the order leads to misaligned parts and wobbly frames.
| Assembly Phase | Components Joined | Fastener Type |
|---|---|---|
| Base Frame | Front legs, rear legs, side aprons | 2.5-inch coated deck screws |
| Backrest Support | Rear legs, upper back rail, lower back rail | 2.5-inch coated deck screws |
| Seating Surface | Seat slats to side aprons | 2-inch stainless steel screws |
| Armrests | Armrest boards to front legs and back supports | 2-inch stainless steel screws |
| Back Slats | Vertical slats to upper and lower back rails | 1.5-inch brad nails or screws |
Begin by cutting the front and rear legs. The rear legs of a porch chair typically feature a continuous angle that transitions into the backrest support. Use a template made from cardboard or scrap plywood to trace this profile consistently across both sides. Assemble the left and right side panels flat on your workbench, ensuring the distance between the front and rear legs matches your seat depth exactly.
Once the side assemblies are rigid, connect them using the front and rear apron boards. Check the diagonal measurements of the box frame; if they’re equal, your chair is perfectly square. Attach the seat slats next, spacing them evenly using a scrap piece of wood as a spacer block. Finally, secure the armrests and back slats.
Cutting the Backrest Angle
The recline angle dictates how comfortable the finished chair feels. Most porch chairs use a backrest pitched between fifteen and twenty degrees from vertical. Set your miter saw to this angle and test the cut on scrap material before touching your primary cedar boards.
Joining the Armrests
Armrests take significant lateral stress when someone pushes themselves up from a seated position. Reinforce the connection between the armrest and the front leg using dowels or pocket screws hidden underneath. Never rely solely on end-grain screw penetration, as it lacks holding power.
What Fasteners Prevent Rust Streaks?
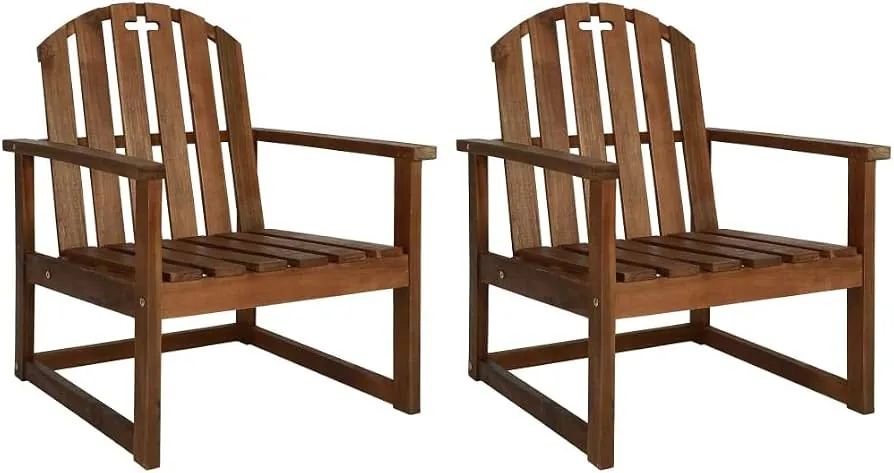
Using the wrong hardware ruins the appearance and structural integrity of outdoor furniture. Standard zinc-plated screws corrode quickly when exposed to rain, and the acidic tannins in cedar and redwood actively accelerate the rusting process of cheap metals. This corrosion leaves permanent black streaks down the face of your boards and eventually causes the screw heads to snap off.
Always specify stainless steel screws (grade 305 or 316) or polymer-coated exterior deck screws rated for treated lumber. Brands like GRK Fasteners and Simpson Strong-Tie manufacture screws specifically designed for outdoor woodworking. These feature aggressive threads for gripping softwoods and cutting tips that reduce the need for pre-drilling in the center of boards.
However, you must still pre-drill within one inch of any board end to prevent splitting. Washers are rarely needed if you use bugle-head screws, which naturally countersink into softwoods without tearing the surface fibers.
Why Do Chair Joints Fail Outdoors?
Wood movement is the primary enemy of outdoor furniture. As humidity rises, boards absorb moisture and expand across their width; as the air dries, they shrink. If your joinery doesn’t account for this seasonal shifting, the internal stresses will crack the wood or push screws loose.
Avoid gluing wide panels together edge-to-edge unless you’re using specialized exterior adhesives like Titebond III, and even then, mechanical fasteners should carry the primary load. Glue traps moisture between mating surfaces, accelerating rot. Instead, allow slight gaps between seat slats—typically three-eighths of an inch—to permit water drainage and thermal expansion.
Designing with wood movement in mind means elongating screw holes slightly where cross-grain connections occur, allowing the top board to slide fractionally over the base frame without splitting. According to the USDA Forest Products Laboratory, understanding dimensional change coefficients for specific wood species is critical for preventing joint failure in exterior applications.
Applying Exterior Finishes Correctly
Unfinished cedar turns a silvery gray over time due to ultraviolet degradation. While some prefer this rustic look, unprotected wood also becomes brittle and prone to splintering. To maintain the original color and extend the lifespan of your chairs, you must apply a protective coating.
- Penetrating oils: Products like Cabot Australian Timber Oil soak into the cellular structure, repelling water without forming a surface film that can peel.
- Exterior spar urethane: Minwax Helmsman provides a hard, glossy shell containing UV blockers, ideal for painted or stained chairs.
- Solid color stains: Behr Premium hides wood grain completely but offers maximum protection against sunlight.
Apply your chosen finish only after the wood has been sanded progressively through 80, 120, and 150 grits. Remove all dust with a tack cloth before opening the finish can. Brush the product along the grain, working in manageable sections to avoid lap marks.
Pay special attention to the end grain of the legs, as these areas act like straws, wicking standing water directly into the core of the chair. Reapply penetrating oils annually, while high-quality urethanes may last two to three seasons before requiring light sanding and a maintenance coat.
Warning: Never apply oil-based finishes to pressure-treated lumber until the wood has thoroughly dried, which can take several months depending on your climate. Trapping moisture inside treated wood causes the finish to bubble and peel almost immediately.
How Much Does It Cost?
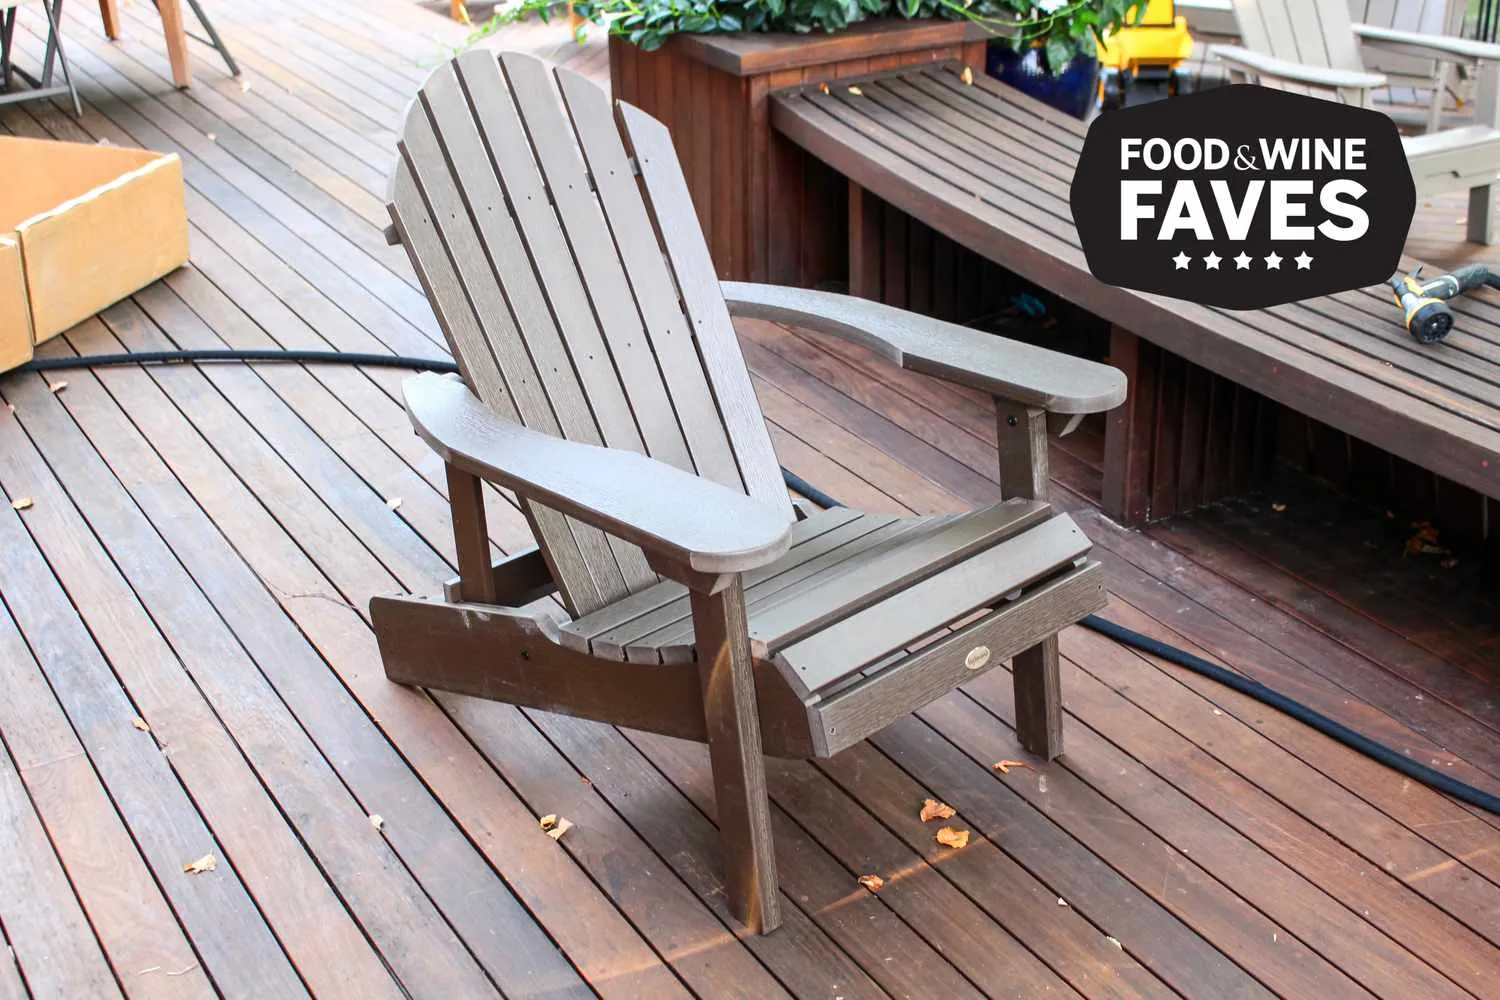
Budgeting accurately prevents mid-project trips to the store and helps you decide whether building is more economical than buying factory-made alternatives. Costs fluctuate based on regional lumber prices and the specific hardware you select.
| Expense Category | Budget Option (Pine) | Premium Option (Cedar/Teak) |
|---|---|---|
| Lumber (per chair) | $40 – $60 | $100 – $180 |
| Fasteners & Hardware | $8 – $12 | $15 – $25 |
| Sandpaper & Supplies | $5 – $10 | $10 – $15 |
| Exterior Finish | $15 – $20 | $25 – $40 |
| Total Estimated Cost | $68 – $102 | $150 – $260 |
Buying rough-sawn lumber directly from a local sawmill often reduces material costs significantly compared to big-box retailers, provided you own a planer or are willing to do extra sanding. Factor in the cost of replacement saw blades if you’re cutting dense hardwoods like white oak. Remember that finishes and sandpaper are shared across multiple chairs, so the per-unit cost drops if you’re building a set of four rather than a single seat.
Related guides
Frequently Asked Questions
What is the best wood for porch chairs?
Western red cedar is widely considered the best overall choice due to its natural resistance to rot, lightweight properties, and pleasant aroma. White oak and teak offer superior durability but are heavier and significantly more expensive. Pressure-treated pine is the best budget alternative.
How long does it take to build a porch chair?
An experienced woodworker can complete a basic slatted porch chair in four to six hours. Beginners should allocate a full weekend, allowing extra time for careful measuring, template creation, and learning how to operate their tools safely and accurately.
Can I use pallet wood for outdoor chairs?
While possible, pallet wood is generally not recommended. It’s often thin, heavily nailed, and potentially treated with harsh chemicals. Heat-treated pallets stamped with “HT” are safer, but the wood quality usually results in a fragile chair that requires extensive preparation.
What angle should the backrest be?
A comfortable backrest angle for a porch chair falls between fifteen and twenty degrees from vertical. Anything less than ten degrees feels too upright for relaxing, while angles exceeding twenty-five degrees make it difficult to stand up from the seated position.
Should I glue outdoor chair joints?
Rely primarily on mechanical fasteners like stainless steel screws or dowels rather than glue. Wood expands and contracts outdoors, which breaks rigid glue bonds. If you must use adhesive, choose a waterproof polyurethane glue or Titebond III exterior wood glue.
How do I keep porch chairs from blowing away?
Heavy hardwoods naturally resist wind. For lighter cedar chairs, you can install small eye hooks under the rear apron and tether them to porch railing posts using coated steel cables or heavy-duty rope during severe storm warnings.
Conclusion
Select your lumber carefully, lay out your cuts methodically, and take your time driving the fasteners to ensure every joint sits flush. Your immediate next step is to sketch your desired chair dimensions on graph paper or download a verified plan, then head to your local supplier to inspect the cedar boards in person before purchasing.