
You can build a hanging bike rack in 2 hours using one 2×4 lumber board and two heavy-duty vinyl hooks per bicycle. You mount the board across wall studs with 3-inch structural screws to carry adult bikes safely. This method suits homeowners or renters with garage access who need floor space back.
Gather your hanging bike rack supplies
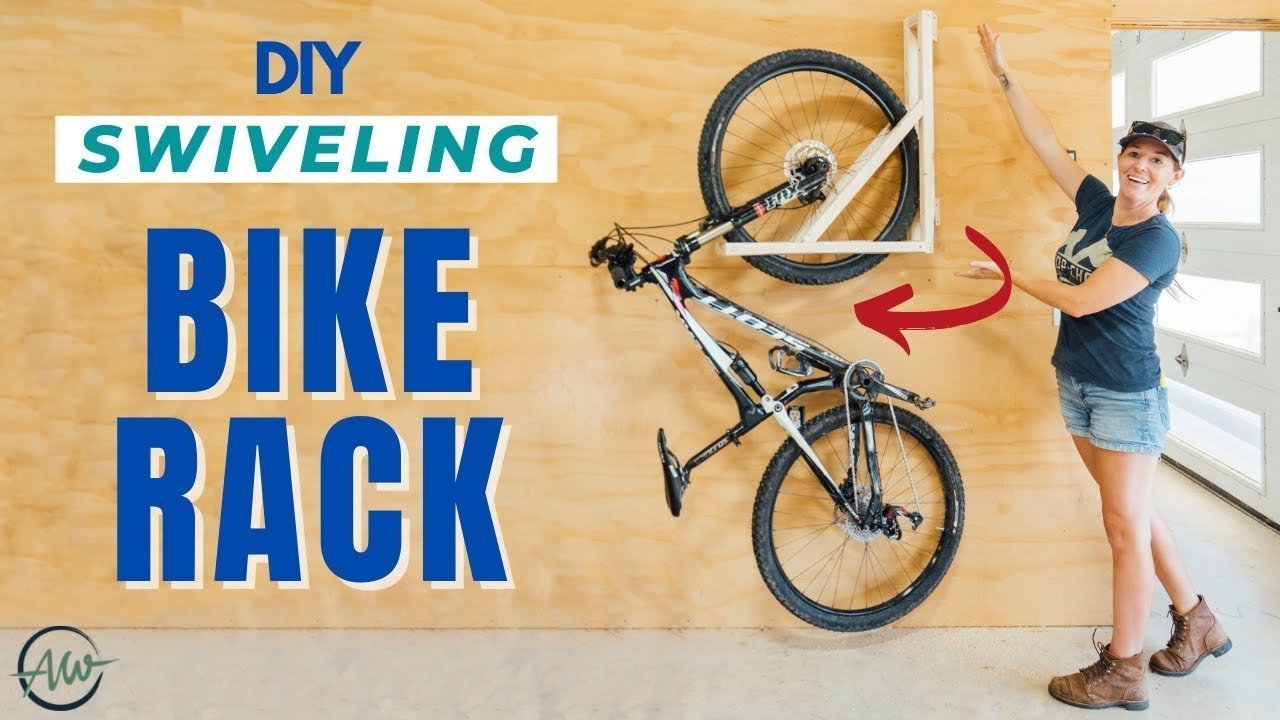
- One 2×4 lumber board cut to 48 inches (holds up to 3 bikes on standard 16-inch stud spacing).
- Six 5/16-inch by 3-inch structural wood screws to secure the board into your wall framing.
- Two vinyl-coated screw-in storage hooks per bike, rated for at least 50 pounds each.
- A stud finder with deep-scan capability (basic magnetic finders often miss deep garage studs).
- A cordless power drill with a 3/16-inch wood drill bit and driver bits.
- A 24-inch bubble level to keep the rack straight.
You can swap the 2×4 for a 2×6 board for extra hook height, but never substitute hollow-wall drywall anchors for wall studs.
Step-by-step
- Locate two adjacent wall studs using your stud finder, marking the center of each stud at 68 inches from the garage floor. If your bikes are extra-long cargo models, measure your bike length first and raise this line by 10 inches.
- Hold your 48-inch wood board against the wall across your marks, place a 24-inch level on top, and draw pencil lines along the board edges.
- Drill two 3/16-inch pilot holes through the board at each stud location, spacing the pair 2 inches apart vertically.
- Drive 3-inch structural screws through the board into the wall framing using your drill driver until the screw heads sit flush against the wood.
- Mark hook locations along the wood face, keeping at least 14 inches of space between bikes so handlebars don’t tangle.
- Drill a 3/16-inch pilot hole at each hook mark, drilling 2 inches deep into the face of the board.
- Twist the vinyl-coated hooks into the pilot holes by hand until the threaded steel shank is completely buried in the lumber.
Careful: If you feel the drill bit punch through drywall without firm wood resistance, don’t drive screws there because drywall alone can’t support a falling bicycle.
Tip: Slip the closed end of an adjustable wrench over the hook bend to gain easy leverage when twisting the hook into dense wood.
Wall types and bike loads
Here is how your installation changes across different wall materials and storage loads.
It’s safer to hang your bikes lower first and test the lift clearance than to mount the rack too high and drop a bike during storage.
How to tell you did it right
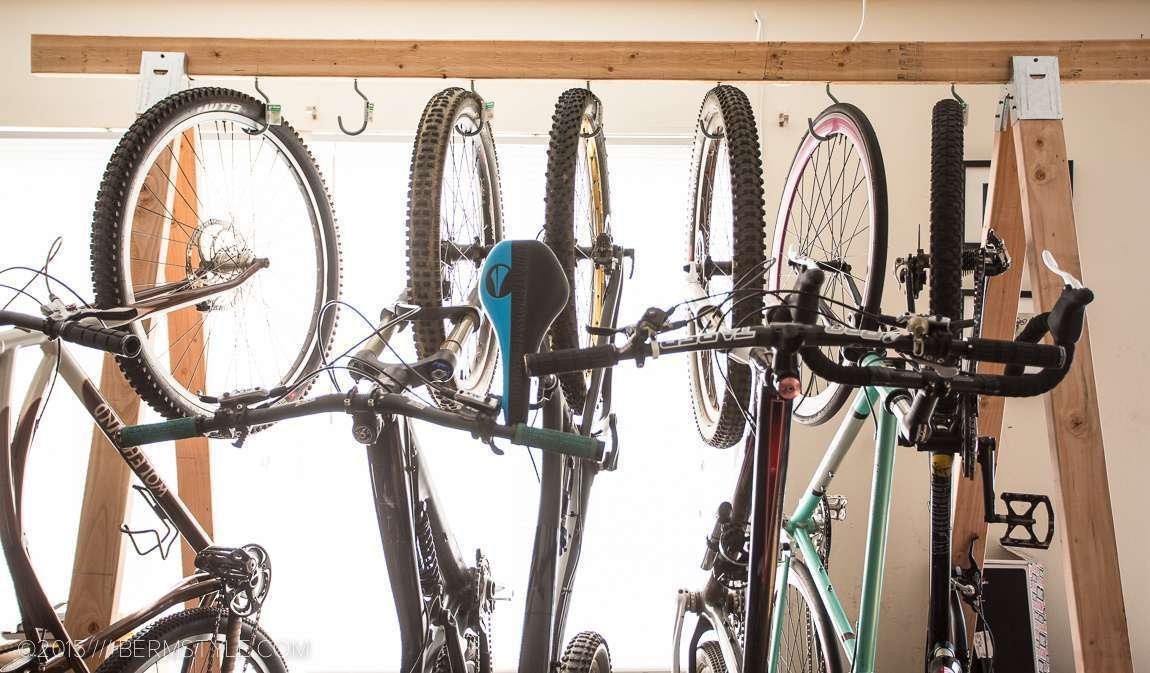
A correct installation shows the wood board sitting completely flat against the drywall with zero wobble when you grab and shake it firmly. A poor installation sags, pulls away from the wall, or allows the hooks to wiggle loose inside their holes.
Stripped pilot holes are the most common quality problem with DIY racks. This happens because drill bits that are too wide remove the wood grain that hook threads need to grip. You prevent this by using a drill bit narrower than the hook core, running the drill at low speed, and keeping hooks perpendicular to the face of the board.
Building codes and workshop cleanup
The International Code Council building safety guidelines set clear standards for framing penetration, requiring fasteners to bite deeply into main structural members to bear dynamic loads safely.
Sweep up all wood shavings from your workspace, wipe down drill bits before storing them in your toolbox, and return leftover screws to labeled boxes. Check the vinyl hook coating once a year to confirm it hasn’t split, as bare metal scratches aluminum wheel rims. If you discover knob-and-tube wiring inside older garage walls, stop immediately and hire a licensed electrician to inspect the run before drilling.
Alternatives for small spaces
Ceiling pulley hoist
This system uses ropes and ceiling-mounted pulleys to lift bikes into overhead garage rafters. It frees up all wall space for shelving, but it adds an hour of ladder work and requires double-checking your ceiling joist strength.
Vertical floor-to-ceiling tension pole
A tension post locks between floor and ceiling using a pressure spring without any wall drilling. It avoids wall holes entirely, which suits renters, though it holds fewer bikes than a permanent wall frame.
Horizontal single-bike wall shelf
A shallow wooden box shelf carries one bicycle horizontally by its top tube. It doubles as a helmet and lock shelf, but it takes up roughly 6 feet of horizontal wall span per bike.
Frequently asked questions
Can hanging a bike by its wheel damage the rim?
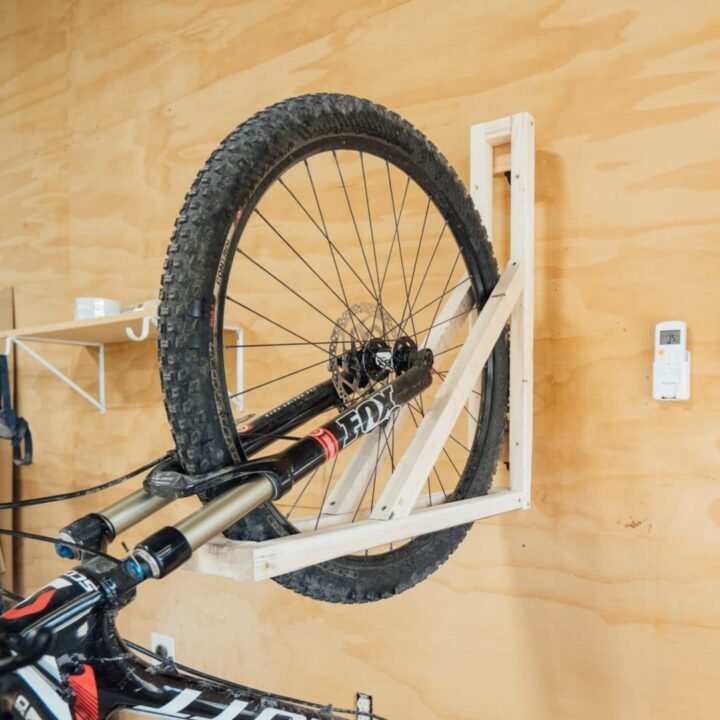
No, hanging a bike by its wheel doesn’t bend modern alloy or steel rims. A normal wheel carries half of your total body weight during riding impacts. The dead weight of a 30-pound bicycle puts minimal stress on the rim structure.
Is it safe to hang hydraulic disc brake bikes vertically?
Yes, it’s safe if your brake system has no trapped air bubbles. Air in poorly bled lines can migrate toward the brake levers while hanging, causing temporary lever sponginess. If this happens, pump the brake levers five times while the bike rests flat to restore normal pressure.
Why do my wall anchors keep pulling out of the drywall?
Standard drywall anchors pull out because bikes exert downward leverage that acts like a pry bar against the wall surface. Drywall gypsum crumbles quickly under dynamic loads. You must anchor the support board into solid wood studs or solid masonry to hold the weight.
How much weight can a 2×4 hanging rack support?
A 2×4 board secured across two studs holds roughly 150 pounds when anchored with four 3-inch structural screws. That capacity safely supports three standard bikes. For heavier e-bikes, check your bike’s battery weight; this varies by model — check the label before hanging.
Who is this hanging storage setup not for?
This rack isn’t for people with heavy 65-pound cargo bikes or step-through electric utility frames. Lifting heavy frames chest-high causes back strain. Ground-level floor stands or roll-in floor racks work better for these heavy setups.
What happens if I skip the pilot holes for the hooks?
The wood board will split along its grain lines, ruining the rack’s strength. Thick screw hooks wedge wood fibers apart violently if you force them into bare lumber without drilling first. Replacing a split board costs you extra lumber and an hour of wasted build time.
Final Thoughts
Once your rack is secure, you’ll finally have that extra room to move around your garage easily. It’s a great feeling to reclaim your floor space for other projects. Why not organize your helmets and spare tubes on the wall nearby? You’ll love how tidy your storage area looks when you’re done.
Related guides