
To install a Topeak bike rack, you’ll need about twenty minutes and a 4 mm or 5 mm Allen wrench to secure four frame bolts. You attach the lower feet near the rear axle first, level the top plate, and then fasten the front support arms to the seatstay eyelets. This method suits daily commuters and tourers with threaded frame mounts best.
Tools for your Topeak rack installation
- 4 mm and 5 mm hex keys (standard L-shape or folding tool).
- Four M5 threaded bolts (normally included with the rack; 12 mm to 16 mm length).
- Four small metal washers to protect frame paint and distribute pressure.
- Bicycle grease or light threadlocker (such as blue Loctite 242) for bolt threads.
- Small bubble level or a smartphone leveling app.
- Topeak rear rack (standard Uni Explorer or disc-brake version to match your frame).
A set of rubber-coated P-clamps works if your seatstays lack upper eyelets, but zip ties won’t work because they snap under road vibrations. If your bike has no lower eyelets or features a delicate carbon fiber frame, visit a certified bicycle shop mechanic to avoid cracking the material.
Step-by-step
- Apply a thin coating of bicycle grease or blue threadlocker to the threads of four M5 bolts to stop corrosion.
- Position the rack feet against the lower eyelets near your bike’s rear dropouts, keeping the rack roughly upright.
- Thread one M5 bolt with a washer through each lower foot into the frame eyelet, turning each bolt four full turns by hand without tightening fully.
- Attach the two adjustable metal bracket arms to the front of the rack platform using the included hardware.
- Pivot the rack until the top cargo platform sits completely level with the ground.
- Align the front bracket arms with the upper eyelets on your bicycle seatstays. If X (the arms reach cleanly), do A: attach them straight to the mounts; if Y (the arms hit the frame or brakes), do B: gently bend the soft aluminum arms by hand to clear the obstruction.
- Screw the upper M5 bolts through the bracket ends into the frame eyelets using your 4 mm hex key until snug.
- Tighten all four frame bolts evenly to 4 Newton meters of torque using your hex key.
Careful: Don’t force a bolt that resists after two turns; cross-threading strips the aluminum threads inside your bicycle frame and costs a pricey frame repair.
Tip: Tighten the left and right sides in small increments rather than locking down one side completely, which keeps the rack straight.
Rack setup across different frames
Bike frames differ, so the required parts and installation steps depend directly on your bicycle’s build.
| Frame setup | Extra time and cost | Mechanical difference | What to watch |
|---|---|---|---|
| Standard rim brake | Lowest time, no extra parts | Arms clear frame easily | Distance to tire tread |
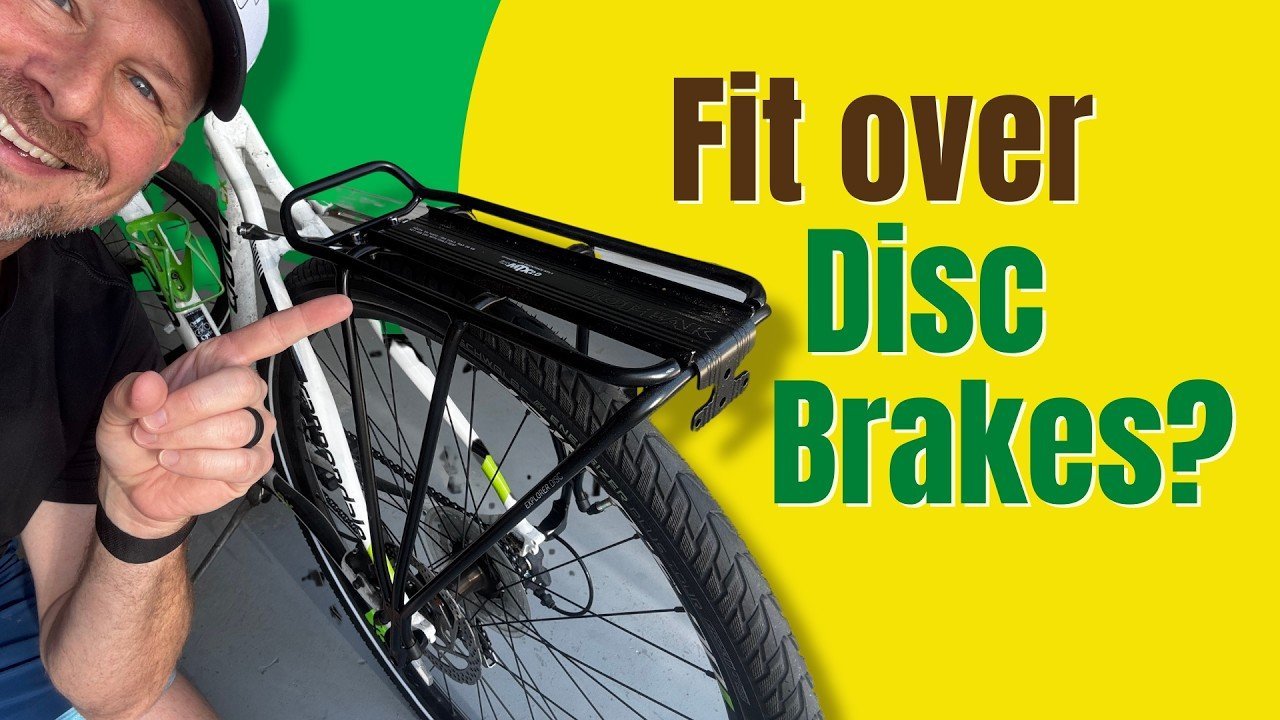
| Disc brake caliper | Adds 5 minutes, needs disc-rack | Wide feet clear caliper | Clearance around disc brake body |
| No upper eyelets | Adds 10 minutes, costs small clamp fee | Uses seatpost clamp or P-clips | Clamp slippage on paint |
| Small bike frame | Adds 5 minutes, no extra parts | Requires shorter arm angle | Heel strike against pannier bags |
Starting with loose bolts lets you center the platform easily, whereas tightening hardware too early forces the metal into an awkward twist that weakens the rack.
How to tell you did it right
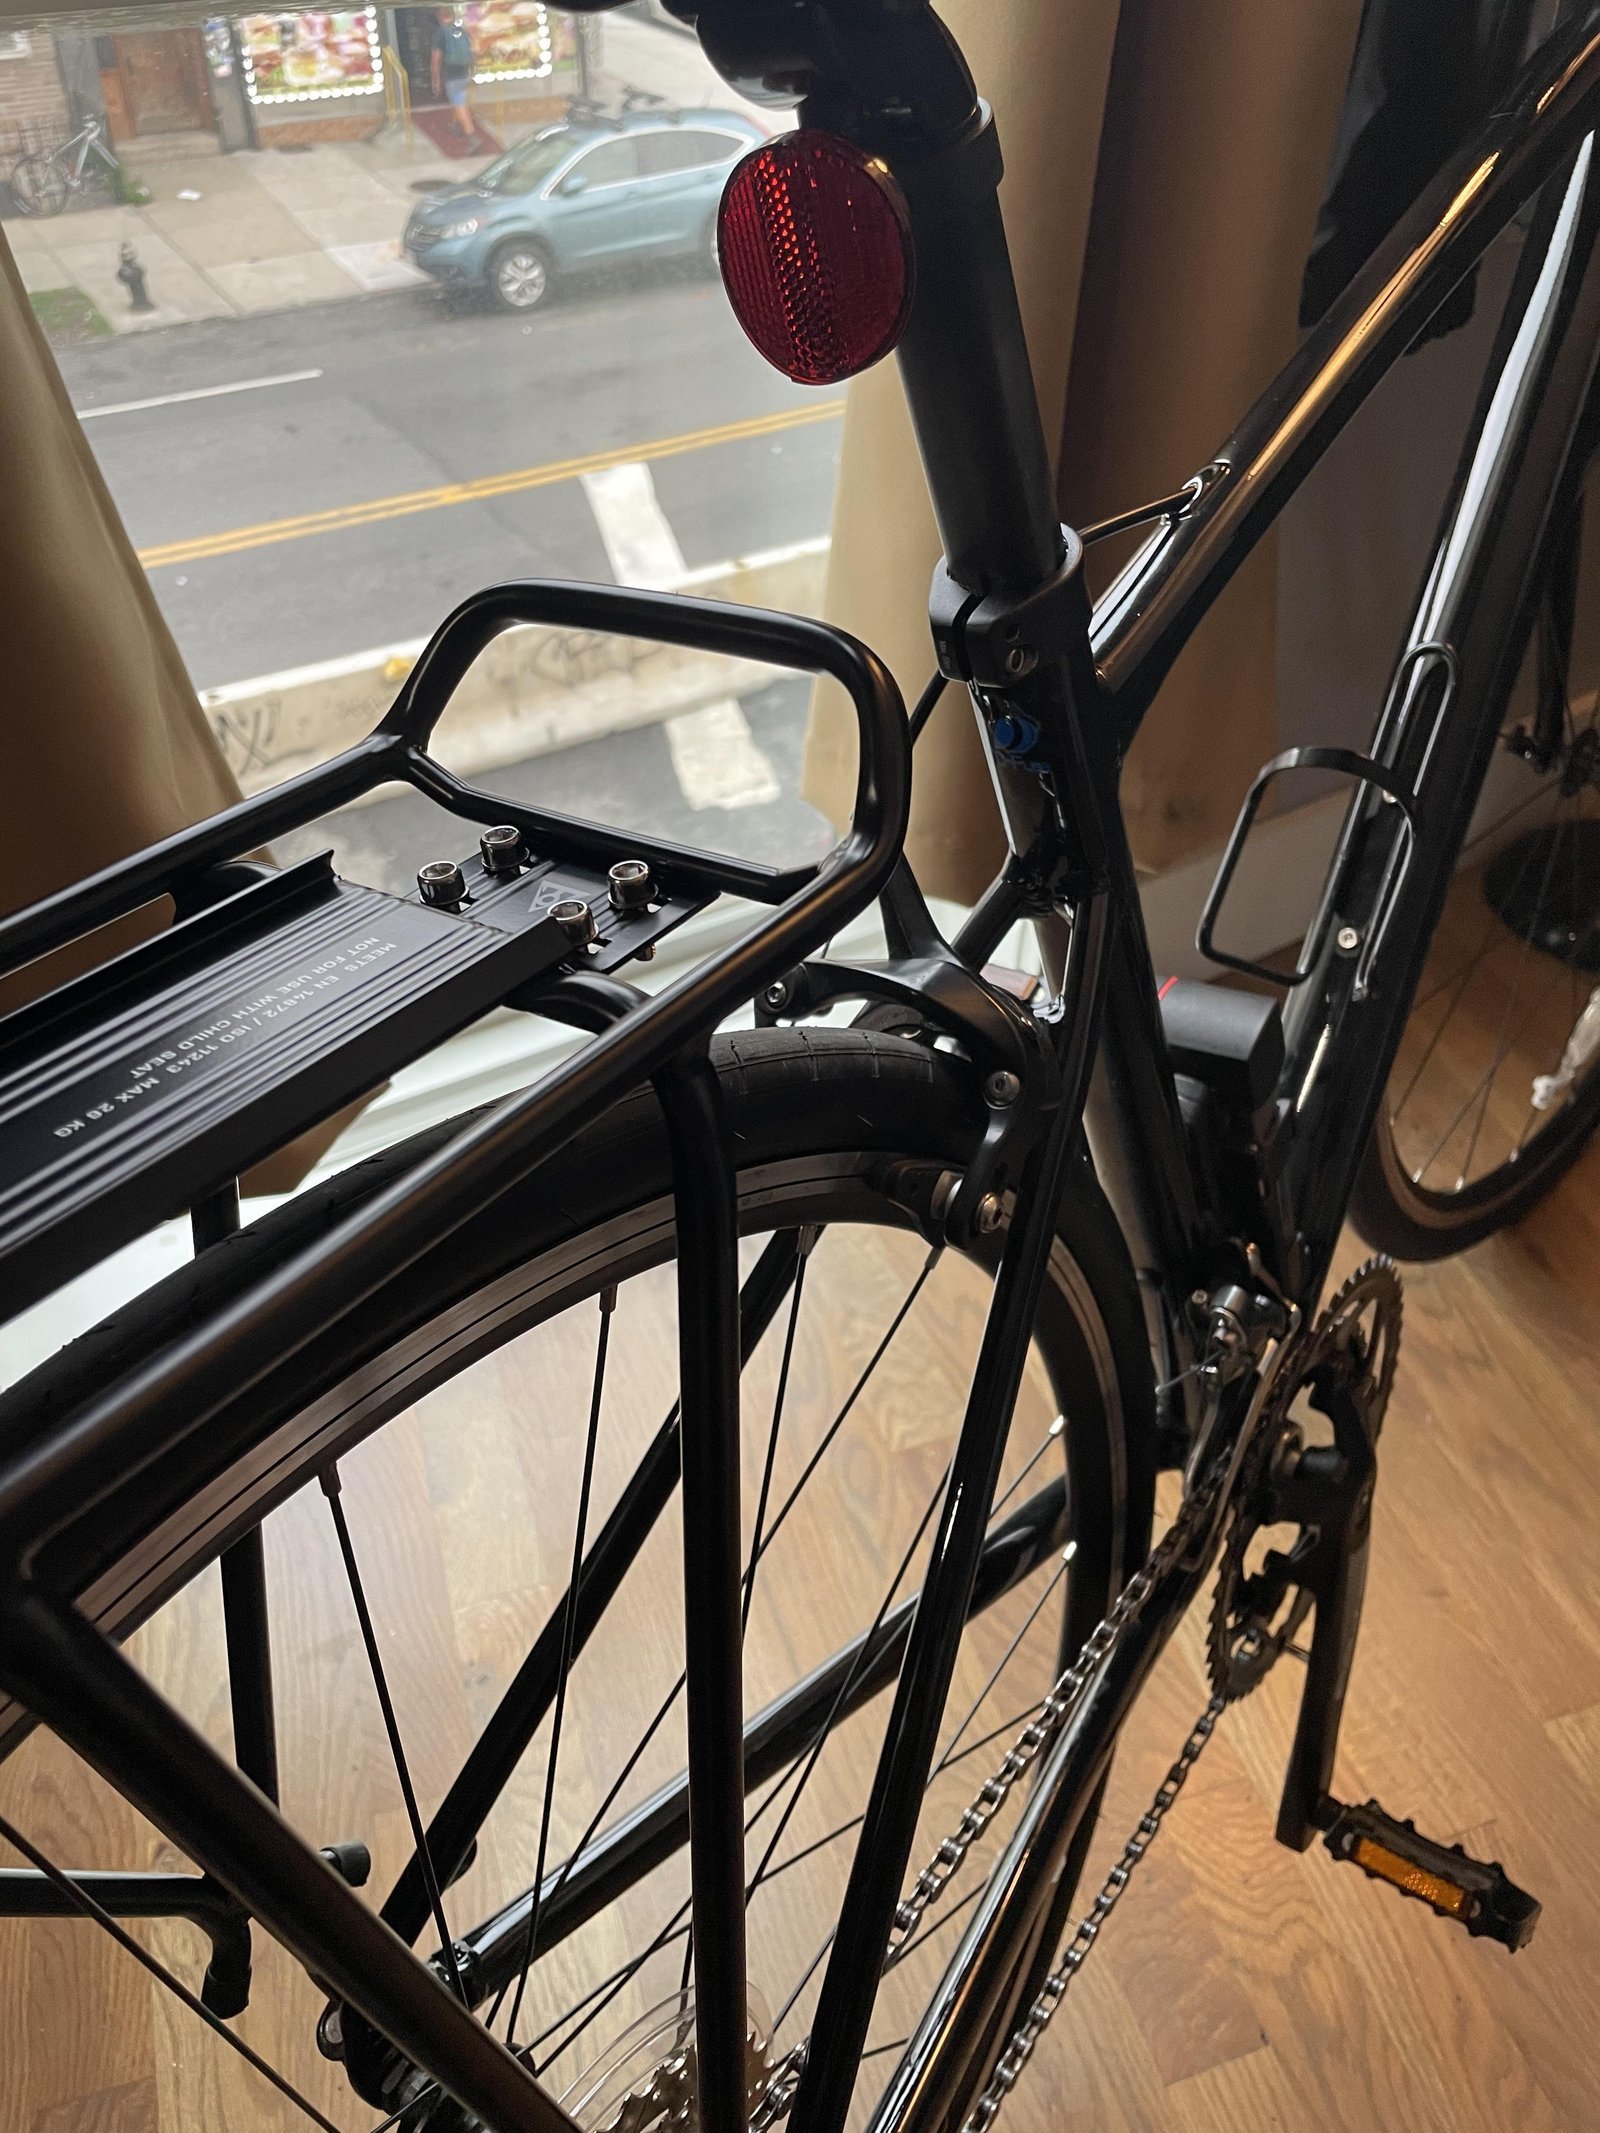
A correct installation leaves the rack level and rock solid. Grab the rear platform and shake it firmly; the entire bicycle should move with the rack without any clunking or wobbling sounds. A poor result looks crooked, sits too close to the rear tire, or rattles over small bumps. The main problem with rear carriers is hardware vibrating loose during rides. This happens because road chatter creates constant micro-movements against threaded metal parts. You prevent this by using metal washers, adding threadlocker fluid during assembly, and re-checking bolt tightness after your first week of riding.
Proper load limits and maintenance
The primary standard for bicycle luggage carriers is European safety standard EN 14872 (often adopted as ISO 11243), which sets the standard rear rack load limit at 25 to 27 kilograms (about 55 to 60 pounds). Clear away metal shavings, wipe off extra grease, and store your spare bracket parts in a dry bin. The installation lasts indefinitely, but you must check the bolts regularly.
Other mounting choices
Seatpost clamp carrier
This style clamps directly around the seatpost using a single quick-release lever, taking only two minutes to fit. It avoids frame eyelets entirely, but it trades away carrying capacity and holds significantly less weight than a four-point frame rack.
P-clamp stay adapters
Rubber-lined metal clips wrap directly around bare seatstays to create artificial mounting points where factory eyelets are missing. They add five minutes to your build and allow a standard rack, though heavy touring loads might cause the clamps to twist slowly over time.
Integrated seat-collar rack mount
Replacing your stock seatpost collar with an eyelet-equipped clamp provides two sturdy, threaded mounting holes near the seat tube. It costs a few extra dollars and takes five minutes to swap, yielding a cleaner, more rigid connection than bending long arms.
Frequently asked questions
Can I install a Topeak rack on a bike without eyelets?
Yes. You can use rubber-coated P-clamps around the frame stays or install a specialized seatpost clamp that includes threaded eyelets. This bypasses the need for factory holes, though it takes a few extra minutes to fit securely.
Why does my heel hit the rack while pedaling?
Your rack platform sits too far forward on the bike frame. Loosen the mounting bolts and slide the top rail backward along its adjustable arms, or adjust your pannier mounting hooks further back to give your shoes enough space.
Is it safe to carry a passenger on a Topeak rack?
No. Standard Topeak racks are engineered solely for luggage and bags up to their labeled weight limit. They lack footrests, handholds, and structural reinforcements, meaning carrying a person risks metal failure and serious personal injury.
What happens if I lose an installation bolt?
You can replace it with any standard stainless steel M5 metric bolt from a local hardware store. Most bicycle frame eyelets use identical M5 threading, so you don’t need proprietary parts from the manufacturer to secure the rack.
How long does the installation usually take?
Between fifteen and thirty minutes for most riders using basic hand tools. Working on a bicycle with disc brakes or missing eyelets can take slightly longer because you must align spacers and wrap protective clamps around the stays.
Can this rack hold a child seat?
No, unless your specific Topeak rack is explicitly marked and certified for child carrier systems. Most standard commuter models lack the wider footings and safety certifications required to support the shifting weight of an active child safely.
Final Thoughts
Once everything feels tight, take your bike for a short test ride around the block to ensure nothing rattles or shifts. If the rack stays steady, you’re ready to attach your panniers and head out. It’s a great feeling to finally have a reliable way to carry your gear on every trip.