
Changing a bmx bike tire takes about 15 minutes per wheel using a 15mm wrench, two nylon levers, and a floor pump set between 40 and 60 PSI. This repair suits riders who get a flat tube, wear out tread on street ramps, or want fresh rubber on their rig.
Tools to change your bike tire
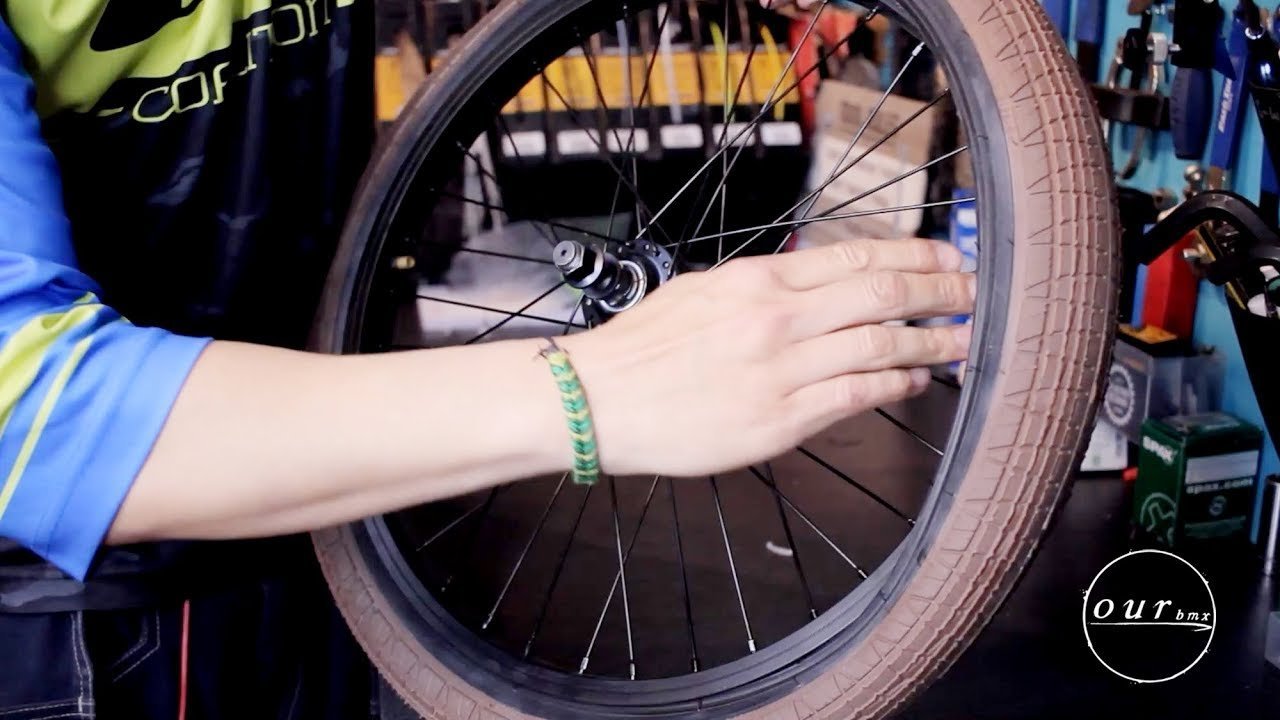
- A 15mm box wrench (or a 17mm socket for heavy rear axles, as standard adjustable wrenches slip and round the nuts).
- Two nylon tire levers (metal screwdrivers will cut the rubber).
- One 20-inch inner tube matching your width (such as 20×2.1 to 20×2.4 inches; check the rim tape first).
- One 20-inch BMX replacement tire.
- A bicycle floor pump equipped with a built-in pressure gauge.
- A clean shop rag.
You can substitute a 6-inch socket wrench for the box wrench, but you can’t safely swap a butter knife or screwdriver for real nylon tire levers without puncturing the casing.
Step-by-step
- Loosen the axle nuts with your 15mm wrench until they’re clear of the frame, then push the wheel forward to create slack and unhook the chain from the sprocket.
- Press the valve core pin completely to release all trapped air from the old tube until the casing is totally flat.
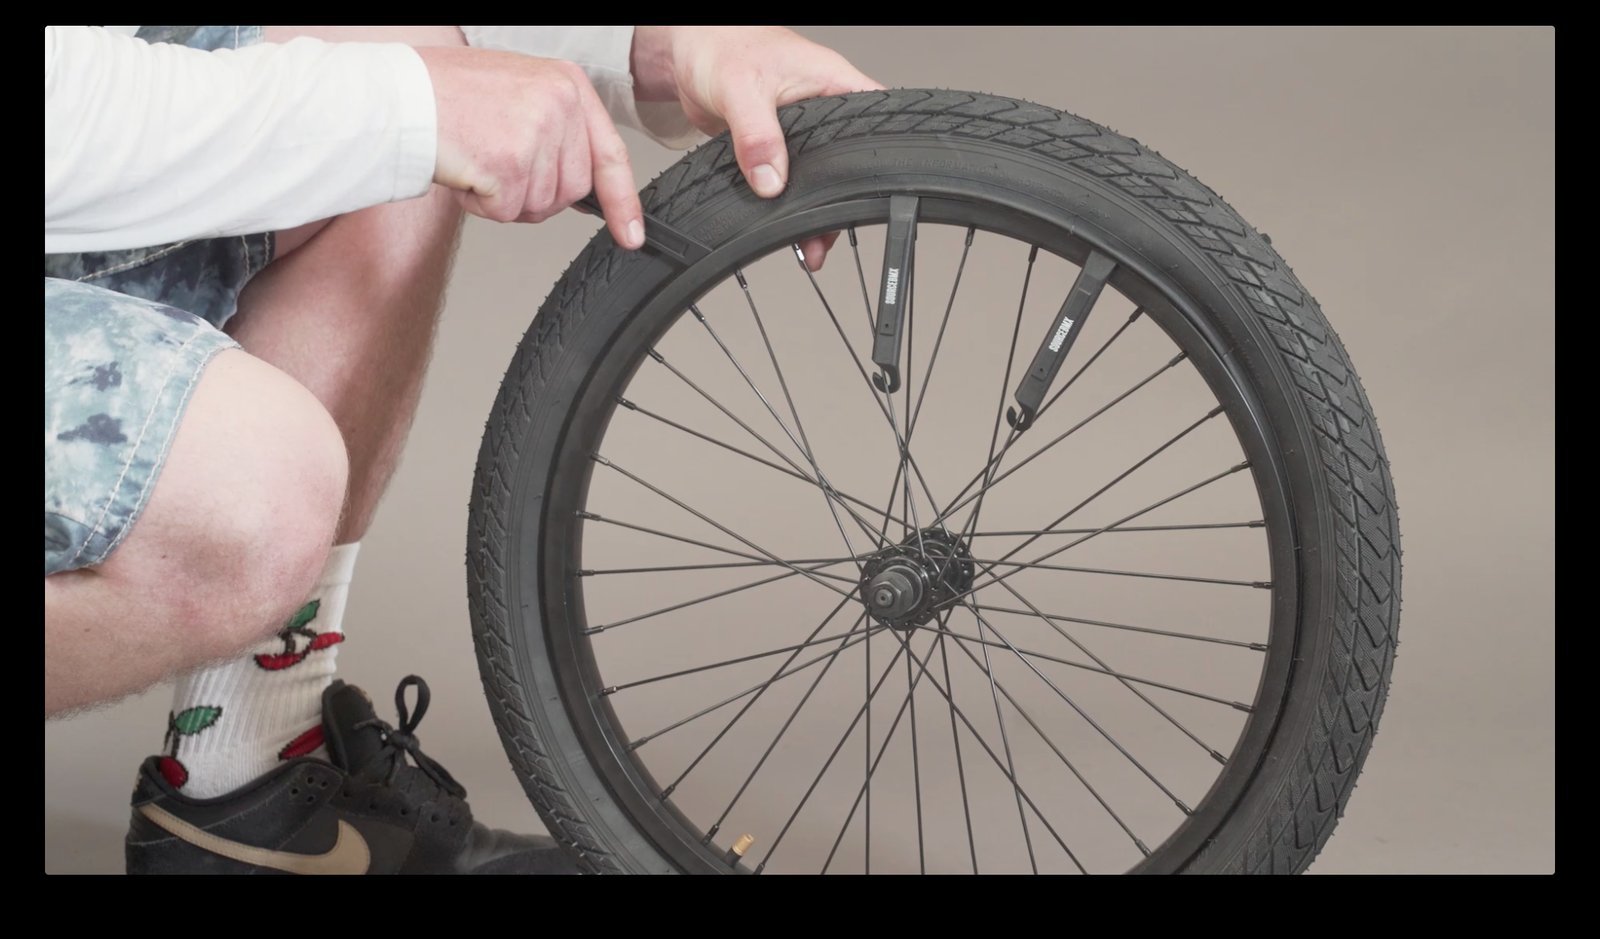
- Push the flat edge of your first nylon lever under the tire bead, pry it up over the rim edge, and hook the opposite end onto an adjacent spoke.
- Use the second lever to pry sections of the bead free, moving incrementally around the rim until the entire bead is loose.
- Reach inside to pull the inner tube out, starting opposite the valve hole and ending by pushing the valve stem up through the rim bed.
- Pull the second tire bead off the wheel by hand, then drag a shop rag along the inside rim bed to catch hidden thorns or wire.
- Inflate the new tube with 5 pump strokes until it takes a round shape, push the valve stem through the rim hole, and tuck the tube inside the new tire casing.
- Work both beads over the rim edge using only your thumbs, finishing opposite the valve.
- Pump the tire to 20 PSI, verify that the bead line sits evenly above the rim, and then inflate to your final target between 40 and 60 PSI before tightening the axle nuts securely.
Careful: Never use levers to push the final bead into the rim, or you’ll pinch the fresh tube and cause a blowout.
Tip: If the chain feels too loose after replacing the rear wheel, pull the axle back firmly in the frame dropouts before tightening the drive-side nut first.
Wheel setup adjustments
Tire swaps change depending on which wheel you pull, the axle hardware, and whether you run braking hardware.
| Setup Scenario | Time Required | Mechanical Difference | What to Monitor |
|---|---|---|---|
| Front Wheel | 10 minutes | Simple axle nuts, no drivetrain parts | Axle seated fully in fork dropouts |
| Rear Cassette Wheel | 20 minutes | Chain tension and rear driver alignment | Chain slack (needs 0.5 inches of vertical play) |
| Peg-Equipped Axle | 15 minutes | Deep-well socket required instead of open wrench | Thread engagement through peg base |
| Rear U-Brake Setup | 25 minutes | Brake cable disconnect or deflated tire squeeze | Brake pad alignment against the rim wall |
If you aren’t sure how tight the tire bead sits on your rim, pump 10 PSI at a time rather than rushing to full pressure, because catching an unseated bead early prevents a burst tube.
How to tell you did it right
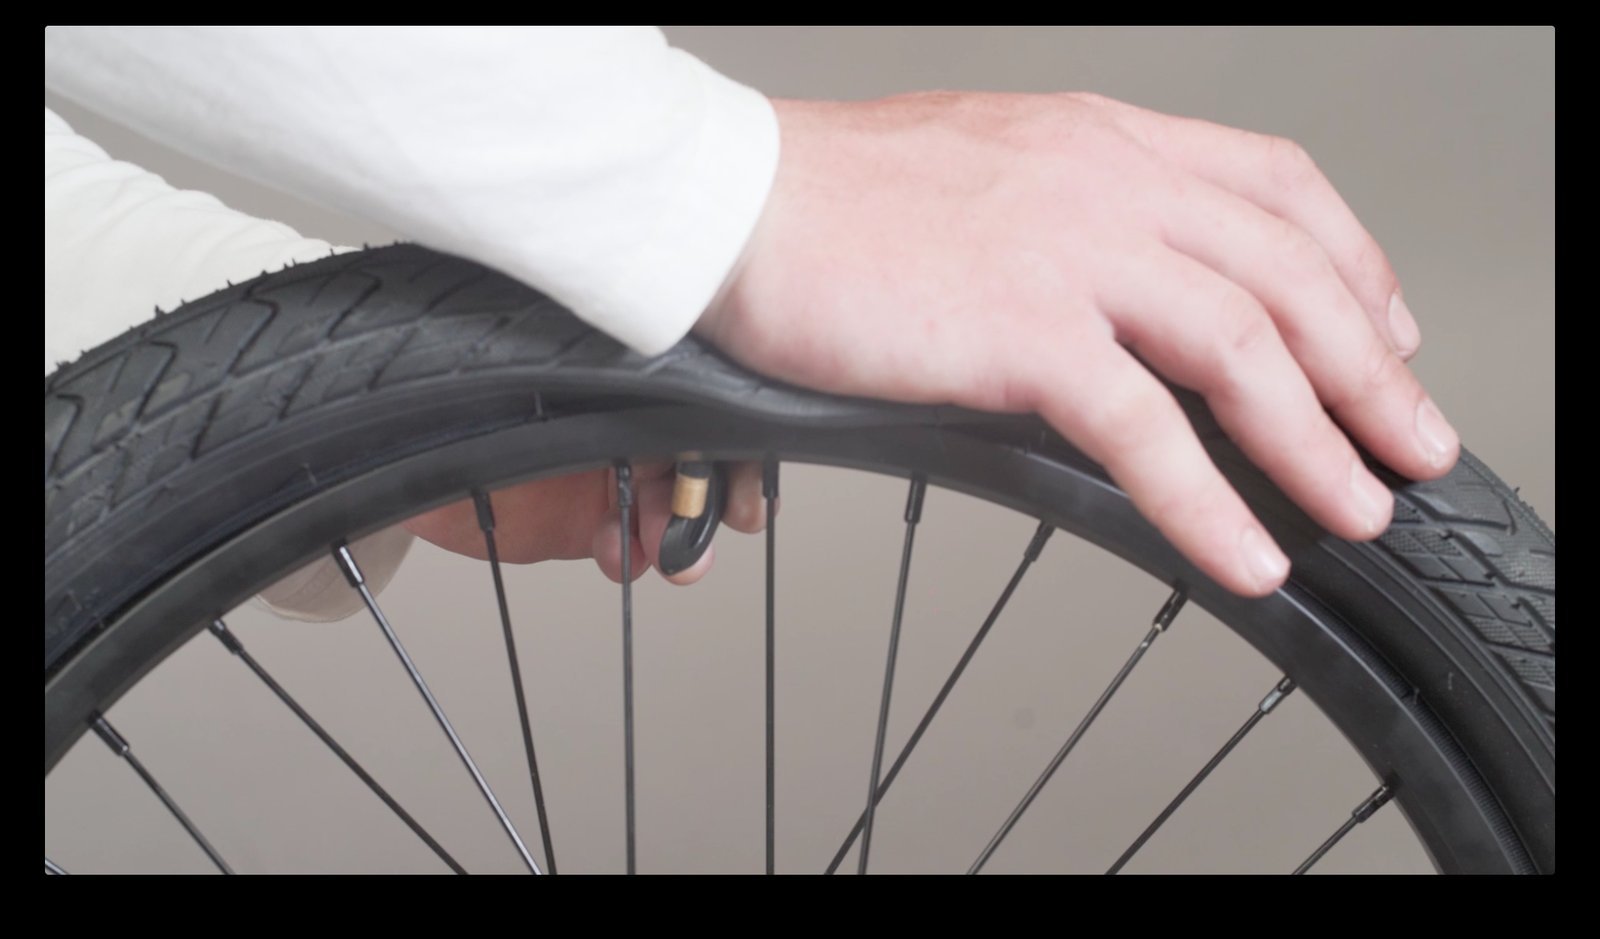
A correct installation shows a uniform rubber line running parallel to the rim lip all the way around both sides of the wheel. The wheel spins smoothly without wobbling, rubbing against the frame stays, or catching on the brake pads. Poor jobs usually show a bead dip, where the tire sinks deep into the center channel, or a severe bulge where the tube forces the rubber over the rim edge. This happens because the tube gets trapped between the tire edge and the aluminum rim during the final push. To avoid this mistake, inspect both sidewalls at 20 PSI, push the valve stem upward into the tire cavity to free the tube base, and massage the tread back and forth with your hands before adding full pressure.
Safe inflation guidelines
Always check the molded sidewall on your specific tire for minimum and maximum pressure ratings. Federal safety standards published by the Consumer Product Safety Commission bicycle regulations require rim and tire assemblies to withstand inflation testing without blowing off the wheel structure. Put your tools away, hang your pump hose properly, and discard old blown tubes in municipal rubber recycling bins. This repair typically holds until your tread wears flat or sharp debris punctures the casing, but check your pressure with a gauge regularly. If your rim shows deep cracks, dented sidewalls, or broken spokes, take the wheel to a local bike shop mechanic for structural rebuilding.
Other ways to do it
Tubeless Conversion System
You can replace inner tubes with rim tape, sealant, and a tubeless valve. This eliminates pinch flats entirely and saves rotating weight, but the specialized sealant and compatible rims increase the initial cost significantly.
Patching the Existing Tube
Instead of buying a new tube, clean the puncture site with sandpaper and apply a vulcanizing patch. This takes 10 extra minutes of drying time, but it costs pennies compared to replacing rubber components.
Professional Shop Installation
A professional mechanic at a bike shop mounts tires quickly using high-volume workshop compressors. You pay a standard labor charge per wheel, but it completely removes the risk of bent levers or misaligned chains.
Frequently asked questions
Can you change a BMX tire without removing the wheel?
While it’s possible to change a tire without removing the wheel, it’s significantly more difficult and isn’t recommended for beginners.
Why won’t the tire bead pop into the rim?
The bead binds against the rim shoulder due to friction or low pressure. Spraying a small mist of soapy water on the tire bead helps it slide into place; inflate slowly and check the bead line frequently to ensure it’s seating evenly.
How much PSI should a BMX tire have?
Street and park riders typically use 50 to 60 PSI for fast rolling speed and landing protection, while dirt jumpers run 35 to 45 PSI for traction. The exact range depends on the tire model, so read the rubber sidewall label for the official manufacturer limits.
What happens if you put a tire on backwards?
Directional tread patterns will channel dirt inward instead of shedding it outward, which reduces grip on wet pavement or loose dirt trails. Look for a directional arrow molded on the sidewall before pushing the rubber onto your wheel rim to avoid reversing it.
Is it safe to ride with a bulging tire?
No, riding a bulging tire is unsafe because the inner tube can burst at any moment under impact. Deflate the tire instantly, reposition the rubber bead so it sits evenly inside the rim wall, and inflate it again slowly to fix the problem.
Final Thoughts
Once you’ve seated the bead and inflated the tube, take your bike for a short spin around the block to make sure everything feels smooth. If the ride stays steady, you’re ready to head back to the park. Don’t hesitate to swap your tread whenever you’re planning a longer session.
Related guides