
Is your rear seat stuck and won’t fold down? A broken rear seat release latch can be frustrating and limit your car’s storage space.
But don’t worry—you don’t have to pay a mechanic or buy expensive parts right away. In this guide, you’ll learn simple, step-by-step ways to fix your broken latch quickly and easily. Keep reading, and you’ll have your seat release working like new in no time.
Credit: www.youtube.com
Common Causes Of Rear Seat Release Latch Failure
The rear seat release latch can fail for several reasons. Understanding these causes helps in fixing the problem. It also prevents future issues. Here are the most common causes of rear seat release latch failure.
Wear And Tear Over Time
Frequent use causes the latch to wear down. Parts may become loose or weak. Plastic components can crack or break. Metal parts might rust or bend. This natural wear reduces the latch’s function.
Broken Or Stuck Mechanism
The latch mechanism can break from force or damage. Dirt or rust can make it stick. A stuck latch won’t release the seat. Broken parts stop the latch from moving. This makes the seat hard to fold down.
Damaged Release Cable
The release cable connects the latch to the handle. It can snap or stretch over time. A damaged cable stops the latch from opening. The handle may feel loose or have no effect. Cable damage is a common issue in older cars.
Obstructions And Debris
Small objects can block the latch mechanism. Dirt and debris build up inside the latch. This stops smooth movement and causes jams. Regular cleaning helps avoid this problem. Obstructions often cause the latch to fail suddenly.

Credit: www.reddit.com
Tools And Materials Needed
Fixing a broken rear seat release latch requires the right tools and materials. Having everything prepared makes the job easier and faster. You avoid interruptions and get better results. Below is a list of what you will need to complete the repair safely and correctly.
Basic Hand Tools
You need a set of screwdrivers, both flathead and Phillips. A socket wrench with several sizes helps remove bolts. Pliers can hold small parts or pull out pins. A trim removal tool protects plastic covers from damage. Keep a flashlight handy for dark spaces inside the car.
Replacement Parts
The broken latch itself must be replaced with the exact model. Check your vehicle’s manual or parts store for the correct part number. You may also need new screws or clips to secure the latch. Having all replacement parts ready avoids delays during the repair.
Lubricants And Cleaners
A lubricant spray reduces friction and helps the latch move smoothly. Use a silicone-based spray for best results. Cleaners remove dirt and rust from the latch area. A mild automotive cleaner or rubbing alcohol works well. Clean parts improve the latch’s function and lifespan.
Safety Gear
Wear safety glasses to protect your eyes from debris. Gloves protect your hands from sharp edges and chemicals. Use a dust mask if you clean rust or dirt inside the seat mechanism. Safety gear keeps you safe and comfortable during the repair.
Locating The Rear Seat Release Latch
Locating the rear seat release latch is the first step to fix it. Knowing its exact place saves time and effort. The latch helps fold the seat down. It often gets stuck or breaks. Finding it is easy if you know where to look.
Most cars have the latch near the rear seats. It may hide in small spaces or behind parts. This section explains how to find it safely and quickly.
Accessing The Seat Area
Move the front seats forward to gain space. Open the rear door on the side you want to work. Look under the seat cushions. Some latches sit between the seat back and bottom. Use a flashlight for better view in dark spots. Avoid forcing anything to prevent damage.
Identifying The Latch Components
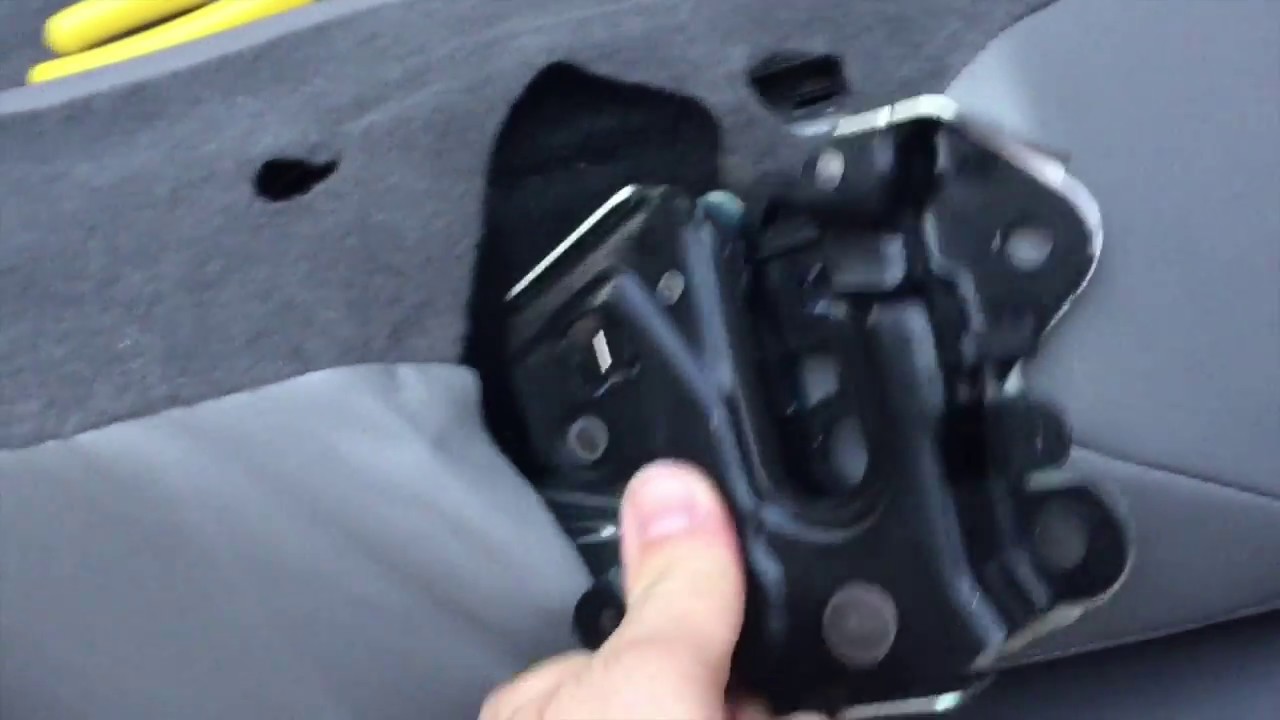
The latch often looks like a small lever or handle. It may have a pull strap or button. It connects to a metal or plastic release mechanism. The latch links to the seat frame by a cable or rod. Check for worn or broken parts near the latch. Recognizing these parts helps in repair or replacement.
Step-by-step Fixing Process
Fixing a broken rear seat release latch is easier than it seems. This step-by-step guide breaks down the process into simple tasks. Follow these steps carefully to restore your seat latch quickly and safely.
Removing The Seat Cover Or Panel
Start by removing the seat cover or panel. Use a screwdriver or trim tool to avoid damage. Carefully pry off clips or screws holding the cover. Set the cover aside in a safe place. This exposes the latch mechanism for inspection.
Inspecting The Latch Mechanism
Look closely at the latch mechanism for any damage. Check for broken parts or loose connections. Test the latch by moving it manually. Identify the exact cause of the failure. Make notes about what needs fixing or replacing.
Fixing Or Replacing The Release Cable
Locate the release cable connected to the latch. Check for frays or disconnections in the cable. Tighten any loose ends or clips. Replace the cable if it is damaged beyond repair. Use a new cable that matches your vehicle model.
Cleaning And Lubricating Moving Parts
Clean dirt and grime from all moving parts. Use a soft brush and mild cleaner for this. Dry the parts thoroughly before applying lubricant. Use a silicone or graphite spray for smooth movement. This prevents future sticking or rusting.
Reassembling The Seat Components
Put the seat cover or panel back in place carefully. Align clips or screws correctly before securing them. Tighten all screws firmly but avoid over-tightening. Test the latch several times to confirm it works well. Your rear seat release latch should now operate smoothly.
Testing The Repair
Testing the repair is a vital step after fixing a broken rear seat release latch. It confirms the latch works correctly and safely. Take your time to check every part of the mechanism. This ensures that the repair lasts and the seat functions as it should.
Ensuring Smooth Latch Operation
Start by pulling the release latch slowly. It should move without sticking or resistance. If the latch feels rough, inspect the parts again. Clean or lubricate the latch mechanism if needed. Smooth operation means the latch will work easily every time.
Checking For Secure Seat Locking
Next, push the rear seat back into place. Listen for a clear click sound. This click shows the latch locks the seat firmly. Try to move the seat gently to test its hold. A secure lock keeps passengers safe during travel.
Tips To Prevent Future Latch Issues
Preventing future problems with your rear seat release latch saves time and effort. Simple habits keep the latch working smoothly. Small actions make a big difference over time. Follow these tips to avoid common issues and keep the mechanism reliable.
Regular Maintenance Routine
Check the latch regularly for wear and tear. Tighten any loose screws or bolts. Test the latch by opening and closing the seat often. Catching problems early stops bigger damage. Set a schedule to inspect the latch every few months.
Avoiding Excessive Force
Use gentle pressure when releasing the latch. Forcing it can break small parts inside. Teach passengers to be careful with the seat release. Treat the latch like a delicate tool. Smooth, slow movements protect the mechanism.
Keeping The Mechanism Clean
Dust and dirt cause the latch to stick or jam. Wipe the latch area with a soft cloth regularly. Use compressed air to blow out hard-to-reach dirt. Avoid harsh chemicals that can damage plastic or metal. Clean parts work better and last longer.

Credit: www.youtube.com
Frequently Asked Questions
How Do I Know If My Rear Seat Latch Is Broken?
Check if the seat doesn’t release or feels stuck. Listen for unusual sounds when pulling the latch.
What Tools Do I Need To Fix A Broken Rear Seat Latch?
You usually need a screwdriver, pliers, and lubricant. Sometimes, a replacement latch is required.
Can I Fix The Rear Seat Latch Myself?
Yes, many latch issues are simple to fix with basic tools. Follow safety steps to avoid damage.
How Long Does It Take To Repair A Rear Seat Latch?
Most repairs take 15 to 30 minutes. Complex issues may require more time or professional help.
What Causes A Rear Seat Release Latch To Break?
Wear and tear, rust, or dirt buildup often cause latch failure. Rough use can also damage the mechanism.
Is It Safe To Drive With A Broken Rear Seat Latch?
It’s best to fix the latch before driving. A loose seat can be a safety hazard in accidents.
Can Lubricant Help A Stuck Rear Seat Latch?
Yes, applying lubricant can free up a stuck latch. Use a spray designed for automotive parts.
Where Can I Buy A Replacement Rear Seat Release Latch?
Auto parts stores and online retailers usually stock these latches. Make sure to get the right model.
What If The Seat Won’t Fold After Fixing The Latch?
Double-check the latch alignment and connections. Sometimes cables or springs need adjustment or replacement.
Should I Replace The Entire Rear Seat For A Broken Latch?
Replacing the whole seat is rarely needed. Fixing or replacing the latch alone is usually enough.
Conclusion
Fixing a broken rear seat release latch can save time and money. Follow each step carefully to avoid damage. Using simple tools makes the job easier and faster. Test the latch after repair to ensure it works well. A working latch keeps your seat secure and safe.
Small repairs can improve your car’s comfort and function. Stay patient and take your time during the process. This fix helps you avoid costly visits to the mechanic. Keep your car in good shape with basic maintenance. Simple fixes like this improve your driving experience every day.