
To carry a cable lock on a bike correctly, coil it tightly around your seatpost or click it into a frame bracket in about 30 seconds.
Tools for carrying your cable lock
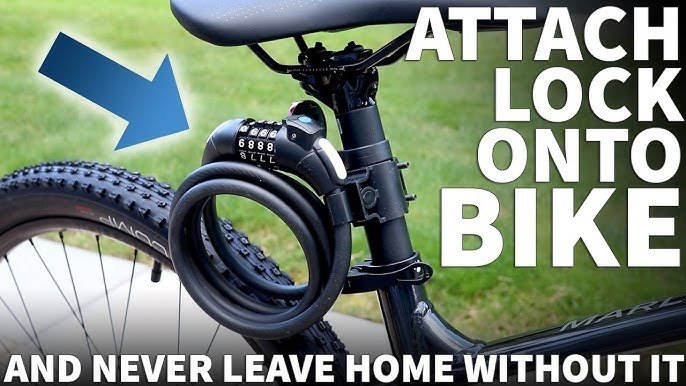
- A flexible steel cable lock measuring 4 to 6 feet long (thick models over 12 mm won’t coil tightly around posts).
- A plastic frame-mounting bracket sized to your frame tubing, usually 25 mm to 35 mm wide.
- A Phillips-head screwdriver or a 4 mm hex key to tighten your bracket bolts.
- Two reusable hook-and-loop straps, each 8 to 10 inches long, if your bike lacks a dedicated mount.
- A clean cloth to wipe road grit off the bike tubes before mounting anything.
A pair of thick rubber hook-and-loop straps works well if your bracket breaks, but thin zip ties don’t work because you can’t reuse them at your destination.
Step-by-step
- Wipe down your seatpost or seat tube with a dry cloth to clear away dust that could scratch your paint under pressure.
- Clamp the mounting bracket around your seatpost about 2 inches below the saddle clamp, pointing the lock receiver backward.
- Tighten the two bracket screws evenly using your 4 mm hex key until the mount resists turning when twisted by hand. Careful: Don’t overtighten bolts against lightweight carbon seatposts, because excessive clamping force can crack the composite material.
- Slide the lock’s molded plastic pin into the bracket slot until it clicks securely into place.
- Wrap any loose loops of cable back around the seatpost two or three times if your lock lacks a self-coiling spring. Tip: Keep the loops clear of your rear brake calipers and wheel rim by at least 2 inches so they never brush together while turning.
- Fasten a hook-and-loop strap around the coiled cable bundle and the seatpost to stop all bouncing over rough roads.
- Spin both bicycle pedals backward by hand through 3 full turns to verify your thighs and shoe heels don’t hit the coiled cable. Careful: Leaving loose cable ends hanging near your drivetrain will pull the cable into your rear spokes, which ruins the wheel instantly.
Adjusting for different bike setups
Every frame style offers different amounts of open clearance for carrying your gear safely.
| Bike or ride setup | Added effort or cost | Key difference | Watch during ride |
|---|---|---|---|
| Road bike with narrow frame | Lowest effort, zero added cost | Tight clearance between knees and top tube | Thigh rub against cable loops |
| Mountain bike with dropper post | Low effort, requires storage bag | Post lowers into frame so you can’t clamp it | Saddle height changes |
| Commuter with rear cargo rack | Medium effort, zero added cost | Plenty of flat space away from all moving parts | Straps loosening on rough bumps |
| Step-through frame city bike | Low effort, needs extra strap | No top tube, so cable sits lower on seat tube | Heel clearance when pedaling |
Start by wrapping the cable loosely around the seat area first, because checking your pedaling clearance early is safer than strapping everything down only to discover your knees hit the coil.
How to tell you did it right
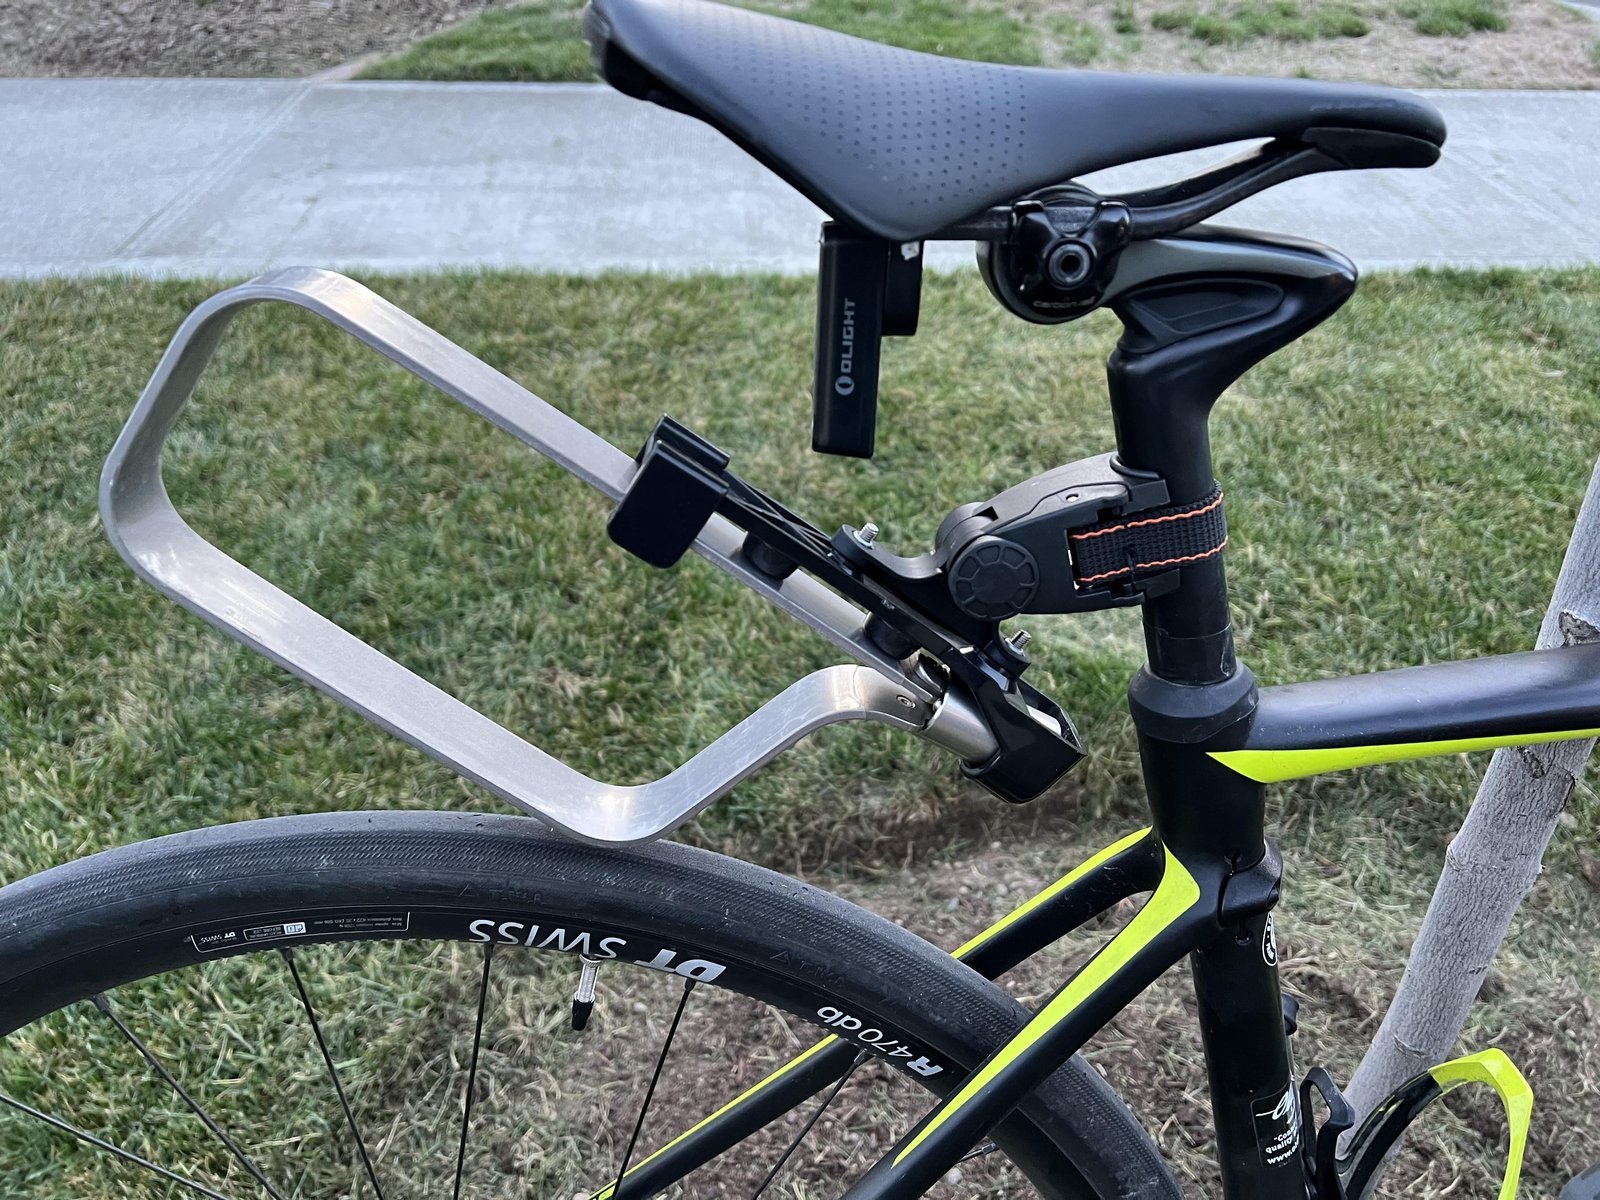
A correct setup stays completely motionless and silent while you pedal over rough asphalt. A bad setup rattles, slips sideways, or brushes your inner legs as you pedal. The main quality issue with carrying cables on frames is paint abrasion, which happens when loose grit gets trapped beneath vibrating plastic coils. If you keep the bracket snug, tighten your secondary straps, and maintain at least 2 inches of clearance from your rear tire, you’ll prevent frame damage and keep your ride quiet. Remember that cable tension varies by model — check the label to see if your lock requires a specific bracket orientation.
Safety rules and riding checks
The Consumer Product Safety Commission bicycle safety guidelines emphasize keeping all bike components and accessories secure and clear of wheels to prevent sudden falls. After locking your bike, always click the lock body back into its frame holder before riding away, rather than letting it dangle from your handlebars. If you need a primary lock for high-theft urban streets, this cable method isn’t for you; cable locks function best only as secondary security for quick daytime stops.
Alternate ways to haul your lock
Saddle bag storage
Stuff your coiled cable lock inside an under-seat saddle pack. This shields your frame paint completely from rub marks, but it leaves no room inside the pack for a spare tube or tire levers.
Handlebar basket carry
Drop the cable directly into a front wire basket. This takes zero setup time and keeps weight off your frame, though loose locks will bounce noisily unless held down by a bungee cord.
Rear cargo rack wrap
Weave the cable through the top deck bars of a rear rack and click the lock shut. This keeps weight over your rear axle, but it takes about 20 extra seconds to thread and unthread at stops.
Frequently asked questions
Can I wrap a cable lock around my handlebars?
No, wrapping a cable lock around your handlebars is dangerous because loose coils can slide down, catch on your front brake levers, or tangle in the front wheel spokes while steering.
Why does my cable lock bracket keep spinning on the post?
Your bracket spins because the seatpost diameter is too small for the mount. Use the rubber shims included in the bracket box to fill the gap and provide proper friction against the metal tube.
How do you carry a cable lock without a bracket?
Wrap the flexible cable three times tightly around your seatpost, pull it snug under your saddle rails, and secure the bundle with two hook-and-loop straps so it can’t unravel or touch your rear wheel.
Is it safe to wear a cable lock across your chest like a bag?
No, wearing a lock across your torso can cause severe spinal or rib injuries if you fall off your bike and land directly on the hard steel housing.
What happens if the cable lock touches the bike tire?
The spinning tire tread will quickly grind through the cable’s protective plastic sleeve, and the loose cable end could wedge inside your frame dropouts, locking the wheel instantly and throwing you off.
Final Thoughts
Once your lock is secure, you’ll feel much more confident leaving your bike unattended while you run errands. Don’t forget to test the mechanism periodically to ensure it doesn’t rattle during your rides. You’ve got everything you need to keep your gear safe, so enjoy your next trip around town.
Related guides