
Creating tiny chairs involves assembling miniature furniture using materials like balsa wood, polymer clay, or repurposed household items to achieve a realistic scale for dioramas or dollhouses. Whether you’re crafting furniture for a 1:12 scale display or a custom art project, the process relies on precision cutting, structural integrity, and attention to detail. By mastering basic joinery and material selection, you can build pieces that mimic full-sized chairs while fitting comfortably in the palm of your hand.
Key Takeaways
- Select materials based on your project goal, such as balsa wood for traditional wood-look chairs or polymer clay for molded, artistic shapes.
- Always use a sharp hobby knife to prevent wood splintering and ensure clean edges during the assembly process.
- Maintain a consistent scale—such as 1:12—to ensure your tiny chairs look proportional when placed next to other miniature accessories.
- Use high-quality, fast-setting wood glue or cyanoacrylate adhesive to create strong bonds that hold up under light handling.
- Sand every individual component before assembly to avoid damaging fragile joints or intricate details later in the process.
How to Make Tiny Chairs
Making tiny chairs requires a systematic approach to ensure that each piece is structurally sound and aesthetically pleasing. You must first decide on your primary material, as this dictates the tools required and the final texture of the chair. Most crafters prefer 1/16-inch or 1/8-inch balsa wood because it’s easy to cut with a standard craft knife.
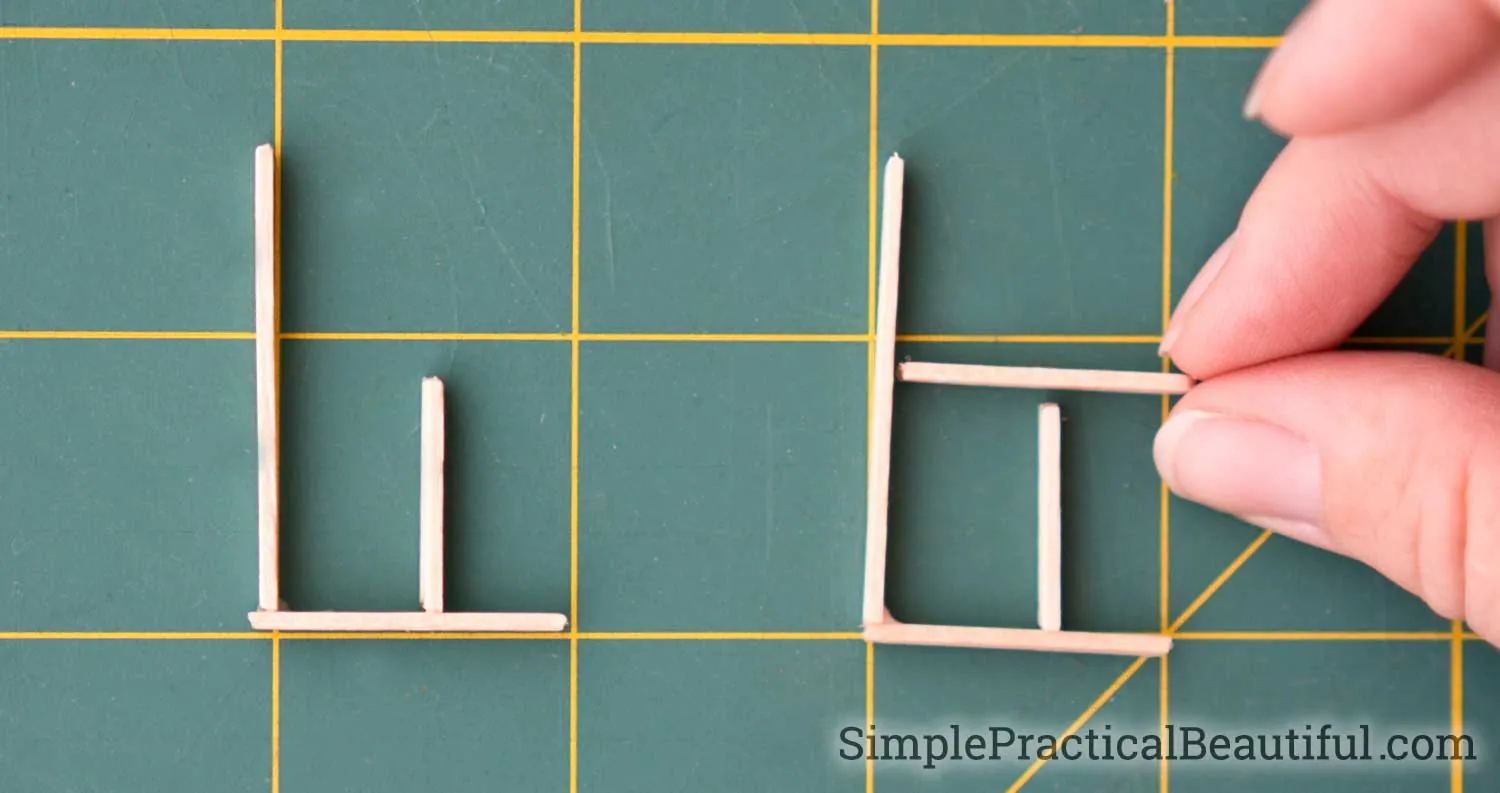
To start, draw your chair components—the seat, the backrest, and the four legs—on a piece of graph paper to create a template. Transfer these shapes onto your wood using a light pencil mark, ensuring the legs are identical in height to prevent wobbling.
Essential Tools for Miniature Crafting
When working at this scale, your tool selection directly impacts the quality of your finished product. A dull blade can crush the fibers of the wood, resulting in a ragged finish that’s difficult to paint or stain later. Invest in a high-quality cutting mat to protect your work surface and a metal ruler to ensure perfectly straight lines during the layout phase.
| Tool Name | Purpose | Recommended Feature |
|---|---|---|
| Hobby Knife | Precision cutting | Replaceable No. 11 blades |
| Metal Ruler | Measuring and guiding | Non-slip cork backing |
| Fine Sandpaper | Smoothing edges | 220 to 400 grit range |
| Precision Tweezers | Placing small parts | Anti-static stainless steel |
| Wood Glue | Structural bonding | Fast-drying formula |
Choosing the Right Materials
Selecting the right medium is the most important step in the design process. If you want a rustic, farmhouse aesthetic, balsa or basswood is the superior choice. If you prefer a modern, molded plastic look, polymer clay or resin-casting kits are better suited for your needs.
- Balsa Wood: Lightweight, soft, and easy to cut with minimal pressure.
- Basswood: Denser than balsa, offering a smoother surface for painting and better structural strength.
- Polymer Clay: Ideal for sculpting complex, curved shapes that are impossible to cut from wood.
- Heavy Cardstock: Great for prototypes or quick practice chairs before committing to more expensive materials.
Material durability is a significant factor if your tiny chairs will be used as toys. For children, choose hardwoods or reinforced resin to prevent the legs from snapping. According to the United States Consumer Product Safety Commission, small parts in toys must be evaluated for choking hazards if the items are intended for children under three years of age, so ensure your designs are age-appropriate.
How to Assemble Miniature Pieces
Assembly is where your tiny chair begins to take shape. Start by gluing the legs to the underside of the seat. Use a square or a small block of wood to ensure the legs are perpendicular to the seat, as even a one-degree tilt will make the chair look uneven.
Once the legs are secure, attach the backrest. If you’re adding arms, wait until the seat and back are fully cured, as this provides a stable base for the delicate arm pieces.
Pro Tip: Use a small amount of masking tape to hold your chair components in place while the glue dries, ensuring the pieces don’t drift out of alignment during the curing process.
Adding Details and Finishes
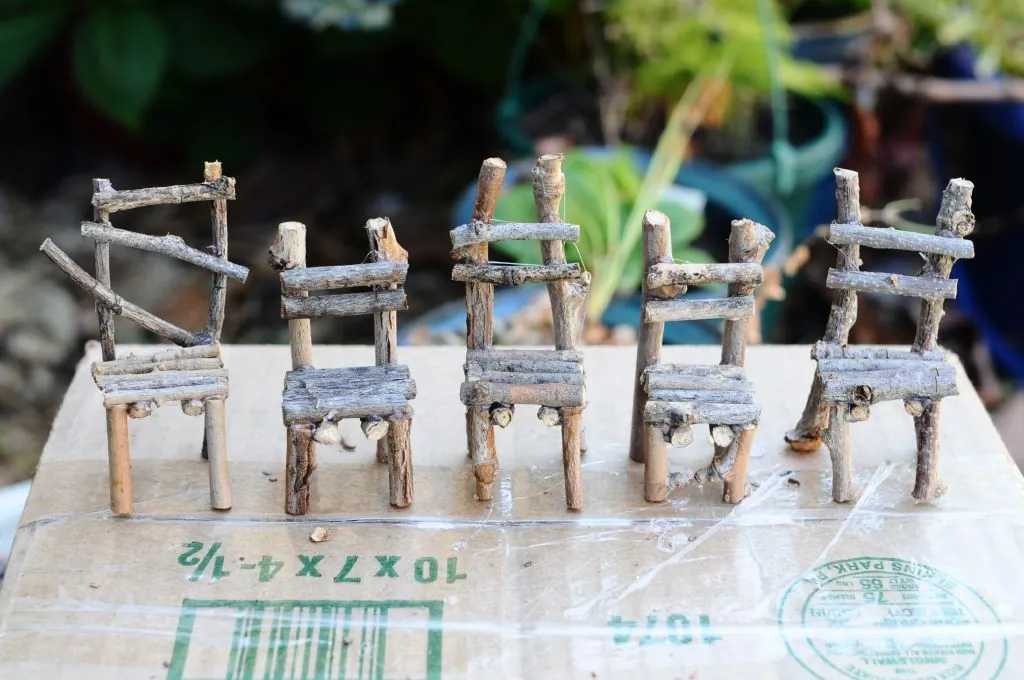
Once your chair is structurally complete, you can focus on the aesthetic details. Sanding is the most critical step here; use high-grit sandpaper to remove any dried glue or uneven wood edges. If you’re painting the chair, apply a thin coat of wood primer first.
This prevents the wood from absorbing too much paint and creates a smooth, professional base. For a stained finish, use a light wood stain and apply it with a cotton swab, which allows you to control the depth of color more precisely than a large brush.
Techniques for Realistic Textures
- Distressing: Gently tap the finished chair with a small metal chain or a bundle of nails to create realistic wear marks.
- Upholstery: Use thin scraps of velvet or cotton fabric glued over a small piece of foam to mimic a cushioned seat.
- Wood Grain: Use a fine-point permanent marker to draw subtle lines across the surface if you want to emphasize the wood texture.
- Varnishing: Apply a matte or gloss finish to protect the paint and provide a finished, professional appearance.
Troubleshooting Common Crafting Issues
Every crafter encounters difficulties when working with such small components. If your chair is wobbling, the most common culprit is legs of uneven length. To fix this, place the chair on a perfectly flat surface and use a pencil to mark the legs at the exact height of the shortest one.
Carefully sand the longer legs down to that line. If your joints feel weak, you may have used too much glue, which can actually prevent a strong bond by creating a slick barrier. Use a needle to apply a tiny drop of glue directly to the joint for maximum strength.
| Problem | Likely Cause | Solution |
|---|---|---|
| Uneven Legs | Inaccurate measurement | Sand the longest leg until level |
| Weak Joints | Excessive glue usage | Use a needle for precise application |
| Splintered Wood | Dull hobby blade | Replace blade with a fresh tip |
| Paint Streaks | Thick application | Thin the paint with water or medium |
Can You Use Recycled Materials?
Yes, repurposing household items is a fantastic way to build tiny chairs without spending money on raw materials. Old popsicle sticks are essentially pre-cut pieces of wood that can be easily shaped with a craft knife.
Thick cardboard from packaging boxes can be layered to create sturdy chair frames, while wire from old coat hangers can be bent into elegant, modern chair legs. Using recycled materials forces you to think creatively about structural design, often leading to unique pieces that you couldn’t achieve with standard kits.
Understanding Scale and Proportion
Scale is the mathematical relationship between your miniature chair and the real-world object it represents. The most common scale for dollhouses and dioramas is 1:12, meaning one inch on your model equals one foot in reality.
To calculate the size of your chair, divide the real-world dimensions of a chair by 12. For example, if a standard kitchen chair is 36 inches tall, your miniature version should be exactly 3 inches tall. Maintaining consistent scale ratios is essential for professional-looking displays.
Warning: Always perform your cutting on a dedicated surface like a self-healing mat to avoid damaging your workspace, and keep your fingers clear of the blade’s path at all times.
How to Create Curved Backs
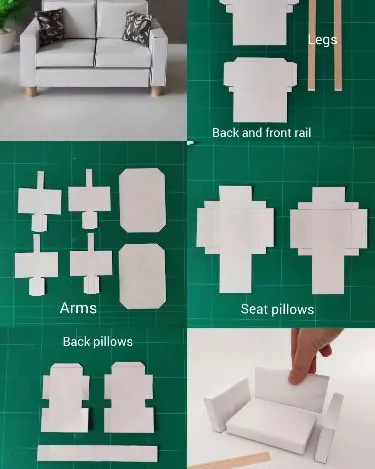
Creating curved chair backs adds a level of sophistication to your project. To achieve this with wood, you can use the “soaking and bending” method. Submerge your thin balsa strips in warm water for about 20 to 30 minutes until they become pliable.
Once soft, gently bend the wood around a cylindrical object, such as a pill bottle or a marker, and secure it with rubber bands. Let the wood dry completely in this position for at least 24 hours. Once dry, it will retain the curved shape, allowing you to glue it to the seat with ease.
Frequently Asked Questions
What is the best glue for tiny chairs?
For wood-on-wood projects, a high-quality PVA wood glue is ideal because it provides a strong bond and remains flexible enough to resist cracking. If you’re working with plastic, metal, or mixed media, a medium-viscosity cyanoacrylate glue, commonly known as super glue, works best for fast, permanent adhesion. Always test your glue on a scrap piece of material first to ensure it doesn’t melt or stain.
How do I paint tiny furniture without clumps?
The secret to a smooth finish is using multiple thin coats rather than one thick application. Use a high-quality acrylic paint and add a drop of water to thin it down to the consistency of heavy cream. Apply the paint with a fine-tipped synthetic brush, allowing each layer to dry completely before applying the next. This prevents brush marks and keeps the details sharp.
Do I need special tools to start?
You don’t need an expensive workshop to begin. A sharp craft knife, a metal ruler, a self-healing cutting mat, and a bottle of wood glue are sufficient for most beginners. As you advance, you might consider adding fine-grit sandpaper, miniature clamps, and a pair of precision tweezers to your collection, but these are optional items that you can acquire as your skills and project needs grow.
How can I make chairs look old?
To achieve a vintage or antique aesthetic, focus on distressing techniques. Use a dark wash—a mixture of brown acrylic paint and a large amount of water—to settle into the crevices of the wood. Once dry, lightly sand the edges where the chair would naturally experience wear and tear. This creates a realistic, aged patina that makes the furniture look as though it has been used for decades.
Is there a standard height for miniature chairs?
In a 1:12 scale, the standard seat height for a dining chair is typically between 1.5 and 1.75 inches. If you’re building an armchair or a sofa, the height can vary significantly based on the style. Always consult a reference photo or a real-world measurement of the specific type of chair you’re recreating to ensure your proportions remain accurate to the piece you’re modeling.
Conclusion
Start your project by sketching a simple design on paper to visualize the proportions, then gather your balsa wood and knife to cut the first set of legs. By focusing on the structural foundation first, you’ll find that the assembly becomes a straightforward process that rewards patience and precision. Once your first chair is complete, you can begin experimenting with different styles, fabrics, and finishes to build a collection.