
Cracked or broken plastic Adirondack chairs can usually be fixed with a two-part epoxy, a drill and stainless steel bolts, or heat welding. The method you pick for how to repair plastic adirondack chairs depends on the damage. If it’s a clean crack, glue it; if pieces are missing or the frame is split wide, bolt it. Sun damage is what breaks them down most often. UV rays make the surface brittle over time, so cracks start at the armrests or seat slats where weight lands hardest.
Why plastic Adirondack chairs crack
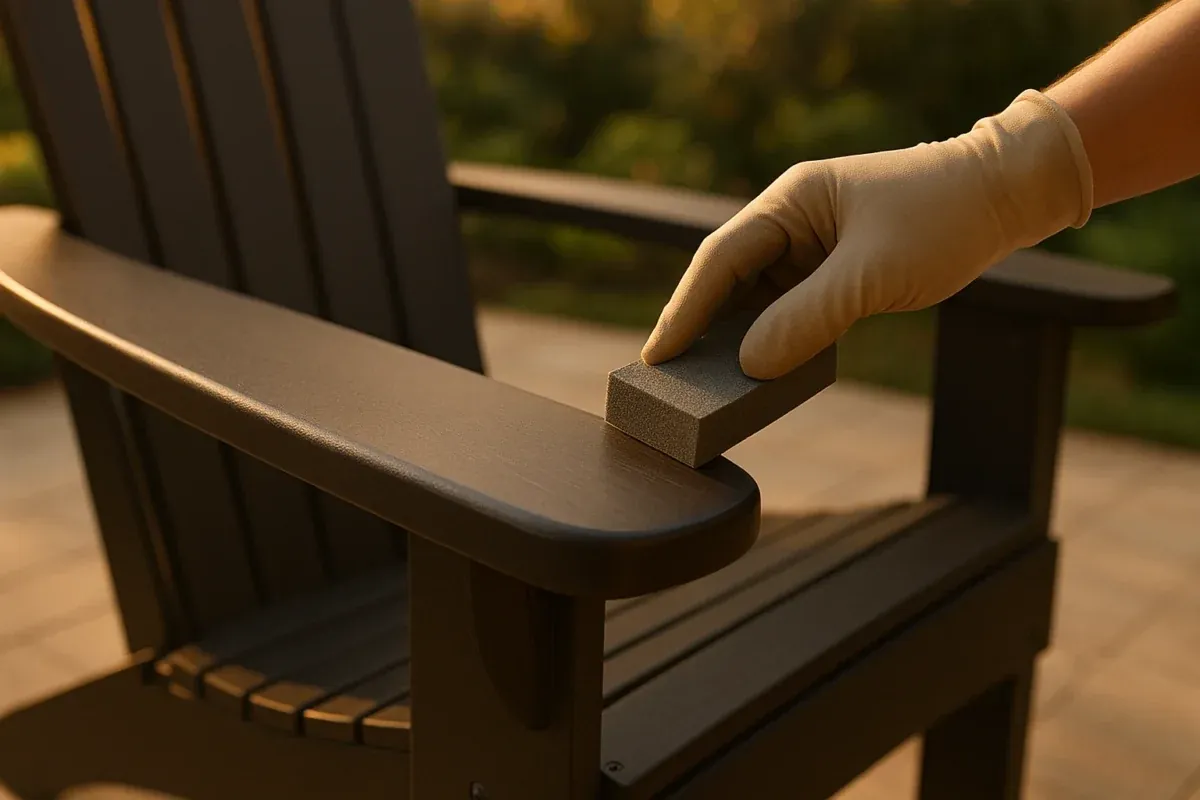
Plastic outdoor furniture doesn’t last forever, and the damage usually comes from two places: sun exposure and physical stress. Polyethylene and polypropylene, the plastics used in these chairs, break down when ultraviolet light hits them day after day. That UV exposure changes the chemical bonds near the surface. The material loses its flexibility and turns brittle. You’ll notice this first as fading color, then small hairline cracks along the edges.
Weight does the rest. An Adirondack chair leans back, putting your entire upper body load on just two rear legs and the lower back slats. When the plastic is already stiff from sun damage, that leverage snaps it. Cold weather makes things worse because low temperatures shrink the plastic slightly and reduce its ability to flex under pressure. A chair that holds fine in July might crack in January under the same person.
If the crack runs along a flat slat, you’re dealing with simple fatigue. If it splits right where the leg meets the seat, that’s a structural failure caused by torque. Knowing which one you have tells you whether glue alone will hold or if you need hardware. You can check the resin type stamped into the underside of the seat to confirm what plastic you’re working with before picking an adhesive.
Bond cracks with two-part epoxy
This fix works for clean cracks where both sides still fit together tightly without gaps. It won’t hold if chunks of plastic are missing or if the break sits on a high-stress joint like the rear leg mount. You’ll need a two-part plastic epoxy rated for polyethylene or polypropylene — standard superglue peels right off these surfaces.
- Clean the crack with rubbing alcohol and let it dry completely. Dirt or moisture stops the epoxy from grabbing the plastic.
- Rough up both sides of the break with 80-grit sandpaper. You only need to scratch the surface about half an inch out from the crack line to give the adhesive something to grip.
- Mix equal parts of the epoxy resin and hardener on a piece of cardboard. Stir for exactly 60 seconds until the color turns uniform.
- Push the mixed epoxy into the crack using a flat toothpick or wooden stir stick. Don’t use too much — excess squeezes out and creates a mess you’ll have to sand later.
- Clamp the pieces together with spring clamps or wrap them tightly with painter’s tape. Leave it undisturbed for 24 hours at room temperature.
- Remove the clamps and sand any leftover epoxy flush with 220-grit paper.
You’ll know it worked if the joint doesn’t flex when you press on it firmly with your thumb. Keep in mind that epoxy cures slower below 60°F, so don’t attempt this outdoors on a cold morning. For specific cure times and surface prep steps, always read the Loctite technical data sheet for the exact product you bought, since formulas differ between brands.
Reinforce broken joints with bolts
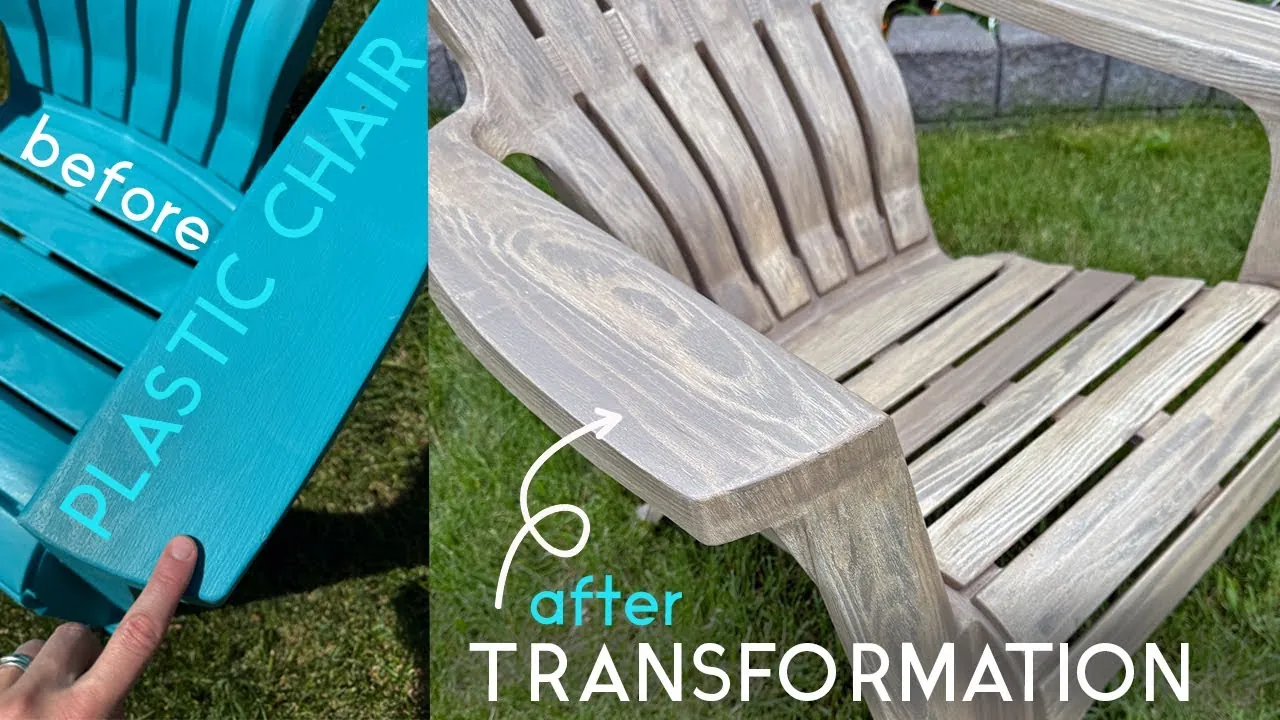
When a crack runs through a load-bearing spot like the armrest base or the rear leg connection, glue alone won’t survive someone sitting down. You need mechanical fasteners to carry the weight. This approach leaves visible hardware, so it trades a factory look for real strength.
Gather four stainless steel bolts (1/4-inch diameter, length matching your chair’s thickness plus 1/2 inch), matching nylon-insert lock nuts, eight flat washers, and a power drill with a 1/4-inch bit. Never use regular steel screws — they rust quickly outdoors and stain white plastic orange within a single rainy season.
- Align the broken pieces exactly as they should sit. Hold them in place with masking tape across the joint.
- Drill two holes straight through both pieces, keeping them at least 1/2 inch away from the crack edge. Drilling closer risks splitting the plastic further.
- Slide a washer onto each bolt, push it through the hole, add another washer on the back, then thread the nylon-insert nut on by hand.
- Tighten with a wrench until the washers press firmly against the plastic. Stop when the plastic barely starts to dimple around the washer. Overtightening crushes the hollow sections inside molded chairs.
- Test the repair by pressing down hard on the armrest or leaning back slowly.
This method handles heavy loads well, but it adds about half a pound of metal to the chair. If the plastic around the hole is already crumbling to powder, drilling will just destroy more material and the bolt won’t hold.
Weld deep splits with a soldering iron
Heat welding melts the plastic back together instead of adding a foreign substance. It’s the right choice for thick, deep splits where epoxy can’t reach the bottom of the crack, or when you want to avoid drilling holes in visible areas. It takes more patience than bolting and produces fumes you shouldn’t breathe indoors.
You’ll need a 40-watt soldering iron with a flat chisel tip and scraps of the same plastic type — check the recycling symbol stamped under your chair. Mixing different plastics during welding creates a weak bond that separates once it cools.
- Work outside or in a garage with the door open. Melting polyethylene releases vapors that irritate your lungs.
- Let it heat for five full minutes before touching the plastic.
- Press the flat tip into the start of the crack. Move it slowly, about one inch every ten seconds, letting the edges melt and flow together.
- If the gap is wider than 1/8 inch, feed your scrap plastic strip into the melting zone like a welding rod. Push it down until it blends with the chair material.
- Smooth the melted line with the side of the iron tip, then let it cool naturally for 30 minutes. Don’t blow on it or use water — rapid cooling makes the weld brittle.
This isn’t for thin, decorative shells under 1/8 inch thick, since the iron will burn straight through them. The finished weld line stays visible as a raised ridge, though you can sand it down later.
Bad fixes for cracked plastic chairs
Some advice floats around online that sounds helpful but actually ruins the chair faster. These methods fail because they ignore how polyethylene and polypropylene behave under stress.
- Using hot glue guns on structural cracks. Hot glue sits on top of smooth plastic rather than bonding with it. The first time someone leans back, the glue pops off in one solid piece and the crack opens wider than before.
- Wrapping duct tape around broken legs. Tape stretches under constant tension. Within a week of outdoor heat, the adhesive turns to goo, the tape unwraps itself, and you’re left cleaning sticky residue out of the crack you still need to fix.
- Melting cracks with a lighter or torch. Open flames burn the plastic instead of melting it evenly. You’ll create a charred, brittle edge that crumbles when touched, making the original crack impossible to glue or weld afterward.
- Drilling pilot holes without washers. A screw head pulls straight through softened outdoor plastic under weight. Without a flat washer spreading the load across a wider area, the fastener just creates a second hole next to the first one.
- Applying silicone caulk to fill gaps. Silicone stays flexible, which seems good until you sit down. It compresses completely under body weight, offering zero support, and prevents proper adhesives from sticking to that spot later.
Keeping plastic Adirondack chairs intact
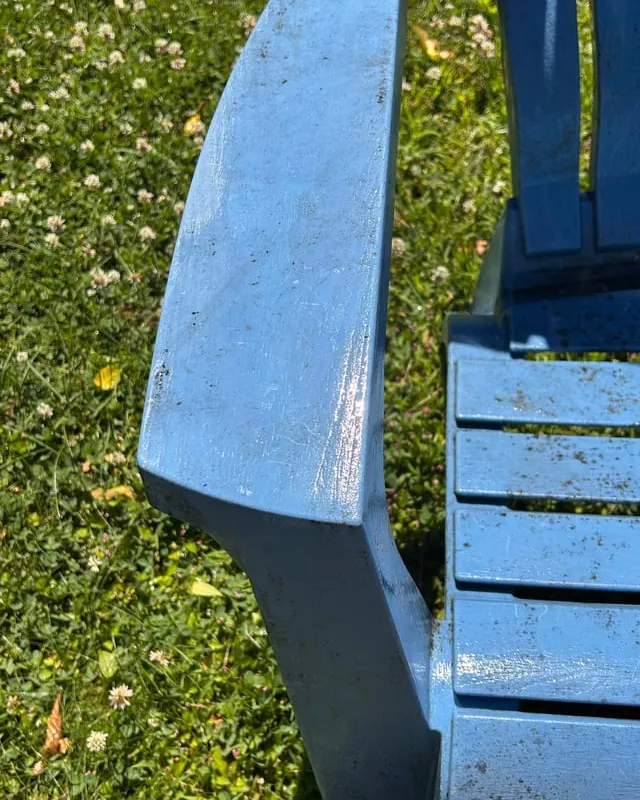
Preventing damage costs less time than fixing a snapped leg. The table below shows what wears these chairs out and what keeps them whole longer.
| If you’re doing this | Do this instead | Why |
|---|---|---|
| Leaving chairs in direct sun all summer | Move them under a porch roof or use a UV-blocking cover when not in use | UV radiation breaks polymer chains, turning flexible plastic into brittle material that snaps under normal weight |
| Stacking five chairs on top of each other | Stack no more than three high, or store them standing upright against a wall | Bottom chairs bear over 100 pounds of stack weight, bending the seat slats permanently over winter |
| Cleaning with bleach or acetone | Wash with dish soap and warm water using a soft bristle brush | Harsh solvents strip UV stabilizers out of the surface layer, accelerating the cracking process by months |
| Dragging chairs across concrete patios | Lift them by the armrests when moving | Scraping grinds down the leg bottoms, creating thin spots that split upward when someone sits down |
| Using chairs on uneven ground | Place a flat patio stone under each leg if the yard slopes | Twisting forces from uneven legs concentrate stress on one joint instead of spreading it across the frame |
Frequently asked questions
Can you glue polyethylene Adirondack chairs?
Yes, but only with adhesives specifically formulated for polyethylene. Standard wood glues, superglues, and basic epoxies peel off because polyethylene has a very low surface energy that repels most chemicals. You need a two-part plastic bonder that includes a primer or activator meant for polyolefins. Without that primer step, even expensive adhesives fail within days of someone sitting down.
How long does epoxy take to cure on plastic chairs?
A standard two-part plastic epoxy reaches handling strength in 30 minutes and full cure in 24 hours at 70°F. If your workspace is colder than 60°F, double that time to 48 hours for a complete cure. Don’t test the repair by sitting in the chair until the full cure window passes, since early stress creates micro-fractures inside the hardened glue.
Is it safe to sit on a repaired plastic chair?
Yes, if you used the correct method for the damage location. Epoxy repairs on flat slats hold body weight safely once fully cured. However, glued repairs on rear leg joints aren’t reliable for adults — those spots need bolts or welding to handle the backward leverage of sitting. Always test a repaired chair by pressing down hard with your hands before putting your full weight on it.
What happens if you use regular superglue on plastic chairs?
It dries hard and shatters. Cyanoacrylate (superglue) forms a rigid crystal structure that can’t flex with polyethylene or polypropylene. When the chair bends slightly under your weight, the glue line snaps immediately. It also fails to chemically bond with these plastics, meaning it just sits on the surface like dried paint waiting to flake off.
Why do plastic Adirondack chairs crack in winter?
Cold temperatures reduce the flexibility of polyethylene and polypropylene. The plastic contracts slightly and becomes stiffer. When you sit down, the material can’t bend to absorb your weight like it does in summer, so it fractures instead. Chairs left outside under snow also face repeated freeze-thaw cycles, where trapped moisture expands inside existing hairline cracks and pushes them wider overnight.
How much weight can a repaired plastic chair hold?
Capacity depends on the crack location and repair method. A bolted joint on a thick leg typically handles the original rated capacity found on the seat sticker or online. An epoxy repair on a thin back slat usually supports less than the factory limit, so check your specific model’s rating.
Conclusion
Every plastic chair eventually shows its age, but a clean crack doesn’t mean it belongs in the trash. Pick the fix that matches where the break sits and how much weight that spot carries. Glue the flat surfaces, bolt the joints, and melt the deep gaps. Keep them out of direct afternoon sun when you aren’t using them, and they’ll stay solid through plenty more seasons.