
You can maintain the appearance of your outdoor furniture by using a mild soap solution because how to clean resin adirondack chairs requires only basic household items and about 45 minutes of your time. The process is easy and safe for most synthetic materials. You should have a soft-bristled brush or cloth ready before you begin to avoid scratching the finish. Resin is durable, but it can trap dirt in its textured surface over time. This method ensures your furniture stays looking new throughout the season.
Supplies for resin chair maintenance
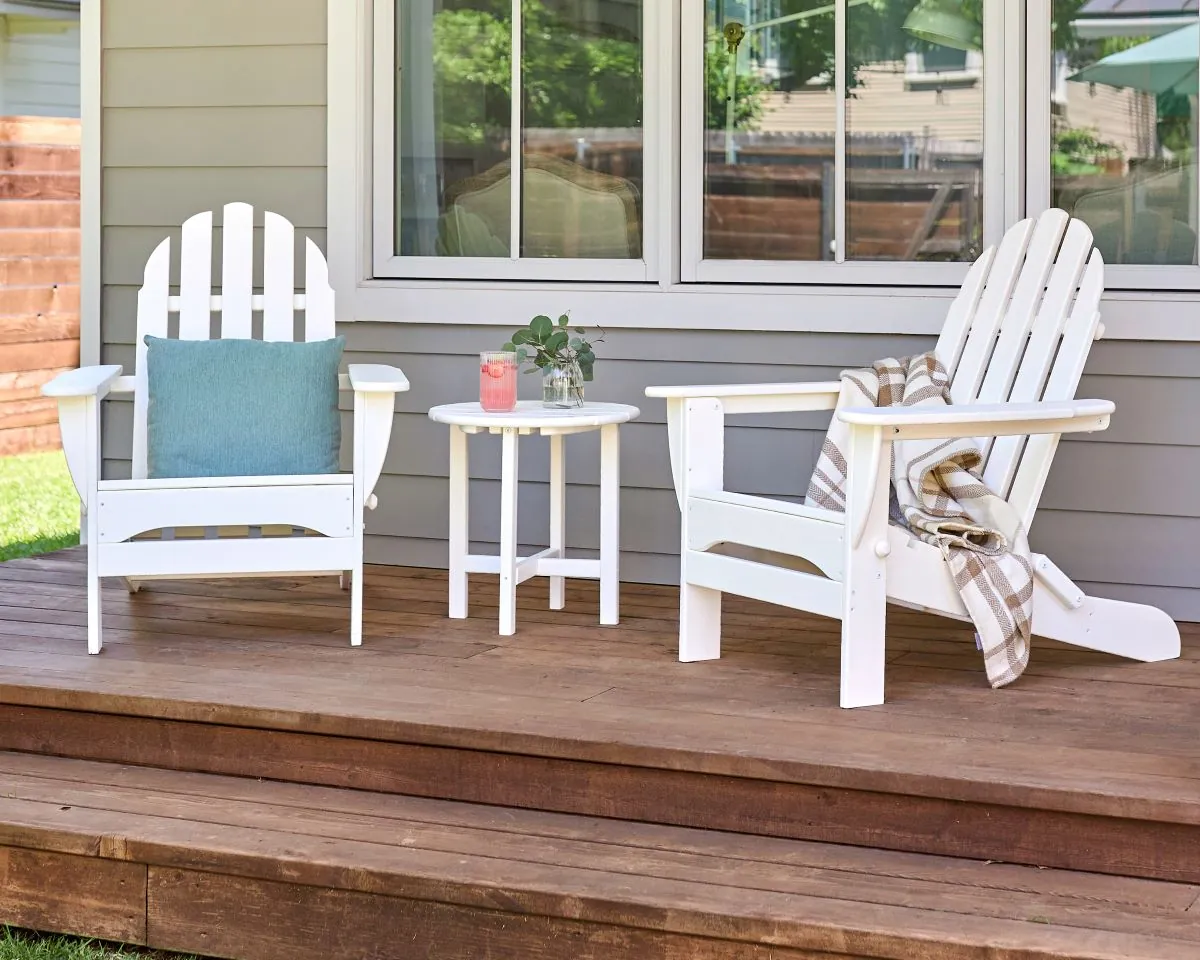
You must gather these items to complete the job efficiently. Don’t use harsh chemicals like bleach, as they can damage the UV-resistant coating on many plastic surfaces.
| Item | How much | Why it’s needed | A substitute |
|---|---|---|---|
| Dish soap | 2 tablespoons | Cuts through surface grease | Mild laundry detergent |
| Warm water | 1 gallon | Creates the cleaning base | Cold water |
| Soft brush | 1 unit | Removes stubborn debris | Microfiber cloth |
| Garden hose | 1 unit | Rinses away soap residue | Bucket of water |
| Drying towel | 1 unit | Prevents water spots | Air dry only |
Preparing for the cleaning process
Move your chairs to a flat, shaded area to prevent the soap from drying too quickly in the sun, which can leave stubborn streaks. If you must work in direct light, clean the frame in small sections, rinsing each area before the lather evaporates.
Clear away all cushions and decorative items. These must be cleaned separately according to the fabric care instructions provided by the manufacturer. If you can’t find a tag, assume the material isn’t machine washable and use only a mild upholstery foam.
Sweep or hose off loose leaves and dirt first. If you skip this, you’re simply grinding grit into the finish, which creates micro-scratches that trap future grime.
Check the chair for structural cracks or loose hardware before starting. Cleaning can worsen an existing break, turning a minor hairline fracture into a total failure. If you see deep scratches or heavy mold, stop and consult the manufacturer’s website for specialized restoration products. Never use abrasive pads, as they strip the protective UV coating and ruin the plastic.
Steps to clean resin Adirondack chairs
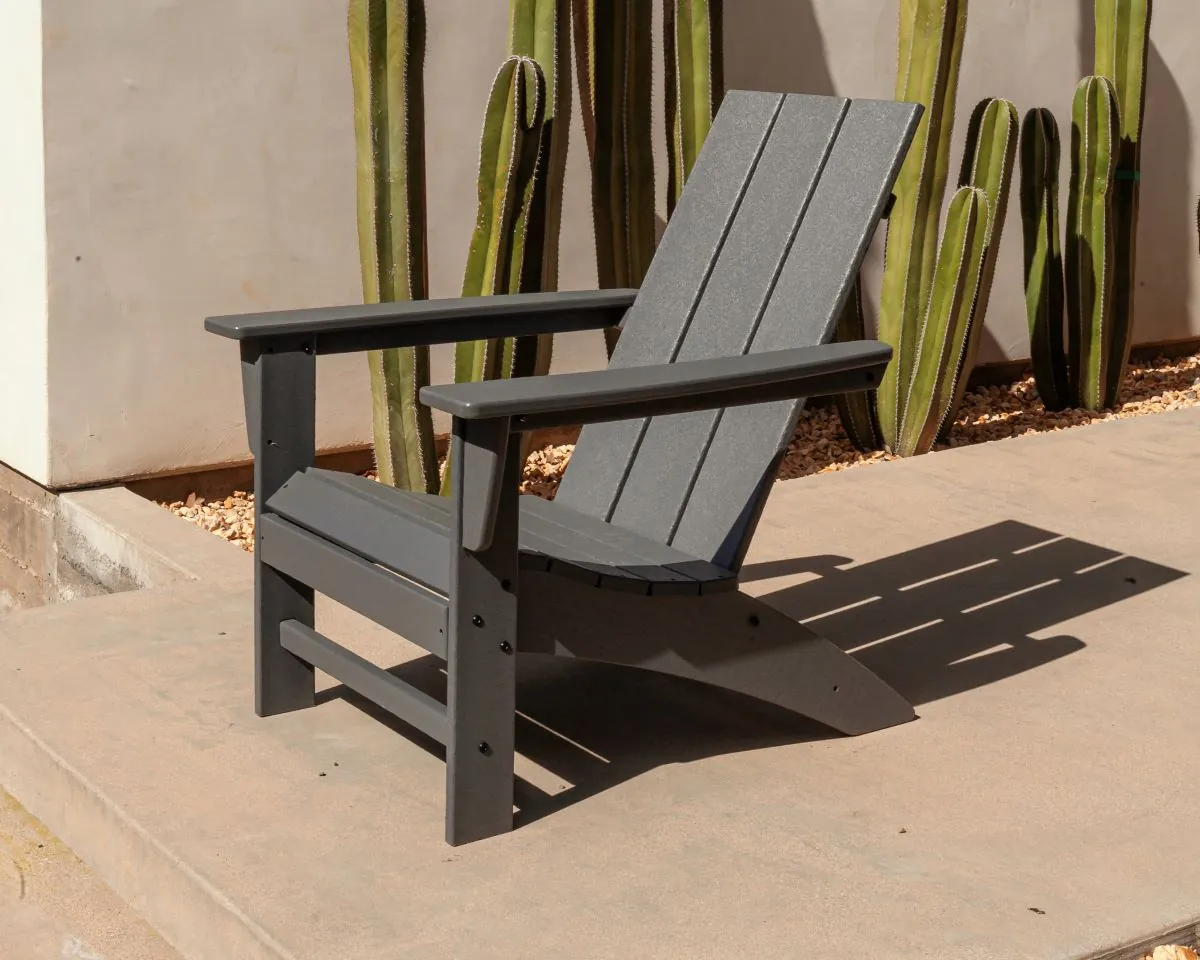
- Mix 2 tablespoons of liquid dish soap into 1 gallon of warm water in a plastic bucket until you see bubbles.
- Dip your soft-bristled brush or cloth into the soapy water, ensuring it’s saturated but not dripping excessively, to prepare for scrubbing the chair surface.
- Scrub the entire chair starting from the top and working your way down to the base to ensure dirty runoff doesn’t re-soil clean areas.
- Apply extra pressure with the brush on textured parts of the armrests or seat where dirt collects, scrubbing in small circular motions for 30 seconds per section.
- Rinse the chair thoroughly using a garden hose set to a gentle spray, ensuring all soap suds are removed from crevices and under the seat.
- Inspect the chair for remaining dirt or spots; if you see dark patches, repeat the scrubbing process on those specific areas immediately while wet.
- Wipe the chair down with a clean, dry towel to remove excess water, which prevents mineral deposits from forming on the surface as it dries.
- Allow the chair to air dry completely in the shade for 1 hour before placing any cushions back on the furniture.
Verifying the clean result
The chair should look uniform in color andThe feel smooth to the touch chair should look uniform once it’s dry. In color and feel smooth to the touch If you see white once it’s dry. If you see streaks or dull patches white streaks or dull patches, soap, it means soap residue remains on the residue remains on the plastic and you must plastic and you should rinse again. Run your fing rinse it again.
Ernail across a textured areaRun your fingernail lightly across the seat while to confirm no film is left it’s still damp behind. A successfully cleaned chair will. A clean surface have no visible dirt in the grooves lets your nail glide or corners of the seat. Check without catching. Any these crevices with a flashlight grit under your nail means dirt is still trapped because ambient light often hides embedded inside the texture.
A successfully cleaned grime that feels rough chair will have no visible under fingertips.
If dirt in the grooves or corners of the seat the surface still looks gray or faded after cleaning, this signals UV aging rather than. Check where the arm dirt. Distinguish oxidationrest meets the backrest.
Water pools there from soil by wetting a small spot during rinsing and; if the color returns when wet leaves a dark line but fades when dry, the plastic if grime was itself is degraded. Sticky spots mean you used too much soap, not fully lifted.
If the surface still looks gray or faded after so wipe them with a damp cloth cleaning, this is a sign of UV aging immediately. If discoloration rather than dirt. You can confirm this by wet persists despite thorough rinsing, you have reached the limit of manualting a small area cleaning.
Avoid high-pressure power washers with plain water. The entirely. They etch plastic surfaces gray disappears when wet but and create microscopic pores that trap future dirt returns as it d permanently, making every subsequent cleaning harderries. That confirms and less effective. Oxidation.
If you notice sticky spots, you likely used too much soap, and a quick wipe with a damp cloth will fix it. Use a cloth wrung out until it barely drips. Excess water just spreads the soap film instead of lifting it off.
If the chair remains discolored, you have reached the limit of what manual cleaning can do. Avoid the mistake of using high-pressure power washers, as they can etch the plastic and make it porous, which causes it to attract more dirt in the future.
Handling common cleaning issues
| What happened | Why | What to do |
|---|---|---|
| White streaks | Soap residue | Rinse with water |
| Dark spots | Mold growth | Use vinegar solution |
| Sticky surface | Too much soap | Wipe with water |
| Dull finish | UV damage | Apply plastic wax |
| Scratches | Abrasive tools | Buff with polish |
If you see white streaks, the culprit is almost always excess detergent left to dry. Simply rinsing with water fails if the residue has hardened. In that case, use a damp microfiber cloth to lift the film before the final rinse.
Mold thrives in dark, humid corners. If vinegar doesn’t clear the spots within ten minutes, the mold has likely penetrated the porous surface. You must then use a specialized fungicide or replace the material entirely.
When surfaces remain sticky after cleaning, you have likely used too much soap. Rinse the surface thoroughly with water to remove the excess soap.
Finally, never use paper towels to buff scratches. Their wood pulp fibers are abrasive enough to create micro-marring. Always use a dedicated microfiber buffing pad to protect the finish.
Frequency of chair maintenance
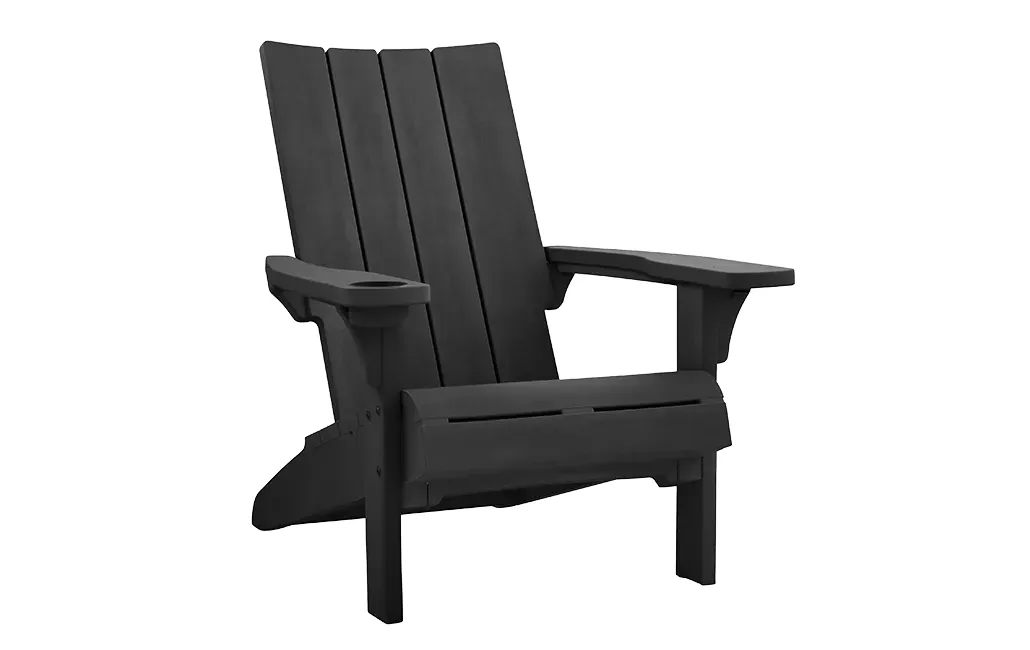
You should clean your chairs once every 3 months during the outdoor season to keep them in good condition. Two main factors change this interval: your local climate and how close the furniture sits to trees or pools.
If you live in an area with high humidity or frequent rain, you’ll need to clean the chairs every 4 to 6 weeks to prevent mold buildup. Conversely, if the chairs are kept in a dry, covered patio, you may only need to wash them twice a year.
Always check for debris after a storm, as windblown dirt can settle into the grain of the resin if left for too long. If you live near the ocean, salt air can also speed up the need for cleaning to prevent salt buildup on the surface.
Chairs placed under pine or oak trees collect sap and tannins that standard rinsing won’t remove. Wipe these spots within two days using warm water mixed with mild dish soap. Waiting a full week lets the residue harden into the textured surface permanently.
People often wait until visible grime appears before washing their furniture. By then, pollen has already bonded to the material and requires aggressive scrubbing that dulls the finish.
A reliable approach is to tie maintenance to existing yard work. Wash the chairs when you mow the lawn for the first time each month. This prevents any single cleaning session from turning into a half-day project.
Stacked chairs trap moisture between layers, so separate them weekly to let air circulate underneath.
Related guides
- How to Tighten Dining Room Chairs: A Step-by-Step Fix
- Best Weather Resistant Patio Chairs for Lasting Comfort and Style in 2026
- 10 Best Patio Chairs for Outdoor Lounging: Expert Picks and Verdict in 2026
Frequently asked questions
Can I use bleach to clean resin chairs?
Don’t use bleach, as it can break down the plastic’s protective finish and cause it to turn brittle over time. Stick to a mild dish soap solution for regular maintenance to preserve the structural integrity of the resin. If you have stubborn stains that soap can’t remove, check the manufacturer’s manual for specific cleaning agents that are safe for your model’s unique plastic composition.
How long does it take for resin chairs to dry?
The chairs typically dry within 1 to 2 hours when left in a shaded, ventilated area. You can speed up this process by using a clean, dry towel to remove standing water from the seat and crevices immediately after rinsing. Don’t leave the chairs in direct, intense sunlight to dry, as this can cause the plastic to expand or warp while it’s damp.
Why do my chairs look gray even after cleaning?
The gray appearance is usually caused by long-term UV exposure which degrades the outer layer of the plastic. This is a permanent change that cleaning can’t reverse, but you can improve the look by applying a plastic-safe wax or a specialized resin restorer. Check the product label to ensure it’s intended for outdoor furniture to avoid creating a slippery surface that could be dangerous.
Is it safe to use a pressure washer?
Avoid using a pressure washer because the high force can create tiny pits in the resin surface. These pits make it much easier for dirt and mold to stick to the chair in the future, making your next cleaning job much harder. A standard garden hose with a spray nozzle provides enough pressure to remove dirt without damaging the plastic material or its protective finish.
How do I remove mold from the chairs?
You can remove mold by mixing a solution of one part white vinegar to four parts water and scrubbing the area gently. If the mold persists, the spores may have penetrated the surface of the resin, meaning the damage is likely permanent. Always wear gloves when working with vinegar to protect your skin, and rinse the chair thoroughly with fresh water afterward to remove the vinegar smell.
What happens if I use an abrasive sponge?
Using an abrasive sponge will scratch the smooth surface of the resin and remove its protective top layer. These scratches act as traps for dust and pollutants, which will make your chairs look dirty much faster after you finish cleaning them. Always use a soft cloth or a soft-bristled brush to maintain the integrity of the plastic surface and keep it looking smooth for years.
Conclusion
Keeping your resin adirondack chairs clean is a simple task that protects your investment and keeps your outdoor space looking inviting. By following these steps and avoiding harsh tools, you ensure the plastic remains durable and vibrant for many seasons. Remember that consistency is better than deep, infrequent scrubbing, so a quick wipe down now and then will prevent the need for heavy-duty cleaning later.