
Cleaning outdoor wood chairs with mild dish soap and warm water, followed by a light scrub and thorough rinse, keeps them in great shape. Most wooden pieces need this deep cleaning twice a year to prevent mold and graying. If you live in a rainy climate, you should aim for more frequent checks. This simple routine is perfect for anyone who wants to protect their investment without using harsh chemicals.
Supplies to clean outdoor wood chairs

To get the job done right, you need to have a few basic items ready before you start. Having the right tools prevents damage to the wood surface and makes the work go much faster.
- Mild dish soap or a dedicated wood cleaner.
- A soft-bristle scrub brush or a nylon-bristle hand brush.
- Two clean buckets: one for the soap mix and one for fresh water.
- A garden hose with a gentle spray nozzle.
- Soft microfiber cloths or clean cotton rags for drying.
- Work gloves to protect your hands from splinters or grime.
- A drop cloth or plastic sheet to protect your patio or deck surface.
If you have a pressure washer, you might be tempted to use it to save time. Be very careful, as high-pressure water can gouge soft woods like cedar or pine and ruin the finish.
Most manufacturers recommend sticking to manual scrubbing with a soft brush to ensure the wood fibers stay intact. If you aren’t sure about your specific wood type, check the wood care guidelines provided by the United States Forest Service for the best practices on preventing moisture damage.
Steps for washing your furniture
- Clear your workspace by moving the chairs to a flat, level area like a patio or driveway. Spread your drop cloth underneath to catch any dirt or cleaning runoff.
- Mix a solution of 1/4 cup of mild dish soap into 1 gallon of warm water in your first bucket. Don’t use bleach or ammonia, as these can strip natural oils and cause the wood to become brittle.
- Dip your brush into the soapy water and scrub the wood in the direction of the grain. If the chairs are very dirty, let the suds sit on the surface for 5 minutes before you begin scrubbing.
- Rinse the chairs thoroughly using a low-pressure setting on your garden hose. Ensure you wash away all soap residue, as leftover soap can attract dust and dirt later.
- Wipe down the chairs with a clean, dry microfiber cloth to remove standing water. Leaving water to sit in joints or crevices can lead to rot over time.
- Allow the chairs to air dry in a shaded, well-ventilated spot for 24 hours. Don’t place them in direct, harsh sunlight while they’re wet, as this can cause the wood to warp or crack.
Tip: If you notice dark spots after cleaning, these are likely mildew. A mixture of one part white vinegar to four parts water can help kill the spores. Careful: Never mix vinegar with bleach, as this creates a toxic gas.
Adjusting your cleaning approach
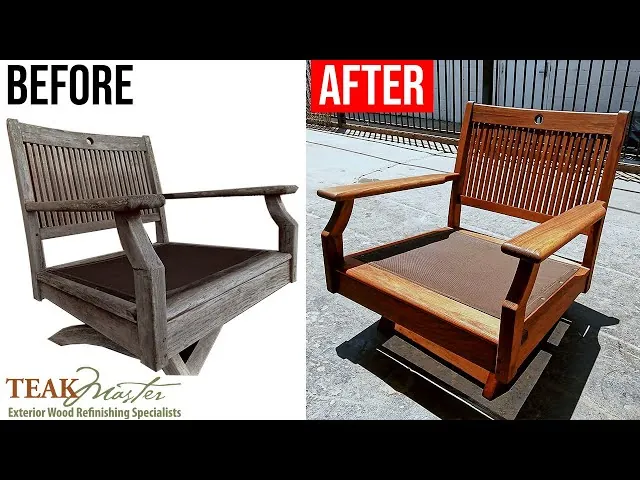
Your cleaning schedule will change depending on your local weather and the type of wood. You should inspect your furniture every three months to see if it needs a quick wipe or a full wash.
| Situation | Cleaning Frequency | Effort Level | What to Watch |
|---|---|---|---|
| Dry, sunny climate | Once per year | Low | Fading color |
| Humid or rainy area | Twice per year | Medium | Mildew growth |
| Near the ocean | Every 3 months | High | Salt buildup |
| Stored indoors winter | Once before storage | Low | Dust accumulation |
If your chairs are covered during the off-season, you can often get away with a light dusting rather than a full wash. It’s always safer to start with a gentle, small-scale cleaning and add more intensity only if the dirt is stubborn.
Test for mildew by pressing a damp white cloth against the wood. If the cloth picks up a dark, fuzzy residue, you should use a mild vinegar solution or a dedicated wood-safe mildew cleaner to treat the area.
Most owners make the mistake of using a pressure washer to save time. This forces water deep into the fibers, which causes the wood to warp or split as it dries. If you can’t remove grime with a soft nylon brush and soapy water, the finish has likely failed. In that case, stop cleaning and prepare to sand the surface instead.
If the wood feels rough or splintery to the touch, don’t apply oil or sealant yet. You must sand the surface smooth first, or you’ll trap dirt and debris beneath a permanent, uneven layer.
Judging the quality of your work
A successful cleaning job leaves the wood looking clean and feeling smooth to the touch. The grain should be visible, and there should be no soapy residue or fuzzy patches on the surface. If you see dark, fuzzy spots, you likely have mildew that has penetrated the top layer. This happens when moisture stays trapped in the wood for too long, often because the chairs weren’t dried properly after a storm.
Test the finish by running a clean, white cotton cloth across the surface. If the cloth snags or picks up fibers, the wood is still saturated or the finish has degraded too far to protect the grain. If the cloth remains clean and slides freely, your work is complete.
If you find deep, black stains, you might need to lightly sand the area with 220-grit sandpaper once the wood is fully dry. Always sand in the direction of the grain to avoid scratching the surface. If the stain persists after light sanding, the rot has likely moved into the structural fibers. In that case, sanding will only weaken the piece, and you should consider replacing the damaged board entirely.
Rules for wood protection
Once the chairs are clean and dry, you may want to apply a protective finish to keep them looking fresh. If you choose to use an oil or sealant, ensure the wood is completely dry, or you’ll trap moisture inside. According to standards set by the American Wood Council, maintaining a consistent moisture content is key to preventing structural decay. If you’re applying a stain, check the manufacturer’s label for the correct drying time between coats.
If you don’t have experience with wood finishes, stick to a simple furniture oil designed for outdoor use. Never use a thick, paint-like sealant unless you’re prepared to strip it off entirely in the future. Once you apply a product, you’ll need to re-apply it every 6 to 12 months, depending on how much sun the chairs receive. If you’re unsure about a specific product, test it on a small, hidden area of the chair first.
Alternative maintenance methods
Natural oil treatments
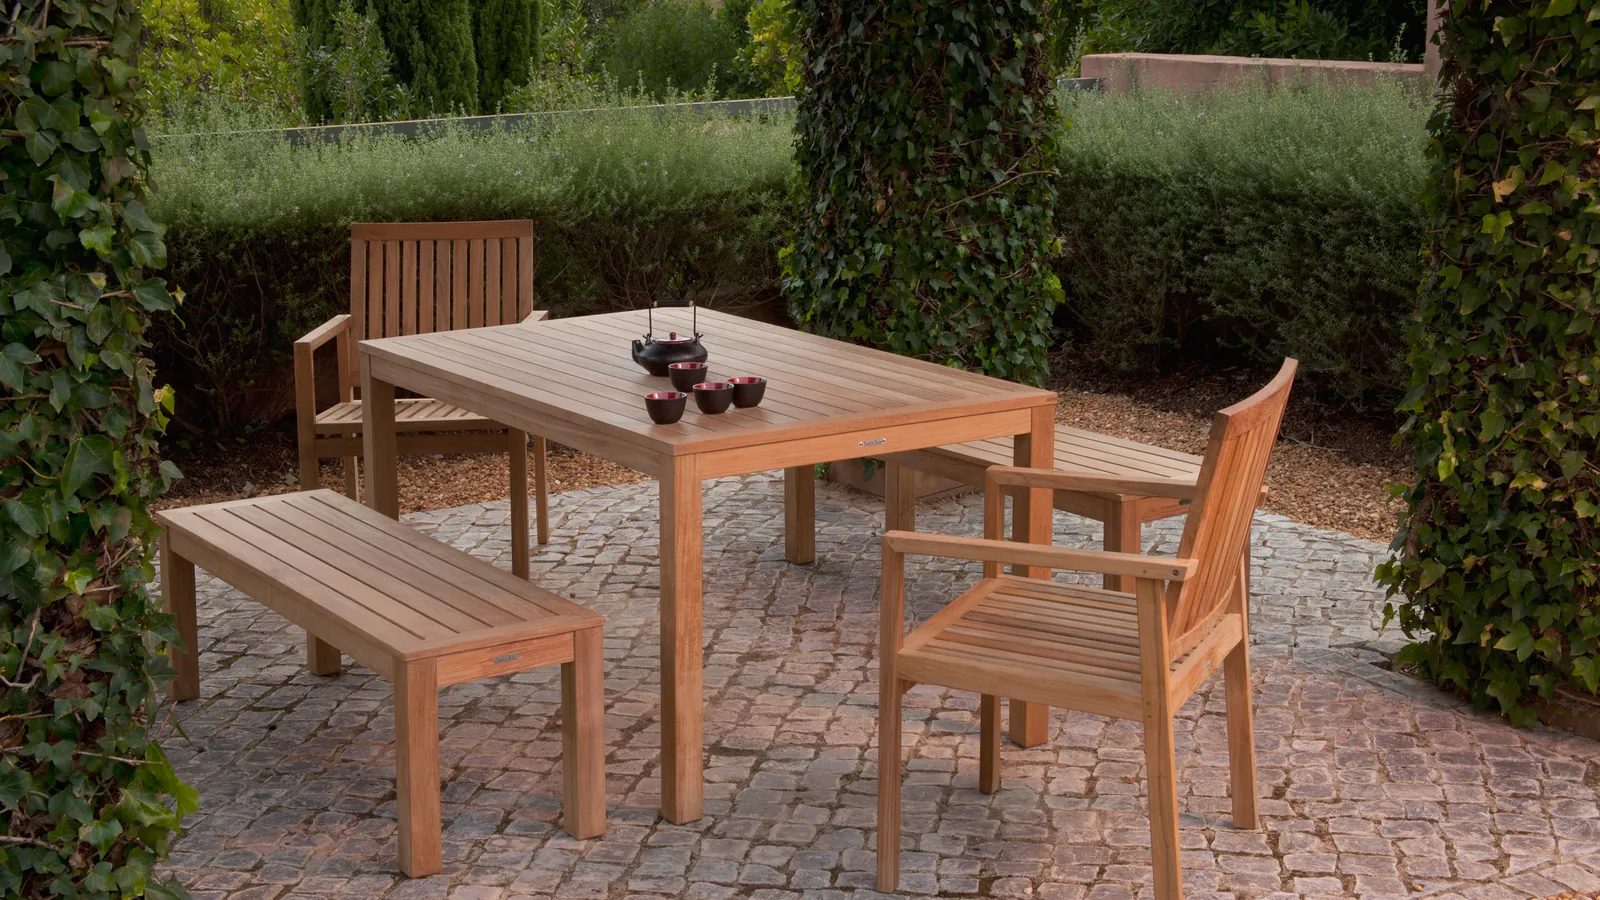
You can apply teak oil or linseed oil to replenish the wood’s natural moisture. This makes the color richer and protects against drying out. It takes about an hour to apply, but it requires the wood to be perfectly clean first.
Power washing services
If you have many chairs or heavy grime, you can hire a professional service. This is faster but costs more and carries a risk of wood damage. Only use pros who have experience with wood, not just concrete.
Full wood restoration
For very old or gray chairs, a full restoration involves sanding the entire surface before applying a new stain. This is a big project that takes several days. It’s only necessary if the wood has lost its structural integrity or the surface is badly splintered.
Frequently asked questions
Can I use bleach to clean my wood chairs?
No, you should avoid using bleach because it can damage the wood fibers and strip away the natural oils. It often causes the wood to turn a patchy, uneven color and can weaken the joints over time. Stick to mild dish soap and water for the safest results. If you have stubborn stains, try a vinegar solution instead, as it’s much gentler on the wood surface and safer for the environment.
How long does it take for wood chairs to dry?
It usually takes about 24 hours for wood chairs to dry completely in a shaded, well-ventilated area. This time can vary based on the humidity levels and the type of wood. If the air is very damp, it might take longer. Always ensure the wood feels dry to the touch before you sit on the chairs or apply any oil, as trapping moisture inside can cause rot and structural failure.
Is it safe to leave my chairs out in the rain?
It’s safe to leave wood chairs in the rain, but you must dry them off as soon as the storm passes. Prolonged exposure to standing water is the primary cause of rot and mildew. If you know a long period of heavy rain is coming, it’s best to move the chairs to a covered area or use a waterproof furniture cover to keep them dry.
How often should I clean my outdoor wood chairs?
You should aim to deep clean your chairs at least twice a year to keep them in good condition. If you live in a humid area or near the coast where salt and moisture are higher, you might need to clean them every three months. Regularly wiping away dust and debris throughout the season also helps prevent dirt from building up, making your biannual deep clean much easier to manage.
What happens if I don’t clean my wood chairs?
If you skip cleaning, dirt and moisture will build up, which eventually leads to mildew, rot, and a gray, weathered appearance. Over time, this damage can weaken the wood joints, making the chairs unsafe to sit on. Regular cleaning removes these contaminants before they can cause permanent damage, which saves you the time and money of having to repair or replace the furniture sooner than expected.
How can I tell if my wood chairs are rotting?
You can identify rot by pressing a firm tool into the wood, especially near joints. If the wood feels soft, spongy, or crumbles easily, it’s likely rotting. Compromised wood may need professional repair to remain safe.
Conclusion
Once your furniture is completely dry, consider applying a thin coat of outdoor wood oil to lock in the moisture and shine. It’s a quick task that’ll keep the grain looking rich all season long. You’ll be glad you took the extra moment to shield your favorite seat from the elements.