
You can paint plastic patio chairs with a spray paint made for plastic, plus sanding, a plastic-specific primer, and two light topcoats. The job takes a few hours of work plus drying time, costs about the price of one can of paint and primer per chair, and is medium difficulty — it needs care, but no special skills. Before you start, check the paint can for the drying time and temperature range it assumes; those figures vary by brand and are printed right on the label.
What you need
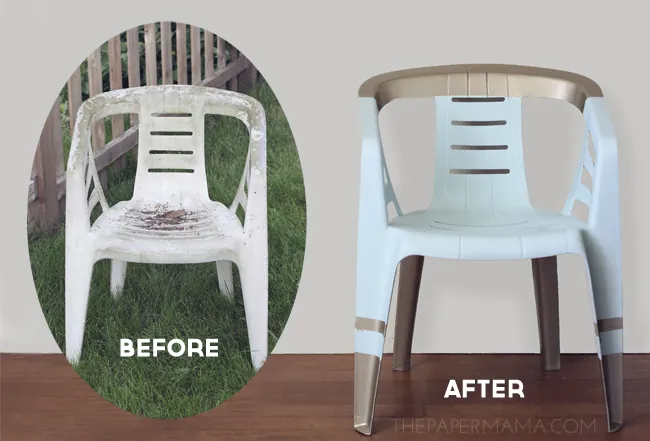
| Item | How much | Why it’s needed | A substitute |
|---|---|---|---|
| Plastic-specific spray paint | 1 can per chair | Bonds to plastic instead of peeling off | none — don’t swap this |
| Plastic bonding primer | 1 can | Helps paint grip smooth plastic | none — don’t swap this |
| 220-grit sandpaper | 1 sheet | Scuffs the surface so primer sticks | sanding sponge |
| Tack cloth | 1 | Removes dust after sanding | damp rag, then dry fully |
| Painter’s tape | 1 roll | Covers areas you don’t want painted | masking tape |
| Drop cloth | 1 | Protects the ground from overspray | old sheet or cardboard |
| Soap and water | Bucket and sponge | Washes off dirt and oils before sanding | none — don’t swap this |
If you skip the primer, the paint will likely chip within weeks of outdoor exposure.
Use 220-grit paper specifically. Anything coarser leaves deep scratches that show through the final coat, while finer paper fails to create the tooth required for the primer to bond. If the plastic feels waxy or slick to the touch, wash it twice. Residual mold-release agents from the factory will cause the paint to bubble or flake off in large sheets.
When choosing a workspace, ensure the temperature is between 60 and 80 degrees Fahrenheit. If it’s colder, the paint may spatter or dry unevenly; if it’s hotter, it will dry before it levels, leaving a gritty texture. Always test your spray technique on a piece of scrap cardboard first. If you see droplets forming, you’re holding the can too close. Keep the nozzle at least ten inches away and move in steady, overlapping horizontal passes.
Prepare the chairs
Wash each chair with soap and water, scrubbing away dirt, sunscreen, and oils, then let it dry completely. Lightly scuff all surfaces with 220-grit sandpaper so the primer has something to grip, then wipe away every speck of dust with a tack cloth.
Cover the ground with a drop cloth and tape off any parts you want to keep unpainted. Work outdoors or in a well-ventilated garage, and choose a day when the temperature matches the range printed on the paint can. Most spray paints require conditions between 50 and 90 degrees Fahrenheit.
If the humidity exceeds 60 percent, wait for a drier day. High moisture can cause a cloudy haze or poor adhesion, leading to a peeling coat within weeks. If your chairs are cracked, brittle, or breaking apart, paint won’t fix them; replace the chair instead.
Test your material before you start. If you’re painting plastic, check the bottom for a recycling code. If the chair is marked as polyethylene or polypropylene, standard spray paint will flake off within a season. In that case, use a dedicated plastic bonding primer first. This simple step prevents the frustration of seeing your hard work peel away after the first rain.
Steps to paint plastic patio chairs
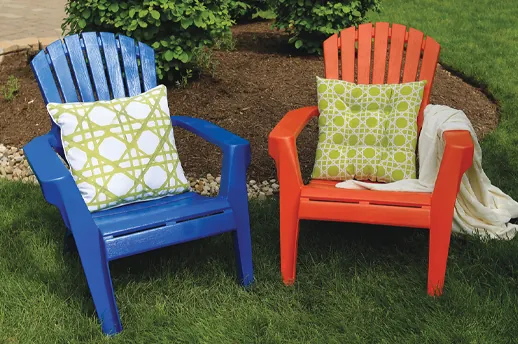
- Shake the primer can for the full time listed on the label, usually about one minute, so the contents mix evenly.
- Hold the can 8 to 10 inches from the chair and spray one thin, even coat of primer, moving constantly so it doesn’t pool.
- Let the primer dry for the time stated on the can, which is often 15 to 30 minutes depending on temperature and humidity.
- Lightly sand the dried primer with fine sandpaper, then wipe away the dust with a tack cloth.
- Shake the plastic spray paint can for the full time on the label before the first color coat.
- Spray one light coat of paint, keeping the can moving and overlapping each pass slightly.
- Wait the drying time on the paint can, typically 1 to 2 hours, then apply a second light coat.
- Let the final coat cure for the full time listed on the can, often 24 hours, before you sit on the chair or set anything on it.
How to tell it worked
The paint should look even and matte or satin, depending on the finish you chose, with no drips, runs, or bare plastic showing through. Run your hand over a dry surface — it should feel smooth and uniform, not tacky or rough.
Press a fingernail gently into an inconspicuous spot after the full cure time; the paint shouldn’t dent or lift. If the surface yields under pressure, the resin hasn’t fully cross-linked. Wait longer according to the paint manufacturer’s instructions before subjecting the piece to any mechanical stress.
If the color looks patchy or the surface feels sticky after the recommended drying time, it needs another thin coat or more curing time. A common mistake is applying a second coat while the first is still “skinning over.” This traps solvents beneath the surface, leading to long-term bubbling or a permanent soft finish.
If the paint remains tacky after forty-eight hours, the curing conditions were likely outside the range recommended on the label. In this case, move the project to a climate-controlled room with a dehumidifier.
Never use smell to judge whether the paint is dry. Chemical fumes and residues give no reliable warning through your senses, as they can linger long after the surface is safe to touch.
If something goes wrong
| What happened | Why | What to do |
|---|---|---|
| Paint peels off | Surface wasn’t scuffed or primed | Sand, prime, and repaint |
| Drips or runs | Too much paint at once | Sand smooth when dry, then repaint lightly |
| Paint bubbles | Applied in direct sun or high heat | Move to shade and repaint |
| Color looks patchy | Too thin or uneven coats | Add another light coat after drying |
| Paint stays sticky | Not enough drying time between coats | Wait longer before the next coat |
If your paint peels, check the underside of the flake. If the back is clean and smooth, you likely skipped the primer. If you see old paint or dust, the surface was too slick for the new coat to bond. You must sand the area with 120-grit paper to create a tooth for the new layer.
Drips usually happen because you held the nozzle too close to the surface. Keep the can exactly eight to ten inches away. If you see a run forming while wet, don’t touch it. Let it harden completely, sand it flat, and spray a light mist over the spot to blend the edges.
Bubbles are often a sign of trapped moisture or heat. If you paint in temperatures above 90 degrees, the outer layer dries before the solvent escapes. This creates a pocket of gas. Always test your surface temperature with your hand; if it feels hot to the touch, move to a cooler area.
Patchy color often results from rushing the second coat. If you apply the second layer while the first is still tacky, you’ll pull off the pigment you just laid down. Wait until the surface is hard enough that a fingernail leaves no impression. If it remains sticky after 24 hours, the humidity was too high; move the project to a climate-controlled room.
How often to repaint
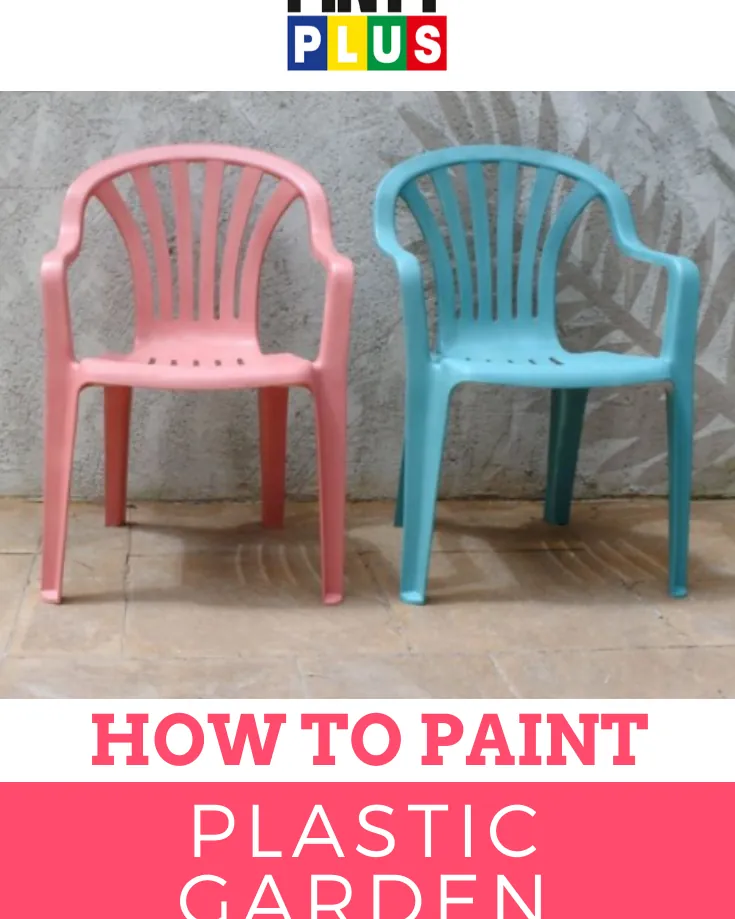
Repaint plastic patio chairs every two to three years, assuming they stay outdoors year-round in normal sun and rain. Chairs kept under cover or brought inside for winter can go longer, sometimes four to five years, while chairs in harsh sun or salty air may need a fresh coat sooner.
The two things that move this interval most are sun exposure and how often the chairs are used and moved. Dragging chairs across concrete scrapes the finish down to bare plastic. Those scratches let moisture underneath the paint, and peeling starts from there.
Check the finish each spring; if you see fading, chalking, or peeling, it’s time to sand, prime, and paint again. Run your hand across the seat and armrests before you decide. A chalky residue on your fingers means the top layer has already broken down.
Painting over that powder traps it beneath the new coat, and the whole surface will flake off by midsummer. Wipe the chair with a damp cloth first to see what the actual plastic looks like underneath.
Stacked chairs rub against each other at the legs and backrest edges. Put felt pads between them if you store more than three high. That one step keeps the paint intact through another full season.
Frequently asked questions
Can I use regular spray paint on plastic patio chairs?
No. Regular spray paint doesn’t bond to smooth plastic and will peel or flake off within weeks. Use a spray paint labeled specifically for plastic, which is formulated to grip the surface.
Why does the paint need a primer on plastic?
Plastic is nonporous and slick, so paint has nothing to hold onto. A plastic bonding primer creates a grip layer that keeps the topcoat from peeling.
How long does the whole job take?
Active work takes about one to two hours per chair, assuming standard drying conditions. Add drying and curing time between coats, which can stretch the full process to two or three days.
Is it safe to paint plastic chairs outdoors?
Yes, if you work in a well-ventilated area away from flames and follow the warnings on the paint can. Avoid painting in direct sun, high heat, or wind, which can spoil the finish and blow overspray where you don’t want it.
What happens if I skip sanding?
The primer and paint won’t grip properly and will likely peel or chip off in a short time. Sanding creates the texture the coating needs to stick.
Does it matter what color I choose?
Yes. Dark colors absorb more heat and can fade faster in strong sun, while light colors show dirt more but may need fewer coats for full coverage. Pick a color made for outdoor plastic use.
How do I know when the paint is fully cured?
Follow the cure time printed on the paint can, often 24 hours or more, assuming normal temperature and humidity. The surface may feel dry sooner, but full hardness takes the listed cure period.
Conclusion
Take your time with the prep — washing, sanding, and priming matter more than the color coat itself. A chair that’s clean and scuffed holds paint for years; one that’s rushed will peel within a season no matter what paint you buy.