
How to make arm caps for chairs means sewing padded fabric covers that slip over chair arms to stop wear and protect the finish underneath.
What you need
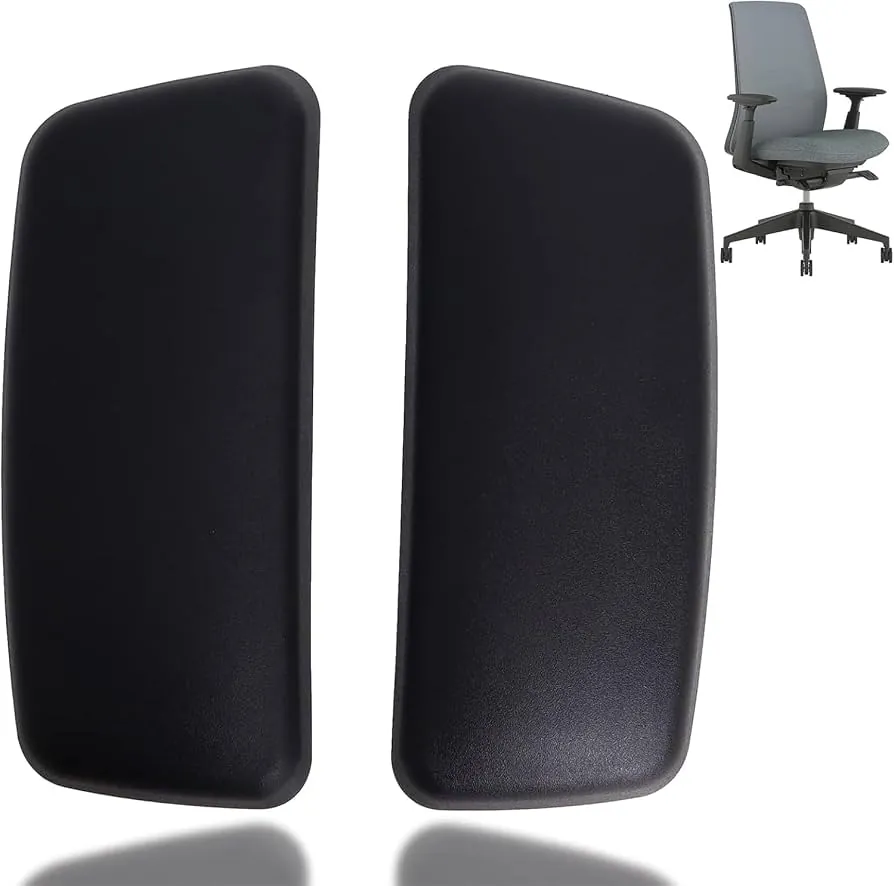
You need fabric, padding, a sewing machine and a few small supplies before you cut anything. The list below covers the materials for one chair with two arms.
| Item | How much | Why it’s needed | A substitute |
|---|---|---|---|
| Medium-weight cotton or canvas | 1 yard | Covers the arms and takes daily use | none — don’t swap this |
| Polyester fiberfill batting | 1 package | Adds soft padding under the fabric | thin quilt batting |
| Matching thread | 1 spool | Holds the seams together | none — don’t swap this |
| Sewing machine | 1 | Sews straight seams quickly | hand-sewing needle |
| Fabric scissors | 1 pair | Cuts fabric cleanly | rotary cutter |
| Straight pins | 1 pack | Holds layers in place while sewing | sewing clips |
| Measuring tape | 1 | Measures the arm length and width | none — don’t swap this |
Before you start
Wash and dry the fabric using the same heat settings you plan to use for future laundry. This step forces the fibers to shrink now, preventing your finished covers from pulling tight or warping after the first wash. Iron the material flat to ensure your measurements are precise.
Measure each arm from the front edge to the seam where it meets the chair back. Then, measure across the top at the widest point. Add exactly one inch to every edge for your seam allowance. If you skip this allowance, the cover will be too small to fit over the padding.
Clear a large, flat table and remove any items that could snag delicate fabric. If your chair arms feature exposed screws or metal brackets, tape a piece of cardboard over them. Sharp metal edges will tear through fabric the moment you pull the cover taut.
If you’re new to sewing, practice on a scrap piece first. Your goal is to master the straight seam before touching the main fabric. If your machine tension is too high, the thread will pucker; if it’s too low, the seam will unravel under the stress of daily use.
If your chair arms are curved, cut a paper template first. Place the paper over the arm and trace the shape before cutting your fabric. This simple step saves you from wasting expensive material on a shape that doesn’t align with the chair’s unique geometry.
Sew arm caps for chairs
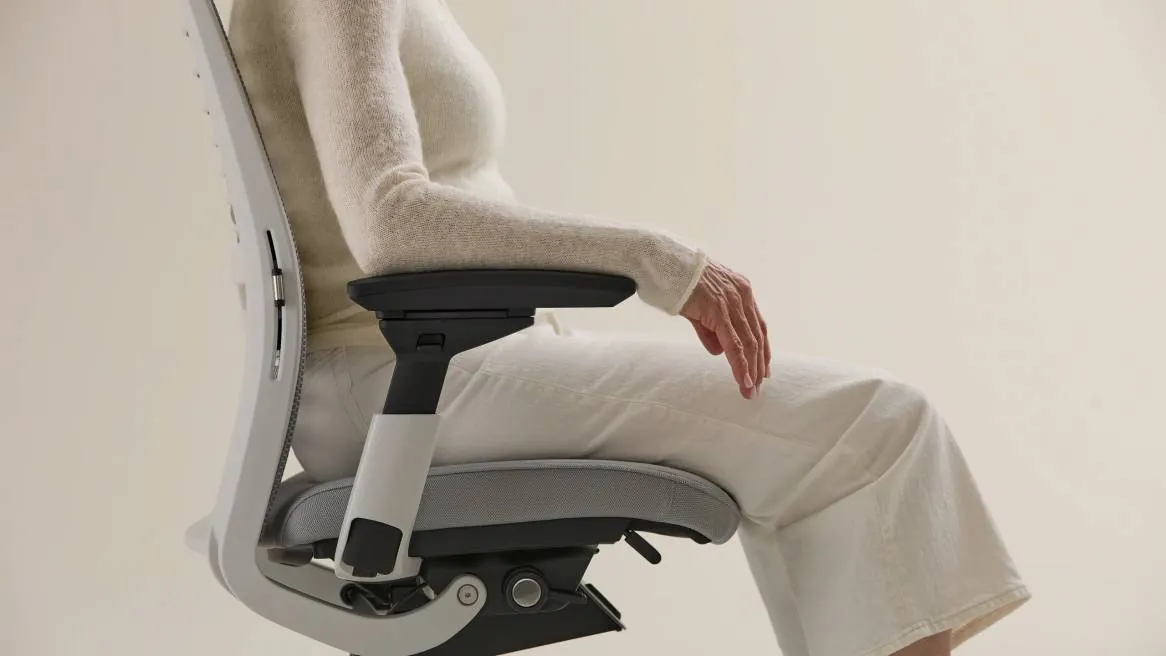
Cut two fabric pieces for each arm using your measurements plus a one-inch seam allowance. If your chair arms have a pronounced curve, add an extra two inches of length to the fabric to prevent the cover from pulling taut at the elbow. Place the pieces right sides together and pin along the side and top edges, leaving the bottom open.
Sew a half-inch seam around the pinned edges, backstitching at the start and end to lock the thread. If you skip the backstitch, the seam will likely unravel within a month of daily use. Trim the corners close to the stitching without cutting the thread. Turn the cover right side out and push the corners out with a blunt tool like a wooden chopstick.
Cut a piece of batting slightly smaller than the cover and slide it inside to provide cushioning. If the batting bunches up, you have cut it too large; trim another quarter-inch off the perimeter until it lies flat. Fold the bottom opening edges inward half an inch, pin them, and sew across to close the cap.
Slip the finished cap over the chair arm and check that it fits snugly without stretching the seam. If the fabric puckers, the cover is too small and will eventually tear at the stress points.
If it sags, use a hidden upholstery tack to secure the inner seam to the wooden frame of the chair. This prevents the cap from sliding off when someone leans their weight against the armrest. Always test the fit before final stitching to ensure the cover remains stable under pressure.
How to know the caps fit
A good cap slides on easily and stays put when you rest your arm on it. The seam shouldn’t pucker or pull away at the corners. The batting should fill the cover without bulging or leaving empty spots.
If the cap feels loose, unpick the bottom seam, take in the sides a little, and resew it. If the fabric wrinkles across the top, the pieces were too wide—trim them and sew again. Never test a cap by yanking it hard; a seam that pops under gentle use needs resewing before you put it back on the chair.
Check the fit by pressing your palm firmly into the center of the armrest. If the fabric shifts more than a quarter-inch, the cap is too loose and will sag within a week of daily use. Tighten the side seams until the fabric holds firm under this pressure.
If you’re working with velvet or heavy upholstery weaves, leave an extra eighth-inch of ease. These fabrics don’t stretch like cotton, and forcing a tight fit will cause the seams to fray prematurely. If the fabric pulls white at the stitching line, you have gone too far. Back off the tension immediately to prevent a blowout.
If you encounter a rounded corner, clip the seam allowance every half-inch to allow the fabric to curve without bunching. Skipping this step creates unsightly pleats that ruin the professional look of the finished piece.
If something goes wrong
| What happened | Why | What to do |
|---|---|---|
| Seam puckers | Thread tension too tight | Loosen tension and resew |
| Cap slips off | Arm measured too short | Add width and sew again |
| Corner rips | Seam not backstitched | Restitch and backstitch both ends |
| Batting bunches | Batting cut too large | Cut smaller and reinsert |
| Bottom gapes | Opening not sewn closed | Fold edges in and resew |
Puckering usually means the upper thread is pulling harder than the bobbin thread. Lower the top tension dial by one number and test on a scrap first. Sewing through multiple layers often demands a walking foot to feed them evenly.
A cap that slides off almost always traces back to measuring over clothing instead of bare skin. Thick winter coats add bulk that hides the true circumference of the arm. Measure the bare arm, then add your desired ease directly to that number.
Corners take the most stress when an elbow bends or the fabric gets tugged. Skip the backstitch there and the seam will split within days. Pull out three stitches past the tear before you restitch so the repair holds into solid thread.
Batting should sit about half an inch inside the seam line on every side. Trim it with sharp scissors rather than tearing it, because torn edges leave lumps you can feel through the fabric.
Gaps at the bottom happen when the turning hole was left for a ladder stitch but finished with a running stitch instead. A ladder stitch pulls the folded edges flush together. Match your thread color exactly, because this closure sits in plain sight.
How often to replace arm caps
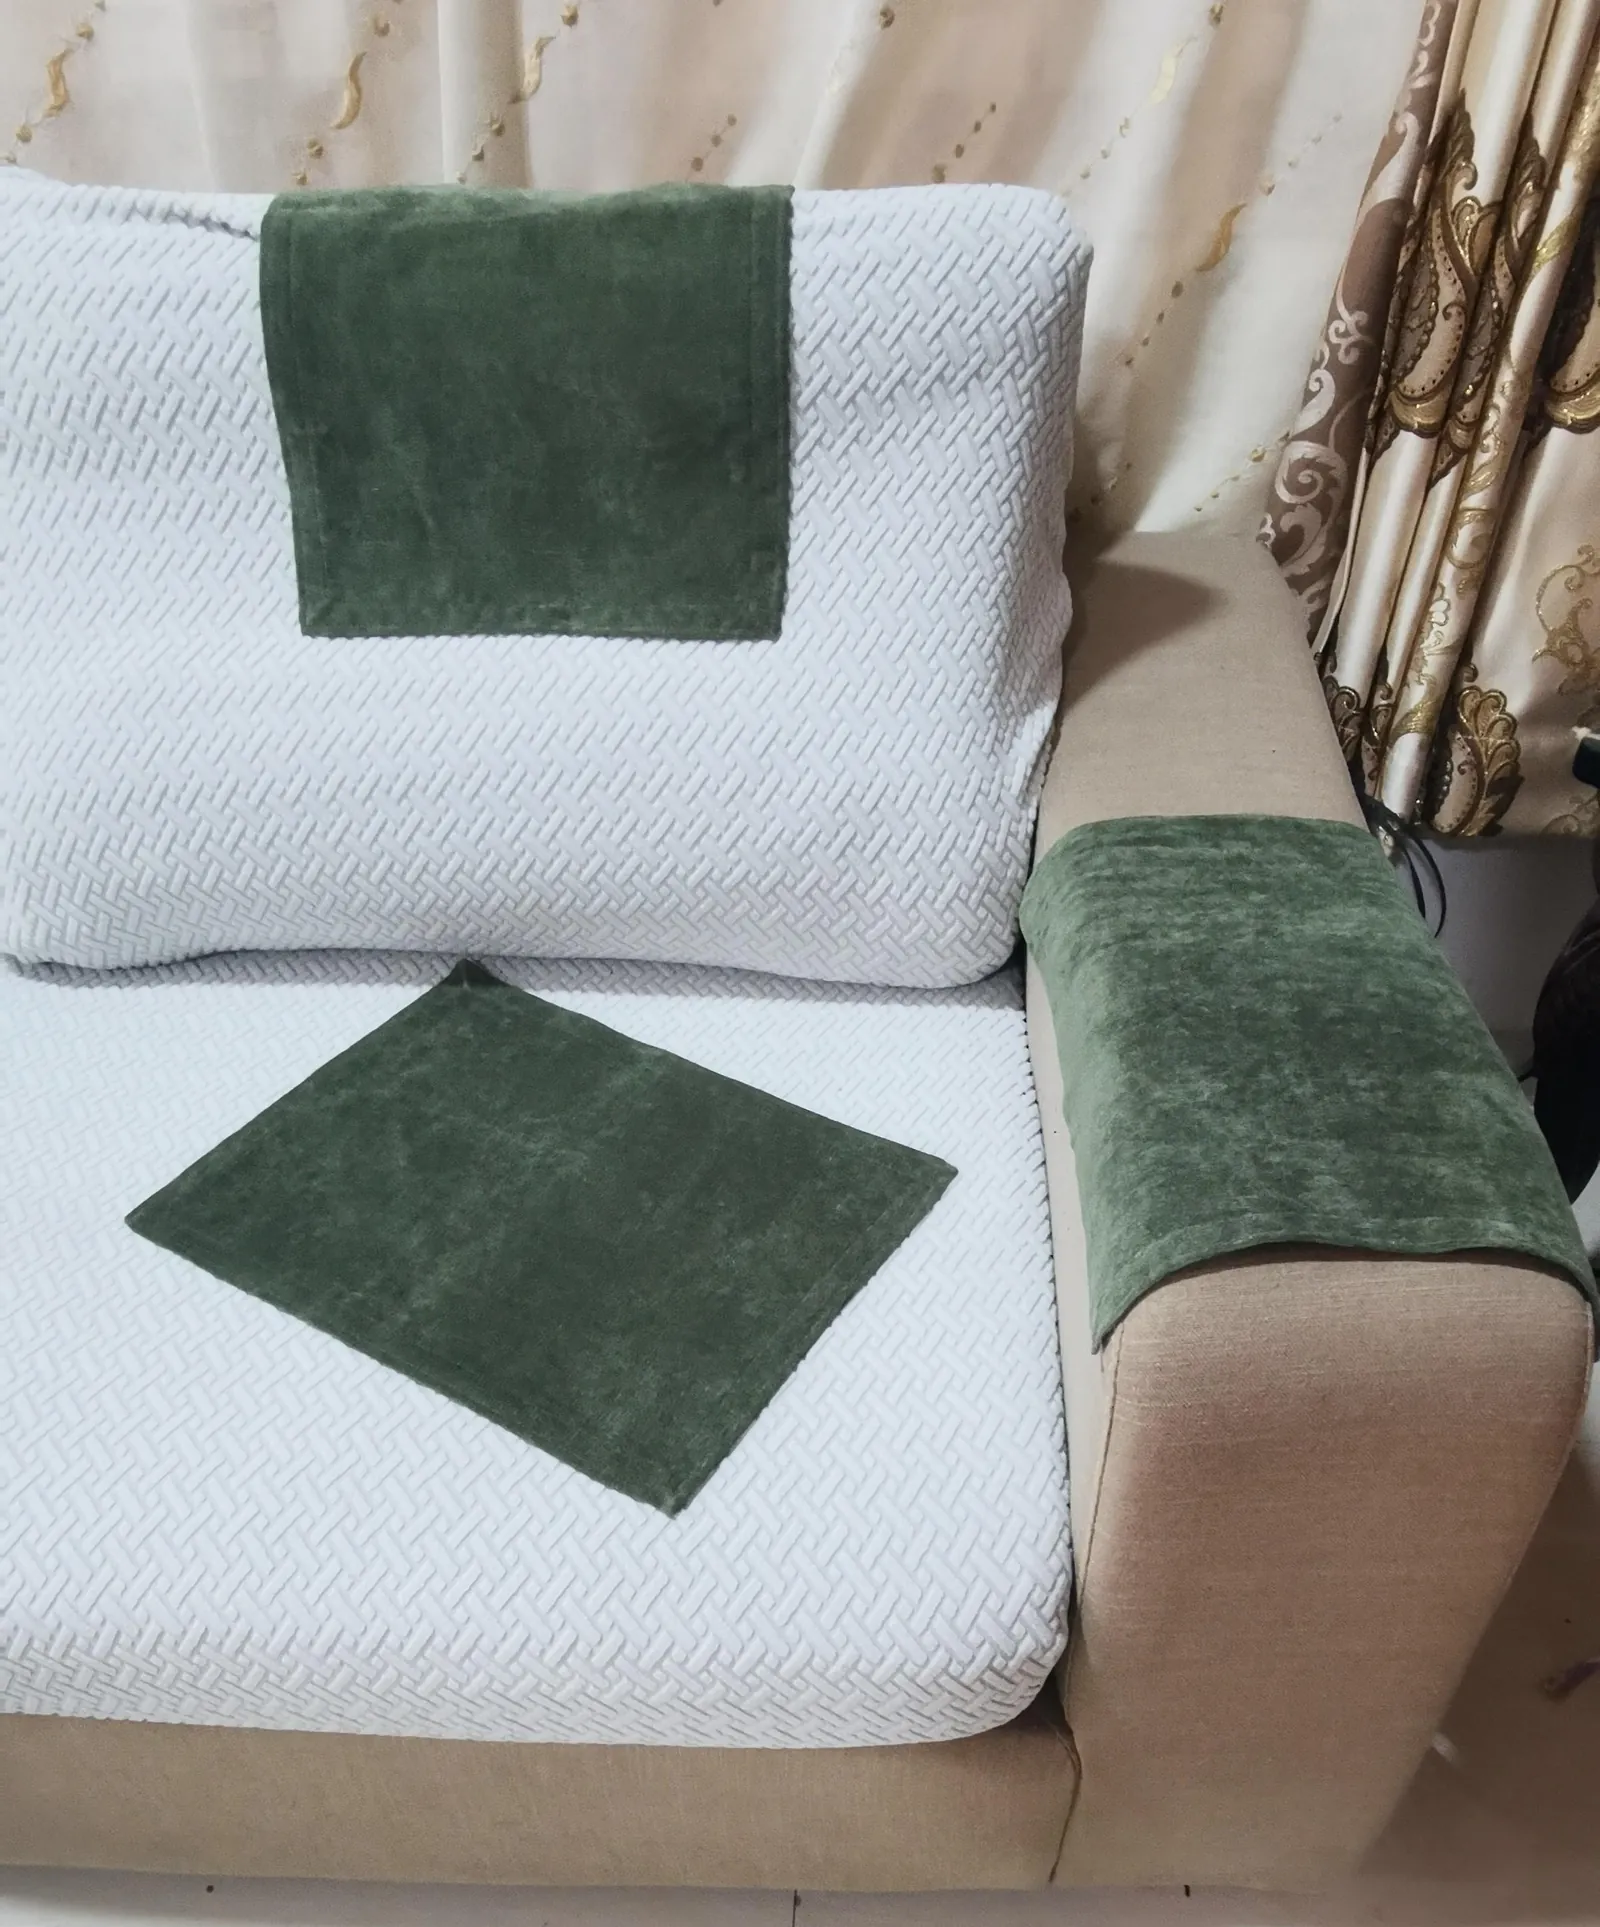
Replace arm caps when the fabric thins, tears, or the padding goes flat. For a chair used every day, this usually happens once a year. Heavy use, pets, or direct sunlight can accelerate this timeline, while a chair in a guest room may last several years.
Check the seams and corners every three months. A small split is easy to resew with a heavy-duty needle, but a large tear often indicates the underlying foam has disintegrated. If the padding feels lumpy or shifts under the fabric, replace the entire cap to prevent the wood frame from scratching your skin.
You can determine your replacement interval by the “pinch test.” Pinch the top of the arm cap between your thumb and forefinger. If the material stays compressed or feels like thin parchment against the wood, the structural integrity is gone.
Wash the caps as needed following the fabric care label, and let them dry fully before slipping them back on. Damp fabric creates a breeding ground for mold against wooden arms.
If you notice the fabric pulling taut at the corners, loosen the tension immediately. Tight fabric is the first sign of shrinkage, which precedes a blowout. If the cap no longer covers the wood fully during a standard shift, the friction will eventually gouge the finish of the chair itself.
Replacing a cap is an inexpensive task compared to the cost of refinishing exposed wood. There’s no fixed calendar date for this task; rely on the physical state of the material rather than the time elapsed.
Related guides
- How to Tighten Dining Room Chairs: A Step-by-Step Fix
- 8 Best Hair Color Caps Foils and Wraps for Precise Results in 2026
- 9 Best Performance Rocker Arm Nuts and Bolts for Valvetrain in 2026
Frequently asked questions
Can I make arm caps without a sewing machine?
Yes. You can hand-sew arm caps using a needle and thread, but it takes longer and the seams may not be as strong as machine stitching.
How long does it take to make a pair of arm caps?
About two to three hours for one chair, assuming you already have the fabric, batting, and tools ready and your measurements are correct.
Is it safe to use arm caps on a recliner or office chair?
Only if the cap stays in place and doesn’t interfere with moving parts, levers, or the chair’s recline mechanism; test the chair fully before regular use.
What happens if the cap slips off the arm?
The wood underneath is exposed to wear again, so resew the cap to fit more snugly or add a non-slip fabric backing to the inside.
Does it matter which fabric I choose?
Yes — medium-weight cotton or canvas holds up to daily friction, while thin or slippery fabric tears easily and slides off the arm.
How many arm caps does one yard of fabric make?
Enough for two arms on one standard chair, though larger arms or patterned fabric that must be matched may need more.
What do I do if the batting bunches up inside?
Unpick the bottom seam, remove the batting, cut a smaller piece, reinsert it, and resew the opening closed.
Conclusion
How to make arm caps for chairs is a straightforward sewing project that needs only basic supplies and a few hours of your time. Measure your own chair arms before you buy fabric, since arm sizes vary and the fit depends on those numbers.