
Making wood lawn chairs means cutting lumber to size, joining the pieces into a frame, adding slats for the seat and back, sanding everything smooth, and finishing it with an outdoor-safe sealant so it survives sun and rain.
Key Takeaways
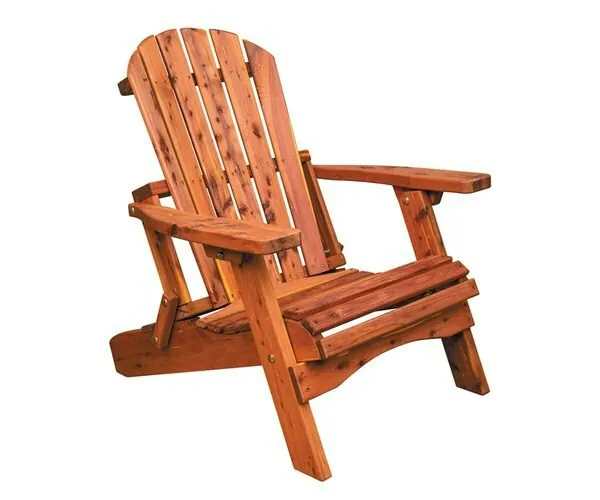
- Choose rot-resistant lumber such as cedar, redwood, or pressure-treated pine so the chair lasts outdoors.
- Build the frame first, then attach seat and back slats with a small gap between them for drainage.
- Predrill every screw hole to keep the wood from splitting.
- Sand all edges and surfaces before assembly to remove splinters.
- Apply an exterior-grade finish and reapply it every one to two years.
- A simple Adirondack chair is the best starter project for most DIY builders.
Planning Your Wood Lawn Chair
Decide what style you want before you buy a single board. An Adirondack chair is the classic choice: low to the ground, with a slanted back and wide armrests that double as side tables. A straight-back garden chair is easier to build but less comfortable for long lounging. A bench-style chair seats two or three people but needs stronger legs and a center support to keep the seat from sagging.
Sketch the chair on paper with overall dimensions. A typical lawn chair is about 34 to 38 inches high, 24 to 30 inches wide, and 30 to 36 inches deep. The seat height usually falls between 16 and 18 inches off the ground, and the backrest leans back at roughly 25 to 35 degrees.
Write down every part you need—two front legs, two back legs, four seat slats, five back slats, two armrests, and several support braces—so your cut list is complete before you head to the lumberyard.
Pro Tip: Draw each piece to scale on graph paper first. It takes ten minutes and prevents the most common beginner mistake: cutting parts too short and having to buy more wood.
Tools and Materials You Will Need
You don’t need a professional shop to build a lawn chair. A circular saw or miter saw handles the crosscuts, a drill with pilot-hole bits drives the screws, a sander or sanding block smooths the surfaces, and a tape measure, carpenter’s square, and pencil keep everything square. Clamps hold parts together while you drive fasteners, and safety glasses and hearing protection are non-negotiable.
For materials, select lumber rated for exterior use. Western red cedar and California redwood resist rot and insects naturally, though they cost more. Pressure-treated southern yellow pine is affordable and durable, but the chemicals can irritate skin, so wear gloves while handling it and avoid using it where food will touch the wood.
Exterior-grade wood screws, either stainless steel or coated deck screws, resist rust far better than standard drywall screws. You’ll also need wood glue for extra joint strength, exterior wood filler for screw holes, and a penetrating oil, stain, or paint for the final coat.
Tools and materials at a glance
| Category | Items | Typical cost range |
|---|---|---|
| Saws | Circular saw, miter saw, or handsaw | $40–$200 |
| Drilling | Cordless drill, driver bits, countersink bits | $50–$150 |
| Sanding | Orbital sander, sanding block, 80–220 grit paper | $20–$80 |
| Lumber | Cedar, redwood, or pressure-treated pine | $60–$140 |
| Fasteners | Exterior wood screws, wood glue, wood filler | $15–$35 |
| Finish | Exterior penetrating oil, stain, or paint | $20–$50 |
Choosing the Right Wood
Not every board at the home center belongs outdoors. Cedar weathers to a silvery gray and resists decay without chemical treatment. Redwood offers similar durability with a richer color. Pressure-treated pine costs less and stands up to ground contact, but it needs time to dry before you paint or stain it. Avoid interior-grade plywood or untreated pine for parts that touch the ground; they will rot within a season or two.
Look at the board before you buy. Reject lumber with large knots near the ends, deep cracks, or signs of warping. Straight grain makes cutting and sanding easier. If you buy pressure-treated wood, let it sit in a dry, covered spot for two to four weeks so the moisture content drops and the finish can soak in properly.
Cutting the Parts to Size
Lay out your cut list and mark every piece on the lumber before you make the first cut. Measure twice, cut once. Cut the legs to length first, then the seat slats, back slats, armrests, and braces. If your design calls for angled cuts—such as the slanted back legs of an Adirondack chair—use a miter saw or a circular saw with a speed square to keep the angle consistent on both sides.
Cut all pieces for one chair before you begin assembly. Label each part with a pencil mark on the end so you don’t mix up left and right pieces or different lengths. Keep the offcuts; short scraps are useful as spacers between slats or as test pieces for your finish.
Warning: Wear safety glasses every time you use a saw, and keep your fingers clear of the blade path. Never reach over a spinning blade to clear a scrap.
Building the Frame
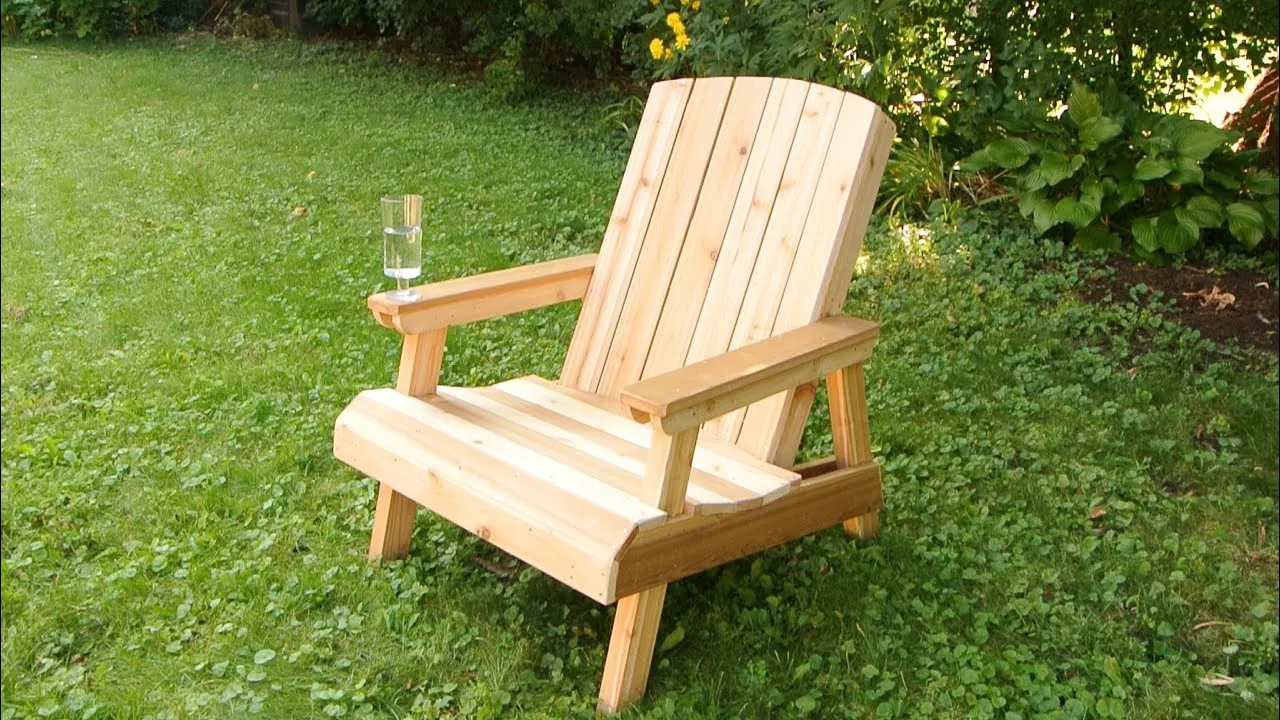
The frame carries the sitter’s weight, so build it square and strong. Start with the two side assemblies: attach the front and back legs to the seat supports using exterior wood screws and wood glue. Predrill clearance holes through the outer board and pilot holes into the receiving board to prevent splitting. Drive the screws until the heads sit just below the surface, but don’t overdrive them or you’ll strip the wood.
Connect the two side assemblies with front and back stretchers. Check for square by measuring corner to corner in both directions; the measurements should match within 1/8 inch. Adjust as needed before the glue sets. Add a center support under the seat if your chair is wider than 26 inches; this keeps the seat slats from sagging over time.
Pro Tip: Assemble the frame on a flat surface like a garage floor or a sheet of plywood. A level work surface makes it much easier to keep the chair from twisting.
Attaching Seat and Back Slats
Lay the seat slats across the seat supports, leaving a gap of about 1/4 inch between each board. The gap lets rain drain through and lets the wood expand and contract without buckling. Use a small scrap of wood as a spacer so every gap stays even. Predrill and countersink each screw hole, then drive one screw through each slat into every support beneath it.
Attach the back slats next. If your design uses a curved back, mark the curve on a template piece of cardboard first, trace it onto each slat, and cut to the line. Screw the top slat first, then work downward, checking that the slats stay parallel to the seat frame. Leave the same 1/4-inch drainage gap between back slats as you used on the seat.
Armrests and Final Assembly
Armrests add comfort and give the chair its finished look. On an Adirondack design, the armrests run from the front leg up and over the back, creating a continuous surface. Cut them to shape, sand the edges smooth, and bolt or screw them to the front legs and back posts. Use carriage bolts with washers and nuts if you want the joint to come apart later for repairs or storage.
Once every part is attached, go over the chair with a screwdriver or drill and tighten every fastener. Check that the chair sits flat on a level floor without rocking. If one leg is longer than the others, sand it down slightly or shim the shorter leg until all four legs contact the ground evenly.
Sanding and Finishing for Outdoor Use
Sand every surface before you apply finish. Start with 80-grit paper to remove mill marks and glue squeeze-out, move to 120-grit, and finish with 180- or 220-grit for a smooth surface. Pay special attention to armrests and any edge a hand might rest on. Remove all dust with a tack cloth or a vacuum with a brush attachment.
Choose a finish made for exterior wood. Penetrating oils soak into the fibers and highlight the natural grain, but they need reapplication every year or two. Exterior stains add color and UV protection. Paint offers the most protection but hides the wood and can peel over time. Whatever you choose, apply two thin coats rather than one thick coat, and let each coat dry fully before adding the next.
Maintenance and Care Schedule
A wood lawn chair left outdoors needs regular upkeep to last. Inspect it every spring for loose screws, cracked slats, or finish wear. Tighten any fasteners that have worked loose, fill deep screw holes with exterior wood filler, and sand rough spots before they become splinters.
Reapply oil or stain every one to two years, depending on your climate and how much direct sun the chair gets. Painted chairs may need touch-up scraping and repainting every three to five years. If you store the chair under a covered porch or in a shed during winter, it will need less frequent refinishing.
Seasonal care checklist
| Task | When | Why it matters |
|---|---|---|
| Check for loose screws | Spring and fall | Prevents wobble and joint failure |
| Clean surface with mild soap | As needed | Removes pollen, dirt, and mildew |
| Reapply oil or stain | Every 1–2 years | Protects against moisture and UV damage |
| Touch up paint | Every 3–5 years | Stops wood rot at exposed edges |
| Store under cover | Winter | Extends finish life and reduces warping |
Troubleshooting Common Problems
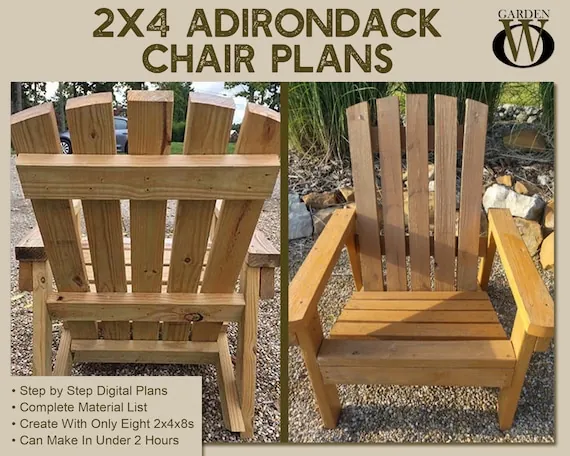
Even careful builders run into issues. If the chair wobbles, one leg is likely longer than the others or the frame is out of square. Sand the long leg or loosen the frame, re-square it, and retighten.
If screws pull out or the wood splits around a hole, you probably skipped the pilot hole or drove the screw too far; remove the screw, fill the hole with glue and a toothpick or wood plug, predrill a new hole nearby, and try again.
If the finish peels or turns chalky, the wood was probably not clean or dry when you applied it. Sand the affected area back to bare wood, wipe away dust, and reapply finish on a dry day when temperatures are between 50 and 85 degrees Fahrenheit. Mold or mildew on the surface can usually be scrubbed off with a mixture of water and mild detergent; avoid pressure washers, which can gouge softwood.
Related guides
Frequently Asked Questions
What wood lasts longest outdoors?
Cedar and redwood naturally resist rot and insects and typically last many years with basic care; pressure-treated pine is also durable but should dry before finishing.
Do I need power tools to build a lawn chair?
No. A handsaw, drill, screwdriver, and sanding block can build a perfectly good chair, though power tools make the work faster and more accurate.
How far apart should seat slats be?
Leave about a 1/4-inch gap between slats so water drains through and the wood has room to expand without buckling.
Can I use indoor screws for an outdoor chair?
No. Standard drywall or interior screws rust quickly outdoors; use stainless steel or coated exterior deck screws instead.
How long does the project take?
A first-time builder can finish a simple Adirondack chair in one weekend, while more complex designs may take two weekends.
Should I bring the chair inside for winter?
It isn’t required, but storing it under a covered porch or in a shed extends the life of the finish and slows weathering.
Conclusion
Building your own wood lawn chair is a satisfying project that pays off every time you sit down in it. Start with a single Adirondack chair, follow your cut list carefully, and give it a good exterior finish so it will be ready for seasons of use.