
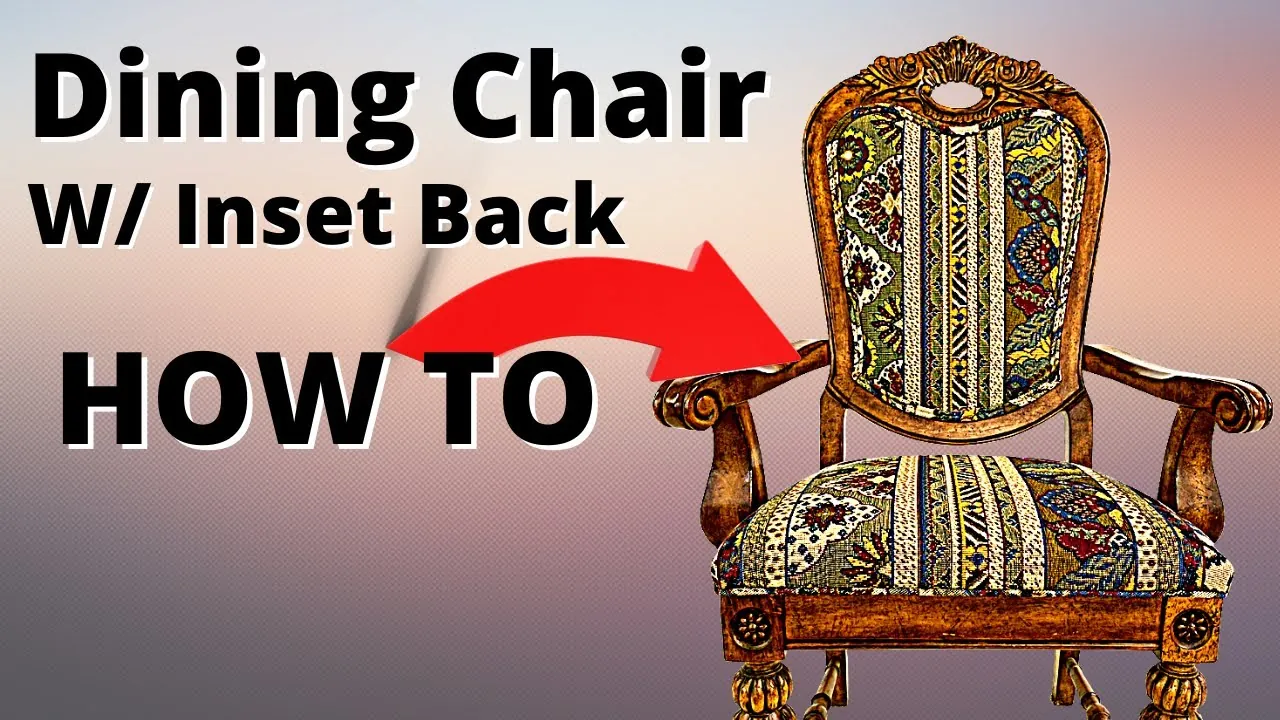
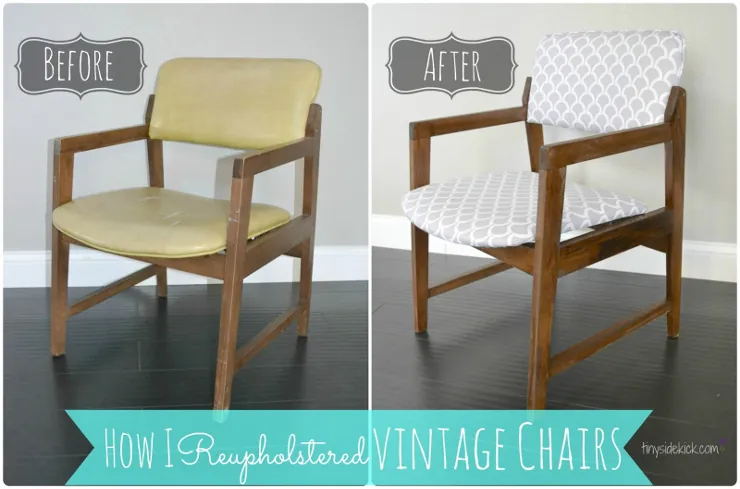
Recovering dining chairs with backs means replacing the worn fabric, foam, and batting on the seat and backrest while keeping the original frame. It’s a practical way to extend the life of wood-frame chairs that still feel sturdy, and most homeowners can finish a single chair in an afternoon using basic hand tools.
Key Takeaways
- Remove the seat and back panels first, then strip old staples and fabric before adding new padding.
- Choose upholstery-grade fabric rated for at least 15,000 double rubs so it withstands daily dining use.
- Cut new fabric with 3 to 4 inches of excess on every side to allow for pulling and stapling.
- Staple from the center outward, smoothing as you go, to avoid wrinkles and loose spots.
- Reattach panels securely and check every screw before sitting on the recovered chair.
- Work on one chair at a time so you can use the finished piece as a reference for the rest.
Tools and Materials You Will Need
Gather everything before you start so you don’t hunt for supplies mid-project. You’ll need a staple gun and 3/8-inch or 1/2-inch upholstery staples, a flathead screwdriver or staple remover, needle-nose pliers, scissors or a rotary cutter, a measuring tape, a marker, and a drill or screwdriver for removing chair panels.
For padding, buy upholstery foam (1-inch to 2-inch thickness for seats, 1/2-inch to 1-inch for backs), polyester batting, and fabric. A straight-edge ruler and clamps help keep layers aligned while you work.
Upholstery fabric is the most important supply. Look for woven cotton blends, canvas, or performance fabrics labeled for upholstery. Avoid lightweight quilting cotton or bedsheets, which tear under tension and pill quickly. If you have children or pets, consider a stain-resistant weave or a tight microfiber that resists snags.
Batting and foam add comfort and give the fabric a smooth surface to grip. High-density foam holds its shape longer than low-density alternatives, and batting softens the edges so the foam doesn’t show through the fabric over time.
Remove the Seat and Back Panels
Most dining chairs with backs hold the upholstered sections in panels screwed to the frame. Turn the chair upside down and locate the screws underneath the seat. Remove them carefully and set the hardware in a small container so it doesn’t roll away. Lift the seat panel off. If your chair has a separate back panel, look for screws along the rear stile or inside the back frame; remove those and set the panel aside.
Some older chairs glue the upholstery directly to the frame or use hidden tacks. If you can’t find screws, check for fabric-covered fasteners or a dust cover on the underside that hides the attachment points. Don’t force a panel that won’t lift; look for additional staples or nails along the edges before prying.
Warning: If a panel is glued rather than screwed, applying force can split the wood. Work slowly and use a thin putty knife to separate the bond rather than yanking the piece free.
Strip the Old Fabric and Padding
Lay the removed panel on a work surface, fabric side up. Use needle-nose pliers to pull out staples one by one, working from the edges toward the center. A flathead screwdriver can help pry up stubborn staples. Remove every fastener you find; leaving even a few behind can tear new fabric or snag clothing later.
Peel away the old fabric, then inspect the foam and batting. If the foam is crumbling, permanently compressed, or smells musty, replace it. If it still springs back and feels even, you can reuse it and simply lay new batting over the top. Remove any loose batting or debris so the new layers sit flat.
Measure and Cut the New Fabric
Measure the length and width of the panel, then add 3 to 4 inches to each side. This extra fabric lets you grip the material firmly and wrap it around the edges without running short. Lay the fabric wrong-side up on a clean floor or table, place the panel on top, and mark the cutting lines with a marker or chalk.
Cut carefully with sharp scissors or a rotary cutter. If your fabric has a pattern or directional weave, center the design on the panel before cutting so the motif sits straight when the chair is reassembled. Cut one panel’s worth of fabric at a time to avoid mixing up pieces if you’re recovering several chairs.
Add Foam and Batting
Place the panel on top of the new foam and trace around it, then cut the foam to match the panel shape exactly. For seats, 1-inch to 2-inch high-density foam is typical; for backs, 1/2-inch to 1-inch foam usually provides enough cushion without making the back feel too thick. Spray adhesive can hold the foam to the panel while you work, though it’s optional.
Lay batting over the foam, cutting it large enough to wrap around the edges with about 2 inches of overlap on all sides. Smooth out wrinkles with your hands. The batting should cover the foam completely but not bunch up, because bumps show through the finished fabric.
Staple the Seat Panel
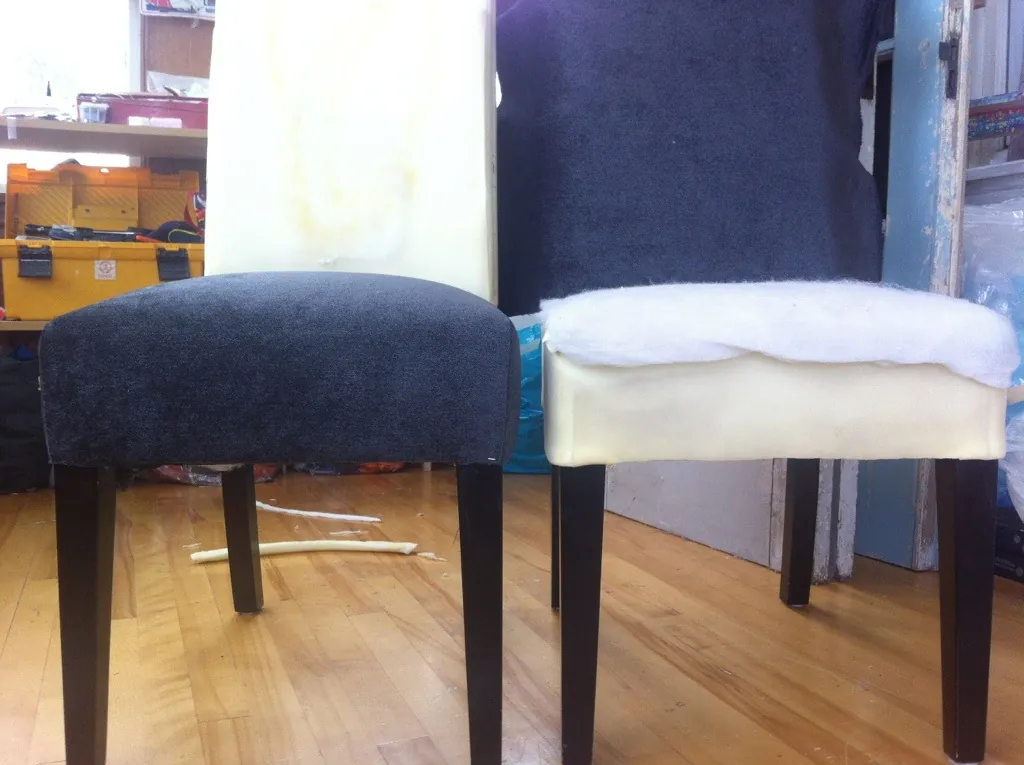
Place the panel, foam-side down, onto the center of your cut fabric. Pull one side of the fabric taut over the edge and fire a staple near the middle of that side. Move to the opposite side, pull tight, and staple the center. Repeat on the remaining two sides so the fabric is anchored at four points.
Working from the center staples toward the corners, pull the fabric smooth and add staples every 1 to 2 inches. Keep tension even so the fabric doesn’t pucker. Fold the corners neatly—similar to wrapping a present—tucking in the excess fabric before stapling. Trim any bulk if the corner feels too thick, but leave enough material to hold a staple.
Pro Tip: Insert staples by hand first to check placement, then fire them. This prevents misfires that leave holes in visible fabric.
Staple the Back Panel
The back panel follows the same process, but gravity works against you. Lay the panel face down on the fabric, pull the top edge over, and staple the center first. Then pull the bottom edge tight and staple its center. Do the sides the same way, always pulling away from the center of the panel so the fabric lies flat against the foam.
Corners on a back panel can be tighter because the panel is often narrower than a seat. Fold the fabric diagonally at each corner, create a clean pleat, and staple securely. If the back panel has a curved top, make small relief cuts in the fabric allowance so it curves smoothly without pleating.
Reattach Panels to the Frame
Position the recovered seat panel back onto the chair frame and align the screw holes. Replace the screws and tighten them evenly, alternating sides so the panel seats flat. Do the same for the back panel, checking that it sits straight and doesn’t wobble. Give each screw a final snug turn, but don’t overtighten and risk stripping the wood.
Flip the chair upright and press on the seat and back. The fabric should feel firm with no shifting or loose staples. If a spot feels soft, remove that staple, re-pull the fabric, and restaple before final assembly.
Fabric Options to Recover Dining Chairs with Backs
| Fabric Type | Best For | Typical Durability | Care Notes |
|---|---|---|---|
| Cotton canvas | Everyday dining chairs | Medium to high | Spot clean; may wrinkle |
| Linen blend | Formal dining rooms | Medium | Professional cleaning recommended |
| Microfiber | Homes with kids or pets | High | Wipe clean; resists stains |
| Performance weave | Heavy use, high traffic | Very high | Often bleach-cleanable; check label |
| Leather or faux leather | Modern dining sets | Medium to high | Wipe with damp cloth; can scratch |
Double rubs measure abrasion resistance. For dining chairs, choose fabric rated for at least 15,000 double rubs; heavy-use households may want 25,000 or more.
Estimated Costs per Chair
| Item | Low-End Cost | High-End Cost |
|---|---|---|
| Upholstery fabric (1–2 yards) | $15 | $60 |
| Foam and batting | $8 | $25 |
| Staples and basic supplies | $5 | $12 |
| Tools (if you need to buy them) | $25 | $60 |
| Total per chair | $53 | $157 |
Reusing tools across several chairs lowers the cost per chair significantly. Fabric price varies widely by fiber content, pattern, and whether you buy from a discount fabric retailer or a high-end upholstery showroom.
Common Problems and Fixes
Wrinkles in the fabric usually mean you didn’t pull tight enough before stapling. Remove the staples in that section, re-tension the fabric, and restaple.
Loose corners happen when the fabric is cut too short or not folded neatly. Leave at least 3 inches of excess and fold corners tightly before stapling.
Fabric that tears near staples suggests the material is too lightweight for upholstery. Switch to a heavier weave rated for furniture use.
Panels that wobble after reassembly often mean stripped screw holes. Fill the holes with wood glue and toothpicks or wooden matchsticks, let dry, then reinsert the screws.
Uneven padding shows through as bumps. Add an extra layer of batting over thin areas before stapling the fabric.
Frequently Asked Questions
How long does it take to recover one dining chair?
Most people spend about one to two hours per chair, including removing the panel, replacing padding, stapling fabric, and reattaching the piece. Your first chair may take longer as you get used to the staple gun and corner folds.
Can I recover a chair without removing the seat?
It’s possible to staple new fabric over the old, but the result builds up bulky layers and the old fabric can continue to shift underneath. Removing the panel gives a cleaner, longer-lasting finish.
What kind of staple gun should I use?
A manual or electric upholstery staple gun firing 3/8-inch to 1/2-inch staples works well for dining chair panels. Heavy-duty construction staplers are often too powerful for thin wood and can split the panel.
Do I need new foam if the old foam still looks okay?
If the foam springs back when pressed and shows no crumbling or permanent dents, you can reuse it. Add fresh batting on top for a smoother surface before stapling the new fabric.
How much fabric do I need for six chairs?
Plan on about 1 to 1.5 yards of 54-inch-wide fabric per chair for both seat and back, depending on panel size and pattern matching. Buy all fabric from the same bolt so the color and weave match across every chair.
Can I recover chairs with curved backs?
Yes, but curved panels require relief cuts in the fabric allowance so the material lays flat around the bend. Take your time with the stapling and use small, even folds rather than one large pleat.
Conclusion
Take one chair apart completely and finish it before starting the second. Using the completed chair as your reference makes the rest of the set go faster and helps you catch any mistakes early.