
Attaching a bike rack to an SUV takes about 15 minutes by sliding the rack shank directly into your vehicle’s hitch receiver, inserting a locking pin, and tightening the anti-rattle bolt. This method suits families and weekend riders best because it keeps your bikes secure without lifting them onto a tall vehicle roof.
Tools to attach your bike rack
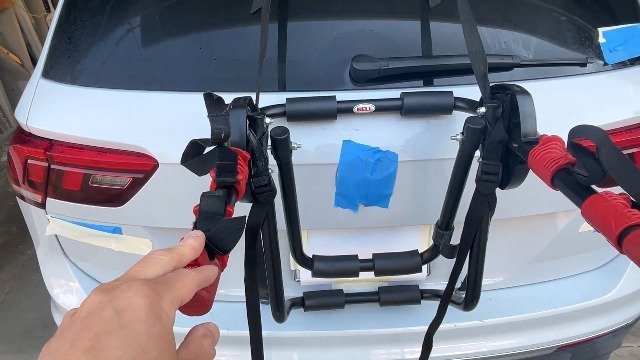
- A 2-inch or 1.25-inch hitch bike rack matched to your vehicle’s hitch class
- A threaded hitch pin with a locking cotter clip
- An adjustable wrench or a 3/4-inch socket wrench for the anti-rattle bolt
- Two cam-buckle stabilizer straps for wheel wobble
- A clean rag to wipe dirt out of the receiver tube
- The vehicle owner’s manual to confirm hitch tongue capacity
A standard metal adapter sleeve works well if you must fit a 1.25-inch rack shank into a 2-inch receiver. Don’t use clamp-on bumper hitch adapters on an SUV, as thin sheet-metal bumpers bend quickly under heavy cycling loads. If your vehicle lacks a receiver, visit a certified mechanic to bolt an aftermarket hitch to the vehicle frame.
Step-by-step
- Wipe away any grit and old grease inside the vehicle’s metal hitch tube with your dry rag.
- Slide the rack shank into the open hitch receiver until its internal pin hole lines up with the receiver’s side hole. If you have an extended spare tire on the rear door, insert an approved hitch extension before seating the shank.
- Insert the threaded hitch bolt through the holes and begin threading it into the receiver’s internal nut by hand. Careful: Cross-threading this metal pin damages the receiver threads, which forces you to replace the entire hitch assembly.
- Tighten the pin head firmly using your 3/4-inch socket wrench until you feel solid resistance.
- Snap the safety cotter clip or barrel lock over the exposed end of the pin until it clicks.
- Lower the rack arms into their horizontal carry position by pulling the main release lever.
- Lift your heaviest bike onto the inner cradle closest to the SUV bumper, pointing the handlebars left. Tip: If you carry road bikes, cradle straps work great, but if you load heavy fat-tire bikes, strap the wheels down with extended wheel loops instead.
- Secure all rubber frame straps through the bike frame triangles, pulling down until they notch into their pins.
- Wrap a cam-buckle strap through both bike wheels and around the rack mast, pulling it snug so the front wheel won’t spin during highway travel.
Vehicle setup and mounting trade-offs
Every vehicle presents different clearance needs, and choosing the wrong mount type will ruin your rear bumper paint or block your backup camera.
| Mounting Situation | Added Fitting Time | Hardware Difference | Key Warning Sign |
|---|---|---|---|
| Standard 2-inch receiver | 10 to 15 minutes | Standard threaded bolt | Side-to-side play in tube |
| Exterior rear spare tire | 20 to 25 minutes | Needs 7-inch shank extender | Handlebars hitting tire cover |
| Hands-free power liftgate | 15 to 20 minutes | Requires tilting base hinge | Sensor opening door into rack |
It’s safer to load one bicycle first and test rear clearance than to load four bikes immediately and scratch your rear tailgate glass.
How to tell you did it right
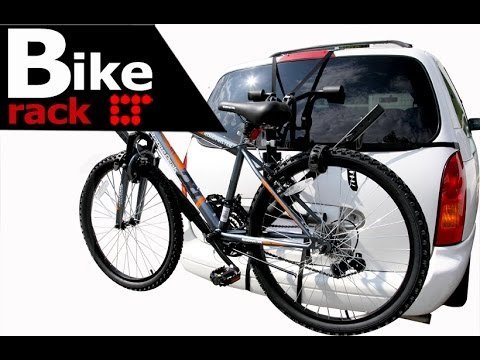
A correct installation stays rock solid when you grab the empty rack mast and push it with both hands. The entire vehicle should rock slightly on its suspension while the rack shank stays rigid inside the hitch tube. A bad setup rattles loudly, tilts downward toward the road, or twists when you turn corners. This slack happens because the hitch pin wasn’t drawn tight against the receiver wall with a wrench. You can prevent this wobble by applying proper torque to the anti-rattle bolt or using an exterior hitch tightener collar.
Hitch limits and road rules
Road safety laws require that your rear registration plate and brake lights remain clearly visible through the rack frame. The National Highway Traffic Safety Administration provides consumer safety guidelines on how rear vehicle cargo impacts braking distance and rear visibility.
After driving, loosen the main hitch bolt, pull the rack out, and store it flat on a garage shelf to prevent rust inside your SUV receiver. Check the tightness of your frame cradles regularly if you leave the rack installed outdoors. This setup varies by model — check the label on your hitch for its specific tongue weight limit before loading heavy gear.
Alternative mounting choices
Trunk strap rack
This frame hangs on the rear hatch glass using six nylon straps and rubber-coated metal hooks. It saves you the cost of a steel hitch, but it blocks rear wiper use and rubs through car clear-coat during highway windstorms.
Roof crossbar carrier
Roof carriers hold bikes upright or by the front fork using crossbar clamps on your factory roof rails. This frees up your rear hatch completely, but lifting heavy bikes overhead strains your shoulders and risks garage ceiling impacts.
Interior cargo carry
You fold down the rear passenger seats and slide the bikes inside the SUV cabin with wheels removed. This costs nothing and keeps bikes completely dry, but it steals all your luggage space and tracks dirty chain grease onto interior carpets.
Frequently asked questions
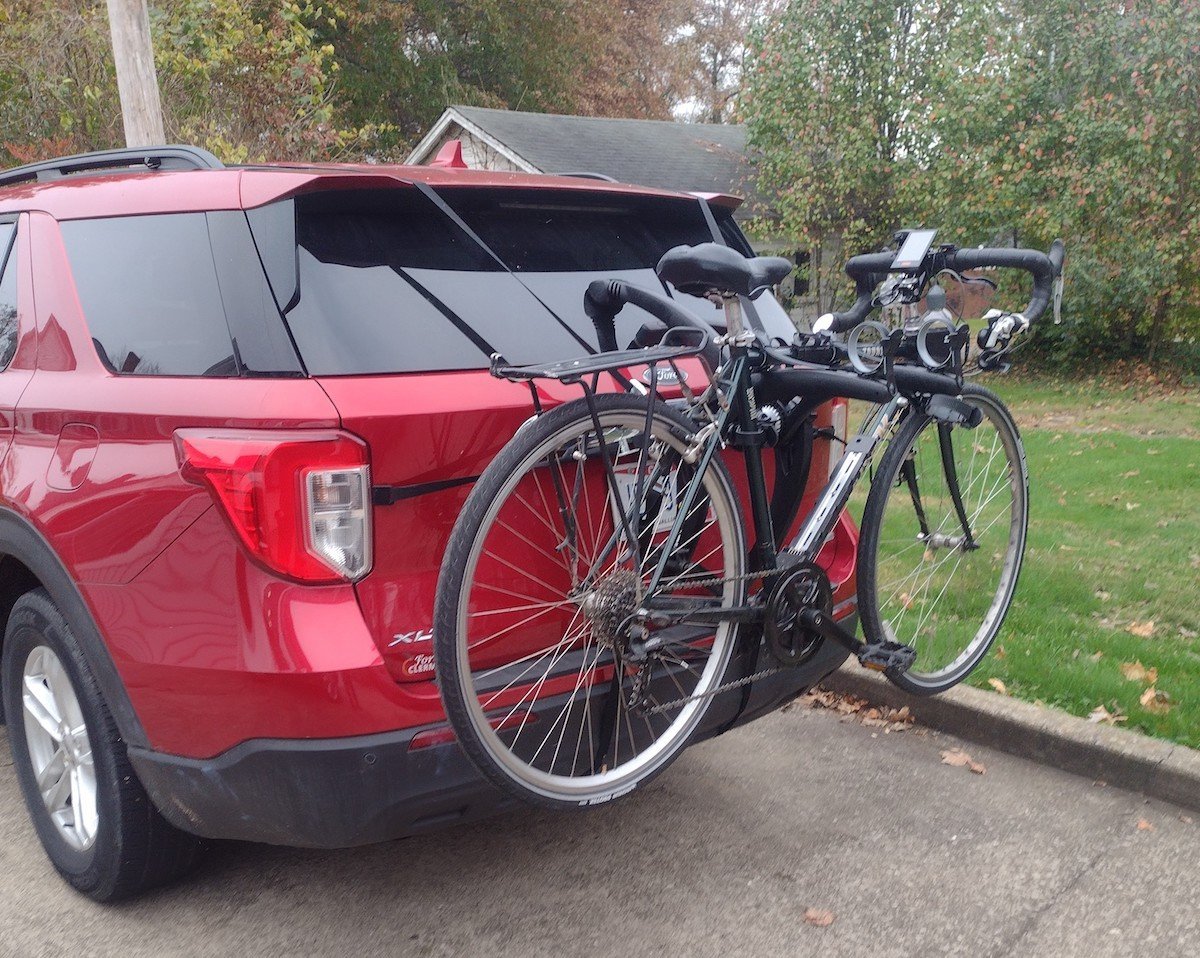
Can I open my SUV trunk with the rack on?
Yes, if your model features a tilting base release pin. You pull the lower safety pin, swing the loaded rack downward at a 45-degree angle, and lift your rear door without bikes touching the paint.
Why does my bike rack wobble in the receiver?
Your bike rack wobbles because the metal shank sits slightly smaller than the receiver opening. Tightening your anti-rattle hitch bolt with a socket wrench pulls the steel shank tight against the inner wall to stop movement.
How fast can you drive with bikes on an SUV?
Always adhere to posted speed limits and follow the bike rack manufacturer’s specific speed recommendations. Strong crosswinds and rough gravel roads require dropping your speed by roughly 10 miles per hour to reduce frame stress.
Will an SUV bike rack damage backup sensors?
Yes, rear parking sensors will detect the bike frame tubes as an obstacle when you shift into reverse. Your vehicle will sound a steady warning tone unless you shut off park assist manually in your dashboard settings menu.
Is it safe to leave a hitch rack on permanently?
No, leaving the rack installed long term exposes bare metal hardware to road salt and rainwater. Moisture causes the steel hitch pin to seize inside the receiver, which makes removing the rack nearly impossible without a heavy mallet.
Final Thoughts
Once everything feels steady, take your bikes for a short test drive around the neighborhood to ensure they don’t sway. You’ll feel much more confident hitting the highway once you’ve checked that the straps are snug. Don’t forget to pack a sturdy lock, as you’ll want your gear safe while you’re grabbing lunch.