
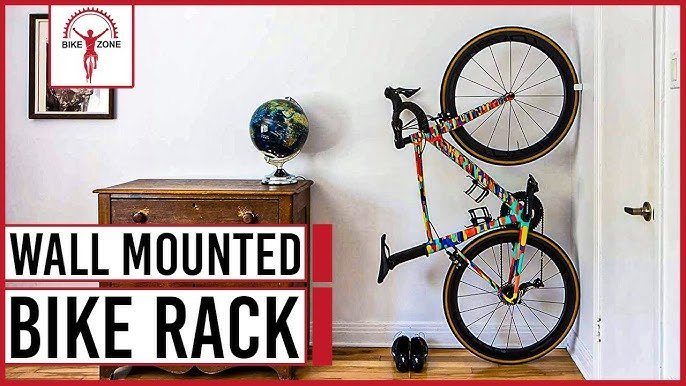
Installing a bike rack on a wall securely takes about 30 to 45 minutes for a standard single-bike mount. It costs very little if you already own basic household tools, needing only screws, anchors, and a drill. This project is a medium difficulty job because you must find solid wood framing. Before starting, you must have a reliable stud finder; if you have metal wall studs, you must use appropriate toggle bolts or specialized fasteners rather than lag screws.
Tools to install your bike rack
| Item | How much | Why it’s needed | A substitute |
|---|---|---|---|
| Stud finder | 1 unit | Locates center of wall frame | Strong rare-earth magnet |
| Power drill | 1 tool | Bores holes and drives screws | none — don’t swap this |
| Wood drill bit | 1 bit (1/8-inch) | Prevents wood studs from splitting | 7/64-inch wood bit |
| Lag screws | 2 to 4 screws | Anchors the rack to wood | Structural wood screws |
| Torpedo level | 1 tool | Keeps bicycle sitting straight | Smartphone bubble level app |
| Tape measure | 1 tool | Measures bike and clearance height | Folding wooden ruler |
| Pencil | 1 unit | Marks drill spots on wall | Fine-tip felt marker |
Before you start
- Clear a 6-foot wide floor area directly below your planned wall space.
- Move any power cords, baseboard heaters, and fragile furniture away from the drill zone.
- Scan the target wall with a voltage detector to avoid hidden electrical wiring.
- Measure your bicycle’s total length and handlebar width with a tape measure; skipping this step leads to bikes blocking doorways or hitting adjacent walls.
- If you have structural brick or poured concrete, use a masonry drill bit and appropriate masonry anchors to secure the rack.
Step by step
- Measure your bicycle from the floor to the top tube while holding it upright against a flat surface.
- Add 4 inches to that frame height measurement so the rear tire clears the floor cleanly once mounted.
- Mark your target mounting height on the wall surface using a pencil mark shaped like an “X”.
- Slide your stud finder horizontally across the drywall until it beeps, marking both outer edges of the vertical stud.
- Draw a vertical pencil line halfway between those two edge marks to establish the exact center of the wood stud.
- Hold your bike rack against the wall at the chosen height, centering its mounting holes over your stud line.
- Place a torpedo level across the top plate of the bike rack and adjust until the indicator bubble rests dead center.
- Mark the wall surface through each pre-drilled bracket hole with your pencil, pressing firmly to leave clear circular impressions.
- Drill a pilot hole 2 inches deep into the wood stud at each mark using a drill bit sized to the shank diameter of your lag screw.
- Drive the heavy lag screws through the rack holes into your pilot holes using your drill until the metal base sits flush against the wall.
How to know it worked
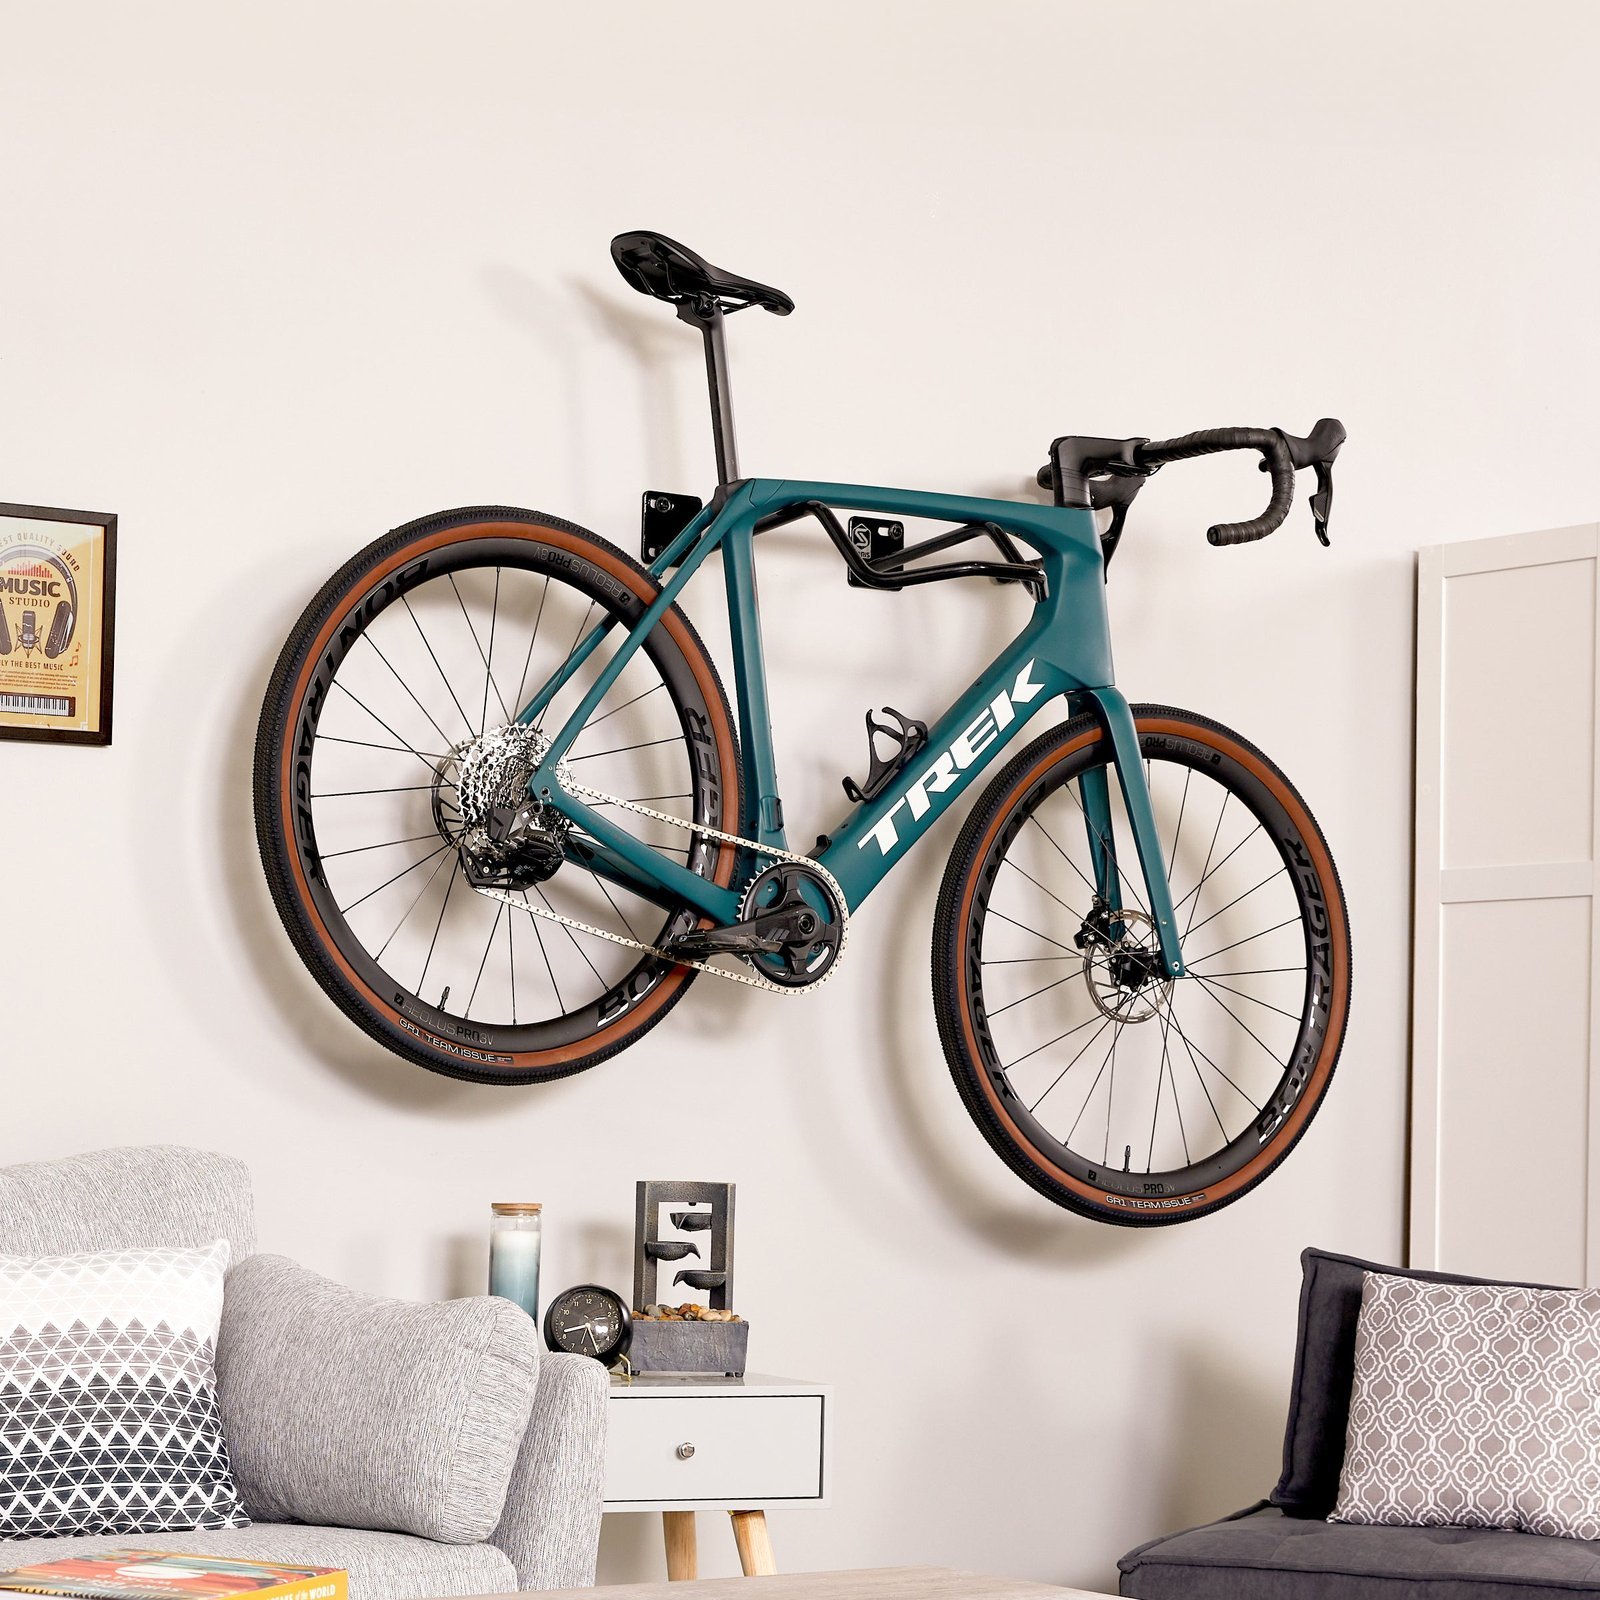
You’ll know the install succeeded when the metal bracket stays rigid during a manual pull test. If the rack feels solid, hang your bicycle by its frame; if it shifts downward, take the bike off immediately. You can make an initial safety assessment by looking for drywall crushing under the mount edges. For heavy electric bikes, consumer protection warnings from the U.S. Consumer Product Safety Commission highlight the dangers of falling wall-mounted loads from loose fasteners. The rack must show zero visible gap between its backplate and the drywall paper. When you push down on the mounted bicycle frame with moderate arm pressure, the rack should make no creaking sounds.
If something goes wrong
| What happened | Why | What to do |
|---|---|---|
| Screw spins freely | Missed the center wood stud | Drill new hole into stud |
| Drywall cracks outward | Over-tightened the heavy lag screws | Patch drywall and remount lower |
| Bike wheel hits wall | Bracket mounted too close sideways | Re-measure handlebar width and shift |
| Rack tilts sideways | Holes drilled off level line | Loosen screws and level bracket |
| Drill bit hits metal | Hit protective steel plumbing plate | Stop immediately and move location |
How often to do this
A wall-mounted bike rack only needs installation once, but you must inspect the mounting hardware regularly. Two main things change this inspection timeline: bike weight and wall vibration. If you store a 50-pound commuter bike rather than a 16-pound road bike, the screws bear three times more pull force. High-traffic garages with vibrating automated doors also loosen lag bolts faster than quiet interior apartment closets.
Frequently asked questions
Can I install a bike rack on drywall without studs?
No, standard drywall can’t support the dynamic leverage of a hanging bicycle. Hollow wall toggle anchors often rip large holes out of plasterboard under moving loads. If you don’t anchor directly into structural wood framing, your bicycle will eventually pull the rack off the wall.
Why did my drill bit suddenly stop going into the wall?
You likely hit a steel protector plate designed to shield water pipes or electrical wiring. Stop drilling right away, pull the bit out cleanly, and shift your mounting location at least 2 inches higher or lower. Never attempt to force a drill bit through hidden wall metal.
How long does wall bike rack installation take?
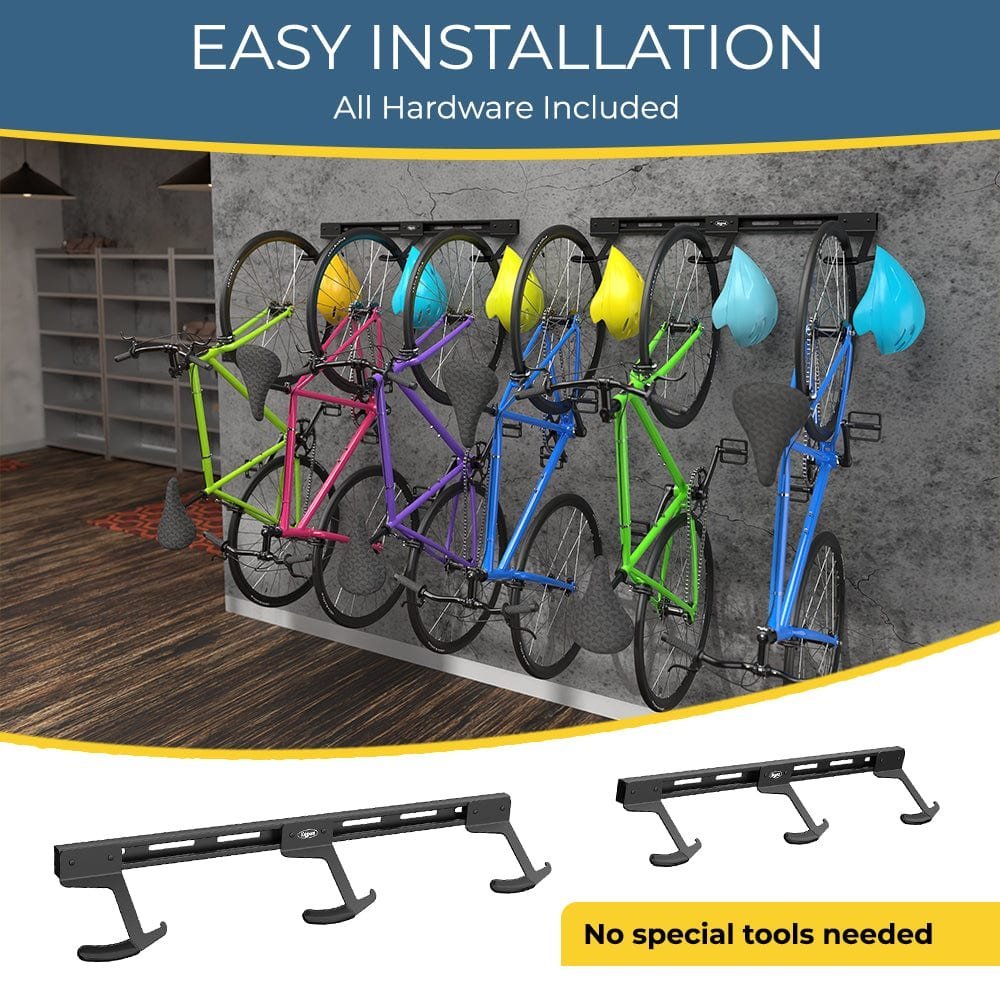
About 30 minutes if you have your power drill, bits, and stud finder ready. Setting up your workspace and finding the framing takes roughly 15 minutes, while leveling and driving screws takes another 15 minutes. Heavy multi-bike hanging systems can take around 60 minutes to align properly.
Is it safe to hang an electric bike on a wall rack?
Yes, but only if the rack’s rated weight capacity exceeds your specific e-bike model. You’ll need to remove the heavy battery pack before lifting the bike to lower the total hanging load. This varies by model — check the label on your rack and your e-bike manual.
What happens if I don’t drill pilot holes first?
The thick lag screws will split your dry wall stud along its natural wood grain. Split lumber loses its grip on screw threads, which causes the mounting hardware to pull out under load. Pre-drilling clears out compressed sawdust and keeps the wood frame structurally sound for years.
Does it matter which way the bicycle faces on the rack?
No, direction doesn’t matter as long as your chain and greasy gears face outward. Pointing the drivetrain toward the room protects your finished interior walls from black oil stains. If you hang multiple bicycles side-by-side, alternating their directions prevents handlebars from tangling together.
Final Thoughts
Once your rack is firmly in place, give it a gentle tug to ensure it won’t budge under the weight of your bike. It’s a great feeling to reclaim your floor space. You’ll find that hanging your ride makes it much easier to grab for a quick spin whenever you’re ready.
Related guides