
To install a rear bike rack, it takes about 20 minutes using 4 metric bolts tightened to 4 Newton meters of torque. This project requires only basic hex keys and works best on commuter or hybrid frames that have built-in eyelets near the rear axle.
Tools to install your rear bike rack
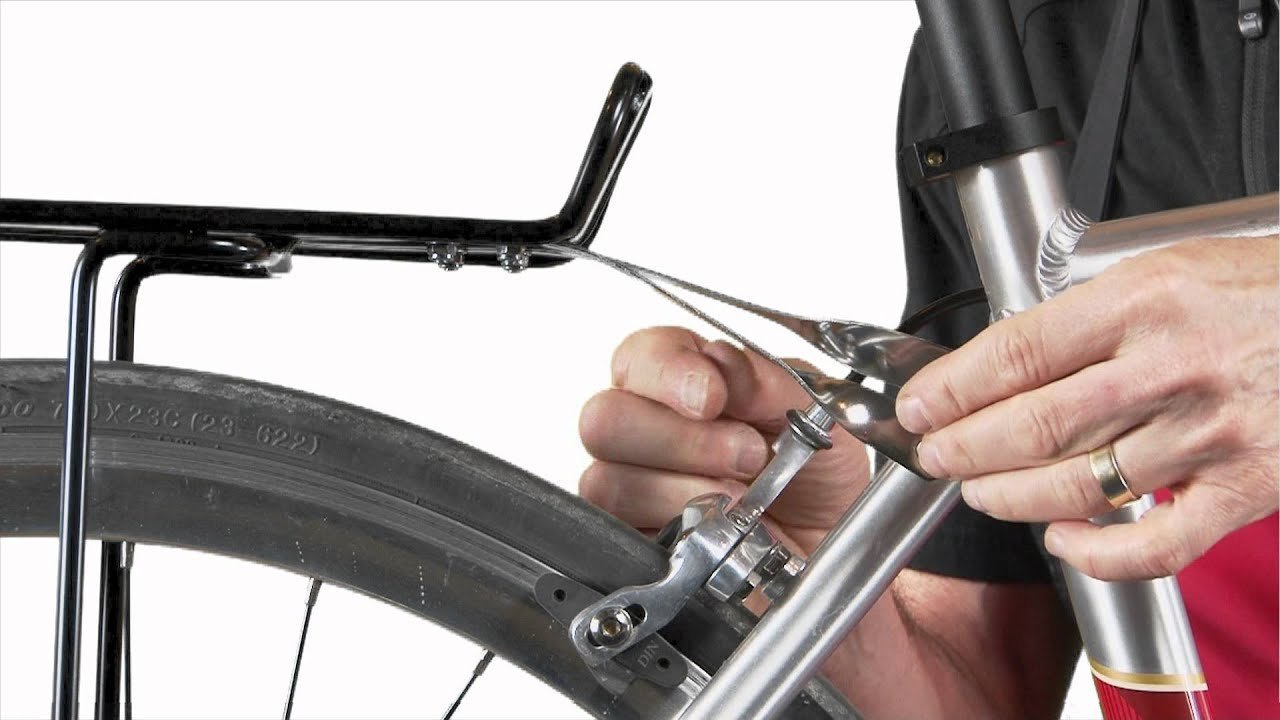
- Hex wrench set (4 mm and 5 mm keys are the standard sizes)
- Rear cargo rack with adjustable mounting stays
- Four M5 rack bolts (0.8 mm thread pitch, 12 mm to 16 mm length)
- Four flat steel washers to fit M5 bolts
- Small tube of blue medium-strength threadlocker
- Small bubble level or a smartphone leveling app
A standard multi-tool works well if you don’t own dedicated shop wrenches, but pliers or adjustable wrenches will strip your small frame fittings. If your frame has damaged eyelet threads, you’ll need a bicycle mechanic to chase them with a tapping tool.
Step-by-step
- Clean the frame eyelets near your rear axle and the seatstay bridges using a dry rag to remove grit.
- Apply 1 drop of blue threadlocker onto the lower threads of each M5 bolt to stop road vibration from shaking them loose.
- Place the lower rack feet against the lower dropouts, slide an M5 bolt through a washer, and screw it in by hand 3 full turns without tightening.
- Adjust the rack stays so the rack platform is level relative to the bike’s top tube or horizontal to the ground while the bike is upright.
- Attach the upper metal stays to your frame’s seatstay eyelets using 2 more M5 bolts, keeping all hardware loose enough to slide freely.
- Center the rack over your rear wheel so the space between the tire and the rack stays equal on both sides.
- Tighten the lower dropout bolts to 4 Newton meters using your 4 mm or 5 mm hex wrench.
- Tighten the upper stay bolts to 3 Newton meters, then check that the rack can’t sway sideways when pulled.
Careful: Forcing a bolt that resists will cross-thread the aluminum eyelet, which permanently ruins the mount on your frame.
Tip: Tighten the left and right bolts in small turns back and forth so the rack stays centered over the tire.
Fitting racks to different setups
Different frame designs change the parts and labor required to finish your mounting project safely.
| Bike setup | Extra parts needed | Time needed | What to watch closely |
|---|---|---|---|
| Standard frame with eyelets | None (standard M5 bolts) | 15 to 20 minutes | Heel clearance with bags attached |
| Frame without upper eyelets | Seatpost clamp with mounts | 25 to 30 minutes | Clamp torque on seatpost tube |
| Bike with disc brakes | Wide disc-clearing rack feet | 20 to 30 minutes | Caliper clearance against rack legs |
It’s safer to snug bolts lightly while fitting the pieces together than to tighten early and bind the rack metal.
How to tell you did it right
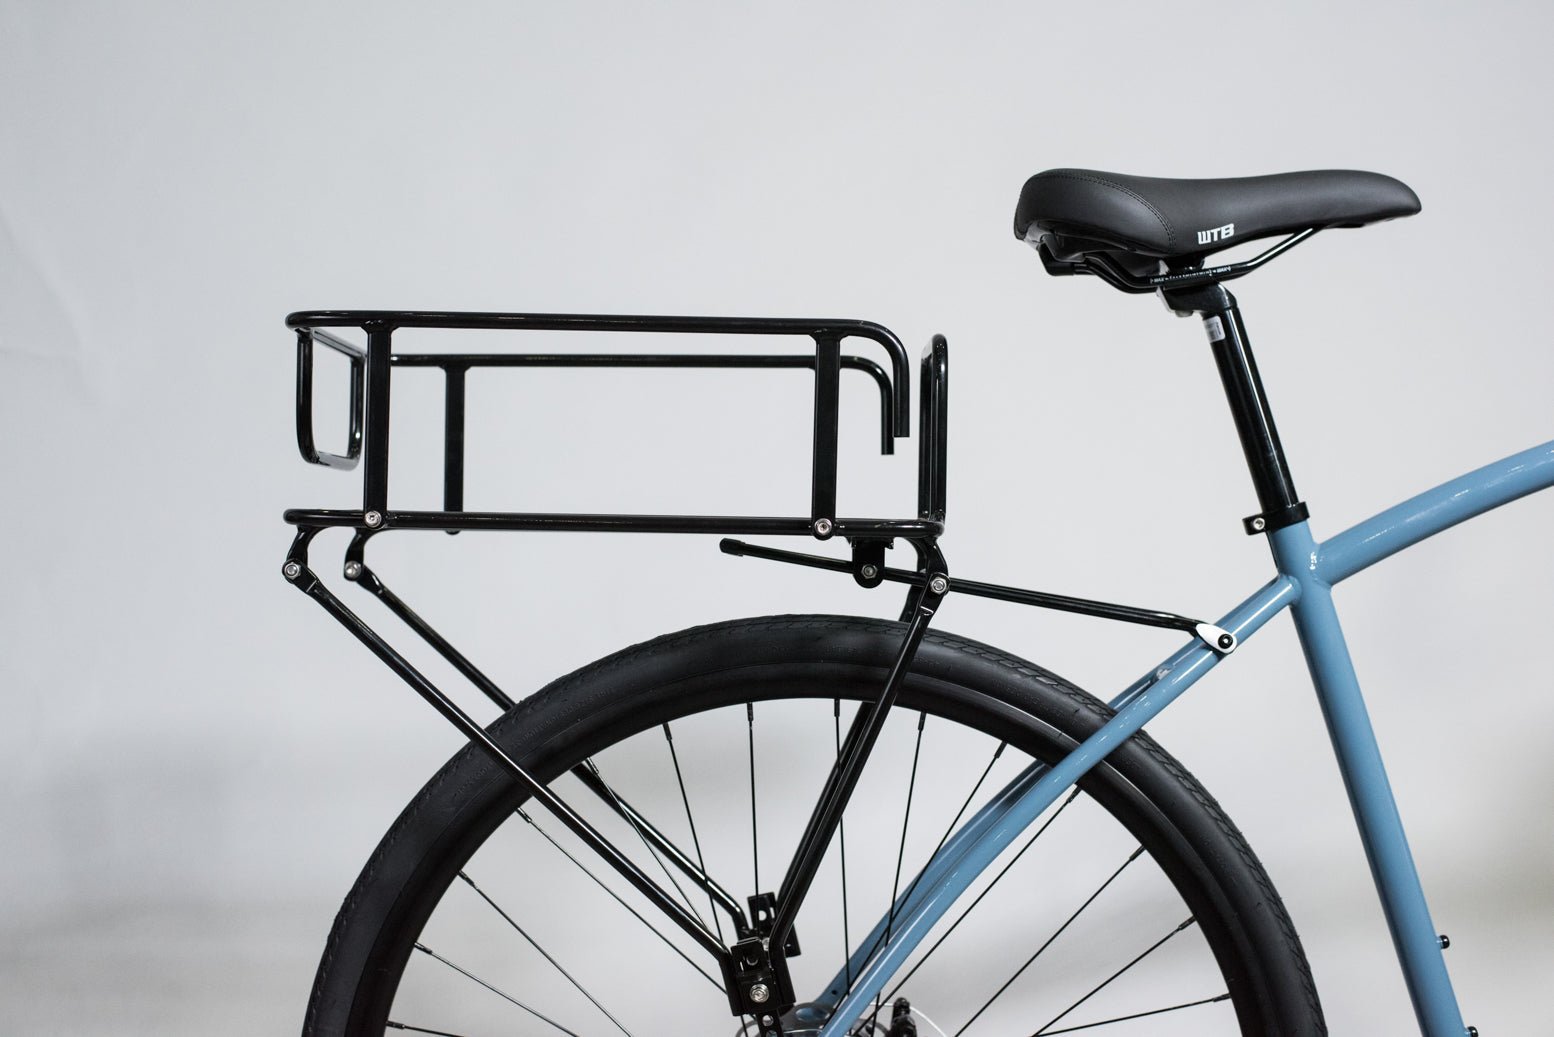
A correct installation holds firm, sits flat, and leaves plenty of clearance for the rear wheel to spin. A poor mount sits tilted forward or twists sideways against the wheel. Squeaking and side-to-side wobble usually happen because the upper stay bolts were tightened before the lower feet were seated flush against the frame. Stripped bolt threads happen when hardware is forced in at an angle. To prevent this, thread every screw fully by hand first, use steel washers, and check bolt tightness after your first 15 miles of riding.
Safety standards and weight limits
Cargo racks sold in the United States and Europe follow the test limits defined under the ISO 11243 safety standards, which cap standard rear rack cargo at 27 kilograms (about 60 pounds). Exceeding this rating can snap frame eyelets or cause dangerous loss of steering control. When you finish installing the rack, wipe away any leftover threadlocker fluid and store your spare hardware in a labeled pouch. Check your mounting bolts regularly, as heavy road bumps loosen fasteners over time. This job isn’t for carbon fiber road frames without factory eyelets, since clamping external hardware directly onto lightweight carbon tubes risks crushing the structural fibers.
Alternative cargo options
Seatpost-mounted cargo beam
This option clamps directly around your seatpost tube using a single quick-release collar. It mounts in 2 minutes without tools, but it carries a lower limit of 10 to 15 pounds and tends to sway when you pedal hard out of the saddle.
Heavy-duty bikepacking saddle bag
A large seat pack straps beneath your saddle rails and around the post without using bolts. It costs more than basic metal racks and changes the bike’s center of gravity, but it adds zero hardware to lightweight sport frames.
Professional shop installation
A local bicycle mechanic installs your rack using professional alignment tools and calibrated torque wrenches. It costs extra in shop labor fees, but it saves your frame from costly repairs if your eyelets are stripped, painted over, or missing entirely.
Frequently asked questions
Can you put a rear rack on any bicycle?
No, because many road and full-suspension bikes lack mounting eyelets or frame clearance. Full-suspension bikes can’t use standard rigid racks because the rear wheel moves up and down constantly over bumps, which would bend the metal struts.
How much weight can a rear bike rack carry?
Most rear racks carry between 40 and 60 pounds when secured into factory frame eyelets. The exact limit depends on the rack tubing material; this varies by model, so check the manufacturer label stamped on the top plate.
What happens if your bike doesn’t have eyelets?
You can use rubber-coated P-clamps or a specialized seat collar to create artificial mounting points. If you choose this route, you gain cargo space, but the trade-off is a much lower total carrying capacity than factory mounts support.
Why are my heels hitting the rack bags?
Your pannier bags are mounted too far forward along the rails. If your heels hit the fabric while pedaling, slide the pannier hooks toward the back of the rack; if they still strike, use an extended rack model.
Can you carry an adult passenger on a standard bike rack?
No, standard rear racks are built for cargo bags, not people. Carrying a passenger overloads the M5 bolts and can cause immediate metal failure, wheel collapse, or severe physical injury.
Final Thoughts
Once everything feels secure, take your bike for a short test ride around the block to ensure the rack doesn’t rattle or shift. Don’t forget to double-check the bolts after your first few trips, as they’ll often settle in. You’re ready to load up your panniers and enjoy your next adventure.
Related guides