
Turn off the power switch, plug the charger into a 120-volt wall outlet first, and then insert the round plug into the scooter’s charging port for 12 hours. Charging a Razor scooter safely prevents battery damage and gets you moving fast. This method suits owners of standard electric models like the E100, E200, and E300 series.
Tools for charging your razor scooter
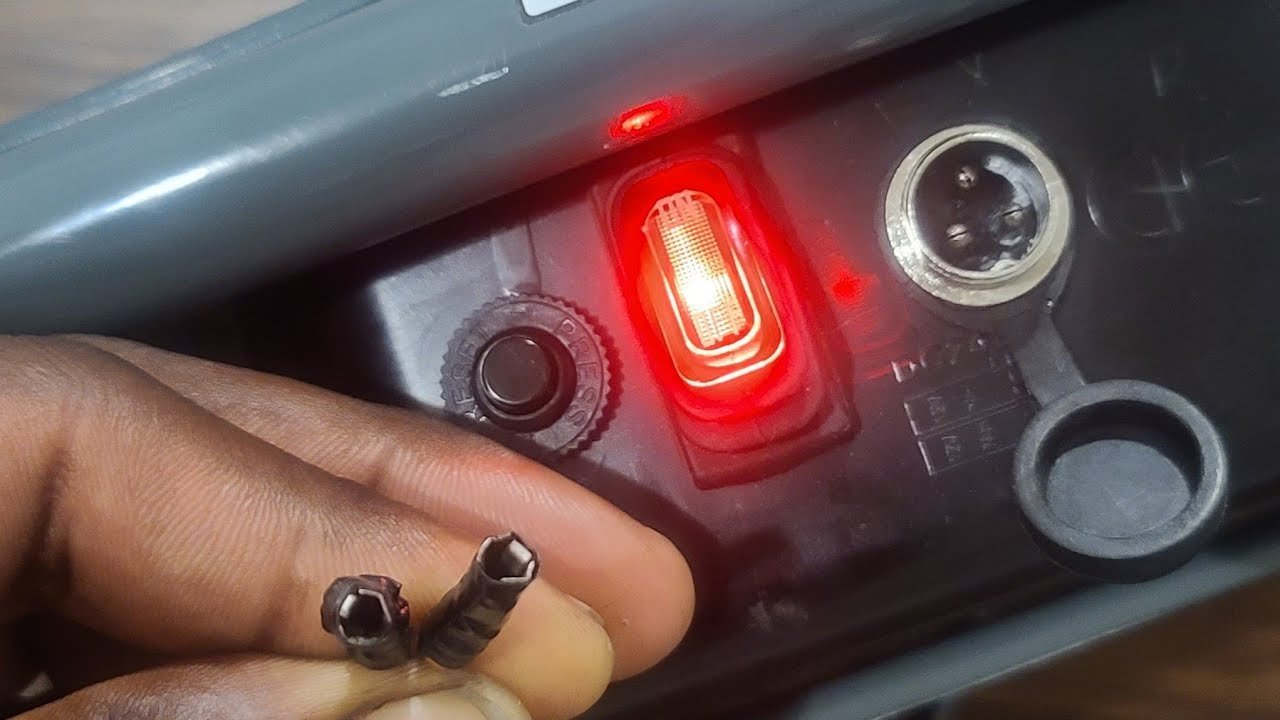
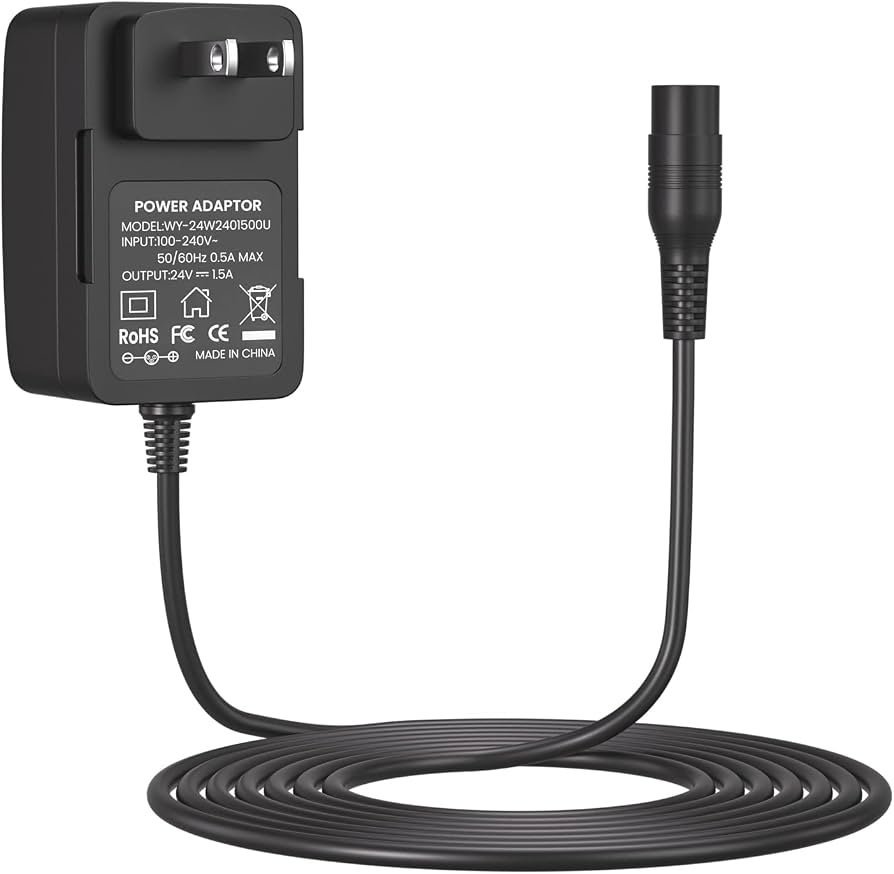
- Original Razor charger: Consult a professional technician to ensure the charger matches the requirements on your scooter’s label.
- Dry indoor wall outlet: A standard grounded 120-volt household receptacle works best.
- The scooter key or switch access: Ensure you can reach the power toggle easily before you begin.
- Clean dry cloth: Use this to wipe dust or moisture off the port before plugging in.
You can substitute an official Razor replacement unit if you lose your original, but you must never use a generic, unbranded high-amp laptop power supply. For dead batteries that won’t accept a charge at all, take the unit to a certified small-engine or electric ride-on repair shop.
Step-by-step
- Turn the power switch to the “OFF” position on the deck or handlebar before you touch any cables.
- Inspect the charging port for dirt, small pebbles, or water droplets, and wipe the area clean with a dry cloth.
- Plug the charger’s wall plug directly into an active 120-volt wall socket, confirming the indicator light turns solid green. Careful: Don’t use extension cords or power strips, as they may not be rated for the charger’s current or may pose a tripping hazard.
- Align the plastic groove on the charger’s round plug with the notch inside the scooter’s charging port.
- Push the plug firmly into the port until it seats completely, and watch the charger light switch from green to solid red. Tip: If the light stays green right after you plug it in, the scooter switch might still be turned on, or the fuse under the deck blew.
- Leave the scooter connected for 12 continuous hours, even if that small light turns green after 6 or 8 hours.
- Unplug the charger from the scooter port first, then remove the power brick from your wall socket.
- Press the protective rubber cap tightly over the scooter port to keep road dirt and splashing water out of the contacts.
If you smell burning plastic or see smoke coming from the battery tray at any point, stop immediately, unplug the unit from across the room, and contact local waste management or a certified battery technician to dispose of the pack safely.
Charging Times Across Situations
Battery capacity and model size change how long you must wait before you can ride again.
| Battery Scenario | Time Required | Port or Charger Behavior | What to Monitor |
|---|---|---|---|
| First charge out of the box | 12 hours minimum | Solid red light for most of the cycle | Warm charger brick is normal |
| Fully depleted pack | 12 to 18 hours | Stays red much longer than usual | Check if the pack gets hot |
It’s far safer to charge the battery after every short ride than to run the pack completely flat before plugging it back in.
How to tell you did it right

A successful charge shows a bright green light on the charger body once the cycle finishes, and the scooter’s motor responds instantly when you twist the throttle. A poor result leaves the scooter sluggish, running for only two or three minutes before cutting out completely.
Lead-acid cells suffer from internal sulfation when they sit uncharged for weeks, which permanently robs them of their run time. This failure happens because lead sulfate crystals harden on the internal plates and block electrical current. You can prevent this failure by charging the scooter after every single ride, storing the unit at room temperature, and never leaving the power switch turned on while the scooter is parked.
Safe Handling and Care Standards
The Consumer Product Safety Commission micromobility guidance urges owners to charge electric ride-ons only with the manufacturer-supplied charger to avoid house fires. Once the 12 hours finish, unplug the charger, coil the cable loosely, and latch the rubber port cap shut. Store the scooter inside a dry garage or hallway away from direct sunlight.
A healthy set of sealed lead-acid batteries lasts roughly 250 charge cycles before the scooter loses range. When the internal cells eventually wear out and refuse to power the motor, take the battery tray to a local electronic recycling center rather than tossing it into household trash.
Alternative Charging Setups
Using a Smart Float Charger
A multi-stage trickle charger made specifically for 24-volt lead-acid systems stops sending current once the cells reach full capacity. It prevents overcharging if you tend to forget the scooter in the garage for days. This option costs a bit more than the stock unit, but it saves your battery life.
Installing a Second Battery Harness
Riders who travel longer distances can wire a spare battery pack with quick-disconnect clips. You leave one pack charging on a garage shelf while you ride on the other. This trade-off doubles your hardware costs and requires careful terminal soldering, but it cuts your riding downtime to zero.
Upgrading to an Official Lithium Pack
Select newer Razor models let you swap old lead-acid packs for a manufacturer-approved lithium battery kit. This cuts the overall recharge wait to about 4 hours and drops several pounds of dead weight from the deck. The upgrade requires buying a dedicated lithium charger, since standard lead chargers will ruin lithium cells.
Frequently asked questions
Can I leave my Razor scooter charging overnight?
Yes, you can leave it plugged in overnight since a standard cycle takes 12 hours. However, unplug it once the indicator light shows the charge is complete.
Why is the charger light green when plugged into the scooter?
The charger stays green when the battery is already full, the power switch is in the “ON” position, or the fuse blew. Turn the switch off and inspect the reset button on the battery cover.
Is it safe to ride the scooter in the rain after charging?
No, riding through wet weather is dangerous because Razor scooters aren’t waterproof. Water easily enters the deck through the seams, which can short out the controller and ruin the charging port.
How long does a full charge last during use?
Most standard models provide about 40 to 45 minutes of continuous ride time on smooth, flat ground. Heavy rider weight, steep uphill climbs, and cold outdoor weather will reduce that run time quickly.
What happens if I use a higher voltage charger?
A higher voltage charger will overheat the battery pack, melt the internal wiring, and cause a serious fire hazard. Always match the exact 24-volt or 36-volt rating printed on your original power brick.
Who this charging method is NOT for?
This method isn’t for riders using custom high-power racing builds that run on 48-volt or 52-volt lithium-ion packs. Those specialized setups require balance chargers with built-in thermal sensors and individual cell monitoring.
Final Thoughts
Once the indicator light shows a full charge, unplug everything and store your equipment in a cool, dry place. You’ll find that consistent care keeps the battery healthy for many rides ahead. Don’t wait until it’s completely dead to plug it back in; you’re ready to enjoy the neighborhood again.
Related guides