
Weaving chair seats involves a simple over-under pattern using flat reed or cane. The time required depends on the seat size; a standard 14-inch square seat typically takes between 6 and 10 hours for an experienced weaver. Beginners should allow double that time to ensure consistent tension throughout the process.
This method assumes you’re working with a wooden frame that has pre-drilled holes. For frames without holes, you’ll need to attach the material differently, which requires specialized upholstery knowledge. If your chair frame is loose or wobbly, repair the joints before starting, as the pressure of the weaving will pull the frame apart if it isn’t solid.
Choosing the right chairs to weave
This guide serves people who have a wooden chair frame and want to replace a worn-out seat or create a new one from scratch. It’s perfect for hobbyists who enjoy tactile, slow-paced projects and have the patience to maintain even tension across dozens of rows.
This page isn’t for those looking for a quick fix or a factory-made replacement pad. If you have a high-value antique chair, you should consult a professional furniture restorer before touching the frame, as improper weaving can lower the value of historical pieces.
This article assumes you have access to basic tools like a small hammer, wood glue, and a set of weaving needles. It’s written for those who prefer a manual, step-by-step approach over power tools or modern synthetic materials.
Factors that change your results
Choosing the right material defines the final look and comfort of the seat. Flat reed is the most forgiving for beginners, while natural cane requires soaking to prevent snapping.
The weave density also shifts the outcome. A tight weave provides more support but is harder to pass the material through as you reach the center of the seat. A looser weave is easier to install but will sag much faster under regular use.
People often make the mistake of pulling the first few rows too tight. This causes the wood frame to bow inward, which permanently ruins the chair’s structural alignment. Always check for frame deflection by placing a straight edge across the rails every few rounds. If you see the wood bending, loosen your tension immediately.
Weaving your new chair seat
- Clean the old material and debris from the frame holes using a small screwdriver or a dedicated hole-cleaning tool.
- Soak your material in warm water for at least 30 minutes to make it pliable; longer soaking times are safe and often recommended for thorough saturation.
- Secure the starting end of the reed by pushing it through a corner hole and tying a simple knot underneath the frame.
- Pass the reed through the opposite hole and pull it taut, keeping the flat side facing up for a smooth finish.
- Repeat this back-and-forth motion across the entire width of the frame, ensuring the material remains flat and untwisted.
- Begin the cross-weave by weaving over and under the vertical strands you just installed, maintaining an alternating pattern.
- Use a wooden wedge to push the rows tight against each other, ensuring there are no large gaps between the strands.
- Finish the weave by tucking the loose end into the underside of the frame and securing it with a small wooden peg.
The most important judgement call is determining the right amount of tension. If the weave feels like a drum skin, it’s too tight and will snap; if it feels like a soft hammock, it’s too loose and will sag within weeks. A properly woven seat should have slight give but return to a flat position immediately when you remove pressure.
Weaving methods compared
| Situation | Primary Action | Time Required | Watch For |
|---|---|---|---|
| Flat Reed | Over-under weave | 6-8 hours | Gaps in rows |
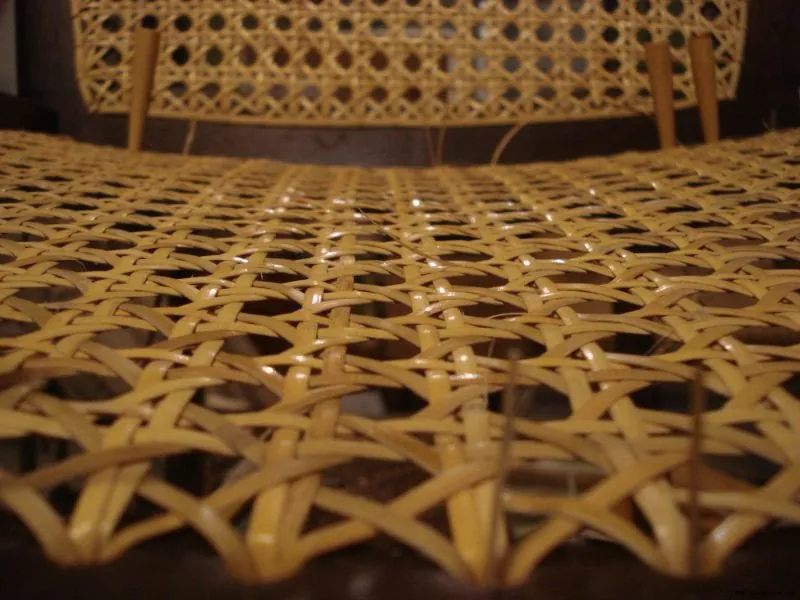
| Natural Cane | Six-way pattern | 12-15 hours | Snapping strands |
| Synthetic Fiber | Simple wrap | 4-5 hours | Uneven tension |
| Wide Frame | Double weaving | 10+ hours | Frame bowing |
If you’re working with flat reed, soak the material in warm water until it’s fully pliable before starting. Dry reeds become brittle and snap under the tension of a tight weave. If the reed feels stiff, stop immediately and re-soak it.
When using natural cane, keep a damp sponge nearby to maintain consistent moisture. Beginners often make the mistake of pulling the strands too tight while they’re dry, which leads to structural failure within weeks.
If your frame exceeds twenty inches in width, use double weaving to prevent the wood from warping. A single layer will lose its shape under the weight of daily use. If the frame begins to bow during the process, insert temporary wooden shims to hold the original dimensions until the final row is secured.
Professional weaving techniques
Maintaining consistent tension
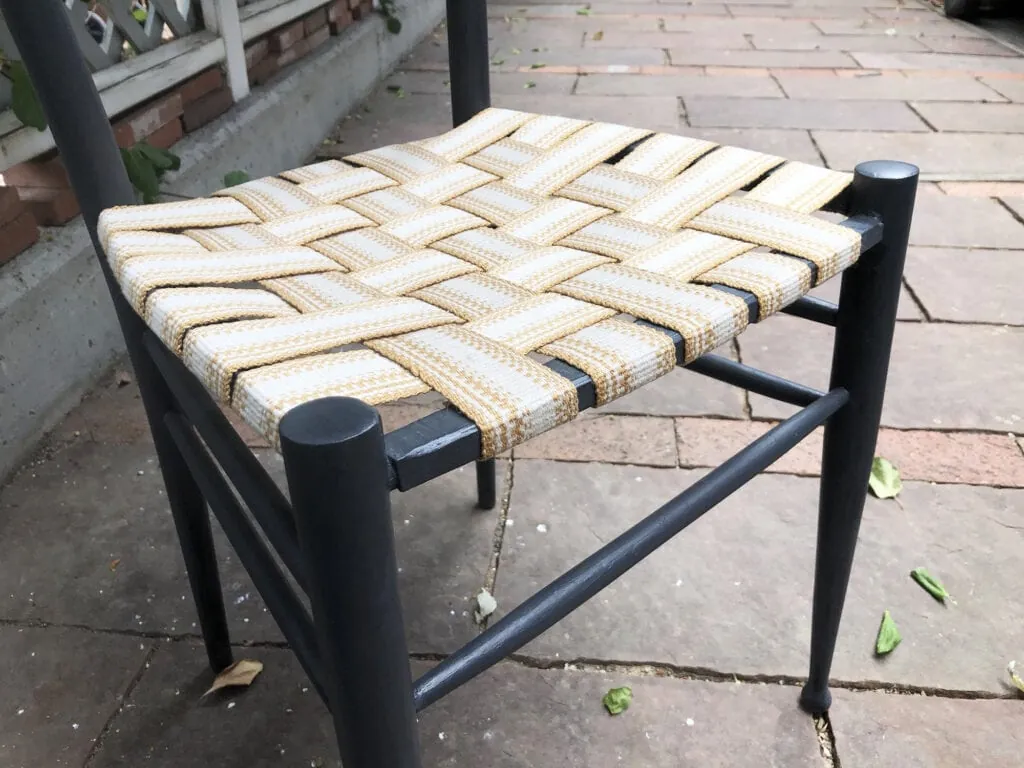
Experienced weavers use their palms to smooth the material as they pull it through the frame. Beginners often use only their fingertips, which creates uneven pressure and leads to twisted strands. Focus on pulling the material through the hole at a 90-degree angle to the frame to prevent fraying at the edges.
Working with the grain
Always keep the smooth, finished side of the reed facing upward. If you flip the material during the weave, the rough underside will catch on clothing and cause the seat to wear out prematurely. If you notice a strand twisting, stop and rotate it back before moving to the next row, as you can’t fix a twist once the seat is finished.
Troubleshooting common weaving issues
| What you notice | What it usually means | What to do first | How to stop it |
|---|---|---|---|
| Frame bending | Tension too high | Loosen all strands | Add support braces |
| Loose strands | Material stretched | Weave extra row | Soak less time |
| Frayed edges | Poor hole prep | Trim with scissors | Sand hole edges |
| Uneven pattern | Missed a count | Undo last section | Mark hole sequence |
Rules for material use
Follow the guidance provided by the Consumer Product Safety Commission regarding the use of non-toxic adhesives if you decide to glue your ends. Many commercial reed products are treated with chemicals that can irritate the skin. Always wear gloves during the soaking and weaving phases if you have sensitive skin.
If you’re working on a piece meant for a child, ensure the materials are free of lead-based finishes or harsh synthetic coatings. Never use metal staples to secure your ends, as these will rust and tear through the natural fibers over time.
Cost and effort breakdown
The cost of this project is mostly material-based. A standard coil of flat reed is inexpensive compared to buying new furniture. You’ll also need a small amount for basic tools if you don’t already own them.
That ten dollars covers a sharp utility knife and a wooden packing tool. Skip the packing tool and your weave stays loose. Loose weave means the basket warps within weeks of holding weight.
The biggest cost is your time, which can reach 15 hours for a complex pattern. You can reduce this by choosing a simple wide-reed pattern that covers more surface area with fewer passes.
Always buy 20% more material than you calculate to account for waste and errors. Flat reed splinters at the ends every time you change direction. Those short offcuts can’t be spliced back in.
Long-term seat care
Keep your new seat out of direct sunlight to prevent the fibers from becoming brittle. A chair near a south-facing window will dry out years faster than one placed against an interior wall.
If the seat feels dry or starts to crack, lightly mist it with water once every few months. Use a spray bottle set to its finest setting and hold it at least twelve inches away. Soaking the material causes it to swell and then shrink too quickly when it dries.
If a single strand snaps, don’t pull it out. Tuck the broken ends into the weave and secure them with a tiny drop of wood glue. This prevents the entire seat from unraveling.
Never stand on a woven seat. The concentrated weight of a knee can snap multiple strands at once.
When to seek professional help
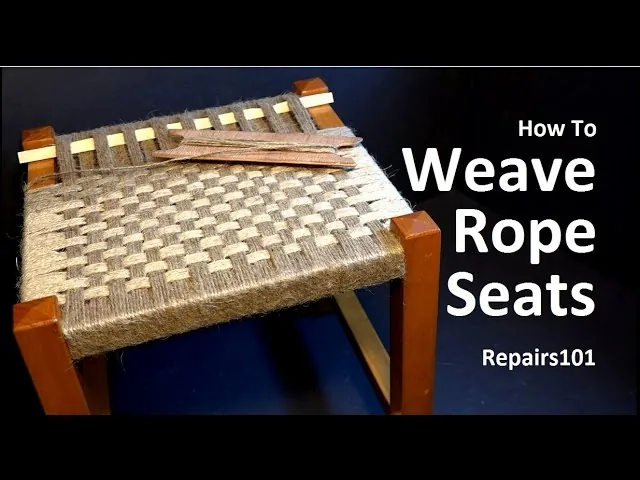
If your chair frame is made of thin, decorative wood or has intricate carvings, weaving it yourself carries a high risk of damaging the structure. Professionals use specialized clamps to hold the frame in place, which prevents the warping that often happens during DIY attempts.
If you find that the wood is splitting near the holes, stop immediately. Attempting to weave a seat on a compromised frame will result in a total structural failure. Take the chair to a professional furniture repair shop to have the frame reinforced before attempting to weave the seat.
Related guides
- How to Tighten Dining Room Chairs: A Step-by-Step Fix
- 10 Best Toilet Seat Hinges and Replacement Hardware Kits in 2026
- 10 Best Wheelchair Mobility Scooter Seat Belts for Safety in 2026
Frequently asked questions
How long does it take to weave a seat?
It takes 6 to 10 hours for a standard chair, assuming you have all materials ready. The exact time depends on the seat size and your experience with the weave pattern.
Is it safe to weave a chair at home?
It’s safe if you use manual tools and keep your workspace clear of sharp objects. Always wear safety glasses when trimming the reed to avoid getting small splinters in your eyes.
What happens if I pull the reed too tight?
The wooden frame will bow inward, which can crack the wood or cause the chair to become unstable. You must check the frame for straightness after every few rows of weaving.
Can I use synthetic materials instead of reed?
You can use synthetic fibers, which are often more durable and easier to clean. These materials don’t require soaking, but they may feel less comfortable than natural reed.
Does the seat need to be sealed?
You don’t need to seal the seat, but a light coat of water-based polyurethane can protect it from spills. Apply a very thin layer to avoid making the fibers stiff.
How do I know if the reed is too dry?
The reed will feel brittle and may snap when you try to bend it. If this happens, soak the material in warm water for another 10 minutes before continuing.
Conclusion
Start by measuring your chair seat dimensions to ensure you purchase the correct width of reed. Once your materials arrive, prepare your workspace with good lighting and a sturdy table. If you notice the frame cracking during the first few rows, stop immediately and seek help from a professional restorer.