
To raise dirt bike seat height, install a tall seat foam kit or swap the rear suspension pull rods for shorter links, which lifts the saddle by 0.75 to 1.5 inches in about 45 minutes. This adjustment suits taller riders who feel cramped in the cockpit.
Tools to raise your dirt bike seat
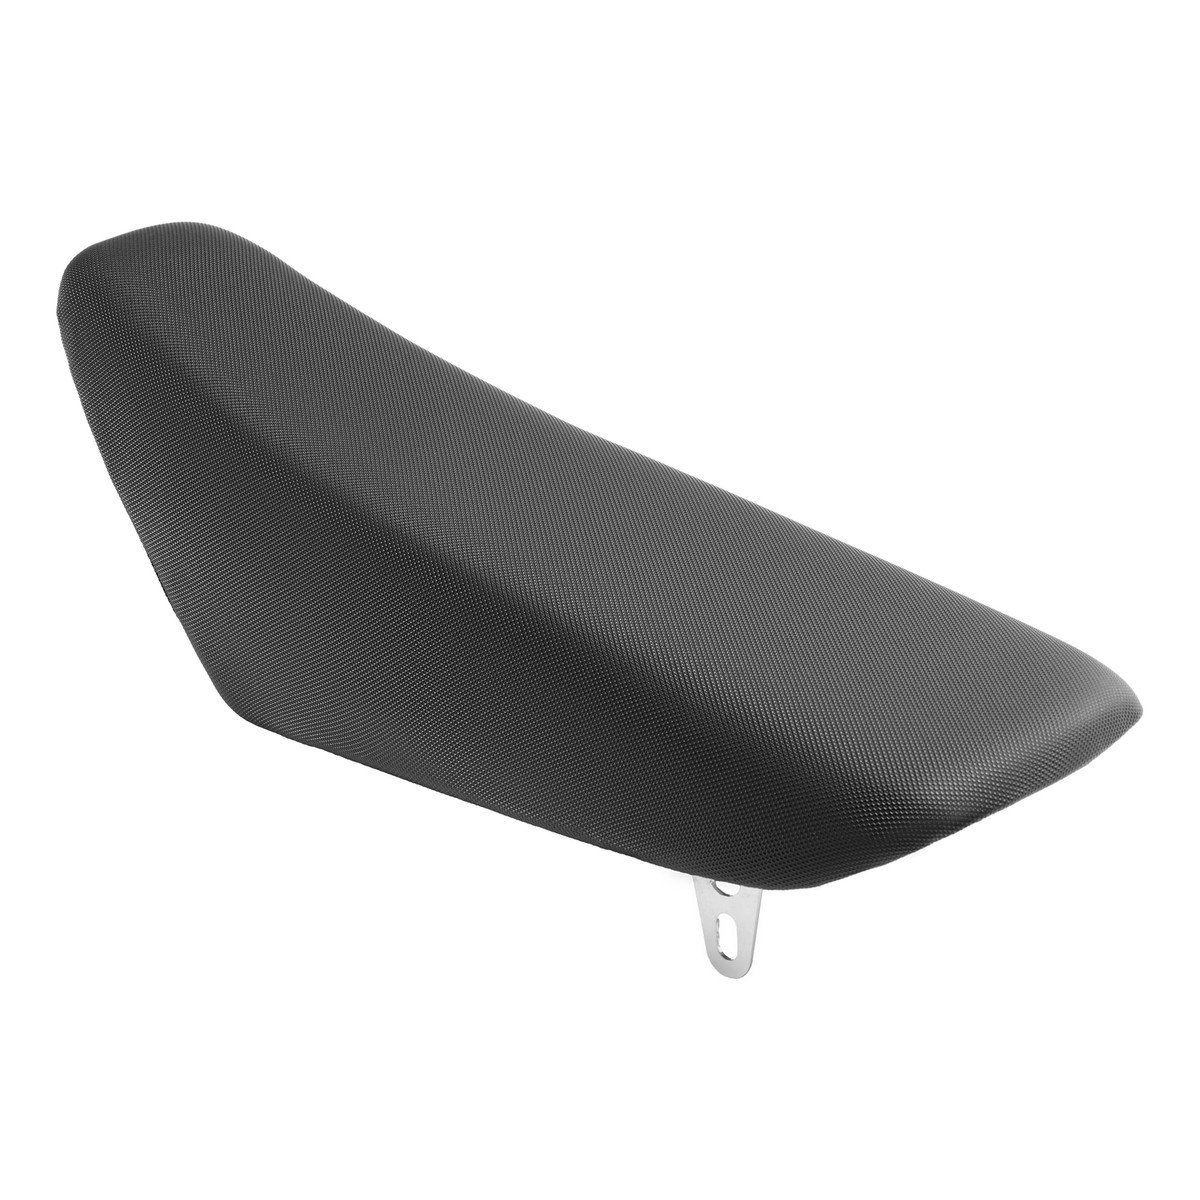
- Tall seat foam kit made specifically for your bike’s exact year and model (standard foam won’t give extra height).
- Heavy-duty manual or pneumatic staple gun with 1/4-inch stainless steel staples.
- Flathead screwdriver and needle-nose pliers to pull old staples cleanly.
- Socket set with 8mm, 10mm, and 12mm sockets to remove the subframe seat bolts.
- Heat gun or household hair dryer to soften the vinyl cover.
- A torque wrench measuring inch-pounds for subframe mounting bolts.
A complete aftermarket tall seat assembly works as a direct replacement, but universal seat covers rarely fit and will bunch up. If you choose to install suspension links instead, have a certified motorcycle technician handle the press-fit bearings if you lack a shop press.
Step-by-step
- Unbolt the two seat mount bolts under the rear fender using a 10mm or 8mm socket, then pull the seat back and up to free it from the fuel tank bracket.
- Pry out all old factory staples using a flathead screwdriver and needle-nose pliers, working around the base until the stock cover pulls free.
- Pull the original foam off the plastic base, wipe the base clean with a dry rag, and align the new tall foam directly over the plastic ridges.
- Stretch the front nose of your seat cover over the base, pull it tight toward the rear, and drive three staples into the front tongue. Careful: Don’t staple through the thin edges of the base where plastic can crack under load.
- Pull the rear section down firmly over the tall foam, center the seams along both sides, and place three staples into the back edge.
- Work along the sides, heating the vinyl with a hair dryer on medium heat for 30 seconds per section, pulling downward, and driving a staple every 0.5 inches. Tip: If wrinkles appear along the top edge, pull the side staples out immediately and reheat the cover before retensioning.
- Slide the seat tongue back into the frame slot near the gas tank, press down firmly, and tighten the rear mount bolts to the manufacturer torque setting (typically 8 to 12 foot-pounds).
Saddle height options across setups
If you only need knee relief while sitting, modify the seat; if you need ground clearance across rocky trails, adjust the chassis linkage instead.
| Riding setup | Total build time | Ride feel impact | What to inspect |
|---|---|---|---|
| Tall seat foam | 45 to 60 minutes | Keeps chassis geometry neutral | Cover tension and staple depth |
| Complete tall seat unit | 5 to 10 minutes | Raises center of gravity slightly | Subframe bolt torque |
| Shorter pull rods | 60 to 90 minutes | Steeper head angle, faster turning | Chain clearance at swingarm |
| Firmer shock spring | 90 to 120 minutes | Stiffer rear travel, less rider sag | Static sag and rebound speed |
It’s safer to start small and add more seat height slowly than to overshoot on the first try and lose balance on uneven ruts.
How to tell you did it right
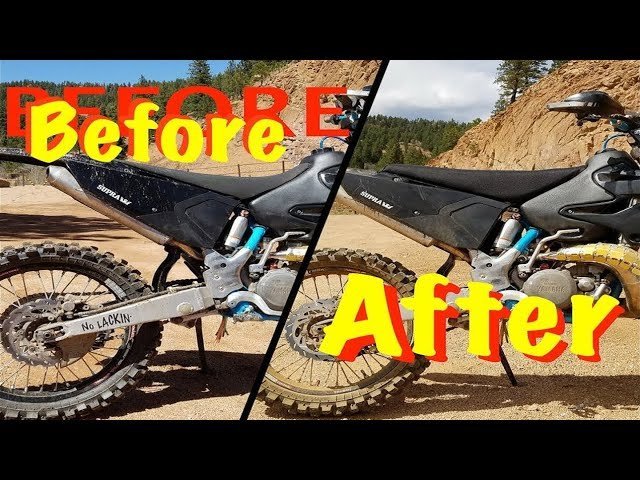
A correct installation shows a flat, taut top surface with no loose wrinkles along the side edges. When you sit on the bike with riding gear on, your knees should rest at a comfortable bend without your boots feeling trapped near the footpegs. If the cover bunches or sags within a few rides, the vinyl wasn’t stretched evenly under heat during assembly. Applying firm heat to soften the material, using an assistant to pull tension, and spacing your staples closely together prevents cover slippage over time.
Setting correct chassis balance
After altering seat or chassis height, check your rear brake pedal and shift lever; both usually need a slight angle adjustment using an open-ended wrench. Clean up loose staples from your floor to prevent tire punctures. Recheck your subframe bolt torque after the first two hours of riding, as brand-new foam compresses slightly and settles into the pan.
Other ways to do it
Installing shorter linkage arms
Replacing stock dog-bones with longer aftermarket links pushes the swingarm down, lifting the rear chassis. This modification adds up to one inch of total tail height. It alters the steering head angle, which makes the front end turn faster into tight ruts.
Swapping to a firmer shock spring
Riders over standard target weights compress the rear shock too much, losing seated height. Installing a heavier spring matching your weight keeps the bike at its true design height under load. It costs more in parts, but it restores suspension balance.
Adding handlebar risers with a tall seat
This method balances cockpit ergonomics for riders over six feet tall. Adding 10mm to 30mm bar risers keeps your standing posture upright alongside the taller saddle. It takes 20 minutes to install, but make sure your throttle cables aren’t stretched too tight.
Frequently asked questions
Can I raise the seat height without buying parts?
No, you can’t safely raise it without parts. Increasing rear shock preload lifts the rear, but exceeding the recommended sag range can negatively affect handling and traction.
Why is my dirt bike seat too low?
Your bike’s seat feels low because factory setups target average-sized riders, or your rear spring has softened with age. Worn shock oil or incorrect race sag also makes the rear sit much lower than intended.
How long does a tall seat foam last?
High-density replacement foam lasts several riding seasons before breaking down. Closed-cell foams resist moisture rot, but the outer vinyl cover will show wear along the knee-grip sections sooner depending on how hard your knee braces rub.
Is it safe to use shorter lowering links backwards?
No, linkage arms are engineered strictly for specific leverage ratios and swingarm arcs. Flipping or swapping mismatched links can bind your shock linkage, crack the aluminum mounting tabs, or throw you over the bars.
What happens if the seat is too tall for trail riding?
You’ll struggle to dab a foot on hills and cambered corners, increasing your chances of tipping over at slow speeds. This setup isn’t for riders who lack confidence balancing on their toes at a stop.
Final Thoughts
Once you’ve made these changes, take your bike for a gentle test ride on a familiar trail. You’ll quickly notice how much more room you have to move around, making your time on the track feel much more natural. Don’t forget to check your sag settings before heading out for a longer adventure.