
Is your beloved chair looking a little worse for wear? Perhaps the caning is cracked, loose, or just plain gone.
Don’t worry, you don’t need to be a master craftsman to give your chair a fresh new look! You can absolutely cover that chair seat yourself, and it’s easier than you think. Forget the complicated caning process – we’re going to show you a simple, stylish way to revive your favorite seat.
Get ready to transform your old chair into something you’ll be proud to show off. Read on to discover how!
Choosing Your Fabric
Selecting the right fabric is key. It makes your chair look great. It also ensures it lasts. Think about how you use the chair. This guides your fabric choice.
Durability Matters
This chair gets daily use. You need tough fabric. Look for high rub counts. This means it withstands wear. A fabric that lasts saves money. It keeps your chair looking new.
Style And Aesthetics
What look do you want? Modern? Classic? Vintage? The fabric sets the tone. Color is important too. It should match your room. Patterns can add interest. Consider texture. It adds depth and appeal.
Material Pros And Cons
Cotton: It’s soft and breathable. It comes in many prints. Cotton can stain easily. It may fade in sunlight. It is not the most durable option.
Polyester: This fabric is strong. It resists wrinkles well. Polyester cleans up easily. It holds color nicely. It can feel less natural. Some polyester is stiff.
Linen: Linen has a natural look. It feels cool to the touch. It is very breathable. Linen wrinkles quite a bit. It is not ideal for heavy use. It may be more expensive.
Vinyl: Vinyl is very durable. It wipes clean with ease. It is great for kids. It can feel a bit plastic. It might get hot in summer. Not everyone likes its look.
Outdoor fabrics: These are built tough. They resist sun and water. They are easy to clean. They can have a rough texture. Their colors can be bold.
Gathering Your Supplies
First, collect your materials. You’ll need fabric, batting, and spray adhesive. Staples and a staple gun are also essential.
Preparing your materials is the first step. A successful project needs the right items. This makes the work much easier. You will have a beautiful finished seat.Essential Tools
You need a few basic tools. A good utility knife is important. It cuts fabric cleanly. A staple gun works well. Get one with strong staples. A screwdriver might be useful. This removes old seat parts. A measuring tape is also key. Measure twice, cut once.Fabric Quantity
How much fabric do you need? Measure your chair seat. Add a few extra inches. This allows for overlap. It ensures a snug fit. Consider the fabric pattern. You may need more fabric. Pattern matching takes extra material. Buy a little more than you think.Adhesives And Fasteners
You will need strong glue. Fabric glue works great. It holds the material firmly. Staples are another option. They secure the fabric edge. Heavy-duty staples are best. They prevent the fabric from pulling. Choose what works for your fabric.Preparing The Chair Seat
Preparing the chair seat is vital. It ensures a smooth finish. This step makes your new upholstery look great. It sets the stage for success. Take your time here.
Removing Old Upholstery
First, remove the old fabric. Use a screwdriver. Pry up staples carefully. A flathead screwdriver works well. Pull out all old staples. Discard the old material. Do this gently.
Cleaning And Repairing
Clean the chair seat base. Use a damp cloth. Wipe away dust. Check for damage. Are there loose parts? Tighten any screws. Repair any cracks. A solid base is important. Smooth surfaces are best.
Measuring For Fabric
Measure the seat surface. Get the length. Get the width. Add extra fabric for wrapping. Add at least four inches. This gives you room to work. Accurate measurements matter. They prevent waste.
Cutting And Fitting The Fabric
Cutting and fitting the fabric is crucial. This step ensures a neat finish. A well-fitted seat looks professional. Poorly cut fabric can ruin your project. Take your time here. Precision makes a big difference.
Creating A Template
This is your first step. You need a perfect pattern. Use paper or cardboard. Place it on the chair seat. Trace around the edges carefully. Cut out the paper shape. This is your template now. It guides your fabric cutting. Make sure it fits snugly. Trim if it is too large. A good template saves fabric. It prevents mistakes too.
Adding A Fabric Border
Your fabric needs extra room. Add a border to your template. This border allows for wrapping. Aim for a two-inch border. This is usually enough space. You can add more if needed. Trace the template onto the fabric. Now trace the border line. Cut along the outer border line. This gives you the correct fabric size. The extra fabric wraps under. It creates a clean edge. No raw edges show.
Pre-fitting The Fabric
Test the fabric fit. Lay the cut fabric on the seat. Smooth it out gently. Does it cover the seat well? Does it have enough to tuck? Make small adjustments now. You can trim a little more. You can adjust the border size. This pre-fitting prevents issues. You see problems before gluing. It is a smart move. Ensure the fabric is centered. Check the corners too. A good fit is essential.
Securing The Fabric
Securing the fabric is a crucial step. It makes your chair seat look neat. A well-secured fabric lasts longer. This part ensures a professional finish. Let’s explore the best methods.
Stapling Techniques
Use a staple gun. This is a common method. Get a good quality staple gun. Load it with strong staples. Start stapling at the center. Pull the fabric taut. Staple one side first. Then staple the opposite side. Continue this process. Work your way around the seat. Overlap the staples slightly. This creates a strong hold. Trim excess fabric carefully. Leave about an inch of fabric. Fold this edge under. This hides raw edges. Staple this folded edge. Ensure staples are hidden. This gives a clean look.
Using Adhesive
Fabric adhesive is an option. It works well for some fabrics. Choose a strong fabric glue. Apply it evenly to the wood. Work in small sections. Press the fabric firmly. Smooth out any wrinkles. Hold the fabric in place. Let the glue dry completely. Check the manufacturer’s instructions. Some glues need clamping. This method offers a smooth edge. It avoids visible staples. Test the adhesive first. Ensure it holds the fabric well.
Creating A Tight Finish
A tight finish looks best. It prevents sagging fabric. Pull the fabric very tight. Stretch it as you staple. Or stretch it as you glue. Work from the center outwards. This pushes out air pockets. Keep tension constant. Smooth the fabric constantly. Check for puckers and wrinkles. Adjust as needed. A tight finish is key. It makes the seat look new. It also improves comfort. Your chair will feel better. This step is very important.
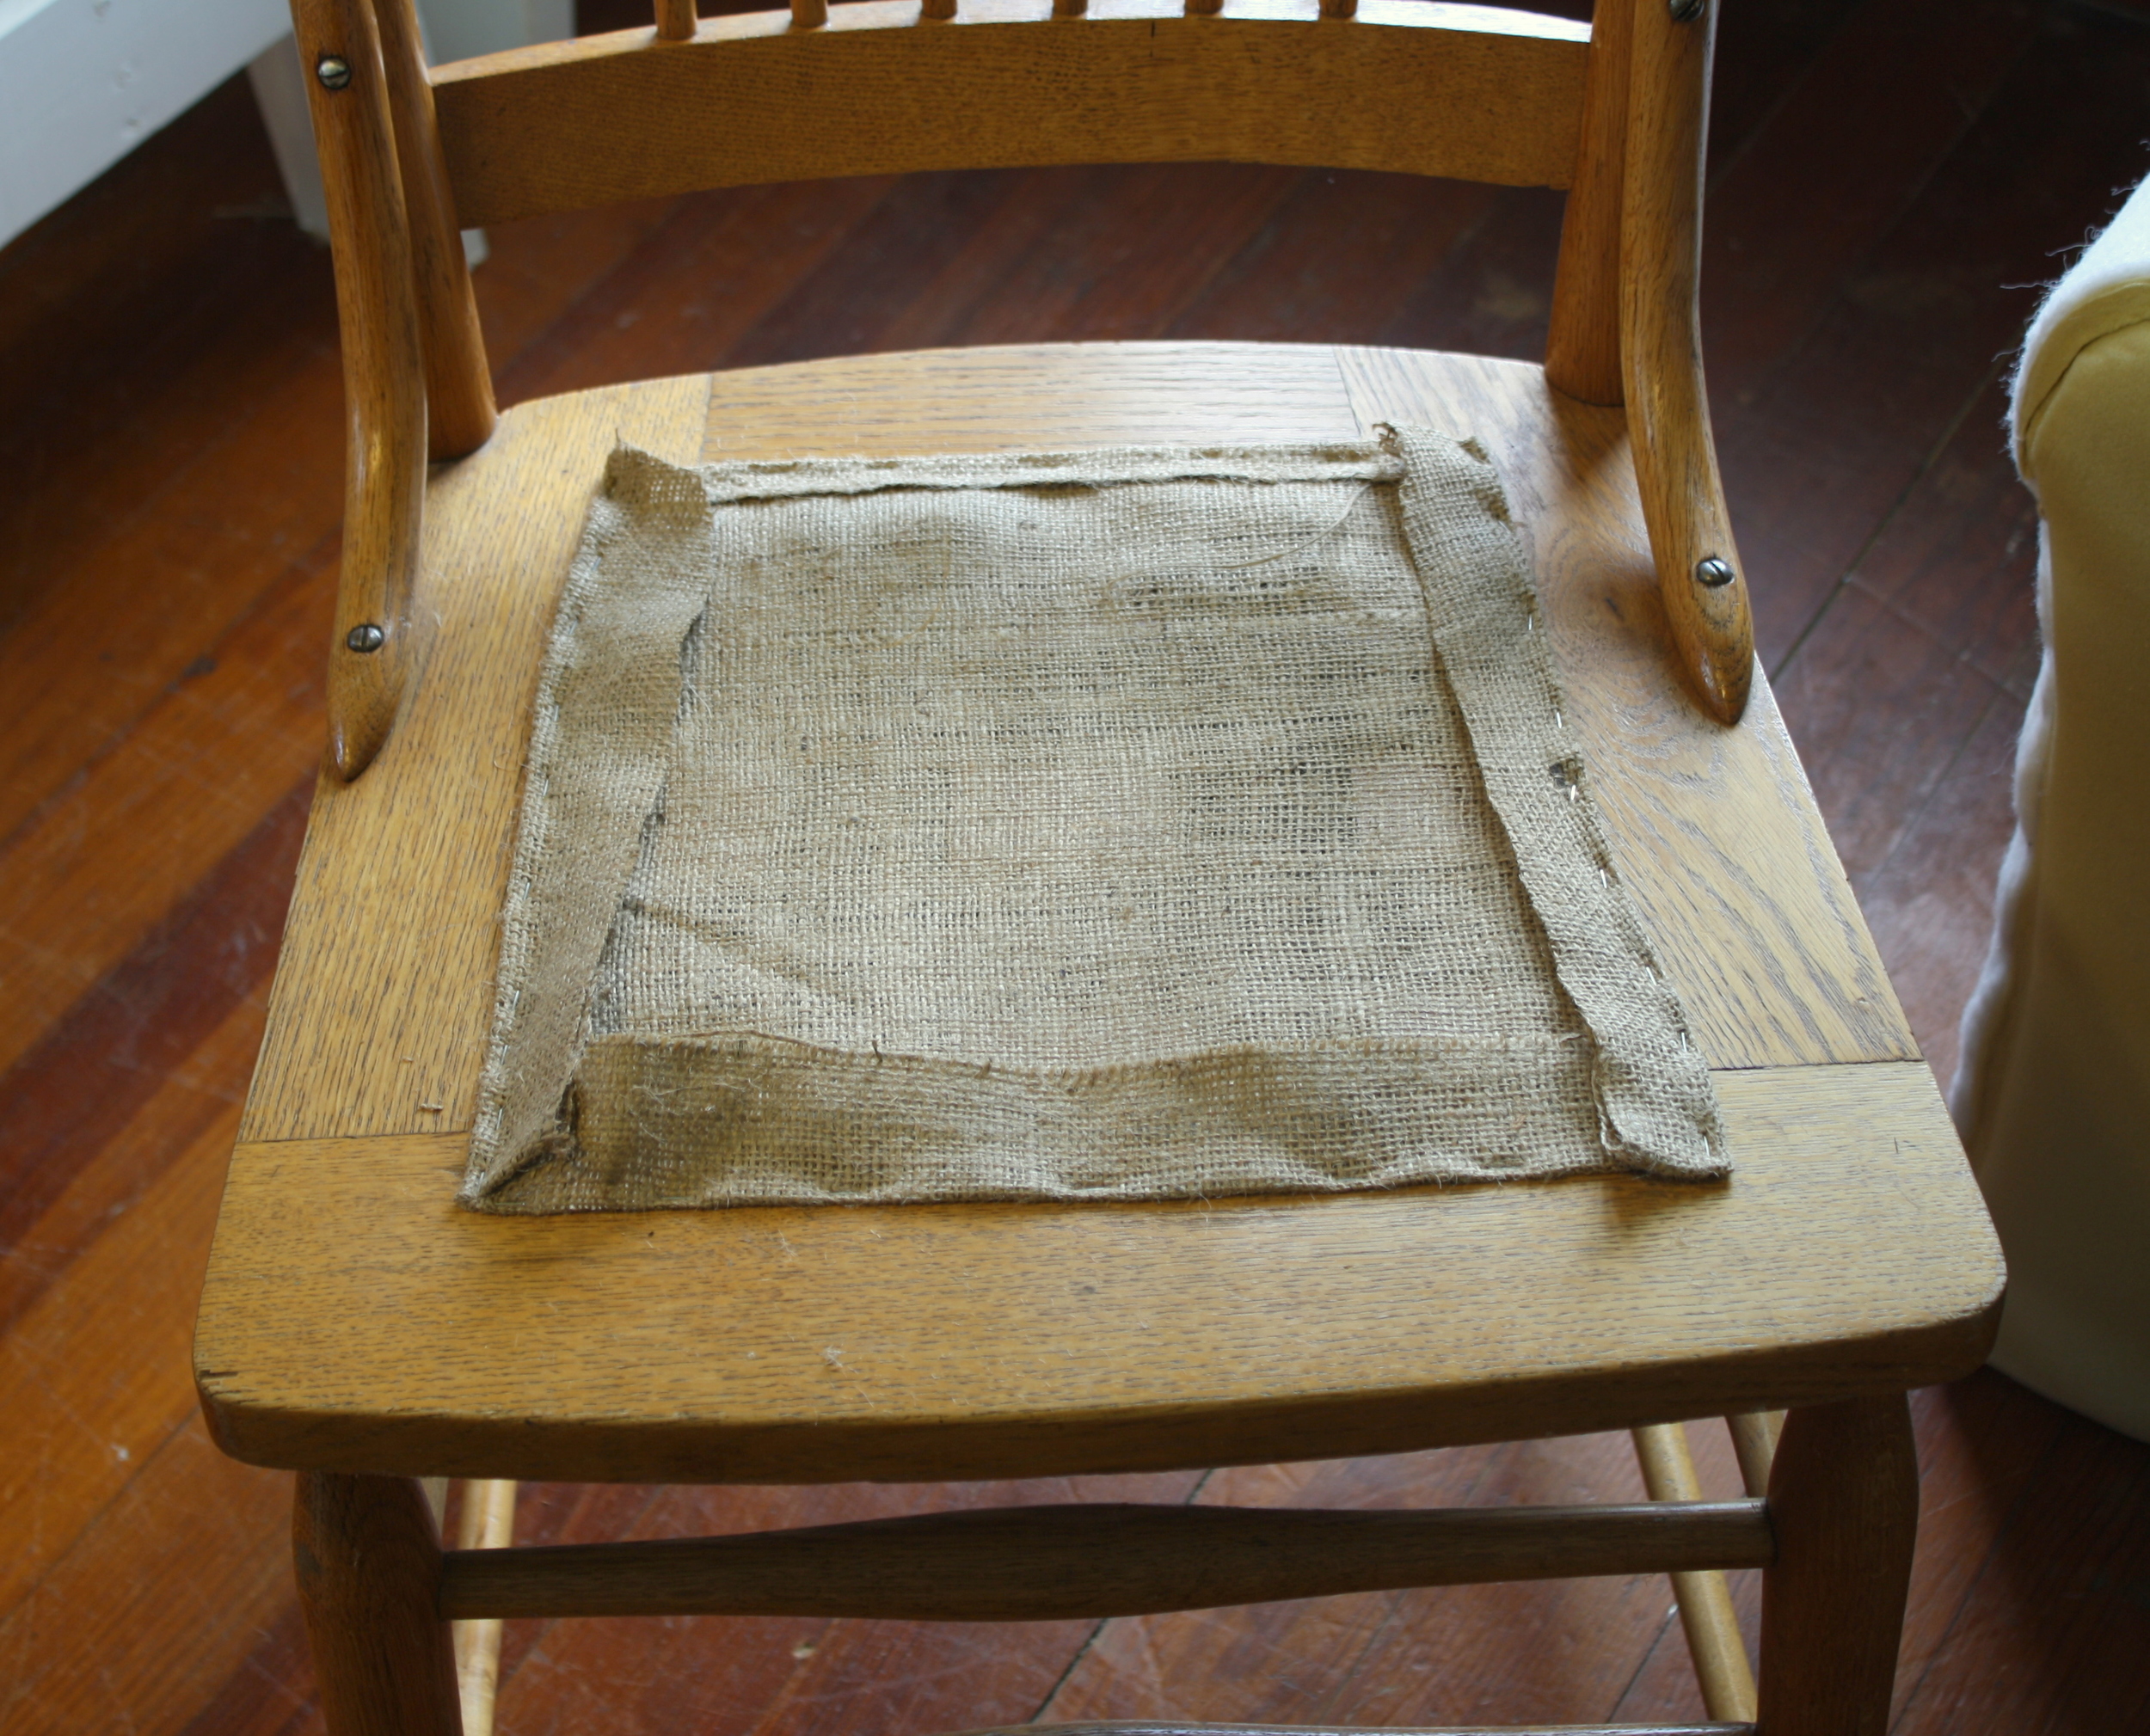
Credit: www.goodbonesupholstery.com
Finishing Touches
The final steps make your chair look professional. These finishing touches elevate your work. They transform a simple cover into a beautiful seat. Pay attention to these details. Your chair will thank you.
Trimming Excess Fabric
Pull the fabric taut. See the extra material. Use sharp scissors. Cut away the excess. Leave a small border. This keeps the edge neat. A clean cut looks best. It prevents bunching. Your seat looks smooth.
Adding Decorative Trim
Consider adding trim. Trim hides raw edges. It adds personality. You can use ribbon. Braid also works well. Tacks secure the trim. Space them evenly. This adds visual interest. It completes the look.
Final Inspection
Look closely at your seat. Check for loose threads. Smooth out any wrinkles. Ensure the fabric is tight. Admire your handiwork. You did a great job. Your chair is ready now.
Caring For Your New Seat
Give your old chair a fresh look. Learn simple ways to cover a seat. No complex caning needed.
Your newly covered chair seat looks fantastic. Proper care keeps it beautiful. Protect your hard work. Enjoy your refreshed furniture for years.Cleaning Tips
Dust your seat often. Use a soft cloth. For spills, act fast. Blot them immediately. Use a damp cloth. Mild soap works well. Test in an hidden spot. Avoid harsh chemicals. They can damage fabric. For stubborn stains, consult a pro.Preventing Wear And Tear
Rotate your chairs. This spreads out wear. Avoid direct sunlight. Sunlight fades fabric colors. Use chair leg protectors. They stop floor scratches. Protect against pet claws. Trim pet nails regularly. Keep sharp objects away. They can snag or tear. Be mindful of heavy items. Excessive weight causes stress.Conclusion
This project is totally doable. You can refresh your chair. No caning needed. Choose your fabric. Cut it to size. Staple it securely. Enjoy your new seat. It looks great. You did it yourself. Simple, smart, and stylish.