
Constructing your own lawn chairs involves selecting durable, weather-resistant materials and following precise joinery techniques to ensure comfort and stability for outdoor lounging. Whether you prefer the classic look of Adirondack seating or a sleek, modern minimalist design, building these pieces from scratch allows you to customize dimensions and aesthetics to fit your specific patio or garden space. By utilizing standard dimensional lumber and basic woodworking tools, you can create high-quality outdoor furniture that rivals expensive retail options while gaining valuable DIY skills in the process.
Key Takeaways
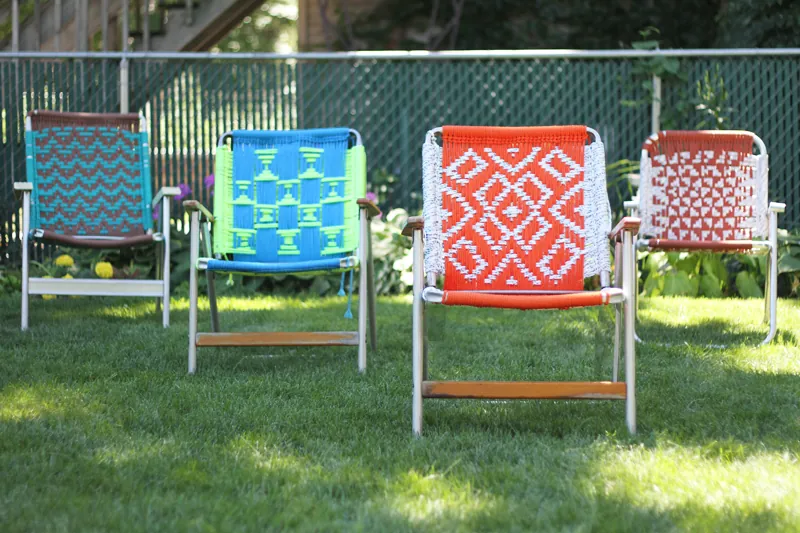
- Select rot-resistant wood species like cedar, teak, or pressure-treated pine to ensure your furniture survives harsh outdoor exposure.
- Always use exterior-grade fasteners, specifically stainless steel or hot-dipped galvanized screws, to prevent structural corrosion from moisture.
- Prioritize ergonomic angles, particularly for the backrest and seat, to ensure the finished chair remains comfortable for extended periods of use.
- Apply high-quality exterior wood finishes or sealants regularly to protect the grain from UV radiation and water damage.
- Verify all structural components are securely fastened using waterproof wood glue in addition to mechanical fasteners for added longevity.
How to Make Lawn Chairs
Building outdoor seating requires a systematic approach that starts with selecting the right foundation. For most DIY projects, cedar is the gold standard due to its natural resistance to insects and decay. You’ll need a miter saw for clean cuts, a drill for driving screws, and a sander to smooth rough edges. Always start by creating a template for the curved back legs, as this is the most complex structural component of a traditional chair design.
Essential Materials and Tool List
To begin, organize your workspace with the following items to ensure efficiency. Having these ready prevents mid-project interruptions:
- Lumber: 1×6 and 2×4 cedar or white oak boards.
- Fasteners: 2.5-inch stainless steel exterior deck screws.
- Adhesive: Waterproof exterior wood glue.
- Tools: Miter saw, circular saw, orbital sander, and a power drill.
- Finishing: Exterior-grade spar urethane or penetrating wood oil.
Selecting the Best Wood Species
Your choice of wood dictates how often you’ll need to perform maintenance. Softwoods like pine are inexpensive but require heavy-duty sealing to prevent rot. Hardwoods offer a longer lifespan but are significantly harder to machine.
| Wood Type | Decay Resistance | Workability | Estimated Cost |
|---|---|---|---|
| Cedar | High | Excellent | Moderate |
| Teak | Very High | Difficult | Very High |
| Pressure-Treated | Moderate | Good | Low |
| White Oak | High | Moderate | Moderate |
Natural wood durability is your best defense against the elements. If you choose pressure-treated lumber, ensure it’s completely dry before applying any stain or paint to avoid trapping moisture inside the fibers.
Designing for Ergonomic Comfort
A lawn chair is only useful if it’s comfortable to sit in for more than ten minutes. The secret lies in the seat-to-back angle, which should typically be between 105 and 115 degrees. When drafting your plans, place a mock-up of the seat on a flat surface and sit on it to test the pitch. If the seat feels too flat, your legs will tire quickly; if it’s too steep, you may find it difficult to stand up.
Ergonomic seat geometry relies on the depth of the seat pan. A standard depth of 18 to 20 inches accommodates most adults comfortably. Ensure the front edge of the seat has a slight downward curve or bevel to prevent the wood from digging into the back of your knees.
Step-by-Step Assembly Process
Begin by cutting all your components according to your measured plans. Label each piece with a pencil to avoid confusion during the assembly phase.
- Frame Construction: Start by building the two side frames, ensuring they’re perfectly square.
- Seat Attachment: Attach the seat slats to the side frames, leaving a 1/8-inch gap between each board to allow for water drainage and wood expansion.
- Backrest Installation: Secure the backrest slats to the rear supports using two screws per contact point.
- Final Sanding: Move through the grits from 80 to 220 to ensure a splinter-free surface.
Pro Tip: Always pre-drill your screw holes to prevent the wood from splitting, especially when working near the ends of boards.
Managing Outdoor Weather Exposure
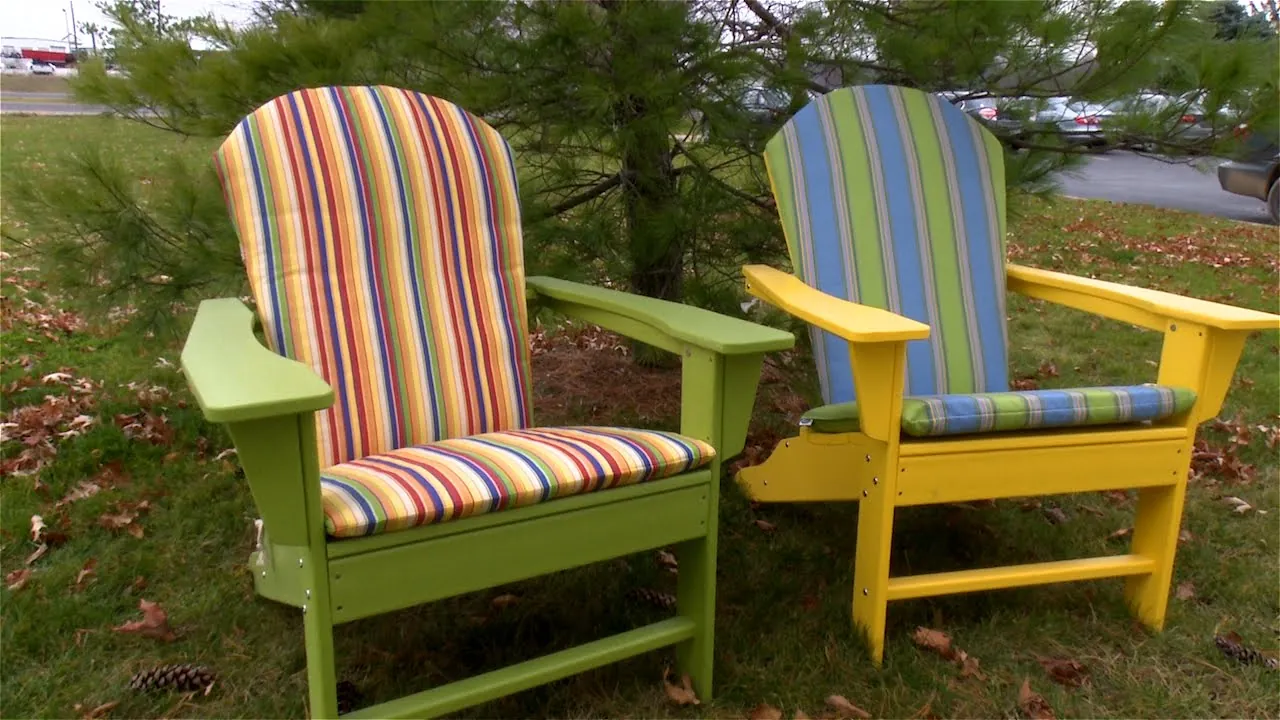
Outdoor furniture faces constant threats from moisture and sunlight. Wood expands and contracts significantly based on humidity levels. If you live in a coastal area, salt air will accelerate the corrosion of metal fasteners, making stainless steel an absolute requirement.
Finishing Your Lawn Chair
The finish you choose is the final barrier between your hard work and the elements. For a natural look, use a penetrating oil that soaks into the wood fibers. If you prefer a painted finish, use an exterior primer followed by two coats of high-quality acrylic latex paint.
- Penetrating Oils: Easiest to maintain; simply clean and reapply once a year.
- Spar Urethane: Provides a hard, protective shell but can peel if not applied correctly.
- Solid Stains: Excellent at blocking UV rays while still allowing the wood grain to show through subtly.
Can You Use Recycled Materials?
Yes, using reclaimed lumber is an excellent way to save money and add character to your project. Old fence pickets or discarded deck boards can be repurposed effectively. Before using reclaimed wood, inspect every piece for hidden nails or screws that could damage your saw blades. Remove any existing rot, as fungus can spread to healthy wood if left untreated.
Reclaimed wood character can turn a simple chair into a unique piece of art. Ensure the wood is structurally sound before incorporating it into weight-bearing parts of the chair.
How to Repair Damaged Joints
Over time, seasonal changes can cause joints to loosen. If you notice wobbling, don’t wait for the chair to collapse. Remove the old screws, clean out the joint with a chisel if necessary, and apply fresh waterproof glue. If the screw holes are stripped, use a wood plug or a dowel dipped in glue to fill the hole, then redrill once the glue has fully cured.
Safety Considerations for Beginners
Working with power tools requires constant vigilance. Always wear safety glasses and hearing protection when operating your saws. Keep your workspace clear of debris to prevent tripping. When assembling, ensure your chair is on a level surface; a chair built on a slope will inevitably be uneven, leading to instability that could cause a fall.
Warning: Never attempt to clear sawdust from a running saw blade with your fingers; always use a push stick or a scrap piece of wood.
Comparing Fixed vs Folding Chairs
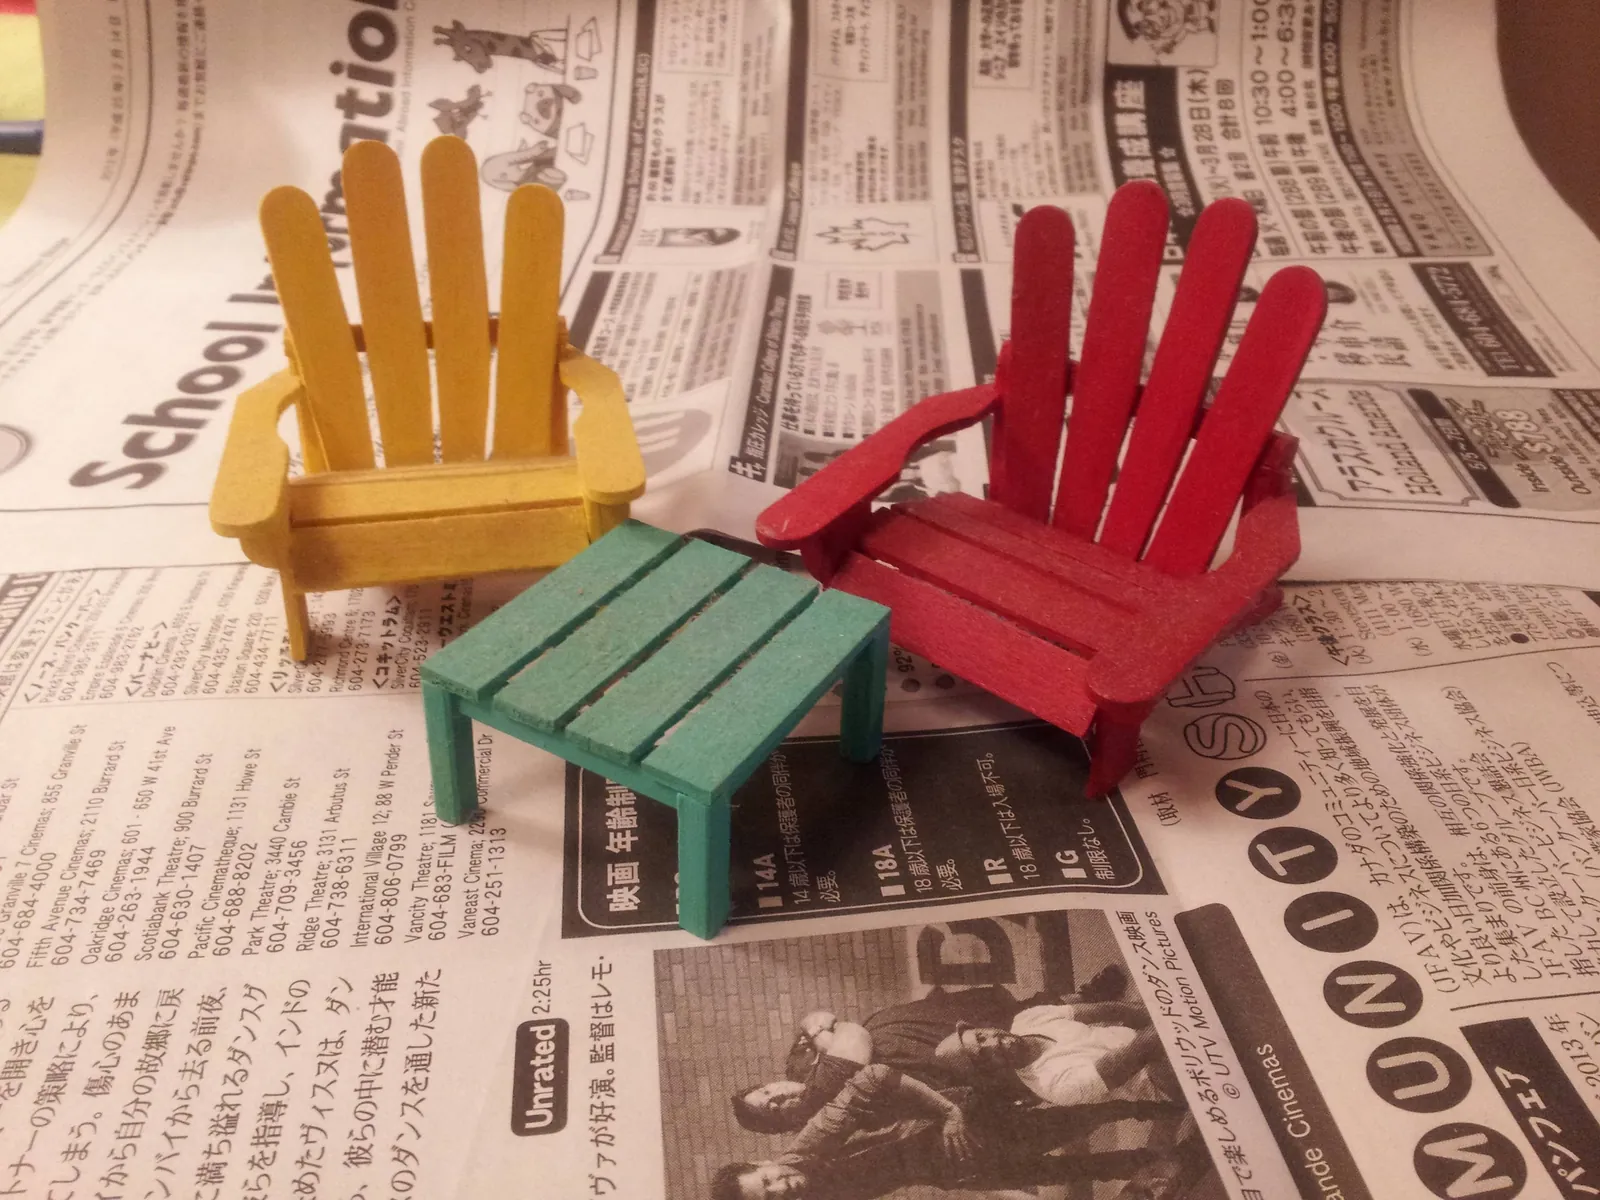
| Feature | Fixed Chair | Folding Chair |
|---|---|---|
| Structural Integrity | High | Moderate |
| Storage Efficiency | Low | High |
| Assembly Difficulty | Easy | Complex |
| Portability | Low | High |
If your storage space is limited, a folding design is superior, but it requires precise hardware and pivot points that can wear out over time. Fixed chairs are generally more robust and easier to build for a beginner.
Related guides
- How to Tighten Dining Room Chairs: A Step-by-Step Fix
- Best Weather Resistant Patio Chairs for Lasting Comfort and Style in 2026
- 10 Best Patio Chairs for Outdoor Lounging: Expert Picks and Verdict in 2026
Frequently Asked Questions
What is the ideal chair height?
The seat height should be between 16 and 18 inches from the ground for a standard lawn chair. This height allows most people to sit down and stand up with minimal effort. If you’re building chairs specifically for a deck or a lower patio, you can adjust this height, but ensure the backrest height is scaled proportionally to provide adequate lumbar support.
How do I prevent wood rot?
To prevent rot, ensure your design allows for proper water drainage. Avoid flat surfaces where water can pool. Using rot-resistant wood species like cedar or redwood is the first line of defense. Additionally, apply a high-quality water-repellent sealer every season. Keeping the chair legs off direct soil contact by using rubber feet or plastic glides will also significantly extend the life of the wood.
Should I use nails or screws?
Always use screws for lawn chairs. Nails lack the holding power required for outdoor furniture, which is subject to constant movement from temperature and moisture fluctuations. Stainless steel or high-quality deck screws provide the necessary grip and resist rust. While nails might be faster to install, screws allow you to tighten joints in the future if they ever become loose during years of heavy use.
How much weight should a chair hold?
A well-constructed lawn chair should be designed to support at least 250 to 300 pounds. This requires using sturdy 2×4 framing for the base and ensuring all joints are glued and reinforced with long screws. If you anticipate heavy use, consider adding extra support braces under the seat slats to distribute weight more evenly across the frame and prevent the wood from sagging over time.
Is paint better than stain?
Paint provides superior UV protection because it creates an opaque barrier that blocks sunlight completely. However, paint requires more maintenance because it can peel or crack as the wood moves. Stain, particularly a semi-transparent or solid penetrating stain, is easier to maintain and doesn’t peel. For a low-maintenance option that still offers good protection, a high-quality exterior penetrating stain is generally the best choice for most users.
Conclusion
Once you have gathered your materials and chosen your preferred design, start by making your first set of cuts on a single board to practice your precision. Having a clear plan and the right tools will make the process rewarding. Head to your local hardware store to pick out your lumber today, and begin building your custom outdoor seating.