
You can remove dirt and stains from chair cushions in 30 to 45 minutes using a gentle vacuum and mild soap solution. Before starting, check the manufacturer’s care tag for the recommended cleaning code, such as “W” for water-based cleaners or “S” for solvents. This simple process requires only a soft-bristled brush, a clean white cloth, and detergent, followed by several hours of air drying.
Cleaning supplies for your furniture
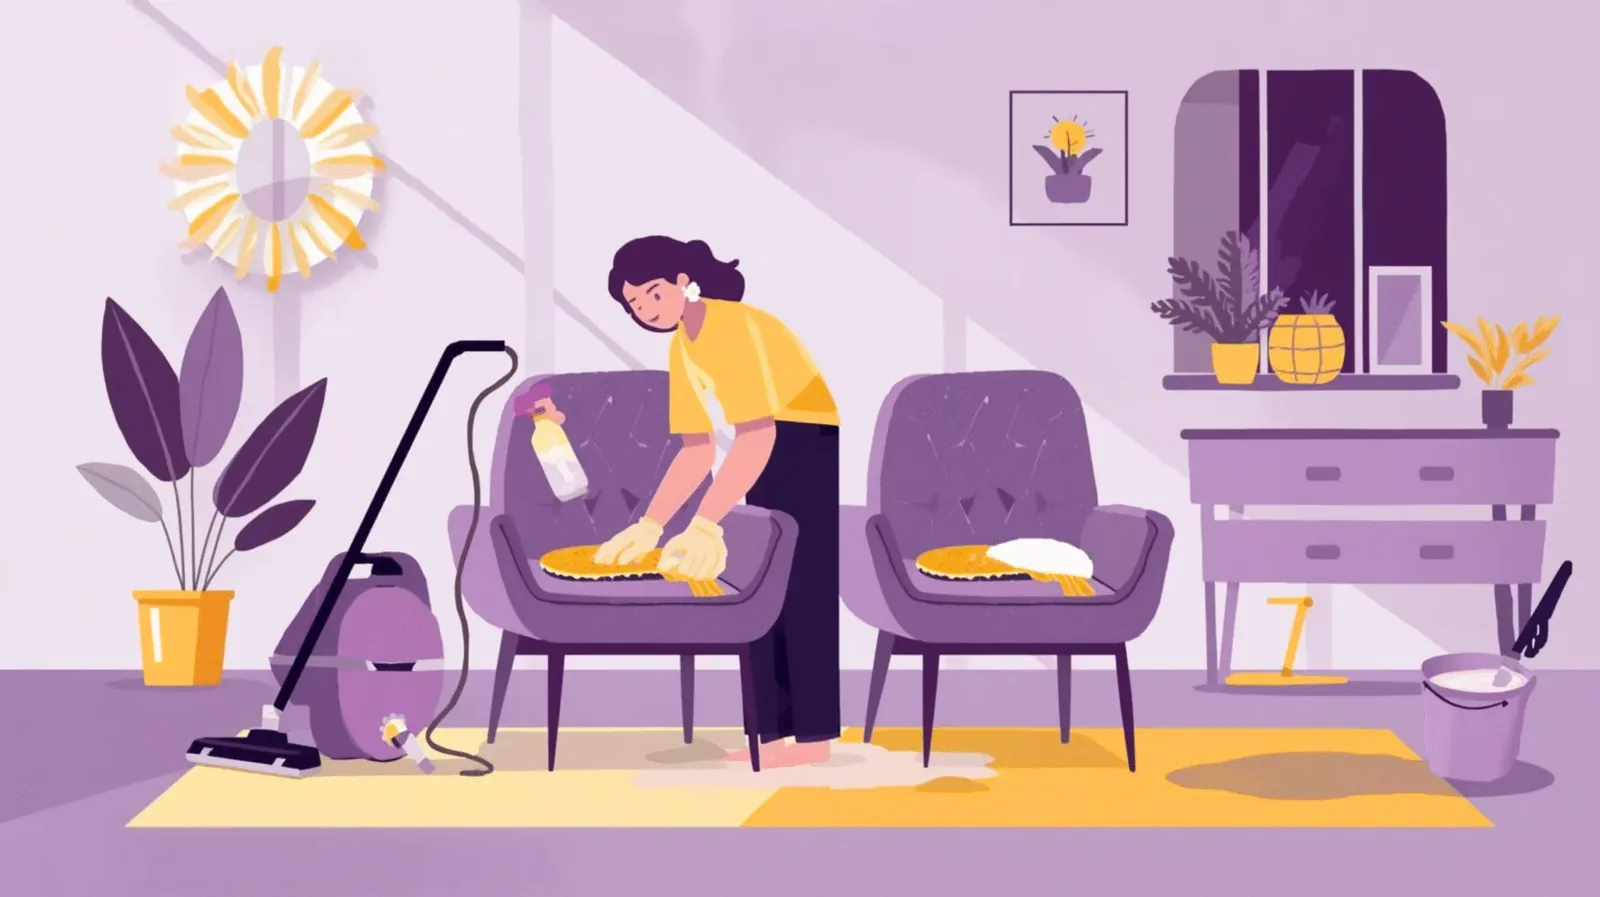
You should gather all necessary tools before you begin to ensure the process goes smoothly. Don’t substitute these items, as using the wrong brushes or harsh chemicals can permanently damage delicate fabric fibers or alter the cushion’s original color.
| Item | How much | Why it’s needed | A substitute |
|---|---|---|---|
| Upholstery vacuum | 1 machine | Removes loose dust | Soft hand brush |
| Mild dish soap | 1 teaspoon | Breaks down surface oils | none — don’t swap |
| Warm water | 1 quart | Dilutes the soap | none — don’t swap |
| White cloth | 2 pieces | Blotting and rinsing | none — don’t swap |
| Soft brush | 1 unit | Lifts trapped debris | Old clean toothbrush |
Check your furniture’s care tag before applying any liquid. If you see an “S” code, avoid water entirely and use a solvent-based cleaner instead. Using water on “S” fabrics creates permanent water rings that are nearly impossible to remove.
Most people make the mistake of scrubbing stains vigorously. This drives dirt deeper into the padding. Instead, use a gentle blotting motion with your white cloth. If the stain doesn’t lift after two minutes of light pressure, stop immediately. Continuing to rub will fray the fibers and ruin the texture of the fabric. Always test your soap mixture on a hidden underside patch first. If the color transfers to your cloth, don’t proceed with the cleaning.
Preparation before you start
Move the chair into a well-lit area with steady airflow. Proper ventilation is the primary factor that prevents mildew from forming deep within the foam as the cushion dries.
Vacuum the entire surface and all crevices thoroughly. If you skip this step, moisture will turn loose dust and hair into a muddy slurry that sinks into the fabric. This creates permanent, dark rings that no amount of scrubbing can remove later.
Test your cleaning solution on a small, hidden spot under the seat. Wait ten minutes, then press a white paper towel against the fabric. If any color transfers to the towel, stop immediately and switch to a professional dry-cleaning service.
If the manufacturer tag specifies “Dry Clean Only,” respect that label. Attempting to wash these delicate fibers with water will cause the fabric to shrink or lose its structural integrity. If you’re unsure about the material, always choose the gentler method to avoid irreversible damage.
Step by step cleaning method
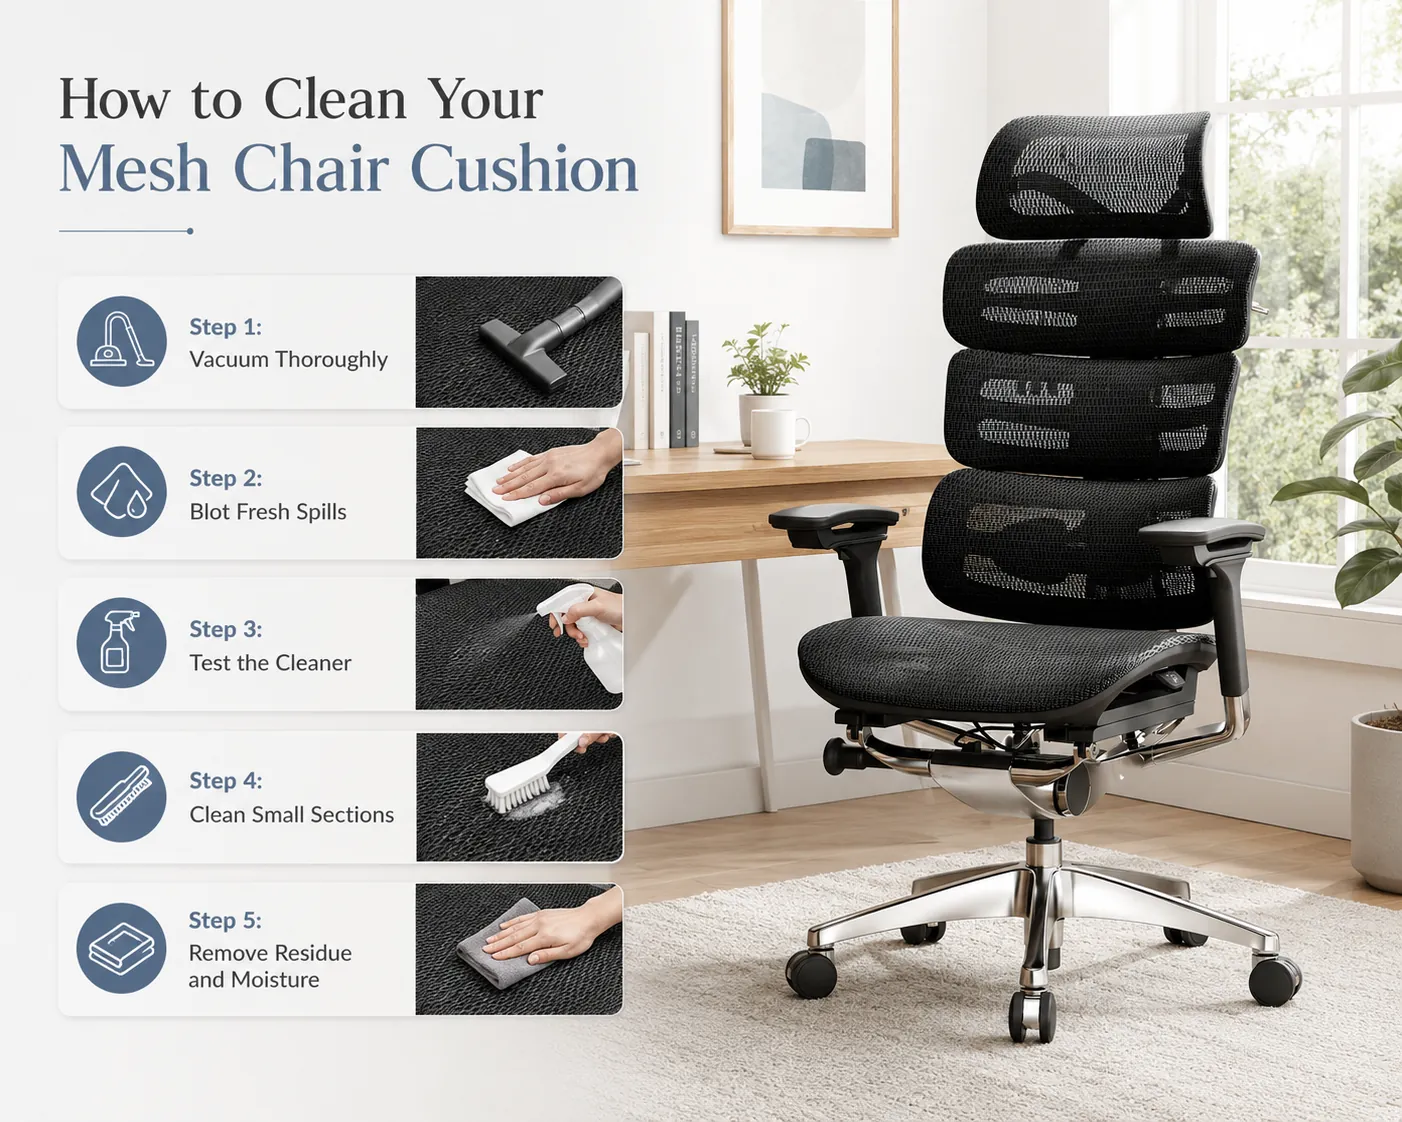
- Mix 1 teaspoon of mild liquid dish soap into 1 quart of warm water in a small bowl until you see light suds forming on the surface.
- Dip a clean white cloth into the soapy water and wring it out until it’s just damp, as a dripping cloth will soak the foam cushion.
- Blot the stained area gently with the damp cloth, working from the outside of the spot inward to prevent the stain from spreading across the fabric.
- Use a soft-bristled brush to gently scrub the area in a circular motion if the stain is deep, but avoid using too much pressure.
- Rinse the soap out of your cloth and dip it into clean water, then blot the area repeatedly to remove all remaining soap residue from fibers.
- Press a fresh, dry white cloth firmly onto the damp spot to absorb as much excess moisture as possible from the cushion’s surface.
- Point a small floor fan toward the chair to speed up the drying process, ensuring the cushion dries within 4 to 6 hours.
- Check the fabric once it’s fully dry to see if the stain remains; if it does, you can repeat the process once more.
- Avoid sitting on the chair until the internal foam is completely dry, which helps prevent mildew growth inside the cushion, according to the Environmental Protection Agency guidelines on moisture control.
How to know it worked
You’ll know the cleaning was successful when the fabric looks uniform in color and feels soft to the touch after it dries. If the area looks darker than the surrounding fabric, it’s likely still damp and needs more time to dry. If you see a faint ring or the original stain remains visible, this indicates that the soil wasn’t fully lifted or that soap residue is still trapped in the fibers.
To fix a ring, dampen the entire panel of the cushion with a light mist of water to blend the edges, then blot dry again. If the stain persists after two rounds of cleaning, you should stop to avoid damaging the fabric weave through over-scrubbing. At this point, the fabric may have permanent dye damage or the stain may be oil-based, which often requires professional upholstery cleaning services to remove without leaving a mark.
If something goes wrong
| What happened | Why | What to do |
|---|---|---|
| Water ring appears | Uneven drying | Mist and blot again |
| Fabric color fades | Harsh detergent | Stop cleaning immediately |
| Foam stays wet | Too much water | Use a fan longer |
| Stain spreads | Scrubbing too hard | Blot instead of rubbing |
| Smell develops | Mold growth | Call professional cleaners |
If a water ring persists after a second misting, you likely used too much moisture initially. Stop adding liquid and point a box fan directly at the spot for three hours. If the fabric remains damp to the touch after that window, the moisture has reached the internal padding, which requires professional extraction to prevent permanent structural damage.
Many users make the mistake of using circular motions when blotting. This forces debris deeper into the fibers. Always lift the cloth straight up and down to pull the stain out rather than pushing it into the weave. If the stain is oil-based, stop using water-based cleaners entirely. Switch to a dry-cleaning solvent, as water will only cause the oil to expand further into the surrounding fabric.
How often to clean your chairs
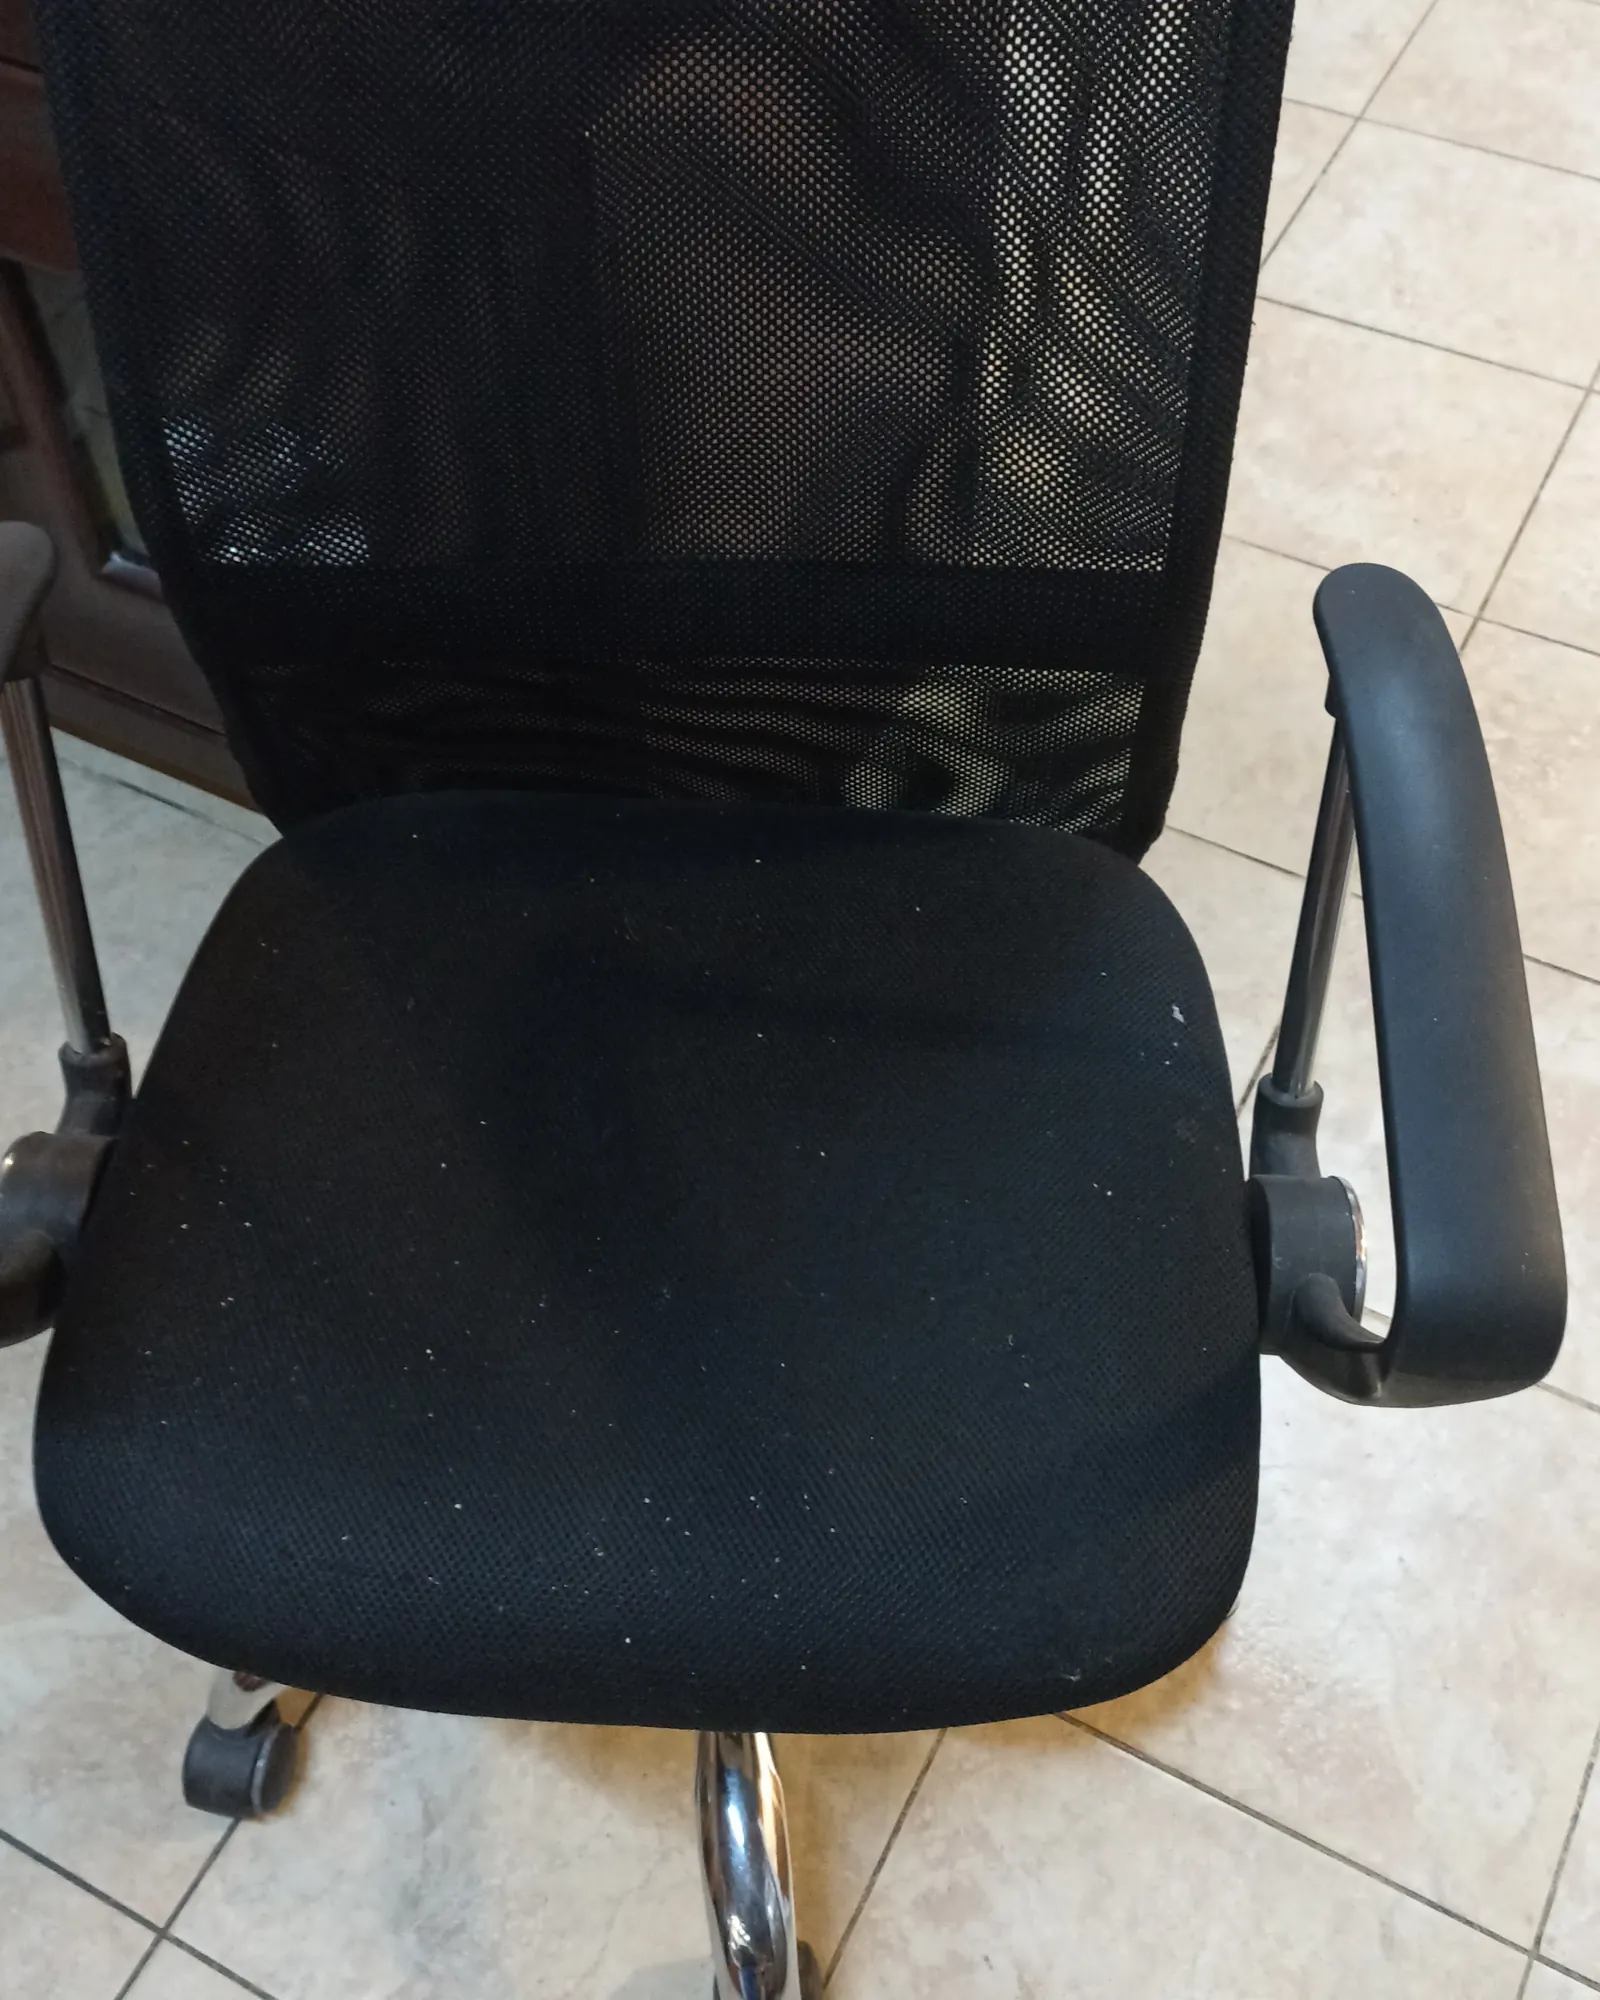
You should perform a light vacuuming of your cushions every two weeks to keep dust from settling into the internal foam structure. A deeper spot cleaning is usually necessary only when you notice a visible spill or a buildup of surface grime.
The frequency of deep cleaning changes based on two main factors: the amount of daily traffic the chair receives and the presence of pets or children in the home. If you have high traffic or pets, increase your vacuuming schedule to once per week to prevent dirt from becoming embedded.
Most people make the mistake of using generic household cleaners on upholstery, which can strip protective coatings and cause permanent discoloration. If the fabric is labeled “S,” use only solvent-based cleaners; if it’s labeled “W,” water-based solutions are safe. Always check the manufacturer’s care guide, as some high-end fabrics require professional maintenance every 12 to 18 months to maintain their fire-retardant finish and structural integrity. Ignoring these specific codes often voids your warranty after the first year.
Related guides
- How to Tighten Dining Room Chairs: A Step-by-Step Fix
- 10 Best Gardening Knee Pads and Kneeling Cushions for Comfort in 2026
- Best Weather Resistant Patio Chairs for Lasting Comfort and Style in 2026
Frequently asked questions
Can I use a steam cleaner on my cushions?
You can use a steam cleaner only if the chair’s care tag explicitly states it’s safe for wet cleaning or steam. Most residential upholstery isn’t designed for high-heat steam, which can shrink fabric or cause the internal adhesive of the foam to break down. Always check the manufacturer’s manual or the label under your seat before using any machine that introduces heat or significant moisture to the cushion.
Why is my cushion turning yellow after cleaning?
The yellowing is usually caused by “wicking,” where moisture pulls dirt or adhesive from the internal foam padding up to the surface as it dries. You can often fix this by lightly misting the area with distilled water and blotting it dry with a clean white towel. If the yellowing persists, it may indicate that the foam padding is degrading and releasing its own color, which generally requires professional upholstery replacement.
How long does it take for a cushion to dry?
The cushion typically takes 4 to 6 hours to dry, depending on the thickness of the foam and the humidity in your room. You can significantly speed up this process by placing a fan directly in front of the chair to increase air circulation. Never sit on the cushion while it feels damp, as this pushes moisture deeper into the foam and creates the perfect environment for mold to grow inside.
Is it safe to use vinegar for cleaning?
You can safely use a diluted vinegar solution on many fabrics after testing an inconspicuous area for colorfastness. Vinegar is acidic and may permanently damage natural fibers like silk or rayon. Always mix one part white vinegar with four parts water and rinse the area thoroughly to remove any lingering scent.
What happens if I use too much soap?
Using too much soap leaves a sticky residue in the fabric that attracts more dirt, making the chair look dirty again within a few weeks. If you notice the fabric feels stiff or tacky, you must rinse it by blotting with a cloth dampened only with clean water. Keep rinsing and blotting until the cloth no longer picks up soap suds and the fabric feels soft and clean to your touch.
Does it matter if I use colored towels?
It matters because colored towels can transfer their own dye onto your wet fabric, creating a new, permanent stain that’s much harder to remove. Always use plain white cotton cloths or paper towels to ensure that no dyes from the cleaning tool interact with the furniture. This simple rule prevents a minor spot cleaning from turning into a ruined chair cover that requires a professional to fix or replace.
Conclusion
Keeping your chairs clean preserves the fabric’s look and ensures the comfort of your furniture for many years. Regular maintenance prevents deep stains from setting, which makes each cleaning session faster and more effective. If you follow the steps above and respect the limitations of your specific fabric type, your cushions will stay fresh and clean with minimal effort.