
Have you noticed those annoying chips ruining the look of your favorite wood furniture? It’s frustrating to see beautiful pieces lose their charm because of a few small paint chips.
But here’s the good news: you don’t have to live with that damage or spend a fortune on repairs. You can fix chipped paint on wood furniture yourself, and it’s easier than you think. Keep reading, and you’ll discover simple, effective steps that will bring your furniture back to life—making it look fresh and flawless again.
Don’t let chipped paint hold your furniture back any longer. Let’s get started!
Credit: www.justthewoods.com
Identify The Damage
Identifying the damage on chipped paint is the first step in fixing wood furniture. It helps you understand what tools and materials you need. This step saves time and avoids mistakes. Knowing the damage clearly guides your repair process.
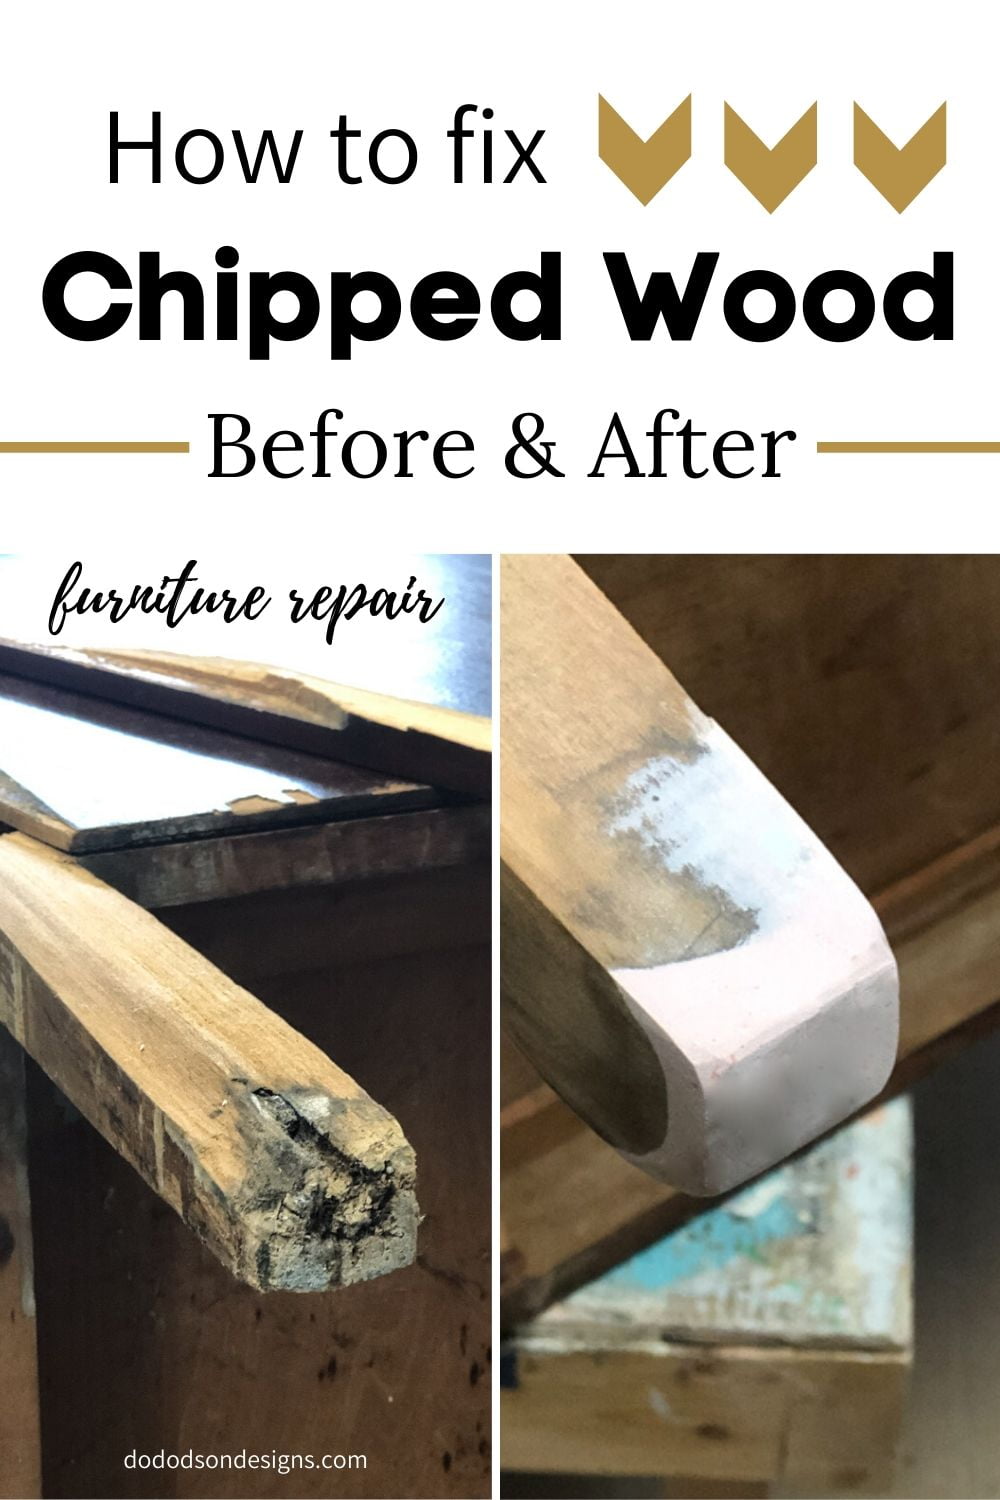
Take a close look at the chipped area. Notice the size, depth, and shape of the chip. This helps to decide how much work is needed. Small chips need simple fixes. Large chips may need more care.
Check The Extent Of The Chip
Look carefully at the edges of the chip. Are they sharp or smooth? Sharp edges can catch dust and dirt. Smooth edges may mean the paint has worn away naturally.
Measure the size of the chip. Small chips under one inch are easier to repair. Bigger chips might need filling and sanding. Note if the chip is just paint or also wood.
Assess Wood Condition
Check if the wood under the paint is dry or soft. Soft wood may mean water damage. Dry wood is easier to repair. Look for cracks or splinters around the chip.
Notice any discoloration or mold. These signs need special care before repainting. Clean the wood surface gently to see the real condition.
Credit: www.dododsondesigns.com
Gather Repair Materials
Gathering the right materials is the first step to fix chipped paint on wood furniture. Having everything ready makes the repair smooth and fast. Missing tools or supplies can cause delays or poor results. Prepare carefully to ensure your project goes well.
Essential Tools And Supplies
Start with basic tools like sandpaper and a putty knife. Sandpaper smooths rough edges around the chip. A putty knife helps apply wood filler or putty evenly. Also, get a clean cloth to wipe dust and dirt.
Use painter’s tape to protect areas around the chip. A small paintbrush is useful for detailed touch-ups. Gloves keep your hands clean. Gather all these before starting the repair.
Choosing The Right Paint And Finish
Pick paint that matches your furniture color closely. Test a small spot to check the match. Use paint made for wood surfaces for best results. Choose the correct finish—matte, satin, or glossy—to blend with your furniture.
Select a finish that matches the original shine. This keeps the repair less noticeable. Use a small container to mix paint if needed. Proper paint and finish help your furniture look good as new.
Prepare The Furniture Surface
Preparing the surface is the first step to fix chipped paint on wood furniture. It helps the new paint stick better and last longer. Take your time to do this right. A clean and smooth surface makes a big difference in the final look.
Clean The Area
Start by cleaning the chipped area. Use a soft cloth and mild soap with water. Remove all dust, dirt, and grease. Let the area dry completely. Clean surfaces help paint stick and prevent peeling later.
Sand The Damaged Spot
Lightly sand the chipped spot using fine-grit sandpaper. Sand around the edges of the chip to smooth rough parts. This step blends the damaged area with the rest of the wood. Wipe away sanding dust with a dry cloth before painting.
Fill And Smooth The Chip
Filling and smoothing the chip on wood furniture is an important step. It helps restore the surface and prepare it for painting. This process makes the furniture look neat and even again. Using the right materials and tools is key to a good repair. Follow each step carefully for the best results.
Apply Wood Filler
Choose a wood filler that matches your furniture’s color. Use a putty knife to press the filler into the chip. Fill the entire damaged area without leaving gaps. Smooth the surface as much as possible with the knife. Let the filler dry fully according to the product instructions. Drying time can vary from 30 minutes to a few hours.
Sand For A Smooth Finish
After the filler dries, use fine-grit sandpaper. Sand gently until the filled area is level with the wood surface. Remove any rough edges or bumps. Wipe away the dust with a clean cloth. This step creates a smooth base for painting. Take your time to get an even finish.
Match And Apply Paint
Fixing chipped paint on wood furniture starts with matching and applying the right paint. This step ensures the repair blends seamlessly with the rest of the piece. Proper color matching and careful painting help restore the furniture’s original look.
Color Matching Tips
Find the exact paint color for your furniture. Take a small chip or a photo to the paint store. Use paint swatches to compare shades under natural light. Test the paint on a hidden spot. Adjust the color by mixing small amounts if needed. Choose a paint type that matches the original finish, like satin or matte.
Painting Techniques
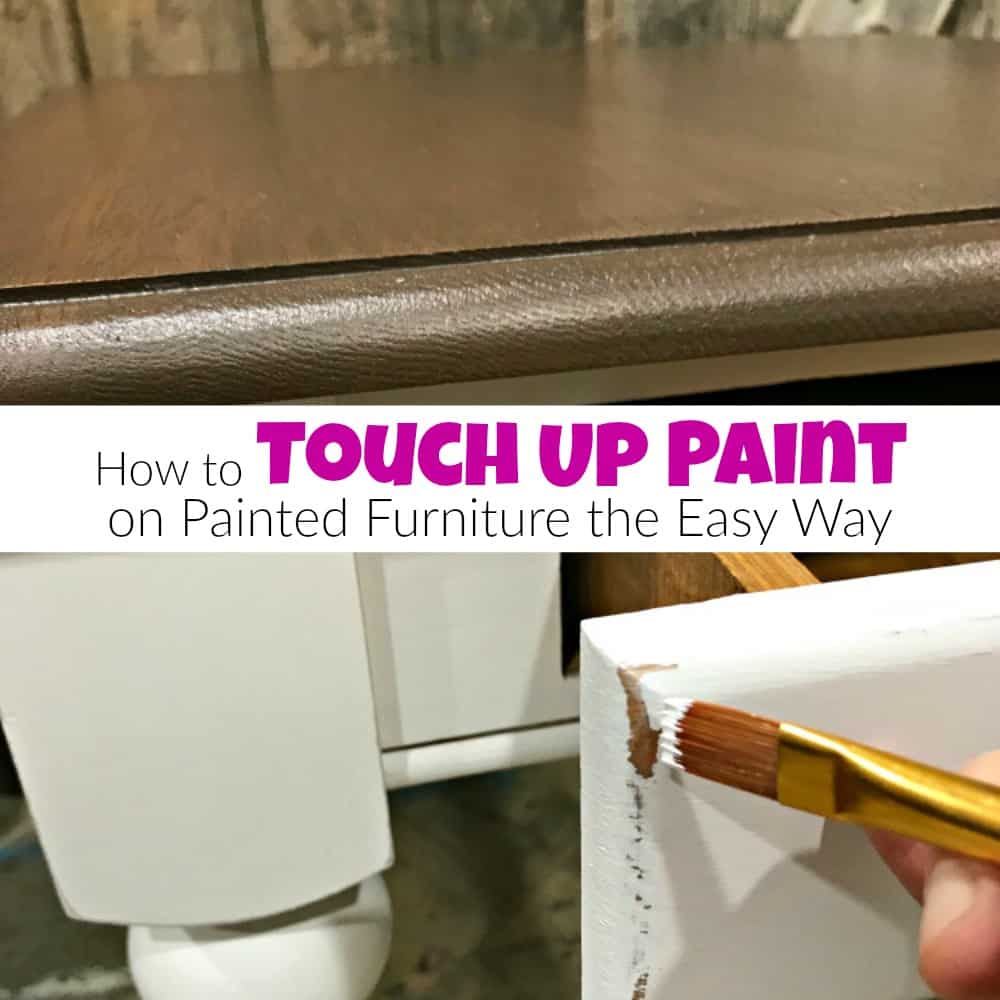
Clean the chipped area before painting. Use a small brush for precise application. Apply thin layers to avoid drips. Let each layer dry before adding the next. Feather the edges to blend with the surrounding paint. Light sanding between coats can smooth the surface. Finish with a clear sealant for protection.

Credit: www.ifixit.com
Seal And Protect
Sealing and protecting chipped paint on wood furniture keeps it safe from further damage. It also helps the repair last longer. A good sealant stops moisture and dirt from getting inside the wood. This step is important to keep your furniture looking nice and strong.
Choosing The Right Sealant
Select a sealant that matches your furniture’s finish. Use clear polyurethane for a shiny or satin look. For a natural, matte finish, try water-based sealants. Oil-based sealants work well for outdoor wood. Check if the sealant is safe for indoor use. Read the label carefully to ensure it suits your project.
Applying The Protective Coat
Use a clean brush to apply the sealant evenly. Brush along the wood grain for best results. Apply thin coats to avoid drips and bubbles. Let each coat dry fully before adding another. Usually, two to three coats are enough. Sand lightly between coats with fine sandpaper. This helps the sealant stick better and feel smooth.
Maintain Repaired Furniture
Maintaining repaired wood furniture keeps it looking fresh and lasts longer. Small repairs need care to avoid new damage. A simple routine helps protect the wood and paint.
Routine Care Tips
Dust your furniture often with a soft cloth. Use a damp cloth for sticky spots, then dry it well. Avoid harsh cleaners that strip paint or damage wood. Wax or polish your furniture every few months. This adds a protective layer and keeps paint shiny. Check for new chips or scratches regularly. Fix small issues quickly before they get worse.
Preventing Future Damage
Place furniture away from direct sunlight and heat sources. Sunlight fades paint and dries out wood. Use coasters and pads under items to stop scratches. Avoid dragging furniture across floors. Lift it to move and protect legs and paint. Keep pets’ nails trimmed to prevent scratches. Control indoor humidity to stop wood from swelling or cracking.
Frequently Asked Questions
What Causes Paint To Chip On Wood Furniture?
Paint chips on wood furniture due to moisture, aging, or poor surface preparation. Daily use and bumps also cause paint to peel or chip.
How Do I Prepare Wood Furniture Before Fixing Chipped Paint?
Clean the surface well and lightly sand the chipped area. Remove dust and old paint flakes for better paint adhesion.
What Type Of Paint Is Best For Wood Furniture Touch-ups?
Use acrylic or latex paint for easy application and good coverage. These paints dry fast and last well on wood surfaces.
Can I Fix Chipped Paint Without Sanding The Wood First?
Light sanding is recommended to smooth edges and help paint stick better. Skipping sanding may cause the new paint to peel off.
How Long Should I Wait For Paint To Dry On Wood?
Most touch-up paint dries in 1 to 2 hours. Wait longer if the paint layer is thick to avoid smudging.
Should I Use A Primer Before Repainting Chipped Wood Furniture?
Priming helps paint stick and covers stains or dark spots well. Use a primer especially on bare wood or repaired areas.
How Many Coats Of Paint Do I Need For Best Results?
Apply 2 to 3 thin coats for even color and durability. Let each coat dry fully before adding the next one.
Can I Repair Chipped Paint On Antique Wood Furniture?
Yes, but use gentle methods and matching paint colors. Avoid harsh sanding or chemicals that may damage the antique finish.
How Do I Protect Wood Furniture After Fixing Chipped Paint?
Apply a clear polyurethane or varnish to seal the paint. This protects from scratches and moisture, keeping the finish fresh.
What Tools Do I Need To Fix Chipped Paint On Wood?
Basic tools include fine sandpaper, a small brush, paint, and a primer. Clean cloths and painter’s tape help for neat results.
Conclusion
Fixing chipped paint on wood furniture is simple with the right steps. Take your time to clean and sand the area well. Choose matching paint for the best results. Apply the paint carefully and let it dry fully. Small chips can be hidden easily, making furniture look fresh again.
Regular care helps keep wood looking its best. Try these tips to save your furniture from damage. A little effort brings big changes. Give your wood pieces a new life today.