
You can remove front sprocket dirt bike parts in 15 to 30 minutes using a breaker bar or impact wrench while the drive chain remains on the bike. This basic method suits trail riders and backyard mechanics doing routine drivetrain maintenance.
Tools to remove your front sprocket
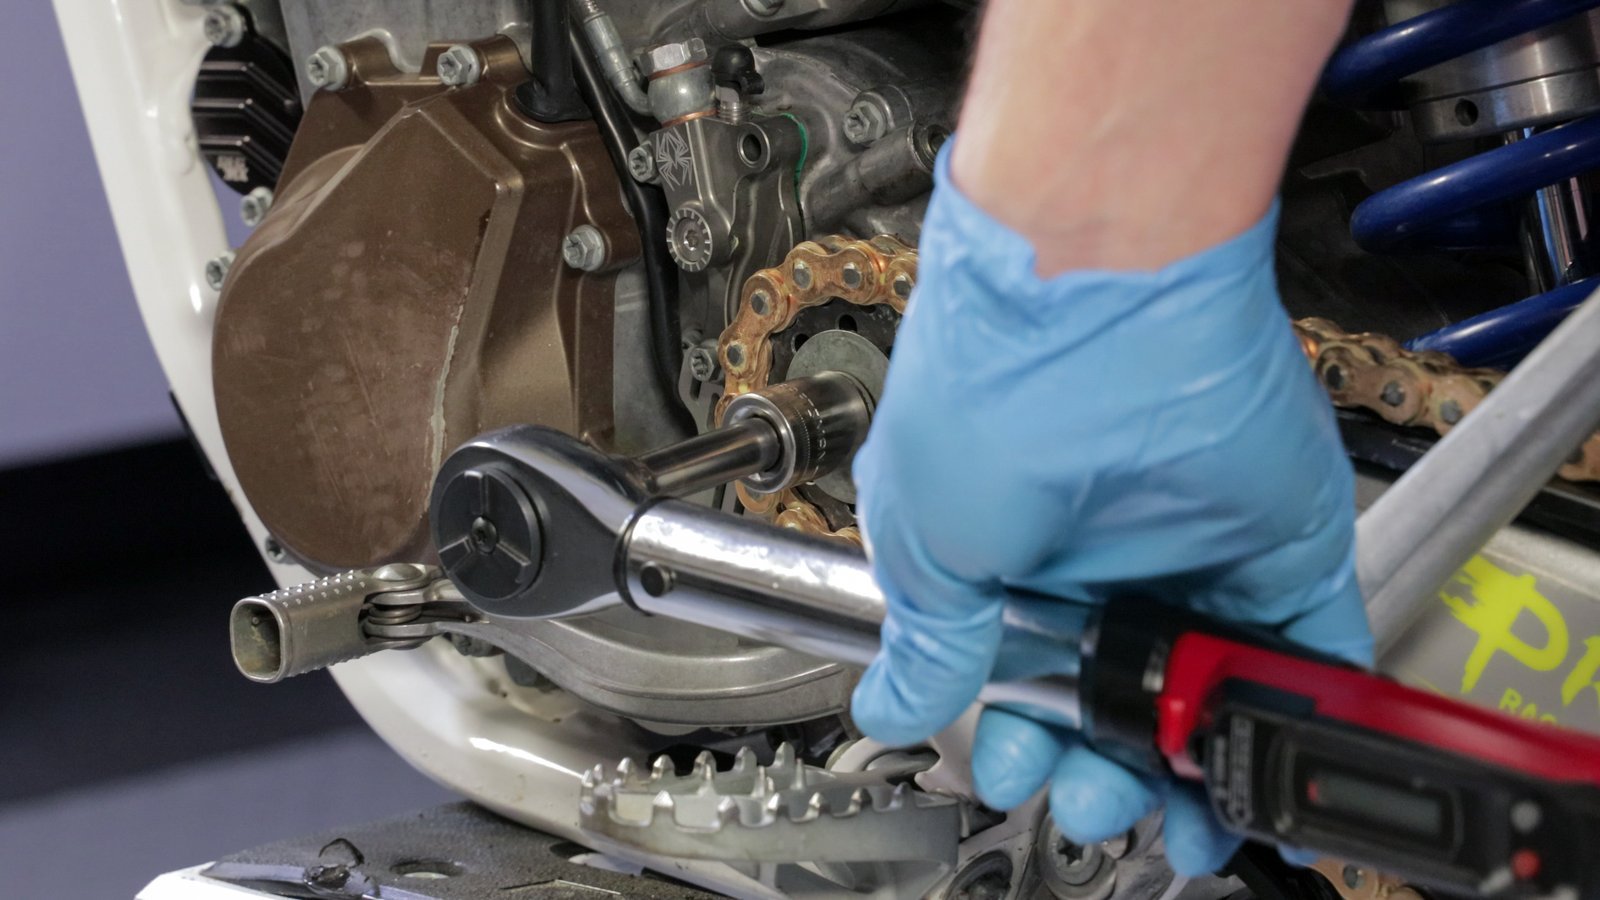
- Socket wrench set with sockets (commonly 8mm for case savers, plus 27mm, 30mm, or 32mm for the main nut).
- Breaker bar (at least 18 inches long) or a cordless impact wrench.
- Flat-blade screwdriver and a small ball-peen hammer to flatten the lock washer tab.
- Snap-ring pliers (required if your bike uses a circlip instead of a central nut).
- Penetrating oil spray for rusted shafts.
- New replacement lock washer or snap ring.
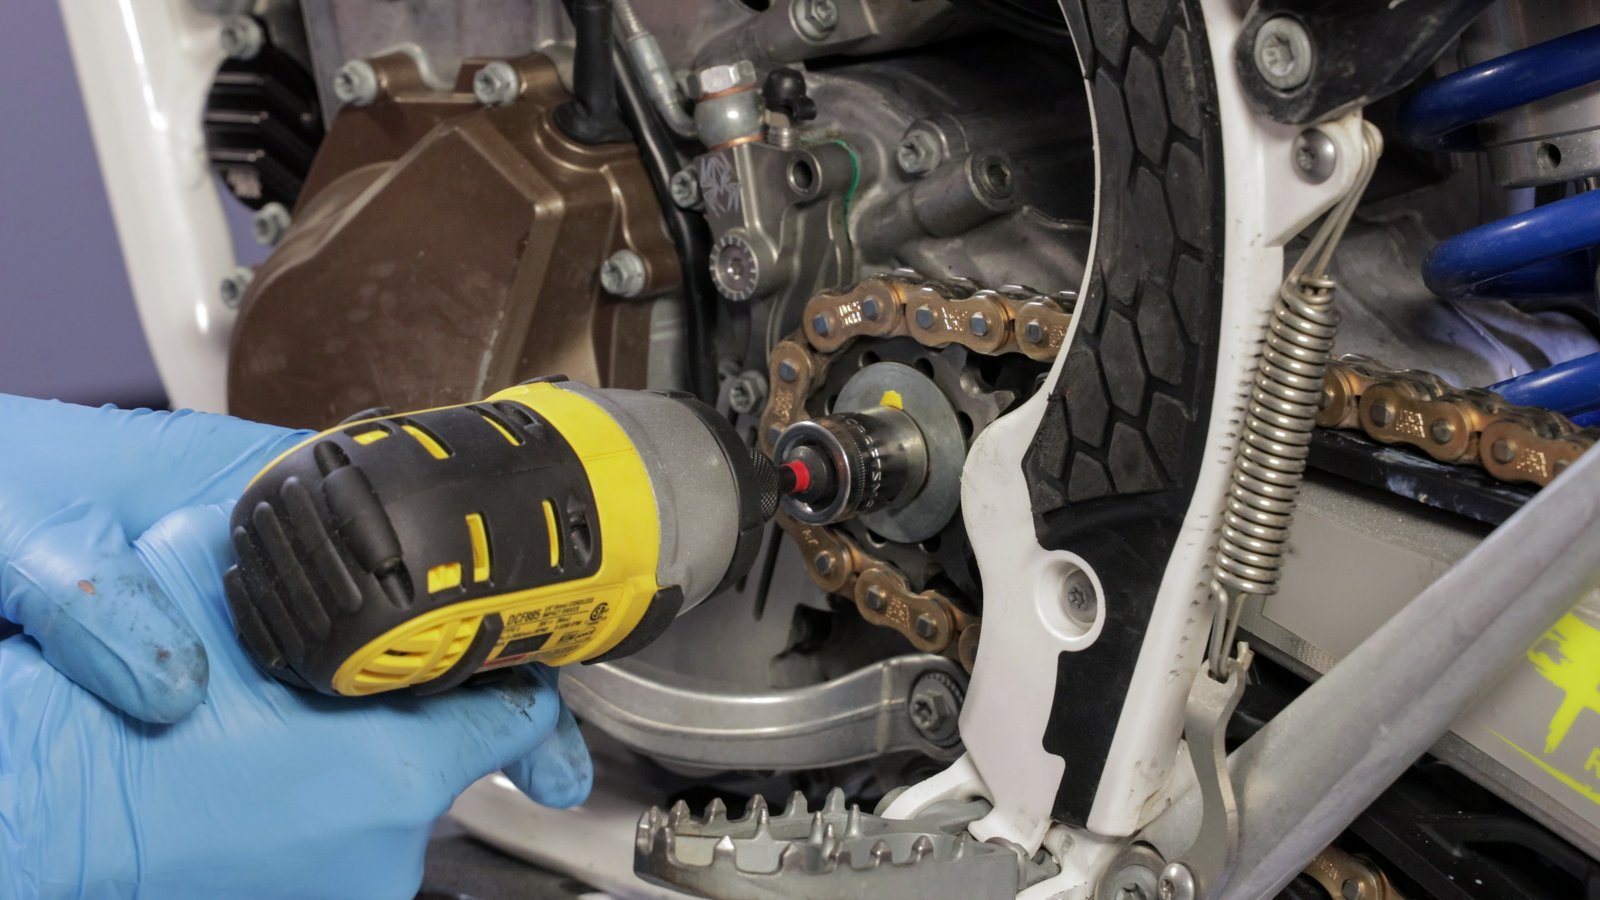
A cordless electric impact driver works well here, but an open-end wrench will round off the nut and leave you stuck.
Step-by-step
- Remove the chain guard and case saver bolts using an 8mm socket to expose the countershaft area completely.
- Straighten the bent locking tab flat against the sprocket face using your flat screwdriver and hammer so the main nut can turn freely. Careful: Don’t strike the countershaft directly with the hammer, or you risk damaging the internal transmission bearings.
- Leave the drive chain on both sprockets and keep the transmission in gear to allow the rear brake to hold the countershaft stationary.
- Press firmly on the rear brake pedal to lock the drive system in place. Tip: If you’re working alone, loop a tie-down strap tightly around the rear brake pedal and the frame.
- Turn the countershaft nut counterclockwise with an 18-inch breaker bar or an impact wrench until it spins off smoothly.
- Loosen your rear axle nut with a 32mm wrench, slide the rear wheel forward about 2 inches, and derail the chain from the front teeth.
- Slide the old front sprocket straight off the splines by hand. Tip: If the cog sticks, wiggle it gently side-to-side; never pry heavily against the engine crankcase.
Countershaft Hardware and Tool Demands
Different bike designs change how much force you need and how fast the job goes.
| Countershaft Setup | Removal Time | Mechanical Difference | Key Inspection Point |
|---|---|---|---|
| Large Center Nut | 15–20 minutes | High factory torque with bent safety tab | Stripped threads on the shaft |
| External Circlip | 5–10 minutes | Low retention force; no heavy torque needed | Stretched clip or worn spline groove |
| Two-Bolt Retainer Plate | 10–15 minutes | Small 8mm or 10mm bolts hold a keyed plate | Sheared bolt heads or stretched bolts |
| Corroded Nut and Shaft | 30–45 minutes | Rust locks threads; requires heat or soaking | Heat damage to the oil seal |
Starting with mild hand pressure is safer than hitting the shaft with an oversized impact gun right away.
How to tell you did it right
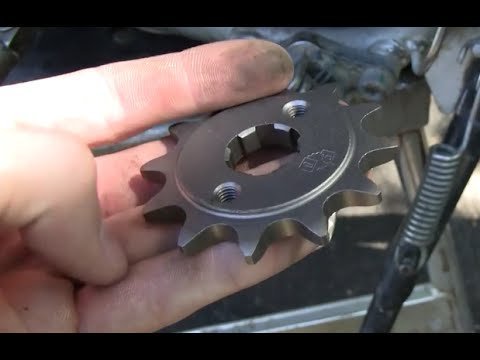
A correct job leaves the countershaft splines clean, straight, and dry without oil leaks pooling below the seal. Damaged splines or grooved metal show that the previous part was loose or installed backward. Countershaft splines fail because a loose sprocket rocks back and forth under engine acceleration, which hammers flat spots into the metal teeth. You prevent this damage by torquing the retention nut to factory spec, replacing the lock washer every time, and checking chain slack regularly.
Reassembly and Torque Standards
Always consult the official service manual from your motorcycle manufacturer, such as the maintenance specifications published on Yamaha Motorsports Owner Support, to find the exact torque value for your specific displacement and year. Clean road grime off the splines, slide the new countershaft sprocket on with the stamped numbers facing out, and fit a fresh lock washer. Torque the center nut to factory spec, then bend the washer tab firmly over one flat edge of the nut. Reinstall the case saver, align your chain, and adjust the rear axle slack. A front sprocket lasts roughly 40 to 60 engine hours before the teeth hook; if you ride hard through deep mud, check wear twice as often. This repair isn’t for riders who lack basic hand tools or suspect cracked engine casings, which require a professional motorcycle repair shop.
Alternative Removal Methods
Impact Wrench Route
Use an 18-volt cordless impact wrench with the bike on a stand. The rapid hammer blows spin the central nut off while the rear brake is held, cutting the total work time to 5 minutes.
Motion Pro Gear Jammer
Place a stepped locking tool between the primary drive gears if your engine is taken apart on a workbench. This mechanical block holds the drivetrain stationary without a chain installed, costing a modest amount for the specialty wedge tool.
Professional Mechanic Service
Take the bike to a certified motorcycle dealer or powersports garage. A mechanic charges roughly a half-hour of shop labor, which protects your engine countershaft if the central nut is badly stripped, rounded, or cross-threaded by a previous owner.
Frequently asked questions
Can I remove the front sprocket without taking off the chain?
Yes, keeping the chain installed is the best way to hold the sprocket still while you break the center nut loose. You only derail the chain after the nut spins freely.
Are front sprocket nuts reverse-threaded on dirt bikes?
No, the vast majority of dirt bikes use standard right-hand threads that loosen counterclockwise. A few rare European trials bikes use left-hand threads, so verify your model manual if the nut refuses to budge.
How do I stop the engine from turning while loosening the nut?
Step firmly on the rear brake pedal while the rear tire sits on the ground. Never lock the rear wheel with a metal rod through the wheel spokes, because you can easily bend your swingarm.
Is it safe to reuse the locking tab washer?
No, you shouldn’t reuse the tab washer because the metal weakens and cracks once you bend it back. A failed washer allows the nut to back off while riding, which ruins your engine case.
What happens if I put the front sprocket on backward?
Your drive chain will run out of alignment with the rear sprocket, which wears out teeth rapidly and risks throwing the chain off at high speed. The stamped tooth-count numbers must face outward away from the engine.
Final Thoughts
Once everything is bolted back together, don’t forget to double-check your chain tension before heading out. Proper slack keeps your drivetrain running smoothly and prevents unnecessary wear on your new parts. You’ll feel a lot more confident on the trails knowing your bike’s ready for the next big ride.
Related guides